Introduction
So, you've got yourself a MIDI keyboard and you're ready to dive into the world of music production using Tracktion. Congratulations! MIDI keyboards are fantastic tools for creating music, and when paired with a powerful digital audio workstation (DAW) like Tracktion, the possibilities are endless.
In this guide, we'll walk you through the process of setting up your MIDI keyboard with Tracktion, configuring the software to recognize and respond to your keyboard inputs, and using it to control virtual instruments and record MIDI data. Whether you're a seasoned musician or just starting out, this tutorial will help you harness the full potential of your MIDI keyboard within the Tracktion environment.
By the end of this guide, you'll be equipped with the knowledge and confidence to seamlessly integrate your MIDI keyboard into your music production workflow, unleashing your creativity and musical expression like never before.
So, let's roll up our sleeves and embark on this exciting journey of exploring the synergy between your MIDI keyboard and Tracktion!
Setting up Your MIDI Keyboard
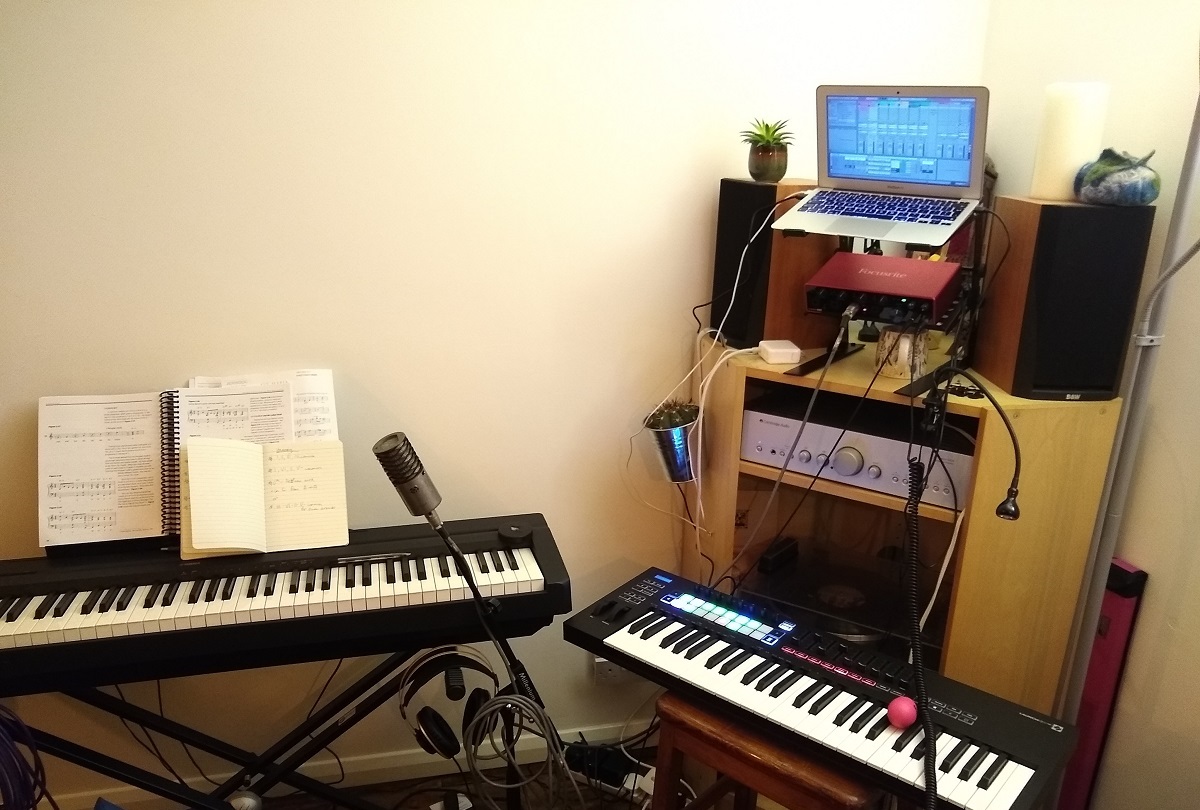
Before you can start making music with your MIDI keyboard in Tracktion, you need to ensure that the hardware is properly set up and connected to your computer. Here’s a step-by-step guide to help you get started:
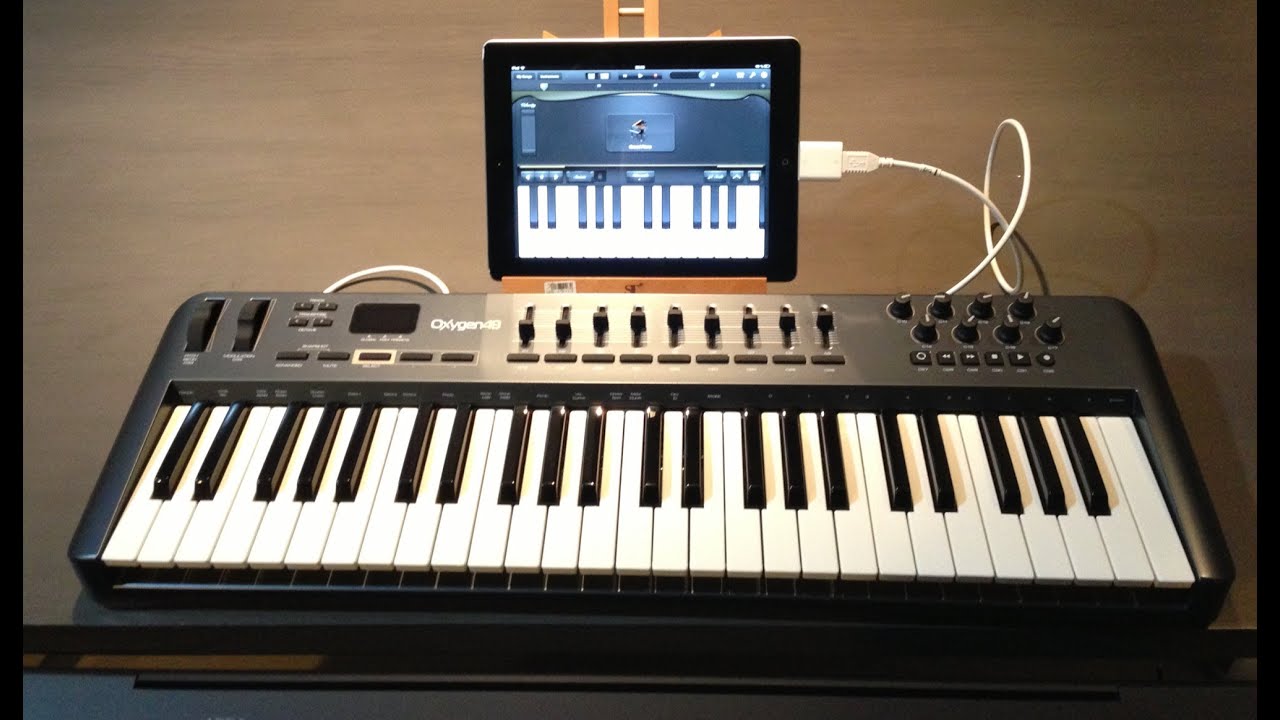
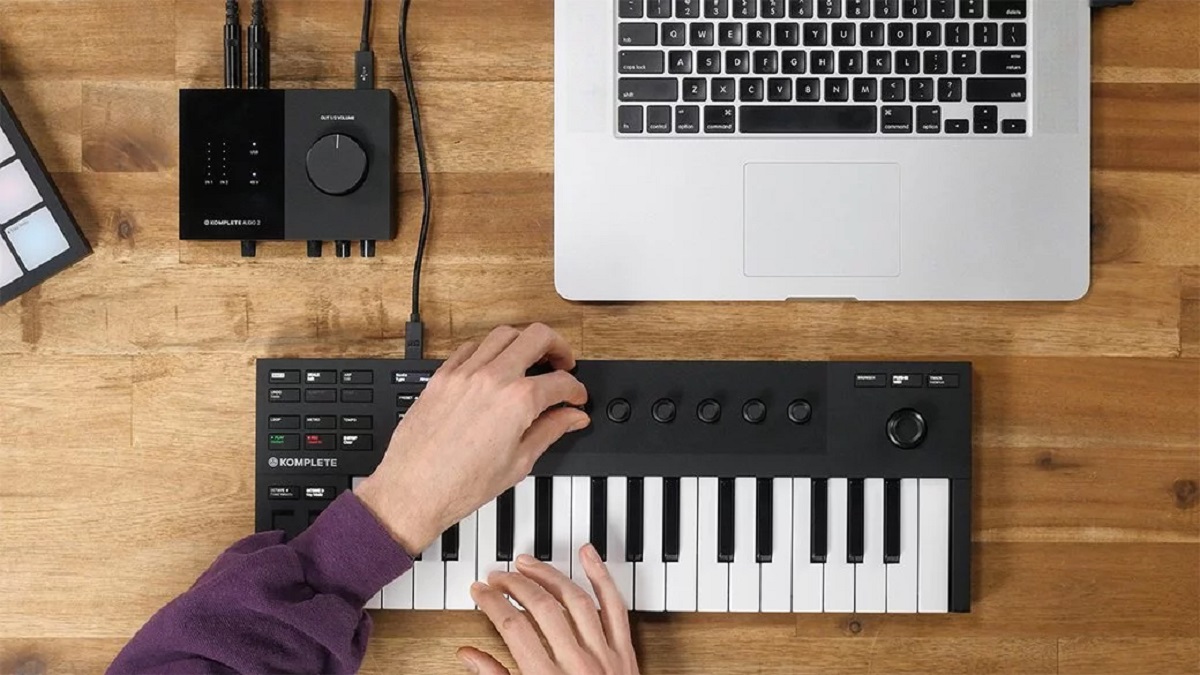
- Connect Your MIDI Keyboard: Begin by connecting your MIDI keyboard to your computer using a USB cable or MIDI interface, depending on the type of connections supported by your keyboard and computer.
- Install Necessary Drivers: If your MIDI keyboard requires specific drivers to communicate with your computer, make sure to install them according to the manufacturer’s instructions. This step is crucial for seamless communication between the keyboard and your DAW.
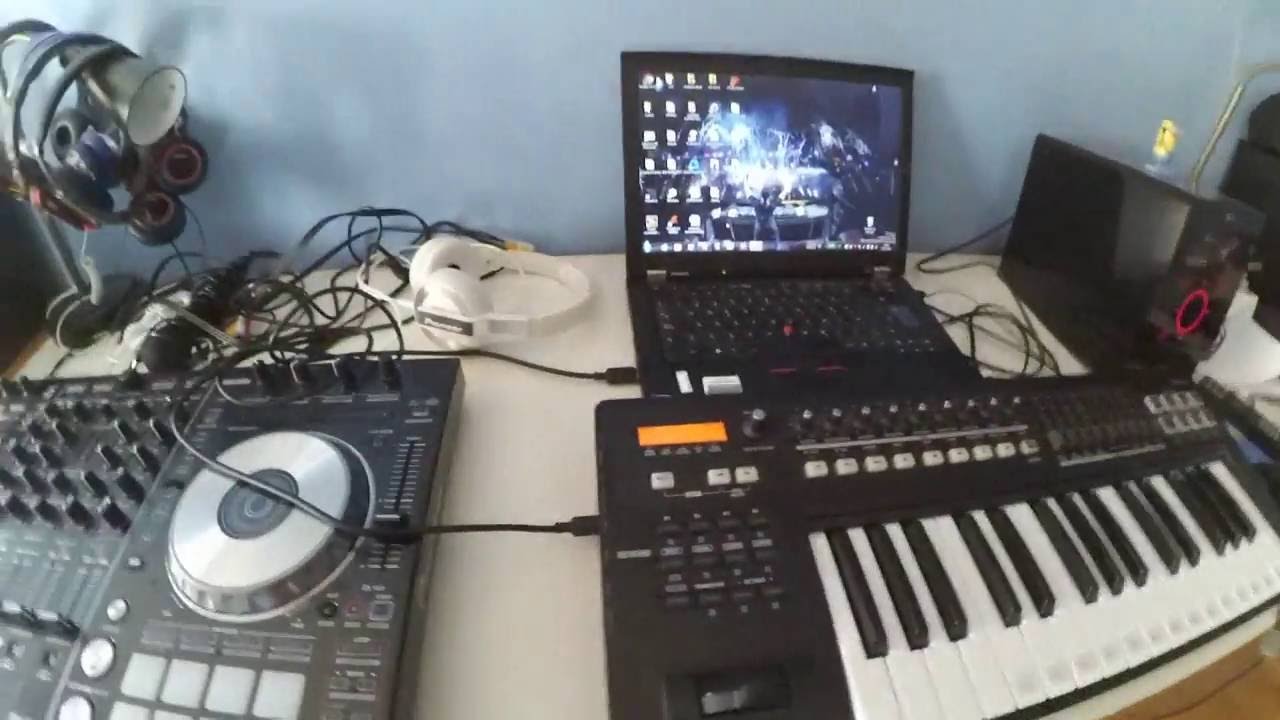
- Power On Your MIDI Keyboard: Ensure that your MIDI keyboard is powered on and functioning properly. Some keyboards may require an external power source, so make sure it’s connected and turned on.
- Verify Connection: Once your MIDI keyboard is connected and powered on, verify that your computer recognizes the device. Check your computer’s system settings or device manager to ensure that the MIDI keyboard is detected and listed as an available input device.
By following these steps, you’ll establish a solid foundation for integrating your MIDI keyboard with Tracktion, setting the stage for a seamless and productive music production experience.
Configuring Tracktion for MIDI Input
Now that your MIDI keyboard is physically connected to your computer, it’s time to configure Tracktion to recognize and respond to MIDI input from your keyboard. Follow these steps to set up Tracktion for MIDI input:
- Open Tracktion: Launch the Tracktion software on your computer. Once the application is running, create a new project or open an existing one where you’d like to use your MIDI keyboard.
- Access Preferences: Navigate to the preferences or settings menu within Tracktion. This can typically be found in the application’s main menu or settings panel.
- Select MIDI Devices: Look for the MIDI or input devices section within the preferences menu. Here, you should see a list of available MIDI input devices. Locate your MIDI keyboard in the list and ensure that it is enabled for input within Tracktion.
- Assign MIDI Channels: If your MIDI keyboard allows for channel assignment, configure the MIDI channels to match the settings in Tracktion or the virtual instruments you plan to control. This ensures that the MIDI data from your keyboard reaches the intended destinations within the software.
- Test MIDI Input: To verify that Tracktion is receiving MIDI input from your keyboard, play some notes or press keys on the keyboard. You should see visual feedback within Tracktion, indicating that MIDI data is being received and recognized.
By completing these configuration steps, you’ll establish a direct line of communication between your MIDI keyboard and Tracktion, allowing for seamless integration and real-time interaction between the physical instrument and the digital environment.
Using Your MIDI Keyboard to Control Virtual Instruments
With your MIDI keyboard successfully connected and configured within Tracktion, you’re now ready to harness its full potential as a controller for virtual instruments. Here’s how you can use your MIDI keyboard to control virtual instruments within Tracktion:
- Load a Virtual Instrument: Within Tracktion, load the virtual instrument or software synthesizer that you’d like to play using your MIDI keyboard. This could be a piano, synthesizer, drum kit, or any other instrument available in your music production setup.
- Assign MIDI Input: Once the virtual instrument is loaded, ensure that it is set to receive MIDI input from your keyboard. This typically involves selecting your MIDI keyboard as the input device for the virtual instrument within Tracktion’s interface.
- Play and Experiment: Start playing notes and chords on your MIDI keyboard. You should hear the sound of the virtual instrument responding to your keystrokes in real time. Experiment with different playing techniques, such as varying key velocity and using modulation and pitch bend wheels if available on your MIDI keyboard.
- Explore Expression: Take advantage of the expressive capabilities of your MIDI keyboard to add nuance and emotion to your performances. Utilize features such as aftertouch, sustain pedal input, and assignable knobs and sliders to shape the sound and dynamics of the virtual instrument as you play.
- Record Performances: If you’re satisfied with your performance, you can record the MIDI data generated by your keyboard while playing the virtual instrument. This allows you to capture your musical ideas and performances within Tracktion for further editing and manipulation.
By using your MIDI keyboard to control virtual instruments in Tracktion, you’ll experience a seamless and intuitive connection between your musical ideas and the sonic possibilities offered by virtual instruments, empowering you to bring your compositions to life with natural and expressive performances.
Recording MIDI with Your Keyboard
One of the most powerful capabilities of a MIDI keyboard in Tracktion is its ability to record MIDI data, capturing your performances and musical ideas as digital information that can be edited and manipulated within the software. Here’s how you can record MIDI with your keyboard in Tracktion:
- Create a MIDI Track: In Tracktion, create a new MIDI track where you’d like to record your keyboard performance. This track will serve as the container for the MIDI data captured by your keyboard.
- Arm the MIDI Track: Arm the MIDI track for recording, indicating that it’s ready to receive MIDI input from your keyboard. This typically involves clicking a “record enable” button or similar function on the MIDI track within Tracktion’s interface.
- Set Recording Parameters: Configure the recording parameters for the MIDI track, such as the desired recording quantization (if any) and the length of the recording. This ensures that your MIDI performances are captured according to your preferences.
- Record MIDI Input: Once the MIDI track is armed and the recording parameters are set, start playing your MIDI keyboard. As you play, Tracktion will capture the MIDI data generated by your performance, creating a digital representation of the notes, velocities, and other expressive elements.
- Review and Edit: After recording your MIDI performance, you can review and edit the captured MIDI data within Tracktion’s piano roll or MIDI editing interface. This allows you to refine your performance, correct any mistakes, and fine-tune the musical expression captured by your keyboard.
By recording MIDI with your keyboard in Tracktion, you can preserve your musical ideas as editable data, providing the flexibility to refine and embellish your performances, experiment with different instrument sounds, and craft intricate musical arrangements with precision and creativity.
Conclusion
Congratulations on mastering the art of using your MIDI keyboard with Tracktion! By following the steps outlined in this guide, you’ve unlocked a world of creative possibilities and seamless integration between your physical instrument and the digital realm of music production.
With your MIDI keyboard set up and configured within Tracktion, you now have the power to control virtual instruments, record expressive MIDI performances, and craft intricate musical compositions with ease. The synergy between your keyboard and Tracktion empowers you to unleash your musical ideas with natural expression and precision, adding a human touch to your digital productions.
As you continue to explore the capabilities of your MIDI keyboard within Tracktion, don’t hesitate to experiment, improvise, and push the boundaries of your creativity. Whether you’re composing melodies, laying down rhythmic patterns, or exploring the sonic landscape of virtual instruments, your MIDI keyboard is a versatile tool that adapts to your musical vision.
Remember, the journey of music production is as much about discovery and experimentation as it is about technical proficiency. Embrace the unique connection between your MIDI keyboard and Tracktion as a conduit for your musical expression, and let your creativity flow freely within the digital canvas of your DAW.
With your newfound knowledge and skills, you’re well-equipped to embark on a musical odyssey, where the harmonious blend of technology and artistry fuels your passion for creating captivating and emotive music. So, let the music play, and may your MIDI keyboard be the gateway to a world of endless sonic possibilities within the realm of Tracktion.