Introduction
Are you a music enthusiast looking to dive into the world of digital music production using a MIDI keyboard on your Windows 7 system? This comprehensive guide will walk you through the process of setting up and using a MIDI keyboard with Windows 7, ensuring that you can unleash your creativity and musical talent with ease.
Whether you're a seasoned musician or a budding producer, integrating a MIDI keyboard into your setup can significantly enhance your music production capabilities. With the ability to control various virtual instruments, record melodies, and create intricate compositions, a MIDI keyboard serves as a powerful tool in the modern music production landscape.
In this guide, we will explore the essential steps to seamlessly connect and configure your MIDI keyboard with Windows 7, allowing you to harness its full potential. From installing MIDI drivers to configuring MIDI settings and utilizing Digital Audio Workstation (DAW) software, you'll gain valuable insights into leveraging your MIDI keyboard effectively.
By the end of this tutorial, you'll be equipped with the knowledge and skills to harness the creative possibilities that a MIDI keyboard offers, empowering you to embark on a musical journey filled with innovation and expression. So, without further ado, let's delve into the intricacies of integrating a MIDI keyboard with your Windows 7 system and unlock the boundless potential of digital music production.
Setting Up the MIDI Keyboard
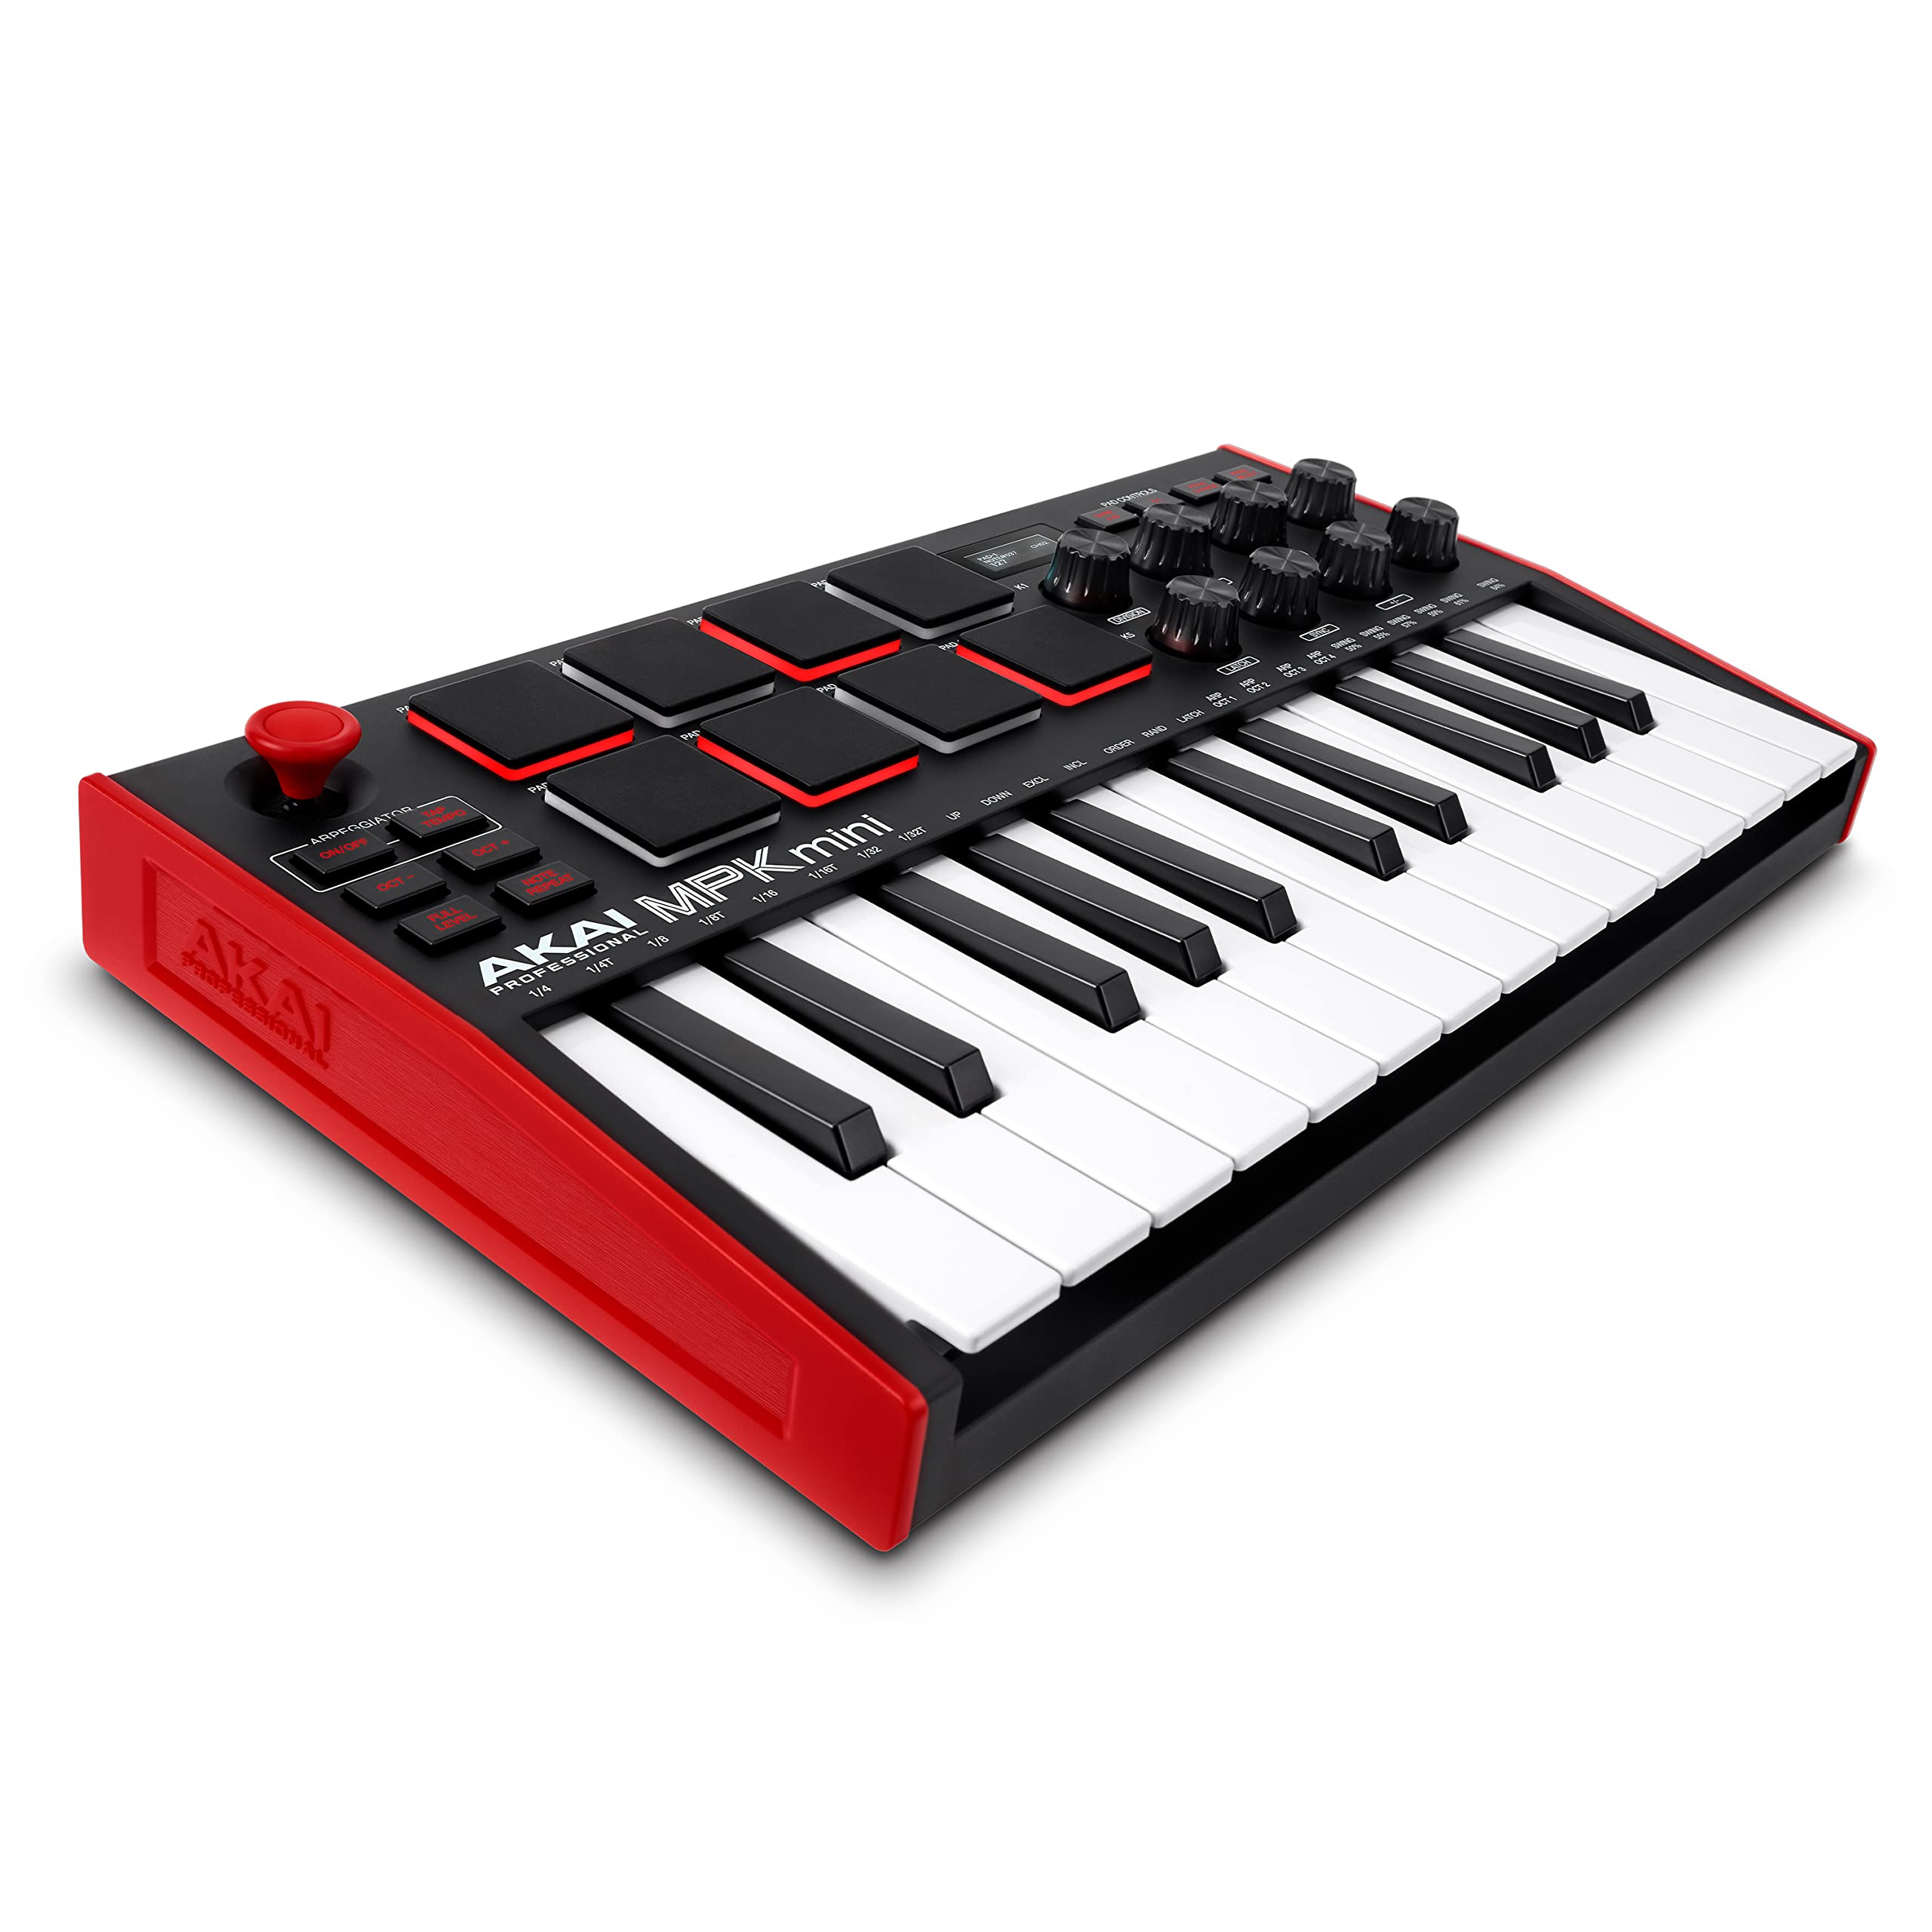
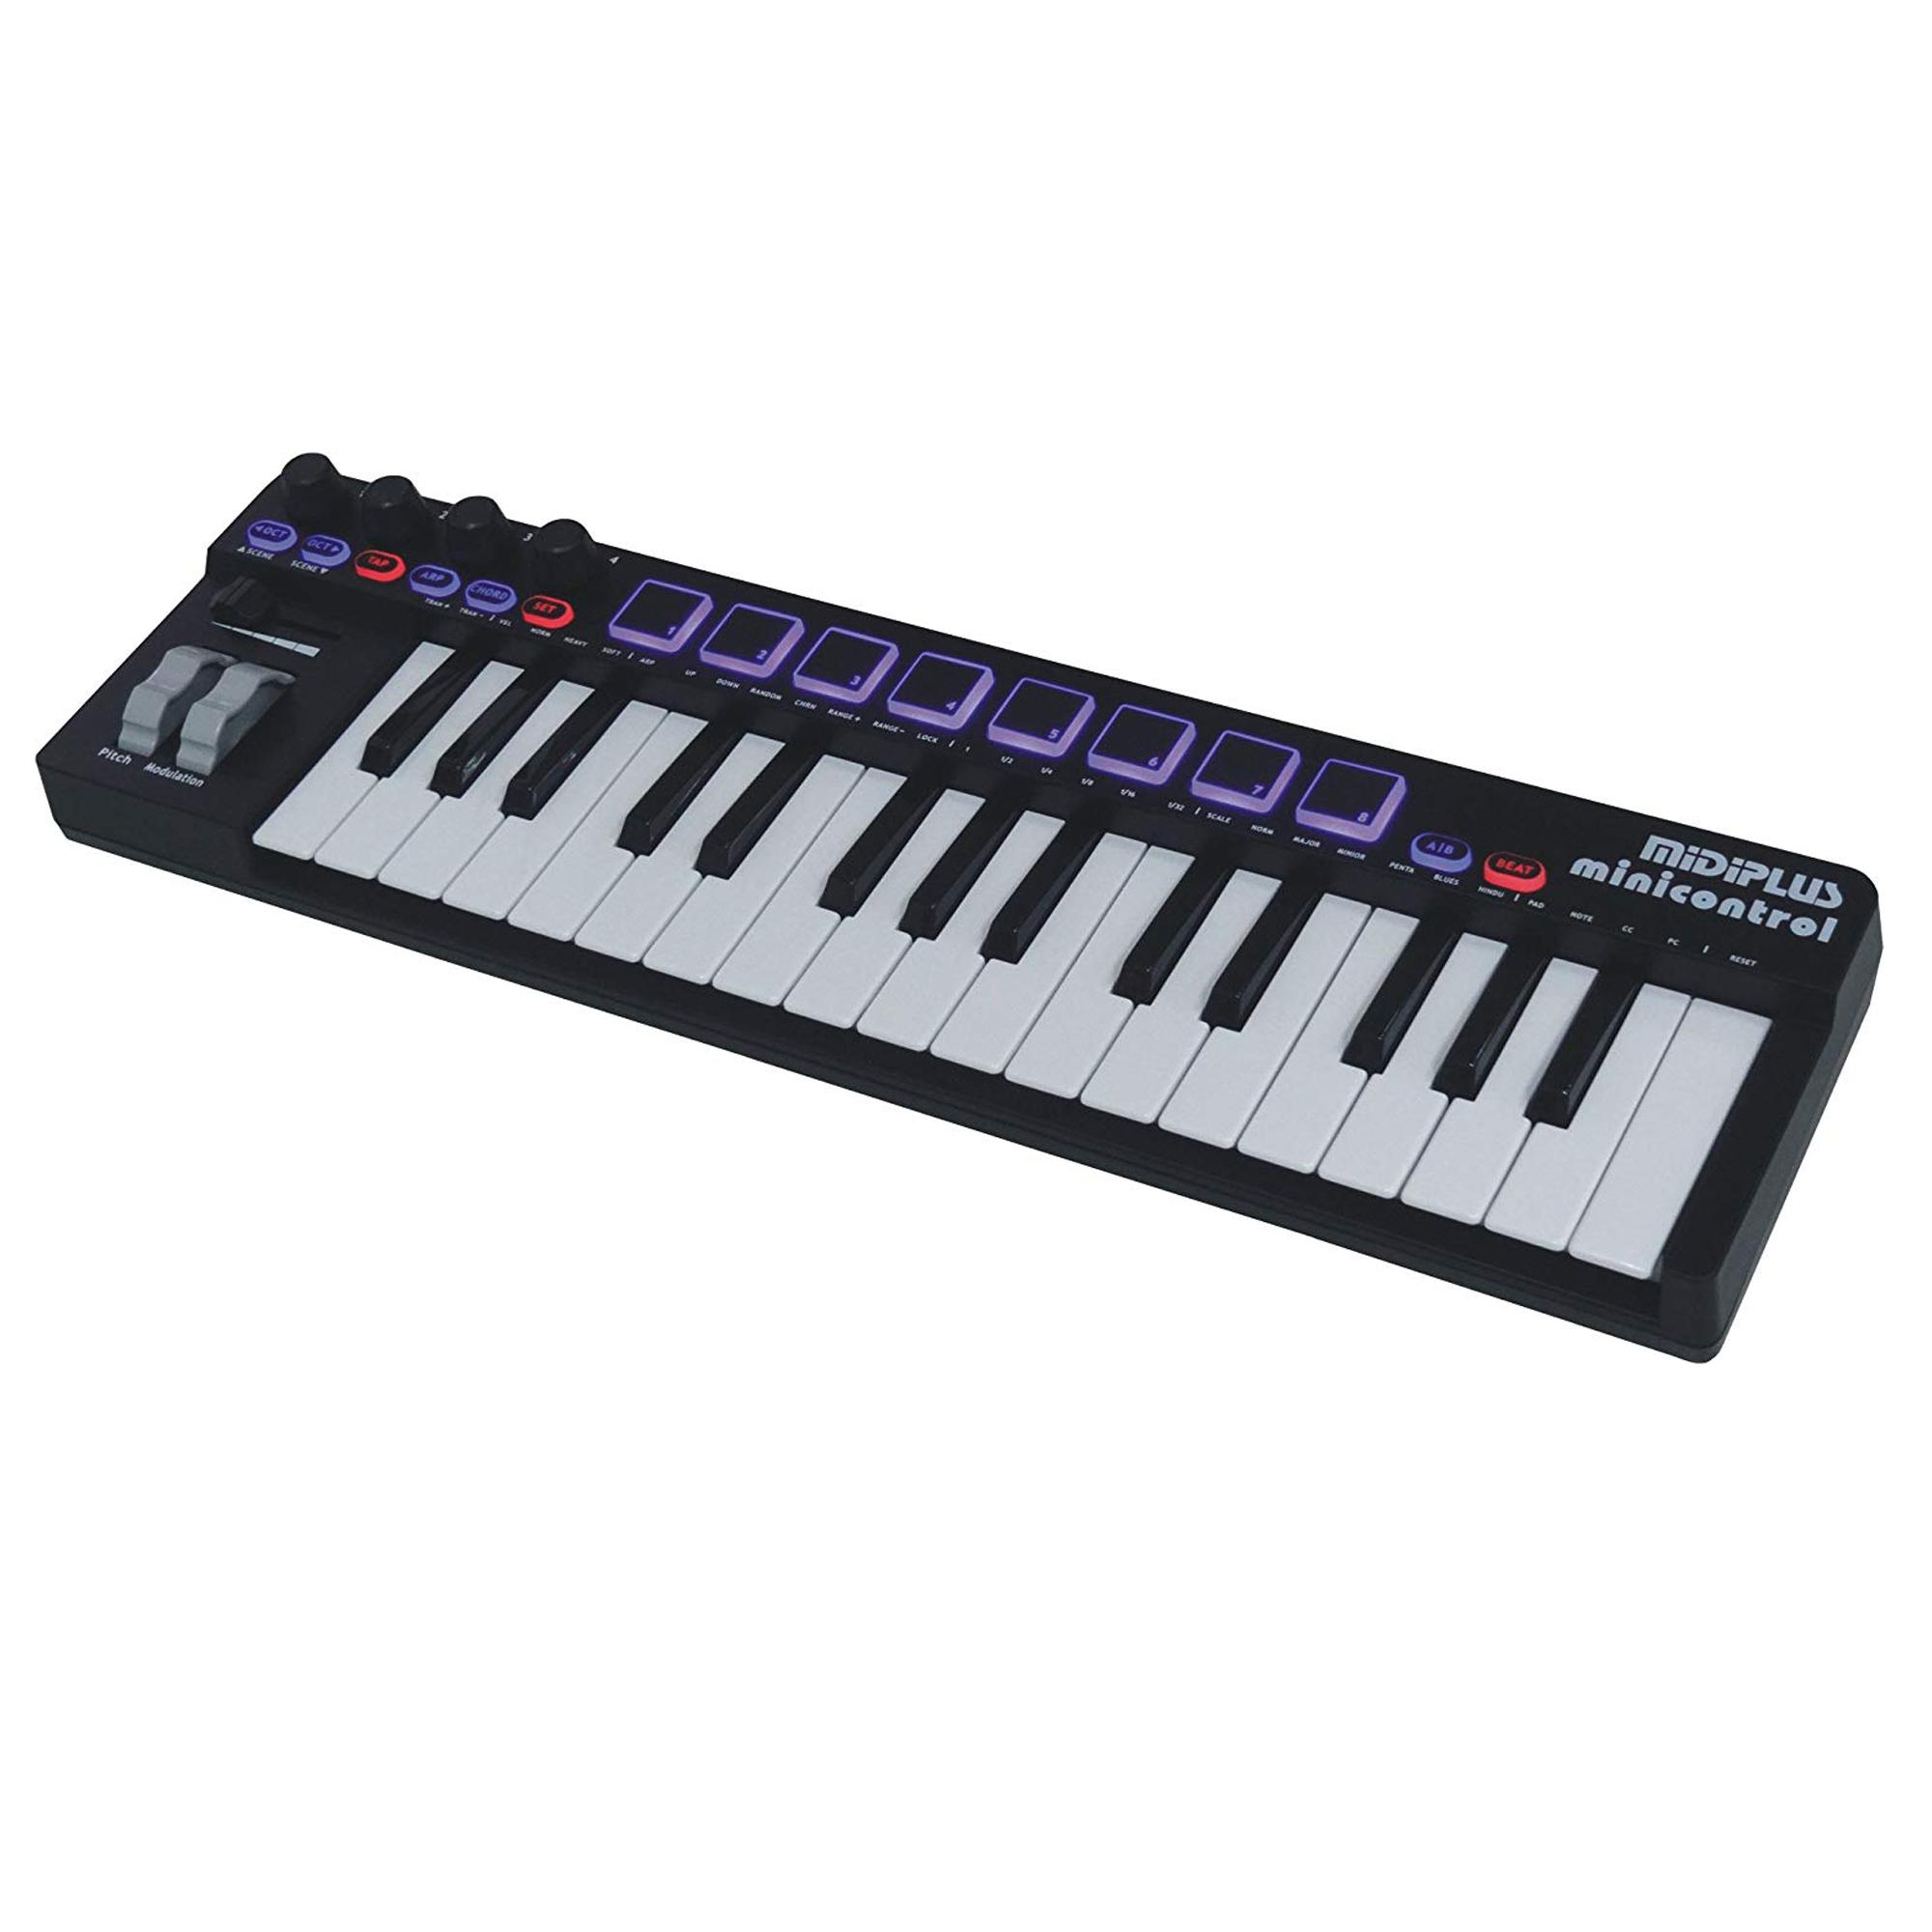
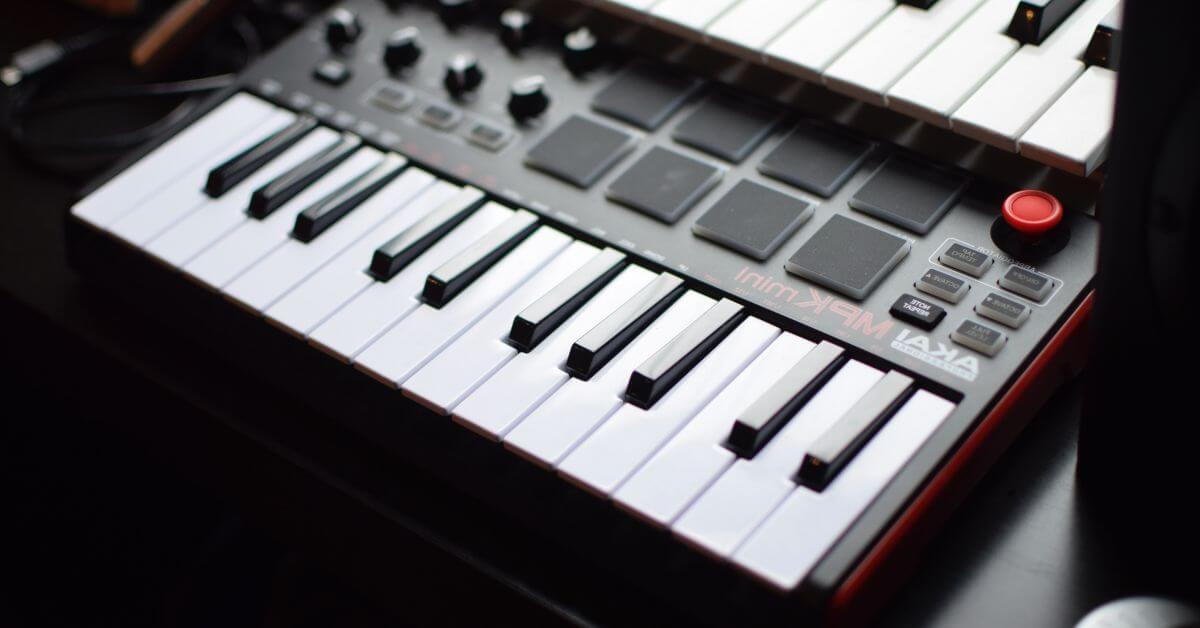
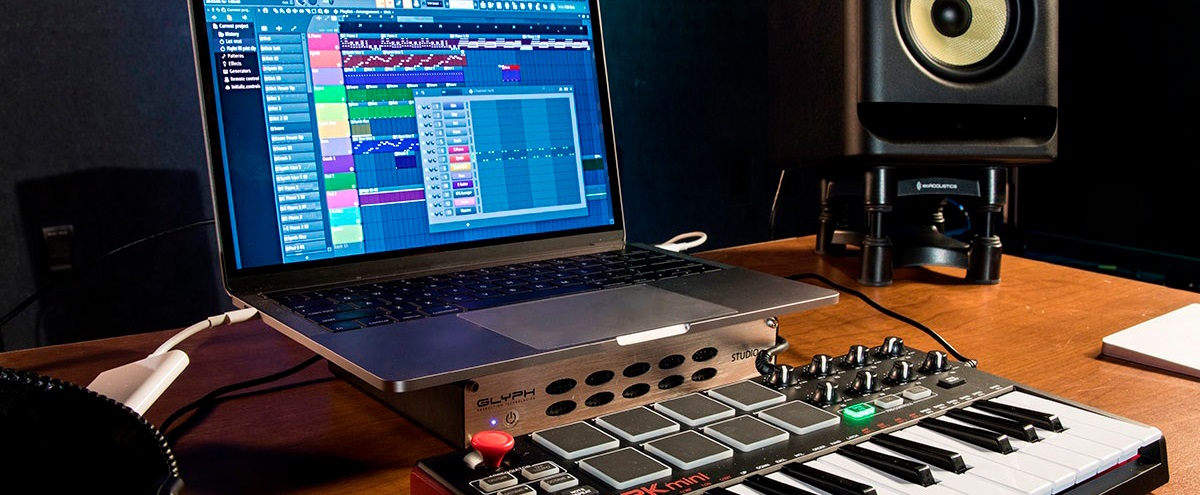
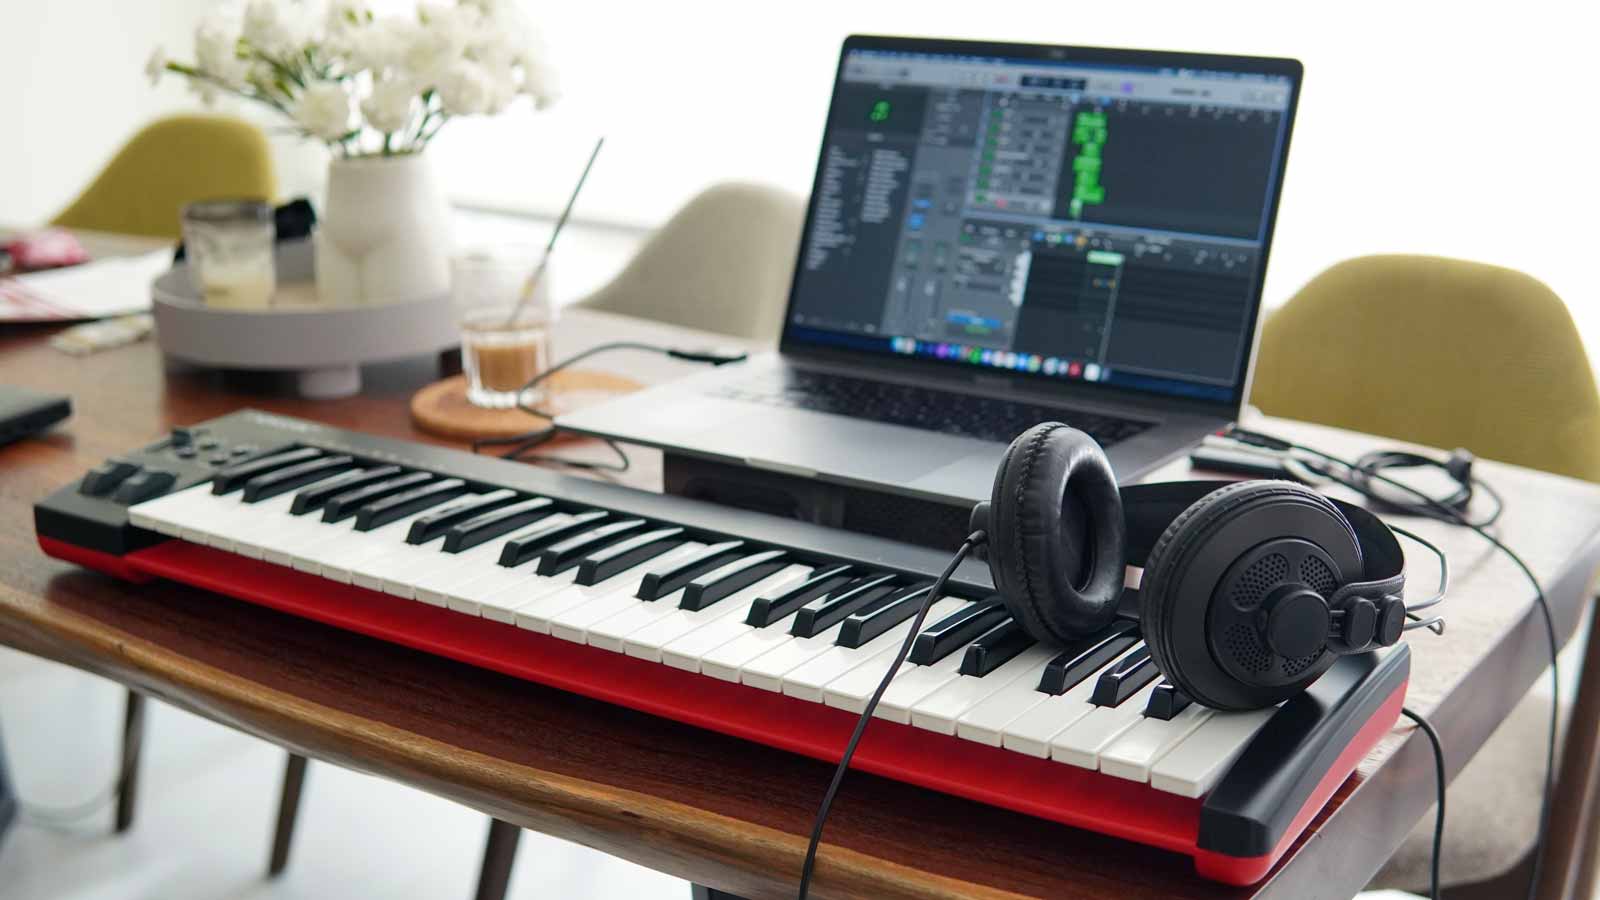
Before delving into the technical configurations, it’s crucial to physically set up your MIDI keyboard with your Windows 7 system. Start by connecting the MIDI keyboard to your computer using a USB cable or MIDI interface, ensuring a secure and stable connection. Once connected, power on the MIDI keyboard and ensure that it is recognized by your Windows 7 system.
Upon successful physical connection, your MIDI keyboard should be ready to communicate with your computer, paving the way for seamless integration into your music production workflow. This physical setup lays the foundation for the subsequent steps, enabling you to harness the full potential of your MIDI keyboard.
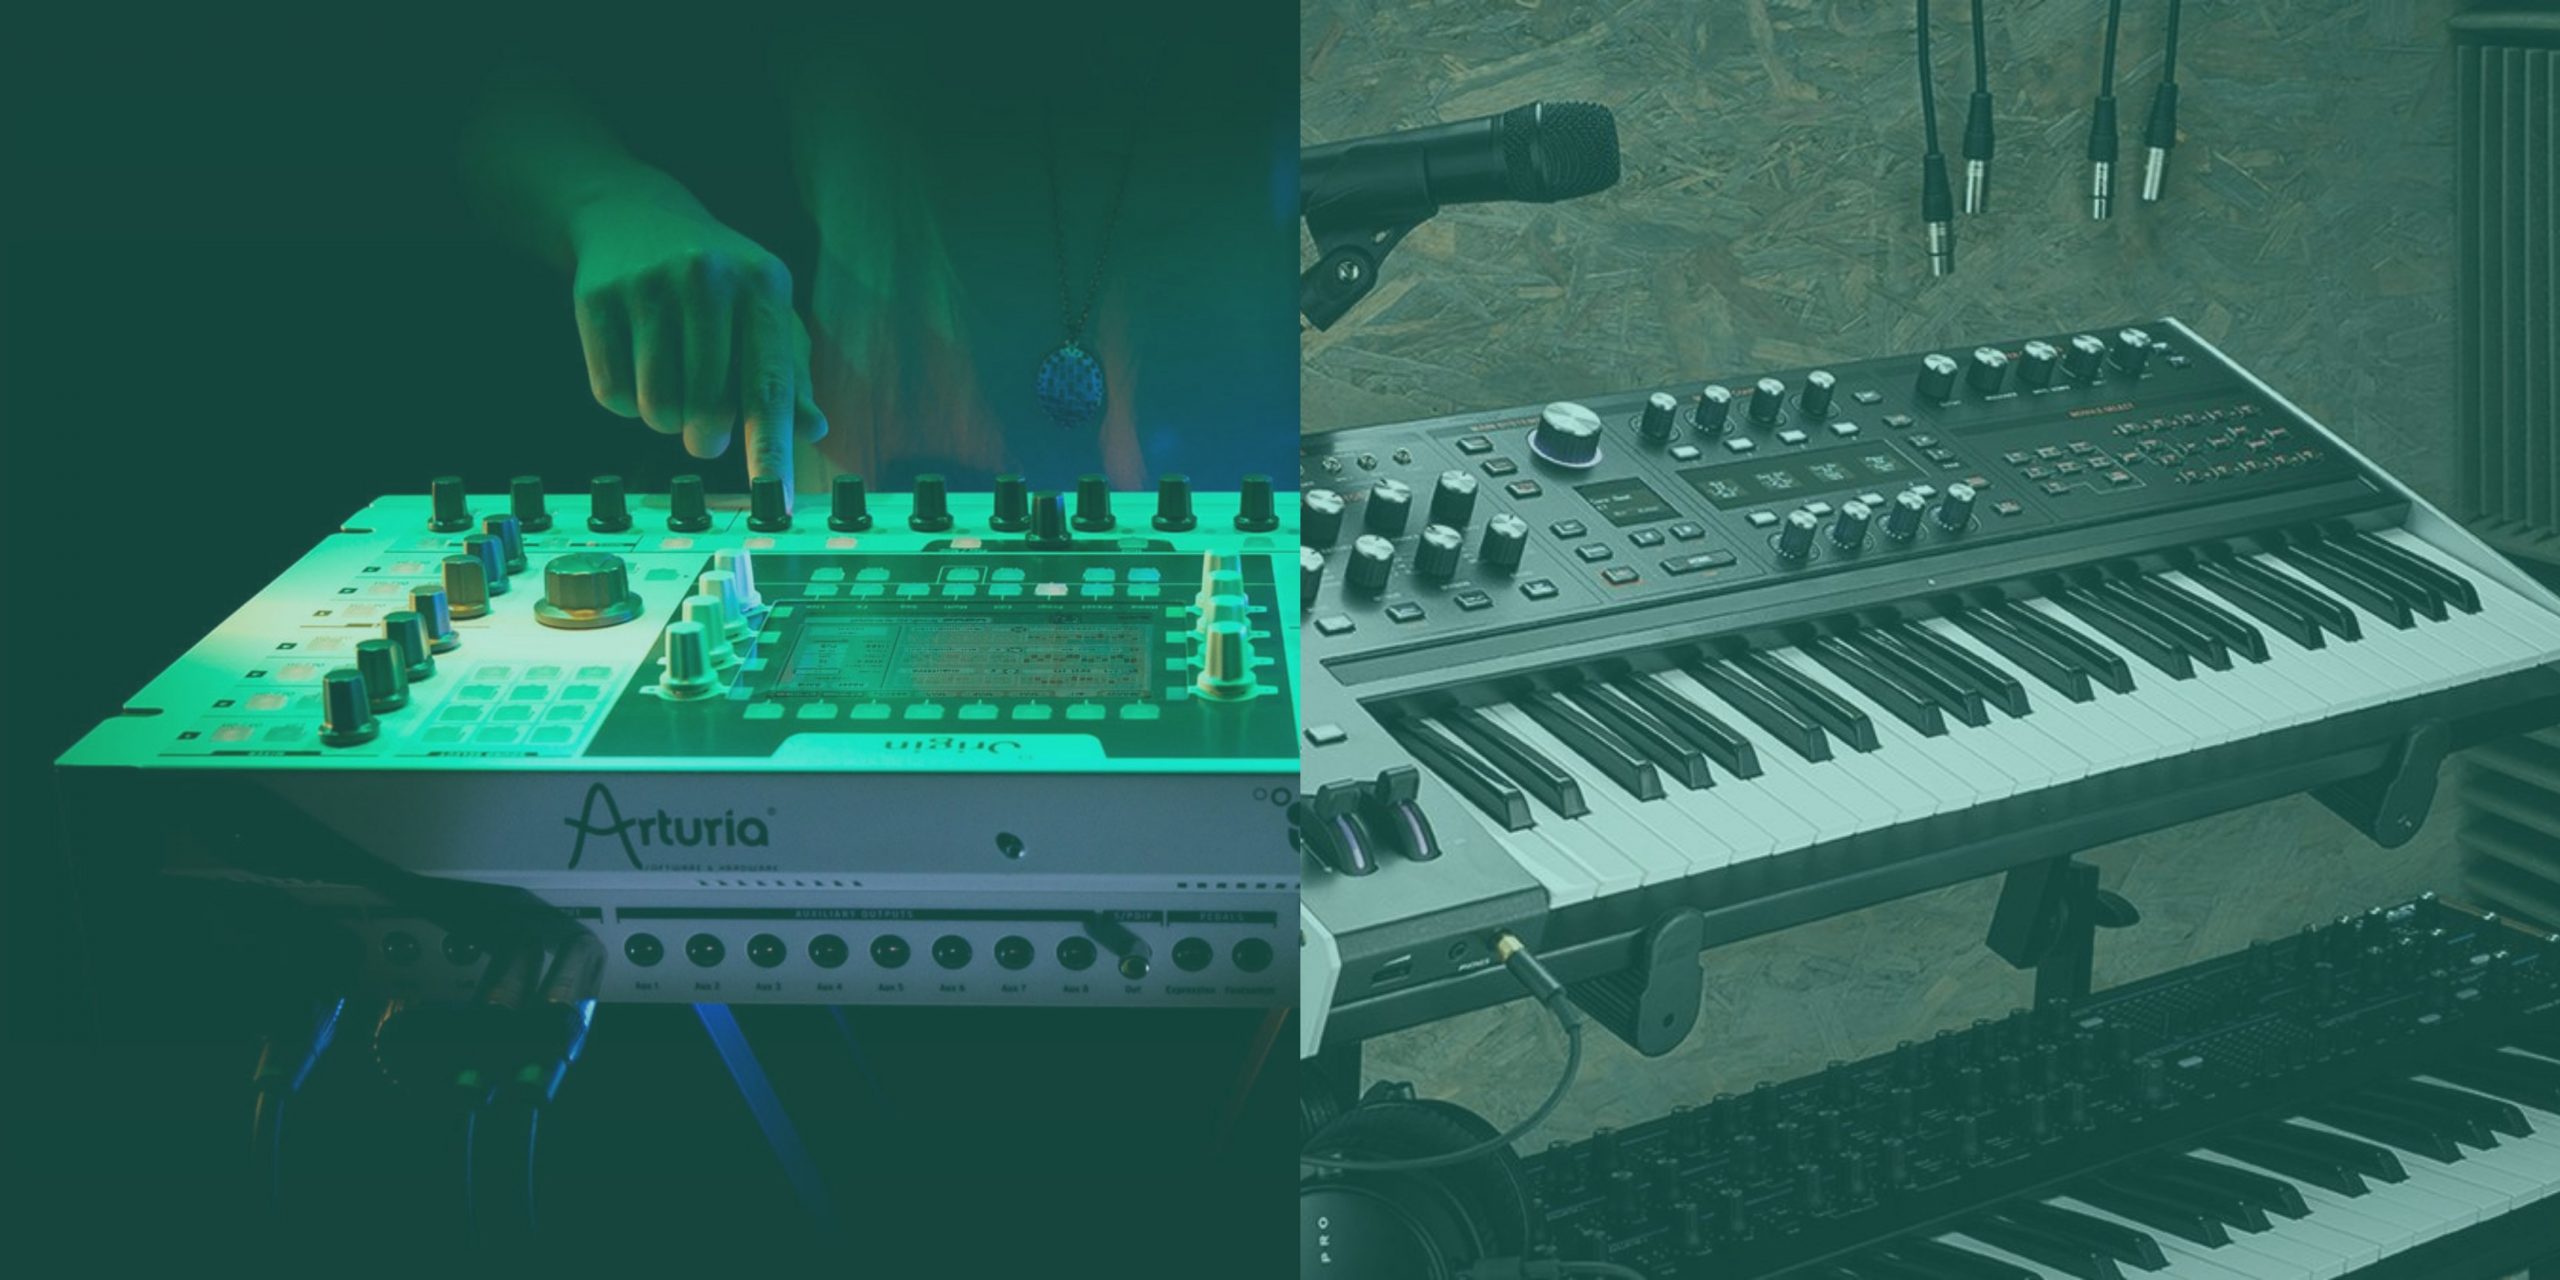
Next, familiarize yourself with the various controls and features of your MIDI keyboard, as each model may have unique functionalities and capabilities. Understanding the layout of the keyboard, its assignable knobs, faders, and pads, will empower you to make the most of its features during music production.
Additionally, consider positioning the MIDI keyboard within your workspace for optimal accessibility and comfort. Whether it’s placed on a dedicated keyboard stand or integrated into your existing studio setup, ensuring ergonomic placement can enhance your overall music production experience.
By meticulously setting up your MIDI keyboard, both physically and ergonomically, you’ll establish a solid foundation for seamless integration with your Windows 7 system. This initial setup paves the way for the subsequent technical configurations, allowing you to unleash your creativity and musical prowess with unparalleled ease and efficiency.
Installing MIDI Drivers
Once your MIDI keyboard is physically connected to your Windows 7 system, the next crucial step is to install the necessary MIDI drivers to facilitate seamless communication between the keyboard and your computer. MIDI drivers serve as the bridge that enables your operating system to recognize and interact with the MIDI keyboard, ensuring that it functions optimally within your music production environment.
Before proceeding with the driver installation, it’s advisable to visit the official website of the MIDI keyboard’s manufacturer. Here, you can access the latest drivers specifically designed for your MIDI keyboard model and compatible with Windows 7. Download the appropriate driver package, ensuring that it corresponds to your system’s architecture (32-bit or 64-bit).
Once the driver package is downloaded, proceed to install the MIDI drivers by following the manufacturer’s provided instructions. This typically involves running the driver installer and following the on-screen prompts to complete the installation process. It’s essential to carefully read and adhere to the installation instructions to ensure a successful and error-free installation.
After the MIDI drivers are installed, restart your Windows 7 system to allow the changes to take effect. Upon rebooting, your MIDI keyboard should be recognized by the operating system, and you can proceed to verify its functionality within your music production setup.
By installing the appropriate MIDI drivers for your MIDI keyboard, you establish a seamless connection between the hardware and your Windows 7 system, laying the groundwork for a streamlined music production experience. With the drivers in place, your MIDI keyboard is poised to integrate seamlessly with your preferred Digital Audio Workstation (DAW) software, enabling you to unleash your musical creativity with precision and finesse.
Configuring MIDI Settings in Windows 7
After successfully installing the MIDI drivers, the next step involves configuring the MIDI settings within your Windows 7 system to ensure optimal functionality and compatibility with your MIDI keyboard. This process enables your operating system to recognize and effectively communicate with the MIDI device, paving the way for seamless integration into your music production workflow.
To access the MIDI settings in Windows 7, navigate to the “Control Panel” and locate the “Hardware and Sound” category. Within this section, you’ll find the “Devices and Printers” option, which allows you to manage and configure connected devices, including your MIDI keyboard.
Upon accessing the “Devices and Printers” section, locate your MIDI keyboard among the listed devices. Right-click on the MIDI keyboard icon and select “Properties” to access its settings. Here, you can verify the device status, troubleshoot any potential issues, and customize specific parameters to align with your music production requirements.
Within the MIDI keyboard properties, navigate to the “Hardware” tab to review the device’s hardware information and ensure that it is functioning correctly. You can also access the “Driver” tab to verify the installed MIDI drivers and update them if newer versions are available from the manufacturer’s website.
Furthermore, delve into the “Advanced” settings to configure specific MIDI parameters, such as the MIDI channel assignments, velocity curves, and other performance-related options. Customizing these settings allows you to tailor the MIDI keyboard’s behavior to suit your playing style and production preferences.
Once you’ve fine-tuned the MIDI settings to your satisfaction, click “Apply” and “OK” to save the changes. Restart your Windows 7 system to ensure that the updated MIDI settings are fully implemented, providing a seamless and optimized environment for utilizing your MIDI keyboard within your music production endeavors.
By meticulously configuring the MIDI settings in Windows 7, you establish a harmonious interface between your operating system and the MIDI keyboard, fostering a conducive environment for creative expression and musical innovation. This seamless integration sets the stage for leveraging the full potential of your MIDI keyboard within your preferred Digital Audio Workstation (DAW) software, empowering you to craft captivating musical compositions with ease and precision.
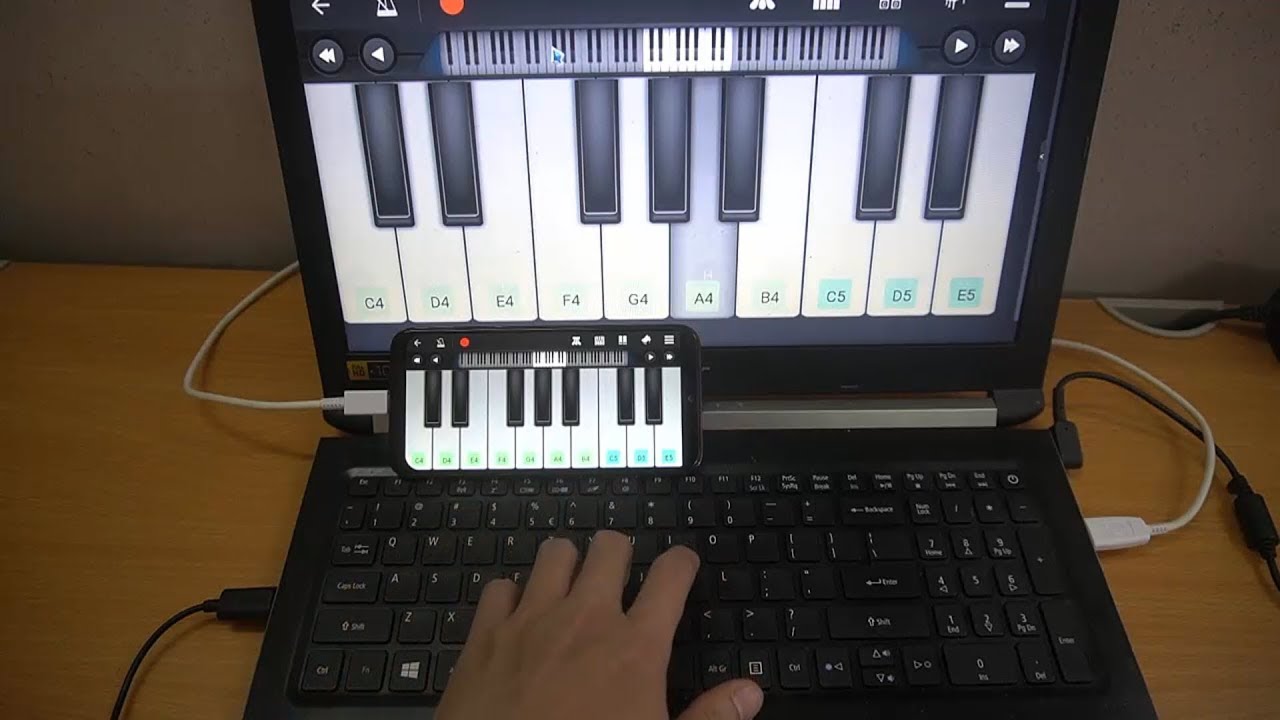
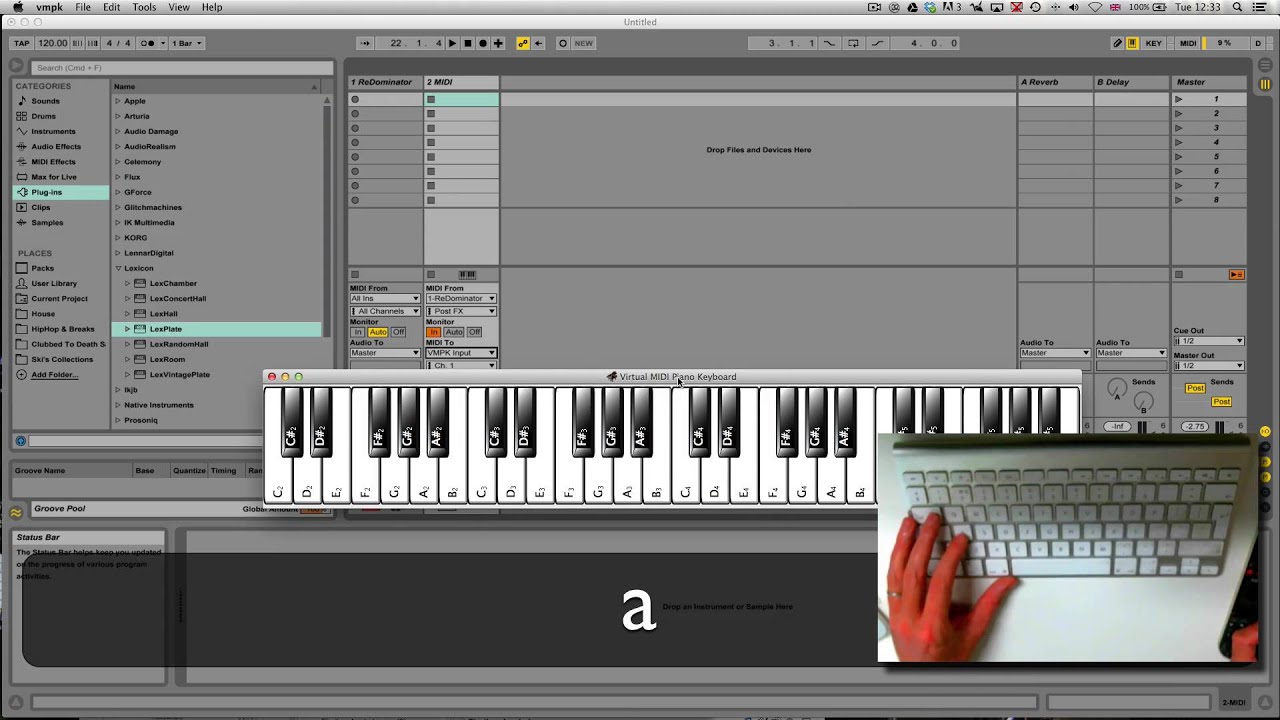
Using MIDI Keyboard with DAW Software
With your MIDI keyboard seamlessly integrated into your Windows 7 system, you’re now poised to harness its creative potential within your preferred Digital Audio Workstation (DAW) software. Whether you’re using industry-standard DAWs like Ableton Live, FL Studio, or Pro Tools, or exploring other innovative platforms, leveraging your MIDI keyboard can significantly enhance your music production capabilities.
Start by launching your chosen DAW software and creating a new project or opening an existing one. Once inside the DAW interface, navigate to the MIDI settings or preferences to ensure that your MIDI keyboard is recognized as a controller device. This step is crucial for establishing bidirectional communication between the MIDI keyboard and the DAW, enabling you to control virtual instruments, record MIDI data, and manipulate various parameters within the software.
Upon successful recognition of your MIDI keyboard, you can begin assigning its controls to specific functions within the DAW. This includes mapping the keyboard keys to trigger virtual instrument notes, assigning knobs and faders to control parameters such as volume, panning, and effects, and configuring pads for triggering samples or loops.
Furthermore, explore the capabilities of your MIDI keyboard within the DAW by experimenting with recording MIDI performances, layering multiple instrument tracks, and utilizing the keyboard’s velocity sensitivity and aftertouch to infuse expressive nuances into your compositions.
As you delve deeper into the integration of your MIDI keyboard with the DAW software, consider exploring MIDI mapping and customization options to tailor the keyboard’s behavior to your specific workflow and musical preferences. This may involve creating custom MIDI mapping presets for different instruments or genres, streamlining your creative process and enhancing efficiency.
By effectively utilizing your MIDI keyboard within the DAW software, you unlock a world of creative possibilities, enabling intuitive and dynamic music production. Whether you’re crafting intricate melodies, sculpting intricate soundscapes, or performing live improvisations, the seamless synergy between your MIDI keyboard and DAW empowers you to channel your musical vision with unparalleled fluidity and precision.
Troubleshooting MIDI Keyboard Issues
While integrating a MIDI keyboard with Windows 7 and DAW software can significantly enhance your music production capabilities, encountering technical issues is not uncommon. Understanding how to troubleshoot common MIDI keyboard issues is essential for maintaining a seamless and uninterrupted creative workflow.
If you encounter connectivity issues with your MIDI keyboard, start by checking the physical connections, ensuring that the USB cable or MIDI interface is securely plugged into your Windows 7 system. Additionally, try using a different USB port or MIDI cable to rule out potential hardware faults.
If the MIDI keyboard is not recognized by your DAW software, verify that the MIDI drivers are correctly installed and up to date. Access the MIDI settings within your DAW and ensure that the MIDI keyboard is selected as the input device. Sometimes, restarting the DAW software or your Windows 7 system can resolve recognition issues.
When experiencing latency or unresponsive behavior from the MIDI keyboard, consider adjusting the buffer settings within your DAW software to optimize performance. Lowering the buffer size can reduce latency, while increasing it may alleviate audio glitches and dropouts.
If specific keys, pads, or controls on the MIDI keyboard are not functioning as expected, inspect the keyboard’s manual for any special configuration requirements or MIDI channel assignments. Some keyboards may require specific settings to enable full functionality within the DAW environment.
Furthermore, updating the firmware of your MIDI keyboard, if applicable, can address compatibility issues and introduce performance enhancements. Check the manufacturer’s website for firmware updates and follow the provided instructions to ensure that your MIDI keyboard is running the latest firmware version.
In the event of persistent issues, reaching out to the manufacturer’s technical support or seeking assistance from online music production communities can provide valuable insights and troubleshooting guidance. Collaborating with fellow musicians and producers who have encountered similar MIDI keyboard issues can offer practical solutions and workarounds.
By adeptly troubleshooting MIDI keyboard issues, you can maintain a stable and efficient music production environment, ensuring that technical challenges do not impede your creative process. Armed with the knowledge to address common MIDI keyboard issues, you can confidently navigate the intricacies of digital music production, unleashing your artistic vision with unwavering fluidity and precision.