Introduction
Understanding the Basics of MIDI Keyboards and Ableton
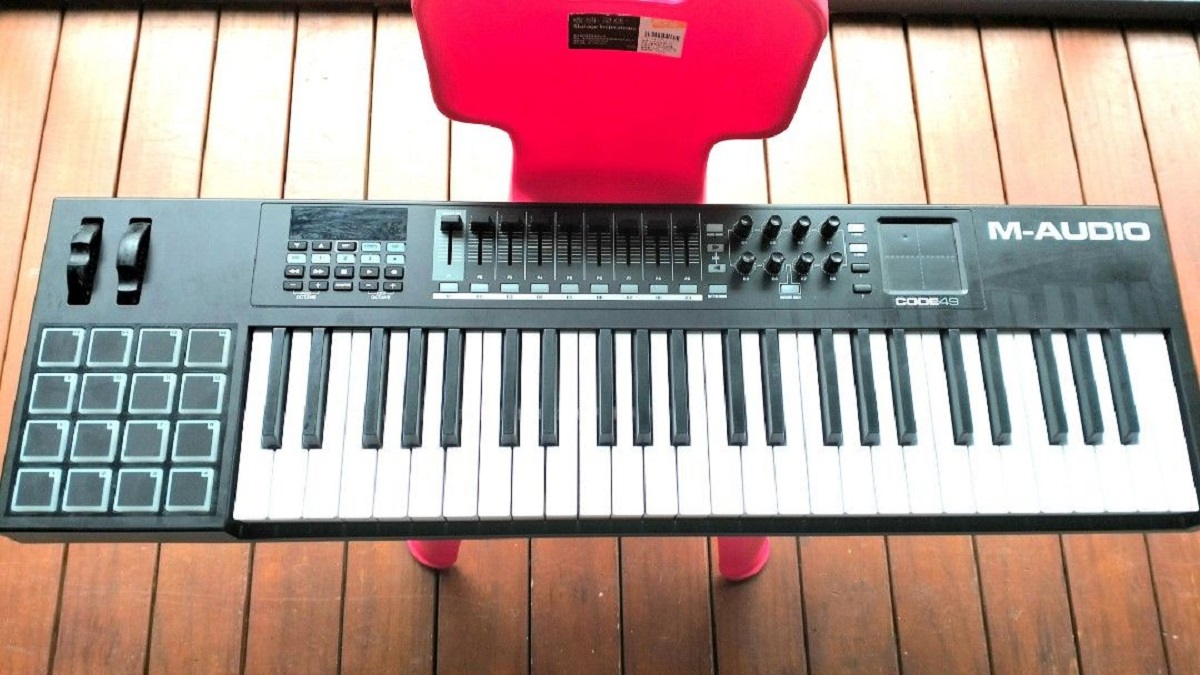
If you’re a music enthusiast or a budding musician, the integration of MIDI keyboards with digital audio workstations (DAWs) like Ableton Live can significantly enhance your music production experience. A MIDI keyboard, also known as a controller keyboard, is an essential tool for musicians and producers, offering a tactile and expressive way to interact with digital instruments and software. Ableton Live, a popular DAW, provides seamless integration with MIDI keyboards, allowing users to harness the full potential of virtual instruments, effects, and recording capabilities.
Whether you’re a seasoned music producer or a novice exploring the realms of electronic music production, understanding how to effectively connect and utilize a MIDI keyboard in Ableton Live is paramount. This guide will walk you through the process of connecting your MIDI keyboard to Ableton Live, setting it up within the software, configuring MIDI mappings, and conducting a test to ensure everything is functioning as expected.
By the end of this tutorial, you’ll have a comprehensive understanding of how to integrate your MIDI keyboard with Ableton Live, empowering you to unleash your creativity and musical prowess within the digital realm.
Connecting the MIDI Keyboard to Ableton
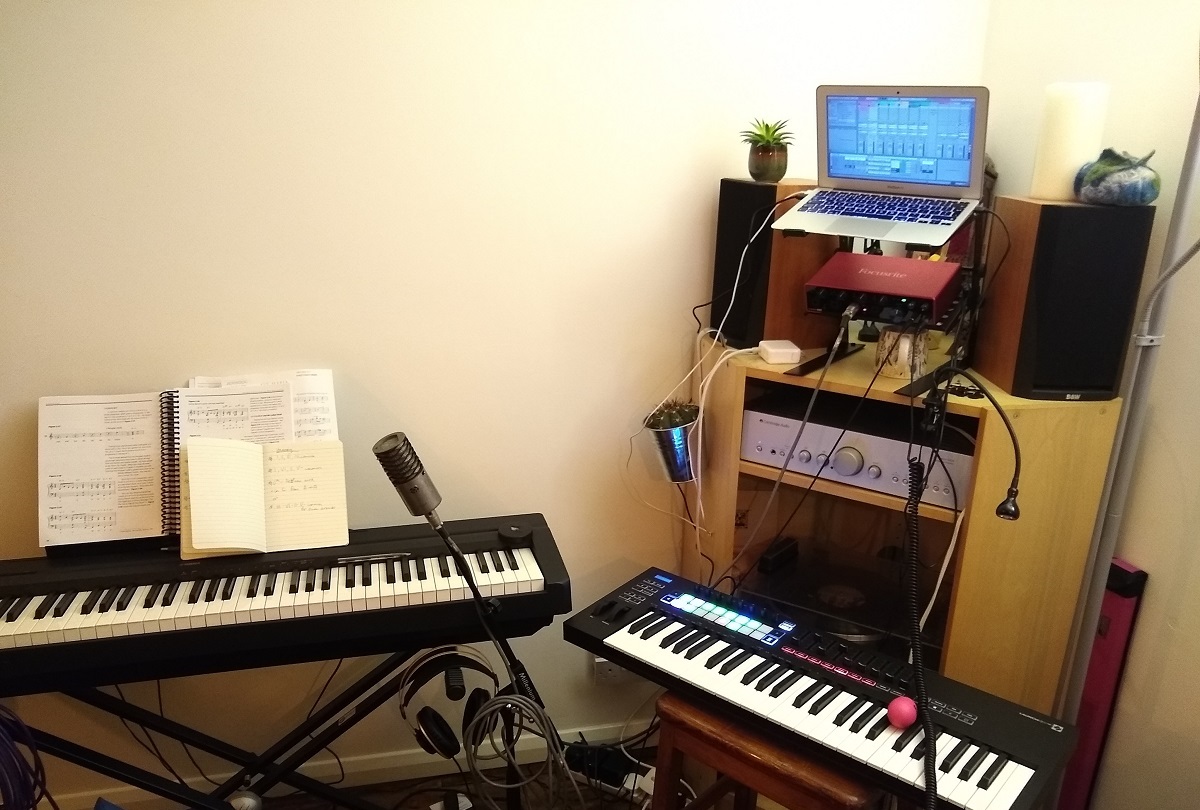
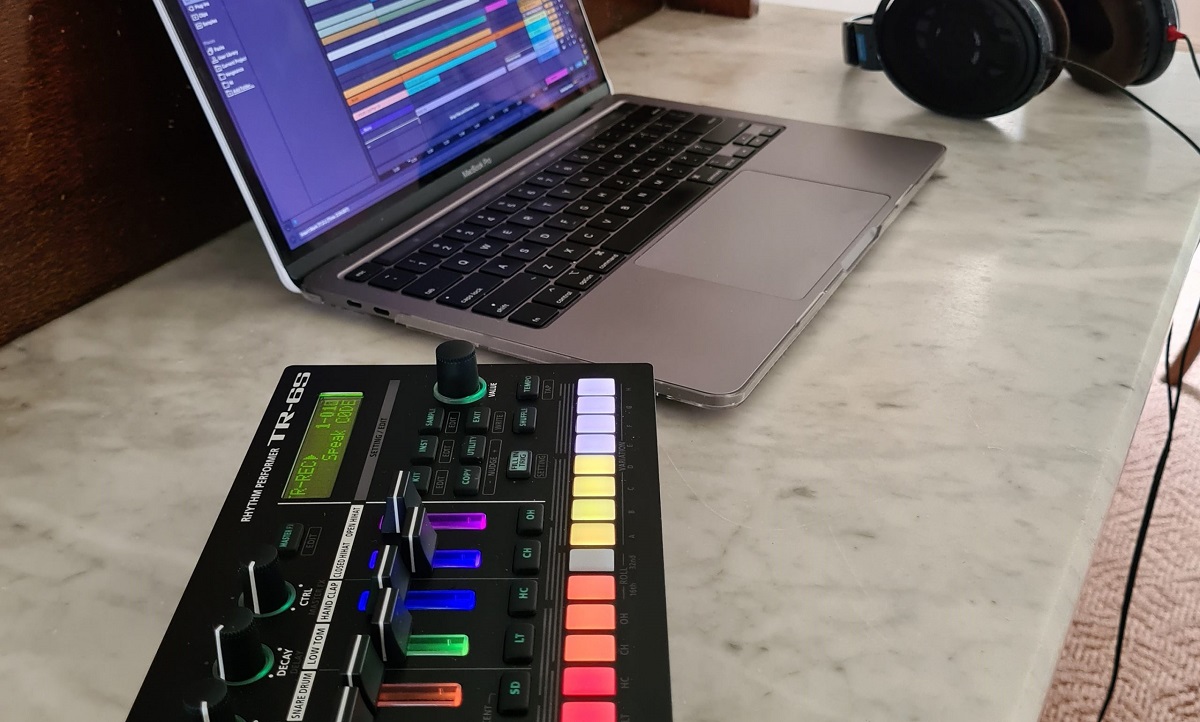
Before delving into the intricacies of setting up your MIDI keyboard in Ableton Live, the initial step involves establishing a physical connection between the two devices. The process is relatively straightforward and typically involves connecting the MIDI keyboard to your computer using a USB cable. Most modern MIDI keyboards are equipped with USB connectivity, simplifying the setup process and eliminating the need for additional MIDI interface hardware.
To begin, locate an available USB port on your computer and connect one end of the USB cable to the MIDI keyboard’s USB port. Once the physical connection is established, proceed to connect the other end of the USB cable to a vacant USB port on your computer. Upon successful connection, your computer should recognize the MIDI keyboard as a new device, and the necessary drivers will be installed automatically in most cases.
In the event that your MIDI keyboard does not feature USB connectivity and instead utilizes traditional MIDI ports, you will need a MIDI interface to facilitate the connection. In this scenario, connect the MIDI OUT port of the keyboard to the MIDI IN port of the interface using a standard MIDI cable. Subsequently, connect the MIDI interface to your computer using a USB cable or the appropriate connection method supported by the interface.
Once the physical connection is established, power on your MIDI keyboard and ensure that it is receiving power. At this stage, your MIDI keyboard is successfully connected to your computer, laying the foundation for the subsequent steps of setting it up within Ableton Live.
Setting Up the MIDI Keyboard in Ableton
After establishing the physical connection between your MIDI keyboard and computer, the next crucial step involves configuring the MIDI keyboard within Ableton Live. Upon launching Ableton Live, navigate to the “Preferences” menu by clicking on “Live” in the top-left corner of the screen (on a Mac) or “Options” (on a Windows PC), followed by “Preferences.” In the Preferences window, select the “MIDI” tab to access the MIDI settings.
Within the MIDI tab, you will find the “MIDI Ports” section, where you can designate the MIDI input and output for your MIDI keyboard. Locate the input and output options corresponding to your MIDI keyboard and ensure that they are both enabled. This allows Ableton Live to recognize the MIDI keyboard as an input device and ensures that MIDI data can be sent from the software to the keyboard.
Upon enabling the MIDI input and output for your MIDI keyboard, you can proceed to the “Link/MIDI” tab within the Preferences window. Here, you can verify that the MIDI keyboard is listed under the “Input” and “Output” dropdown menus. Select your MIDI keyboard from the available options to establish the MIDI link between the keyboard and Ableton Live.
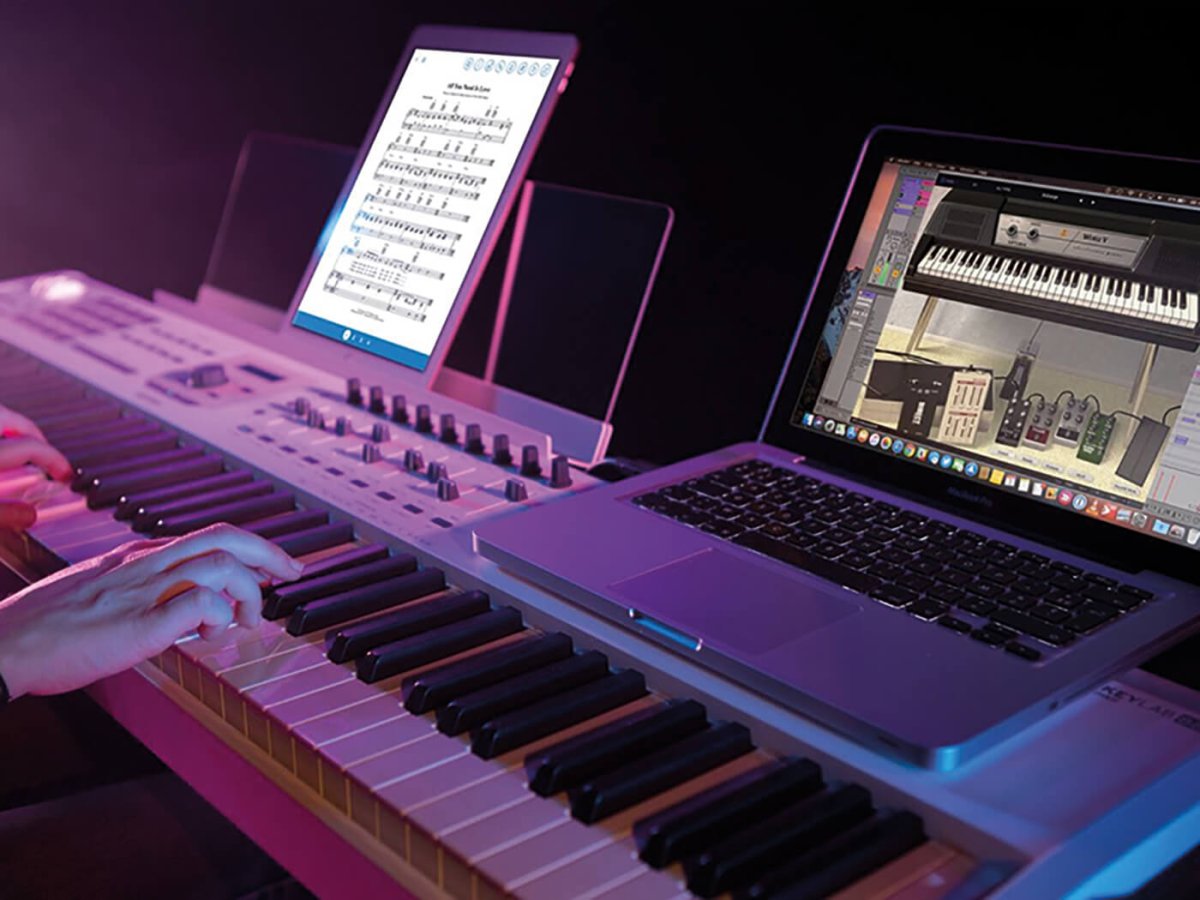
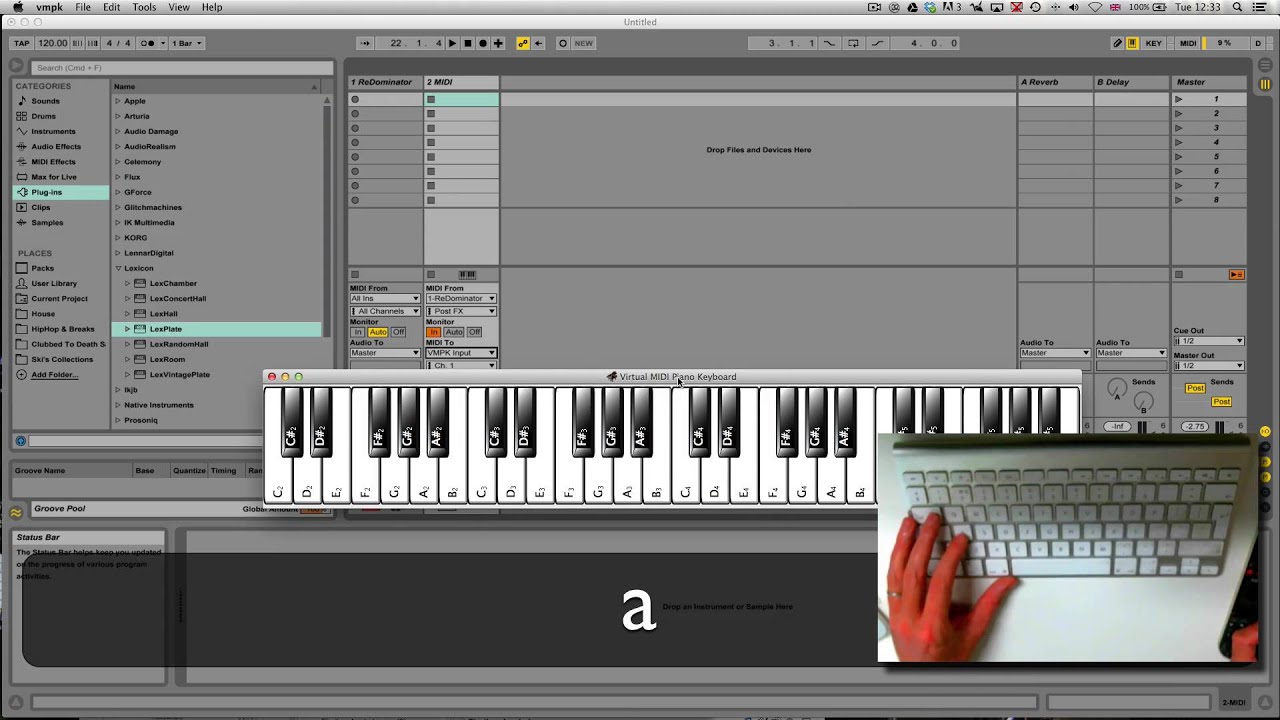
Once the MIDI keyboard is successfully configured within Ableton Live, you can begin exploring its functionality within the software. Create a new MIDI track by clicking on the “Create” menu and selecting “Insert MIDI Track.” Upon creating the MIDI track, you can designate the MIDI input to be your MIDI keyboard, allowing you to record, play, and manipulate MIDI data using the keyboard.
With the MIDI track armed for recording and the MIDI input set to your MIDI keyboard, you are now ready to harness the expressive capabilities of your MIDI keyboard within Ableton Live. Whether you’re triggering virtual instruments, recording MIDI sequences, or manipulating parameters in real-time, the seamless integration of your MIDI keyboard with Ableton Live opens up a world of creative possibilities in music production.
Configuring MIDI Mapping
Once your MIDI keyboard is set up within Ableton Live, you can further enhance its functionality by configuring MIDI mappings. MIDI mapping allows you to assign various parameters within Ableton Live, such as effects, instrument parameters, and mixer controls, to specific controls on your MIDI keyboard. This seamless integration empowers you to manipulate and control various aspects of your music production directly from the tactile interface of your MIDI keyboard.
To begin configuring MIDI mappings, enter Ableton Live’s MIDI mapping mode by clicking on the “MIDI” button in the top-right corner of the screen or by pressing “Command + M” (Mac) or “Ctrl + M” (Windows) on your keyboard. Upon entering MIDI mapping mode, the interface elements within Ableton Live that are mappable will be visually indicated, typically by displaying a blue outline when selected.
With MIDI mapping mode activated, click on the parameter within Ableton Live that you wish to control using your MIDI keyboard. This could be a knob, fader, button, or any other assignable parameter within the software. Once the parameter is selected, interact with the corresponding control on your MIDI keyboard that you want to assign to the parameter. This action effectively maps the MIDI control to the selected parameter within Ableton Live.
For example, if you want to assign a fader on your MIDI keyboard to control the volume of a track within Ableton Live, select the track’s volume control in the software, and then manipulate the fader on your MIDI keyboard. This action maps the MIDI control to the track’s volume, allowing you to adjust it in real-time using your MIDI keyboard.
Furthermore, you can create custom MIDI mappings by assigning specific MIDI notes or controls to trigger various functions within Ableton Live, such as launching clips, toggling effects, or activating recording. This level of customization empowers you to tailor the functionality of your MIDI keyboard to suit your unique workflow and creative preferences.
Once you have configured the desired MIDI mappings, exit MIDI mapping mode by clicking on the “MIDI” button again or by pressing “Command + M” (Mac) or “Ctrl + M” (Windows) to resume regular operation within Ableton Live. Your MIDI keyboard is now intricately linked to the software, allowing you to intuitively control and manipulate a myriad of parameters, thereby enhancing your music production experience.
Testing the MIDI Keyboard in Ableton
After connecting, setting up, and configuring MIDI mappings for your MIDI keyboard in Ableton Live, it’s essential to conduct a comprehensive test to ensure that the integration is functioning as intended. Testing the MIDI keyboard within Ableton Live allows you to verify its responsiveness, functionality, and the seamless interaction between the physical controller and the software.
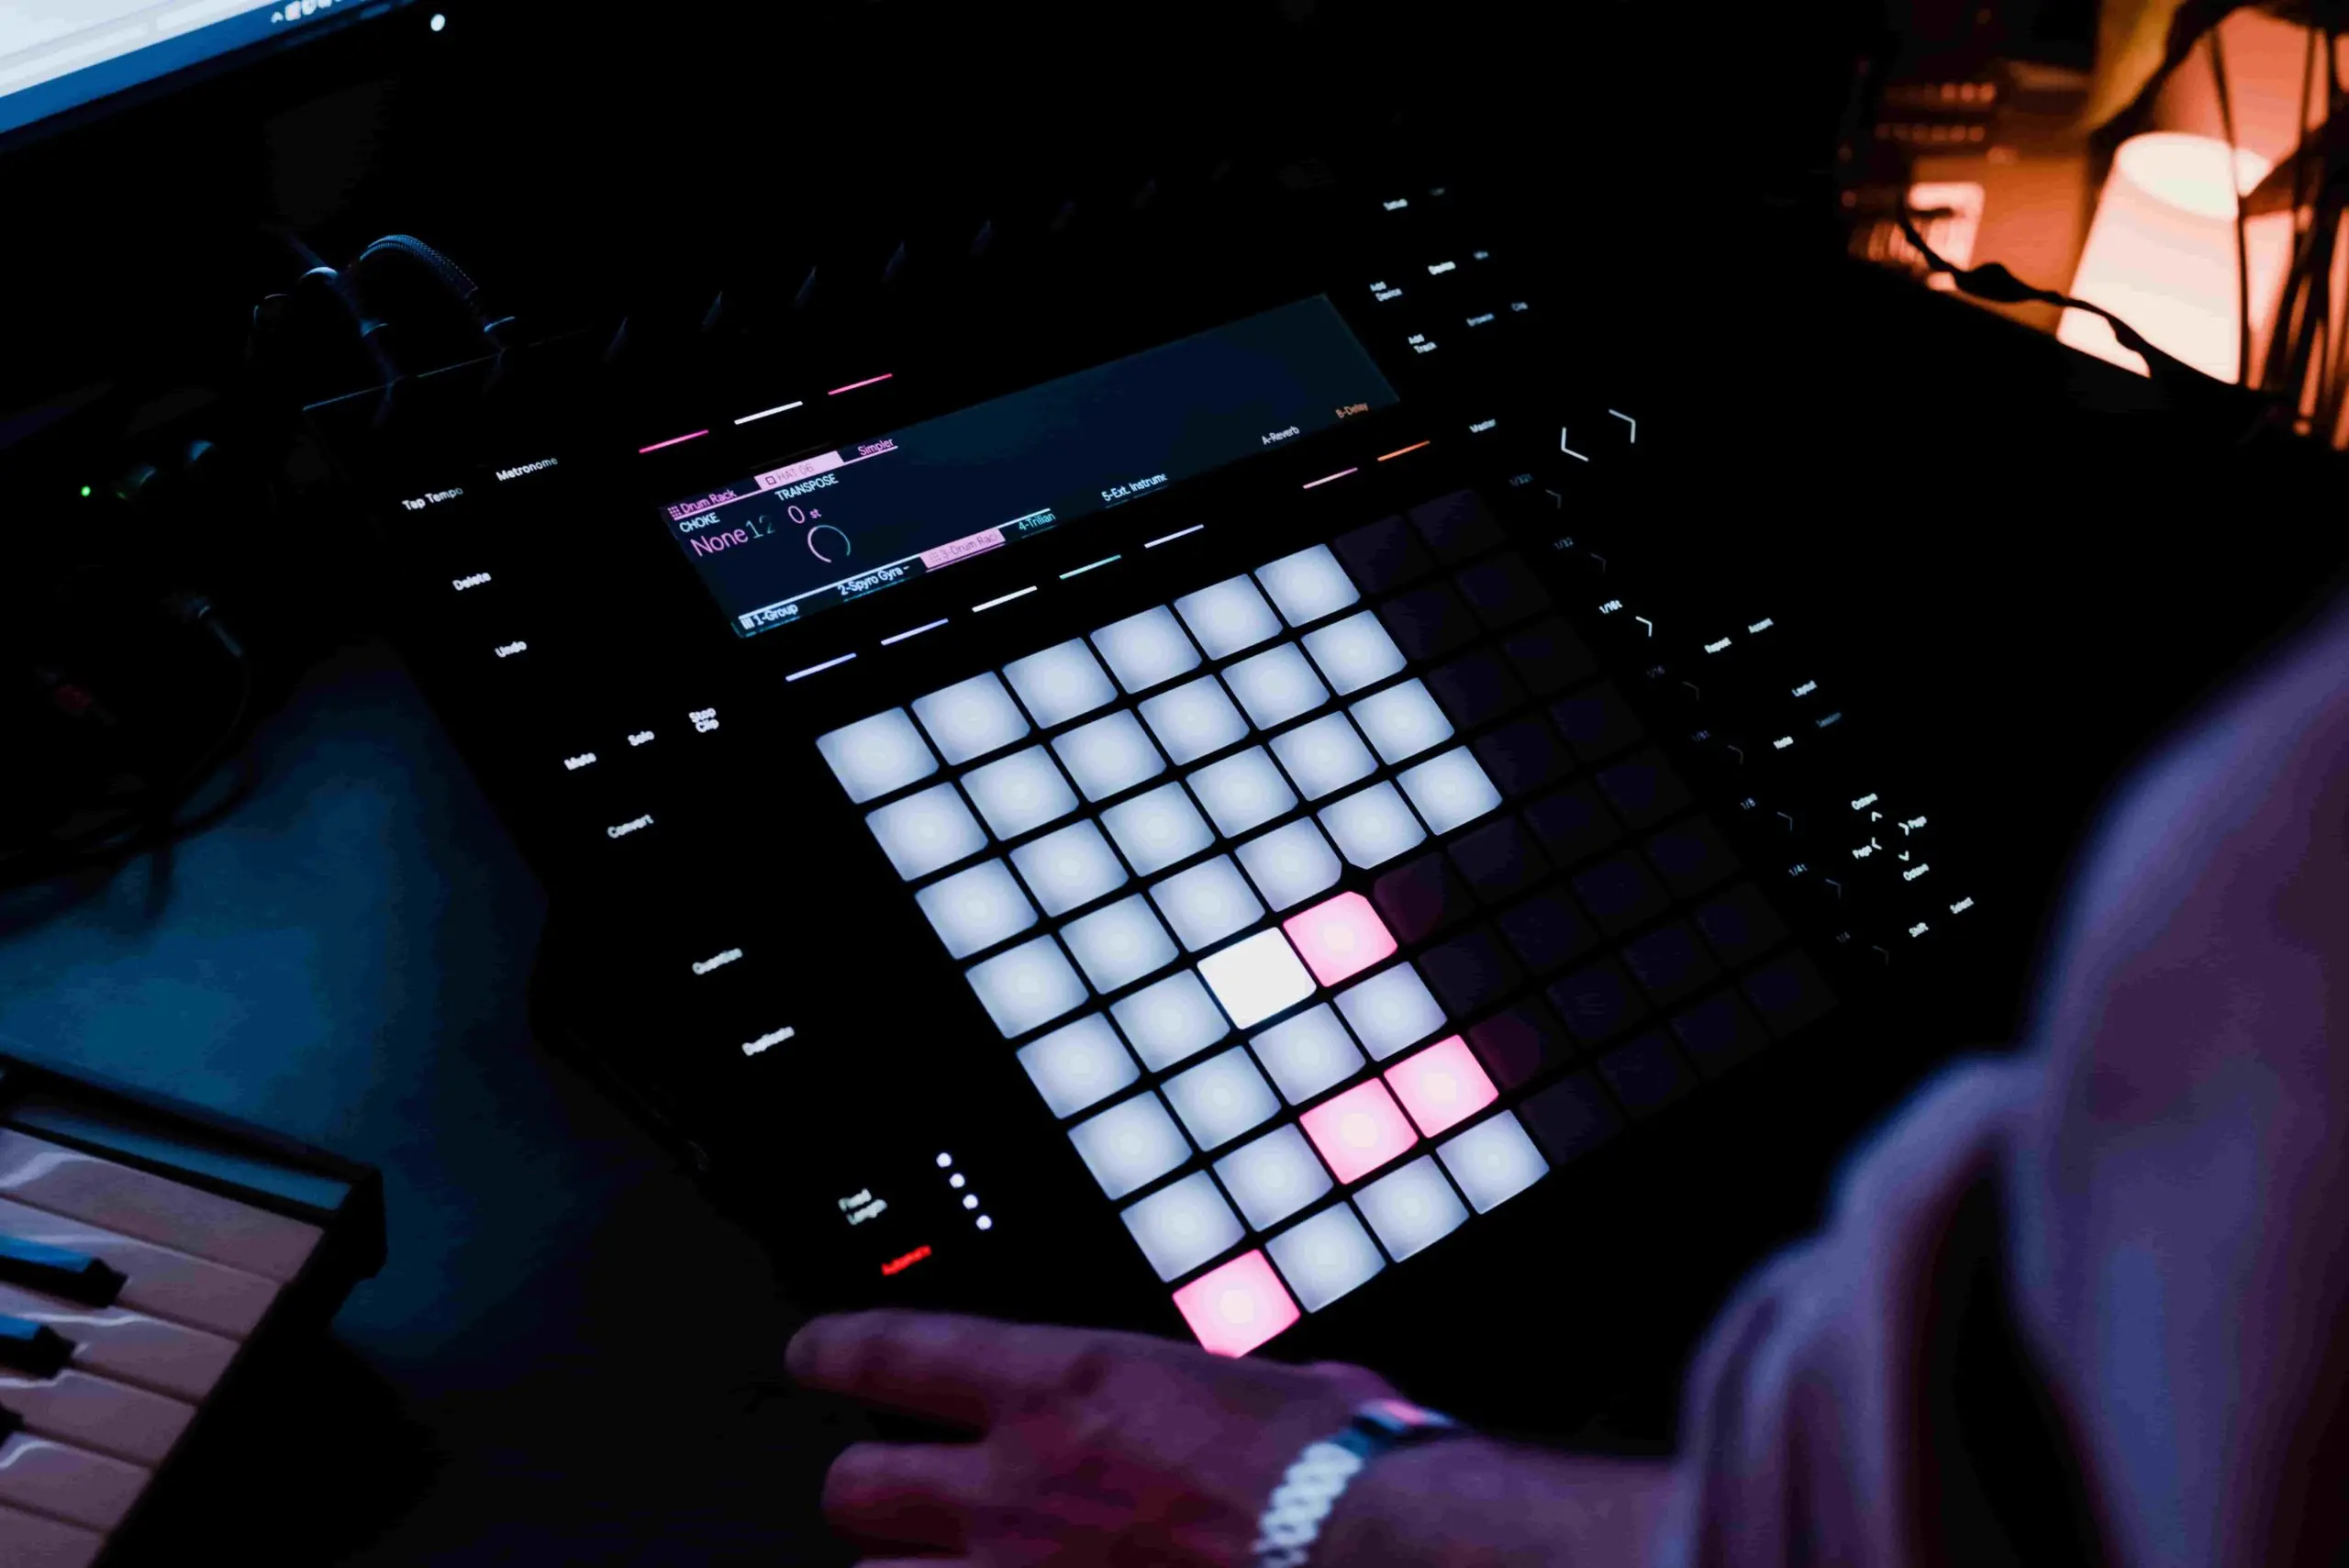
To commence the testing phase, create a new MIDI track within Ableton Live by clicking on the “Create” menu and selecting “Insert MIDI Track.” With the MIDI track created, designate the MIDI input to be your MIDI keyboard, ensuring that the track is armed for recording and monitoring. This setup allows you to interact with virtual instruments and trigger MIDI notes using your MIDI keyboard within Ableton Live.
Next, select a virtual instrument or synthesizer from Ableton Live’s library and load it onto the MIDI track. Upon loading the instrument, play the keys on your MIDI keyboard to ensure that MIDI data is being transmitted to the software and that the virtual instrument is responding accordingly. Verify that the velocity, aftertouch, and other expressive elements of the MIDI keyboard are accurately influencing the playback of the virtual instrument.
Subsequently, test the configured MIDI mappings by manipulating the assigned controls on your MIDI keyboard to adjust various parameters within Ableton Live, such as effect parameters, mixer controls, or instrument settings. Verify that the MIDI mappings are functioning as intended and that the controls on your MIDI keyboard are seamlessly interacting with the corresponding elements within the software.
Furthermore, test the recording functionality of your MIDI keyboard by recording a MIDI sequence onto the MIDI track. Play a musical passage or melody on your MIDI keyboard and verify that the MIDI data is being accurately recorded within Ableton Live, allowing for subsequent playback, editing, and manipulation of the recorded MIDI sequence.
During the testing phase, it’s crucial to assess the overall responsiveness, accuracy, and integration of your MIDI keyboard within Ableton Live. Verify that there are no latency issues, unexpected behavior, or non-responsive controls, ensuring that the MIDI keyboard functions seamlessly as an integral component of your music production setup.
By thoroughly testing the MIDI keyboard within Ableton Live, you can confidently ascertain that the integration is successful, empowering you to leverage the expressive capabilities and intuitive control of your MIDI keyboard in your music production endeavors.