Introduction
Setting up a MIDI keyboard in Ableton Live 9 is a straightforward process that allows musicians and producers to harness the power of digital music production. By connecting a MIDI keyboard to Ableton Live 9, users can leverage the software's extensive capabilities to create, record, and manipulate musical ideas with ease. Whether you're a seasoned musician or a novice producer, integrating a MIDI keyboard with Ableton Live 9 can significantly enhance your music-making experience.
In this guide, we will walk you through the essential steps to set up your MIDI keyboard in Ableton Live 9. From installing MIDI drivers to configuring Ableton Live 9 to recognize your MIDI keyboard, this comprehensive tutorial will equip you with the knowledge and confidence to seamlessly integrate your MIDI keyboard into your music production workflow.
As we delve into the intricacies of setting up a MIDI keyboard in Ableton Live 9, we will explore the technical aspects of installing MIDI drivers, connecting the MIDI keyboard to your computer, and configuring Ableton Live 9 to communicate with the MIDI keyboard effectively. Additionally, we will provide practical tips and troubleshooting advice to ensure a smooth and trouble-free setup process.
By the end of this guide, you will have a solid understanding of how to set up your MIDI keyboard in Ableton Live 9, empowering you to unleash your creativity and musical expression within the dynamic digital environment that Ableton Live 9 offers. Let's embark on this journey to seamlessly integrate your MIDI keyboard with Ableton Live 9, opening up a world of musical possibilities at your fingertips.
Installing MIDI Drivers
Before you can begin using your MIDI keyboard with Ableton Live 9, it is crucial to ensure that the necessary MIDI drivers are installed on your computer. MIDI drivers act as the communication bridge between your MIDI keyboard and your computer, enabling them to exchange musical data seamlessly. Most MIDI keyboards come with a CD or a downloadable package containing the required drivers. It is essential to install these drivers to establish a stable connection between your MIDI keyboard and your computer.
To install the MIDI drivers, start by inserting the installation CD that came with your MIDI keyboard into your computer’s CD drive. If the drivers are downloadable, visit the manufacturer’s website and locate the appropriate drivers for your specific MIDI keyboard model. Follow the instructions provided to install the drivers onto your computer.
Once the drivers are installed, it is advisable to restart your computer to ensure that the changes take effect. After the restart, your computer should recognize the MIDI keyboard when it is connected. In some cases, the MIDI keyboard may require additional configuration within the computer’s system settings to ensure proper functionality. Refer to the user manual or the manufacturer’s support resources for detailed instructions on configuring the MIDI keyboard within your computer’s operating system.
It is important to keep the MIDI drivers up to date to avoid compatibility issues and to benefit from any performance improvements or bug fixes provided by the manufacturer. Periodically check the manufacturer’s website for driver updates and follow the recommended update process to maintain the optimal performance of your MIDI keyboard.
Connecting the MIDI Keyboard
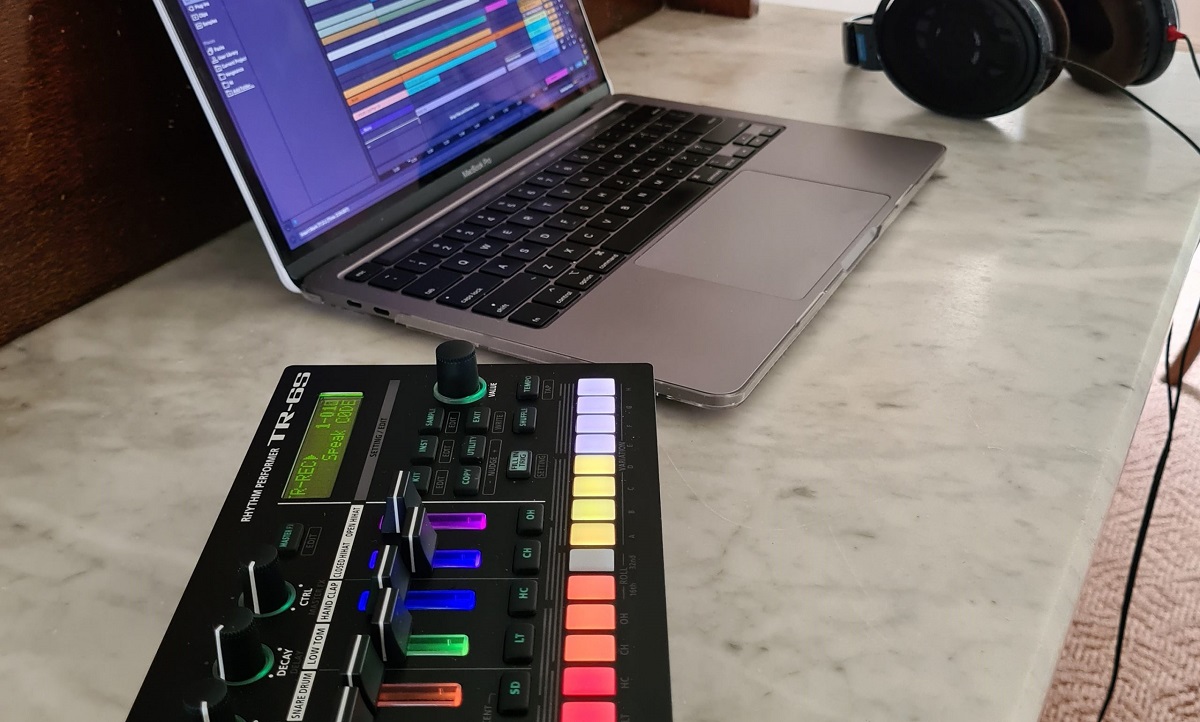
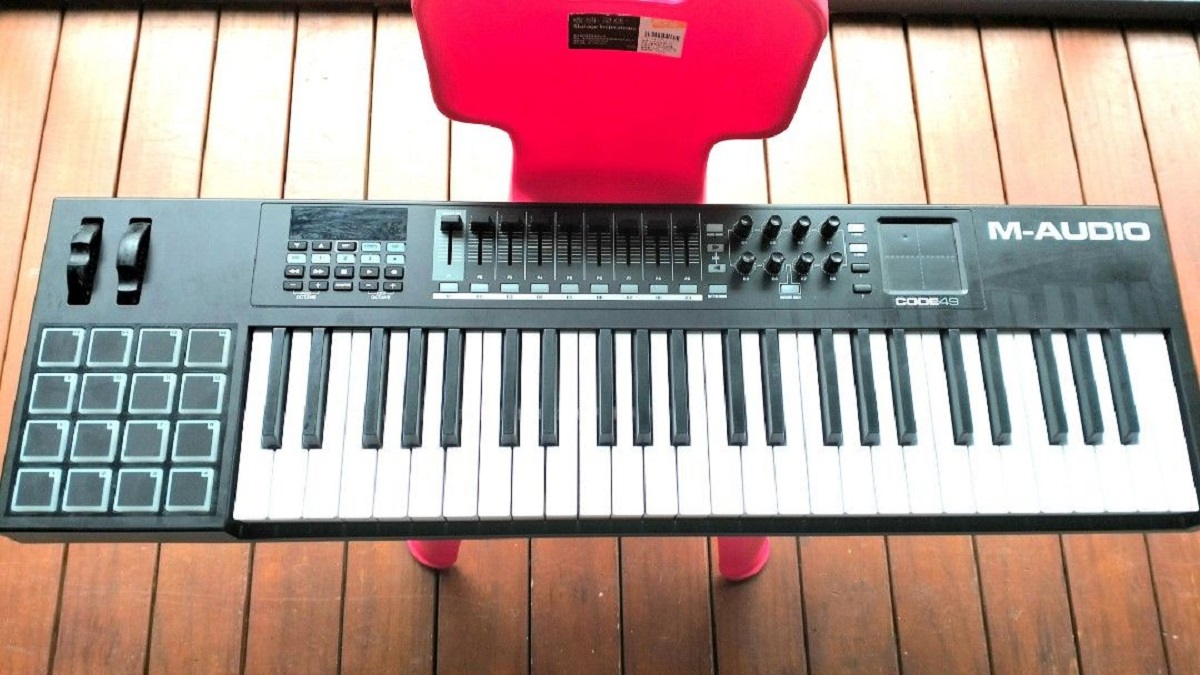
After installing the necessary MIDI drivers, the next step is to physically connect your MIDI keyboard to your computer. Most MIDI keyboards utilize a USB connection, allowing for a straightforward and hassle-free setup process. To connect your MIDI keyboard, simply plug one end of the USB cable into the USB port on the MIDI keyboard and the other end into an available USB port on your computer.
Once the MIDI keyboard is connected, your computer should automatically detect the new device and establish the necessary communication protocols. In some cases, you may need to wait for a few moments as the drivers are installed and the MIDI keyboard is recognized by your computer. If your MIDI keyboard requires an external power source, ensure that it is properly connected and powered on before attempting to establish the connection with your computer.
If your MIDI keyboard does not utilize a USB connection and instead relies on traditional MIDI ports, you will need a MIDI interface to facilitate the connection between the MIDI keyboard and your computer. A MIDI interface serves as a bridge between the MIDI keyboard’s traditional MIDI connectors and your computer’s USB ports, allowing for seamless communication between the devices.
It is important to ensure that the MIDI keyboard is securely connected to your computer and that all cables are properly inserted to avoid any potential connectivity issues during operation. Once the MIDI keyboard is successfully connected, you are ready to proceed with configuring Ableton Live 9 to recognize and interact with your MIDI keyboard, enabling you to harness its full potential within the software.
Configuring Ableton Live 9
Once your MIDI keyboard is physically connected to your computer, the next crucial step is to configure Ableton Live 9 to recognize and effectively communicate with the MIDI keyboard. Ableton Live 9 provides a user-friendly interface for setting up MIDI devices, allowing you to seamlessly integrate your MIDI keyboard into your music production workflow.
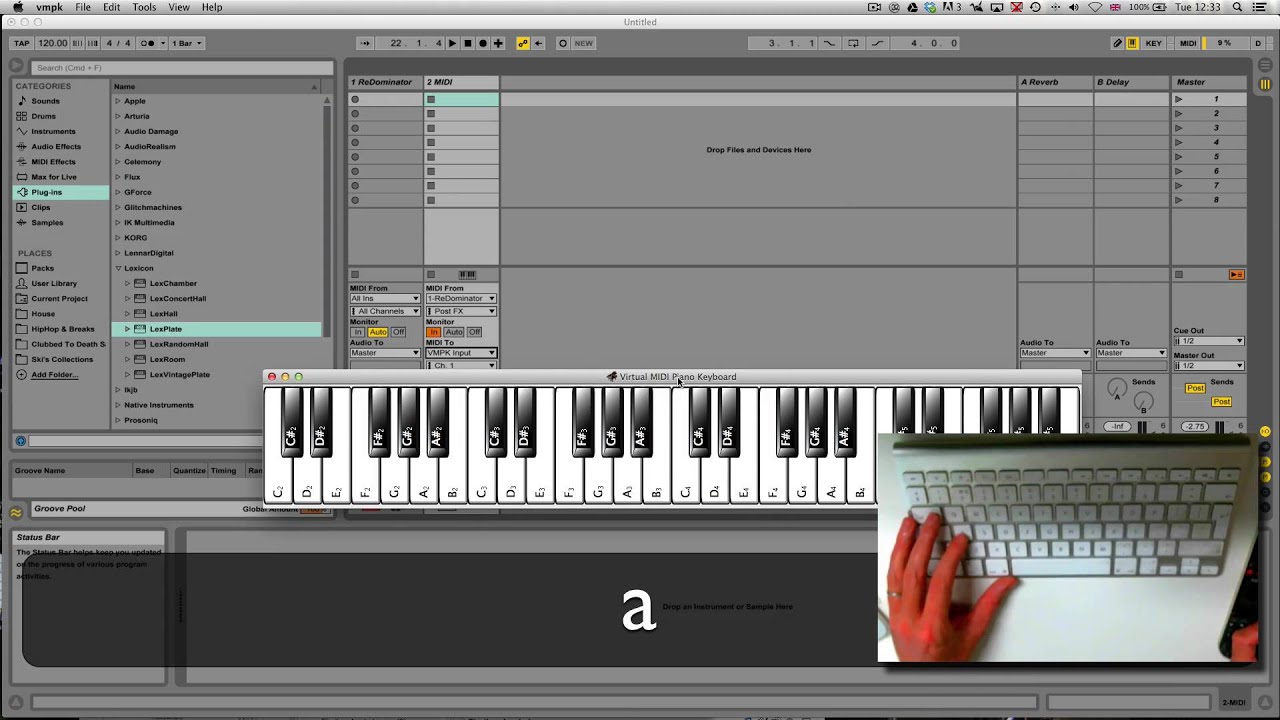
To configure Ableton Live 9 for your MIDI keyboard, start by launching the software on your computer. Once Ableton Live 9 is running, navigate to the “Options” or “Preferences” menu, typically located in the top menu bar. Within the preferences, locate the “MIDI” or “Link/MIDI” tab, where you will find a list of available MIDI input and output devices.
Identify your MIDI keyboard from the list of available devices and ensure that it is enabled for both input and output within Ableton Live 9. This step is crucial to establish bidirectional communication between your MIDI keyboard and the software, allowing you to both send MIDI data from the keyboard to Ableton Live 9 and receive MIDI data from the software to the keyboard.
After enabling your MIDI keyboard within the preferences, you may have the option to customize MIDI mappings, assign MIDI controls to specific functions within Ableton Live 9, and configure the MIDI input settings to suit your preferences. This level of customization allows you to tailor the behavior of your MIDI keyboard within Ableton Live 9, empowering you to create a personalized and efficient music production environment.
It is important to ensure that the MIDI settings within Ableton Live 9 accurately reflect the capabilities and configuration of your MIDI keyboard. Double-check the MIDI input and output settings to verify that your MIDI keyboard is correctly identified and configured within the software. Once the MIDI settings are configured to your satisfaction, you are ready to test the functionality of your MIDI keyboard within Ableton Live 9.
Testing the MIDI Keyboard
After configuring Ableton Live 9 to recognize your MIDI keyboard, it is essential to conduct a thorough test to ensure that the MIDI keyboard is functioning as expected within the software. Testing the MIDI keyboard’s functionality allows you to verify that it can send and receive MIDI data accurately, enabling you to seamlessly integrate it into your music production process.
To test the MIDI keyboard in Ableton Live 9, start by creating a new MIDI track within the software. This can typically be done by clicking on the “Create” or “Add Track” button and selecting the option to add a new MIDI track. Once the MIDI track is created, ensure that the input for the track is set to receive MIDI data from your MIDI keyboard. This can usually be configured within the track’s settings or directly on the track’s input routing options.
Once the MIDI track is configured to receive input from your MIDI keyboard, play some notes or chords on the MIDI keyboard to verify that the MIDI data is being transmitted to Ableton Live 9 accurately. You should see visual feedback within the software, such as MIDI notes being triggered on the MIDI track’s display or on any connected virtual instruments or MIDI devices.
Additionally, you can test the MIDI keyboard’s functionality by recording a short musical passage using the MIDI keyboard as the input device. Press the record button within Ableton Live 9 and play a musical phrase on the MIDI keyboard. If the MIDI keyboard is properly configured, Ableton Live 9 should accurately capture the MIDI data and record it onto the MIDI track, allowing you to playback and review the recorded performance.
Furthermore, experiment with adjusting MIDI parameters, such as modulation, pitch bend, and sustain, on your MIDI keyboard to ensure that these controls are effectively transmitted to Ableton Live 9. This comprehensive test allows you to confirm that the MIDI keyboard’s full range of functionalities is seamlessly integrated with the software, providing you with precise control over your music production process.
By thoroughly testing the MIDI keyboard within Ableton Live 9, you can identify and address any potential issues or inconsistencies, ensuring that your MIDI keyboard operates seamlessly and enhances your music-making experience within the dynamic environment of Ableton Live 9.
Conclusion
Setting up a MIDI keyboard in Ableton Live 9 opens up a world of creative possibilities for musicians and producers. By following the essential steps outlined in this guide, you have acquired the knowledge and skills to seamlessly integrate your MIDI keyboard with Ableton Live 9, empowering you to harness its full potential within the software.
From installing the necessary MIDI drivers to physically connecting the MIDI keyboard to your computer and configuring Ableton Live 9 to recognize and communicate with the MIDI keyboard, you have gained a comprehensive understanding of the setup process. Additionally, by conducting thorough tests to verify the MIDI keyboard’s functionality within Ableton Live 9, you have ensured that it operates seamlessly, allowing you to express your musical ideas with precision and creativity.
As you embark on your music production journey with your MIDI keyboard and Ableton Live 9, remember that practice and experimentation are key to unlocking the full potential of this powerful combination. Explore the diverse capabilities of your MIDI keyboard, experiment with different MIDI mappings, and leverage Ableton Live 9’s extensive features to craft unique and compelling musical compositions.
Furthermore, stay informed about software updates and MIDI keyboard enhancements to optimize your music production setup continuously. Regularly check for driver updates, firmware upgrades, and software enhancements to ensure that your MIDI keyboard and Ableton Live 9 operate at their best, providing you with a seamless and inspiring music-making experience.
By seamlessly integrating your MIDI keyboard with Ableton Live 9, you have positioned yourself to embark on a captivating musical journey, where your creativity knows no bounds. Embrace the dynamic interplay between your MIDI keyboard and the powerful features of Ableton Live 9, and let your musical expression flourish within the digital realm of music production.