Introduction
Introduction
So, you've got your MIDI keyboard and you're ready to take your music production to the next level by connecting it to Ableton. MIDI keyboards are fantastic tools for creating music, offering a tactile and expressive way to interact with digital audio workstations (DAWs) like Ableton Live. By connecting your MIDI keyboard to Ableton, you can unlock a world of creative possibilities, from playing virtual instruments to controlling various parameters in your music software.
In this guide, we'll walk you through the process of connecting your MIDI keyboard to Ableton, step by step. Whether you're a seasoned music producer or a beginner just getting started with MIDI controllers, this guide will help you set up your MIDI keyboard with Ableton Live in no time.
We'll start by setting up the MIDI keyboard itself, ensuring that it's ready to communicate with your computer. Then, we'll move on to the process of physically connecting the MIDI keyboard to your computer. Once the hardware setup is complete, we'll dive into configuring Ableton Live to recognize and respond to your MIDI keyboard's input. Finally, we'll test the connection to make sure everything is working as it should.
By the end of this guide, you'll be well-equipped to harness the power of your MIDI keyboard within Ableton Live, opening up a world of musical creativity and expression. So, let's get started and bring your MIDI keyboard and Ableton Live together in perfect harmony.
Step 1: Setting up the MIDI Keyboard
Before diving into the process of connecting your MIDI keyboard to Ableton, it’s crucial to ensure that the keyboard itself is set up correctly. This involves making the necessary physical connections and configuring any settings on the keyboard to enable seamless communication with your computer.
Here are the essential steps to set up your MIDI keyboard:
- Power On and Connectivity: Start by powering on your MIDI keyboard and connecting it to a power source if required. Ensure that the USB or MIDI cables are in good condition and securely plugged into the appropriate ports on the keyboard. If your keyboard uses batteries, make sure they are fresh or fully charged to avoid any power-related issues during the setup process.
- Driver Installation: If your MIDI keyboard requires specific drivers to communicate with your computer, ensure that these drivers are installed. Visit the manufacturer’s website to download the latest drivers compatible with your operating system. Follow the installation instructions carefully to set up the drivers, allowing your computer to recognize the MIDI keyboard when connected.
- Keyboard Settings: Check the user manual or documentation provided with your MIDI keyboard to configure any settings related to MIDI communication. This may include enabling MIDI output, setting the MIDI channel, or adjusting other parameters to ensure compatibility with Ableton Live. Familiarize yourself with the keyboard’s functionality and any specific features that can enhance its performance when integrated with music production software.
By following these steps, you’ll establish a solid foundation for connecting your MIDI keyboard to Ableton. Once the keyboard is properly set up and ready to communicate with your computer, you can proceed to the next phase of the process, which involves physically connecting the MIDI keyboard to your computer.
Step 2: Connecting the MIDI Keyboard to the Computer
With your MIDI keyboard set up and ready, the next step is to establish a physical connection between the keyboard and your computer. This connection allows the MIDI data generated by the keyboard to be transmitted to your computer, where it can be interpreted and utilized by Ableton Live.
Here’s how to connect your MIDI keyboard to the computer:
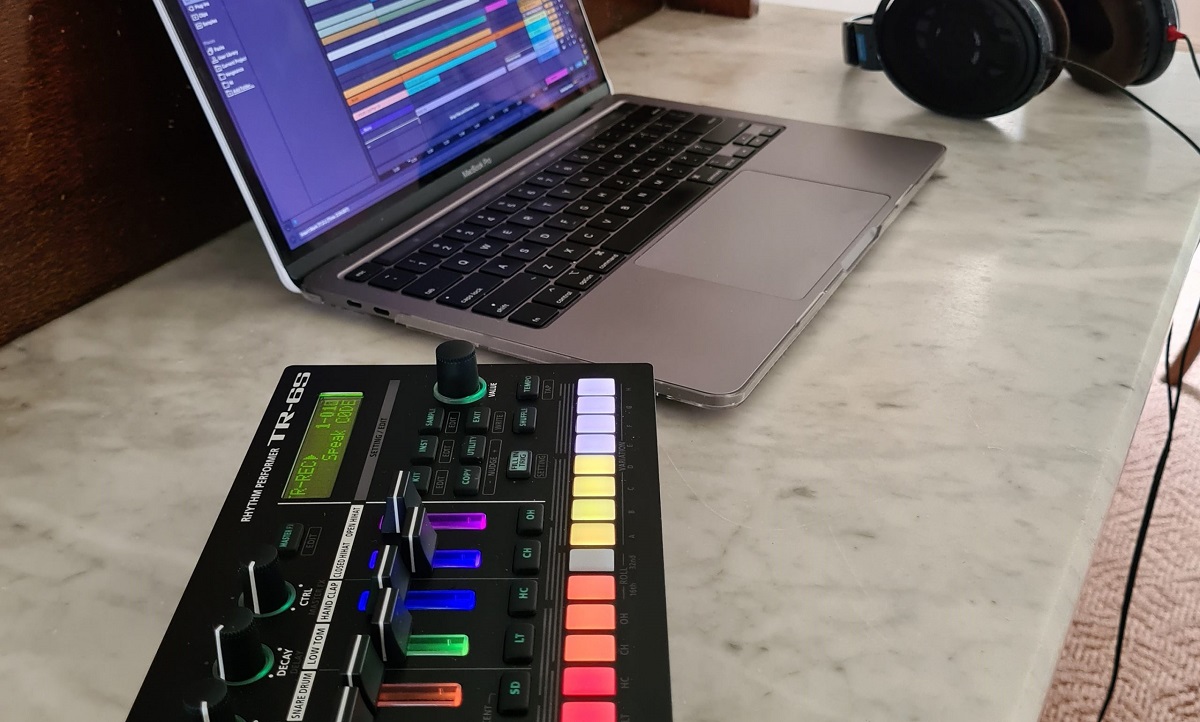
- USB or MIDI Connection: Determine the type of connection supported by your MIDI keyboard. Most modern MIDI keyboards utilize a USB connection for seamless integration with computers. If your keyboard has a USB port, simply connect it to an available USB port on your computer using a standard USB cable. Alternatively, if your MIDI keyboard uses traditional MIDI connectors (MIDI IN/OUT), you’ll need a MIDI interface to connect it to your computer’s USB port.
- Driver Recognition: Once the MIDI keyboard is connected to your computer, allow some time for the operating system to recognize the new device. If you’ve installed the necessary drivers during the setup process, the computer should automatically detect the MIDI keyboard and configure it for use. Check the device manager or system preferences to ensure that the MIDI keyboard is listed and recognized without any errors.
- USB Power and Data Transfer: When using a USB connection, the MIDI keyboard not only transmits data to the computer but also receives power through the USB cable. This eliminates the need for separate power sources and simplifies the setup. Ensure that the USB connection is secure and that the MIDI keyboard is receiving power from the computer to enable seamless communication without interruptions.
By following these steps, you’ll establish a reliable connection between your MIDI keyboard and the computer, laying the groundwork for seamless communication between the two devices. Once the physical connection is in place, you can proceed to configure Ableton Live to recognize and respond to the MIDI input from your keyboard.
Step 3: Configuring Ableton for the MIDI Keyboard
Now that your MIDI keyboard is set up and physically connected to your computer, it’s time to configure Ableton Live to recognize and interact with the MIDI input from your keyboard. Ableton Live offers robust MIDI integration, allowing you to map your MIDI keyboard’s controls, trigger virtual instruments, and unleash a world of creative possibilities within the software.
Here’s how to configure Ableton Live for your MIDI keyboard:
- Open Ableton Live: Launch Ableton Live on your computer and ensure that your MIDI keyboard is powered on and connected before opening the software. This allows Ableton Live to detect the MIDI keyboard during the startup process, ensuring seamless integration.
- Access MIDI Settings: Navigate to the MIDI settings within Ableton Live to configure the MIDI input from your keyboard. You can access the MIDI settings by clicking on the “Options” menu and selecting “Preferences.” Within the preferences window, locate the “MIDI” tab to access the MIDI settings for input and output devices.
- Select MIDI Input: In the MIDI settings, locate your MIDI keyboard from the list of available input devices. Ensure that the MIDI input for your keyboard is enabled and set as the active input device within Ableton Live. This allows Ableton to receive MIDI data from your keyboard when you play notes, use controllers, or engage with other features on the keyboard.
- Mapping MIDI Controls: If you wish to map specific controls on your MIDI keyboard to functions within Ableton Live, such as adjusting parameters, triggering clips, or controlling effects, you can use the MIDI mapping feature. This allows you to assign MIDI controls to various elements within Ableton Live, providing a customized and intuitive way to interact with the software using your MIDI keyboard’s interface.
By configuring Ableton Live to recognize and respond to your MIDI keyboard, you’ll unlock the full potential of your MIDI controller within the software. This seamless integration allows you to harness the expressive capabilities of your MIDI keyboard and leverage its features to enhance your music production workflow within Ableton Live.
Step 4: Testing the Connection
After setting up and configuring your MIDI keyboard with Ableton Live, it’s essential to test the connection to ensure that everything is functioning as expected. Testing the MIDI keyboard’s interaction with Ableton Live allows you to verify that MIDI data is being transmitted accurately, that the software is responding to your keyboard’s input, and that you can seamlessly integrate your MIDI controller into your music production workflow.
Here’s how to test the connection between your MIDI keyboard and Ableton Live:
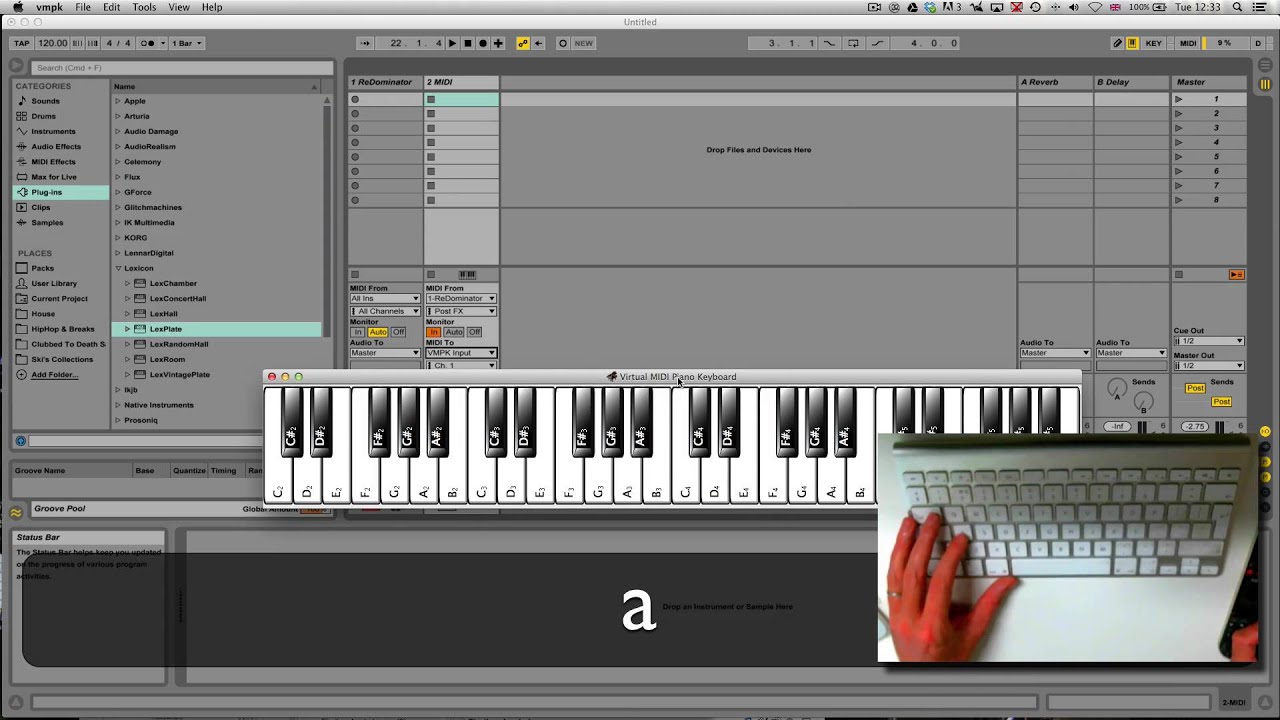
- Play Virtual Instruments: Load a virtual instrument or software synthesizer within Ableton Live and use your MIDI keyboard to play notes. Verify that the notes played on the keyboard are accurately triggering the corresponding sounds within the software. This ensures that the MIDI input from your keyboard is being recognized and translated into musical output within Ableton Live.
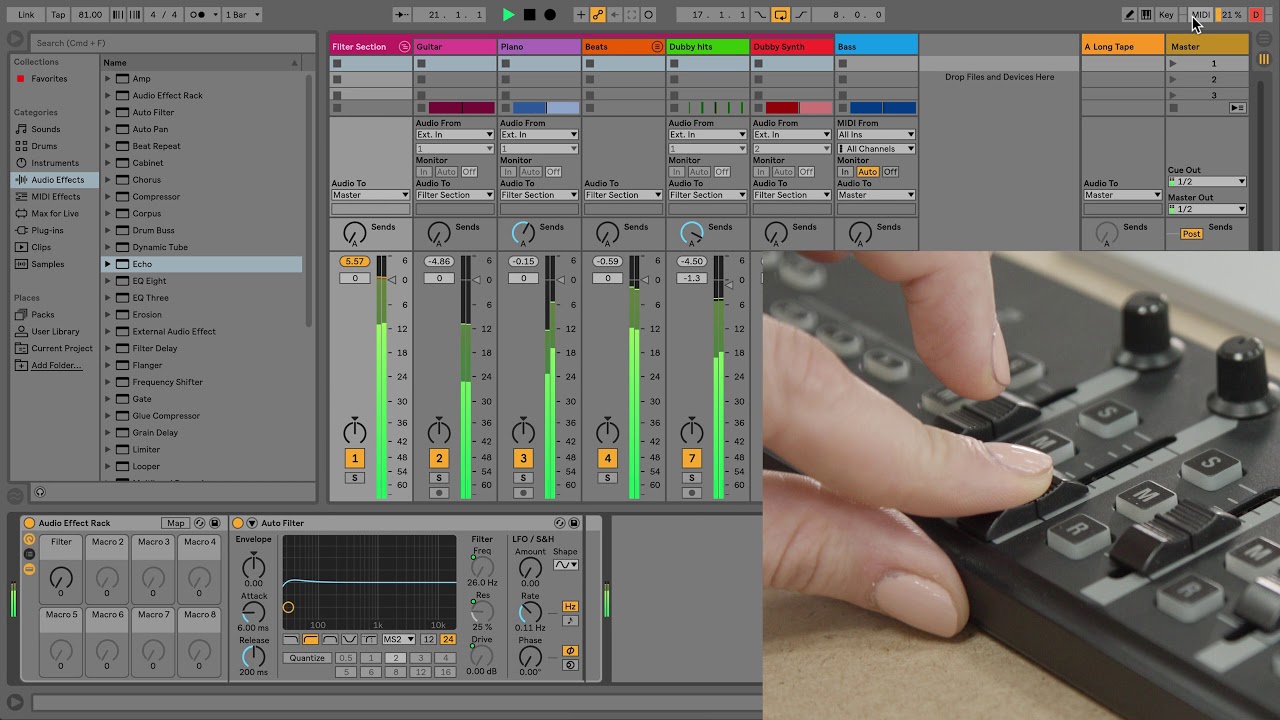
- Control Parameters: If you’ve mapped MIDI controls on your keyboard to parameters within Ableton Live, such as adjusting filter cutoff, manipulating effects, or triggering loops, test these mappings to ensure that the MIDI controls are effectively influencing the software’s behavior. This allows you to confirm that the MIDI mappings are functioning as intended and that your keyboard’s controls are seamlessly integrated with Ableton Live’s features.
- Record and Playback: Record a short musical phrase using your MIDI keyboard within Ableton Live and play it back to verify that the recording process captures the MIDI data accurately. This ensures that your keyboard’s performance is accurately captured and can be replayed within the software without any discrepancies or issues.
By testing the connection between your MIDI keyboard and Ableton Live, you can confirm that the integration is successful and that your MIDI controller is fully responsive within the software. Any discrepancies or issues identified during the testing phase can be addressed and fine-tuned to optimize the performance of your MIDI keyboard within Ableton Live.
Conclusion
Congratulations! You’ve successfully connected your MIDI keyboard to Ableton Live, paving the way for a seamless and expressive music production experience. By following the step-by-step process outlined in this guide, you’ve established a strong foundation for integrating your MIDI keyboard into your creative workflow within Ableton Live.
Through careful setup, physical connection, software configuration, and thorough testing, you’ve ensured that your MIDI keyboard is fully recognized and utilized by Ableton Live, allowing you to tap into the full potential of your MIDI controller for music creation and performance.
With your MIDI keyboard connected to Ableton Live, you now have the power to play virtual instruments, control parameters, trigger loops, and unleash your musical creativity with the tactile and expressive capabilities of your MIDI controller. Whether you’re a seasoned musician, a budding producer, or an electronic music enthusiast, the integration of your MIDI keyboard with Ableton Live opens up a world of possibilities for crafting compelling and dynamic musical compositions.
As you continue to explore the versatile capabilities of your MIDI keyboard within Ableton Live, consider experimenting with different virtual instruments, creating custom MIDI mappings, and integrating your keyboard into your unique music production workflows. Embrace the intuitive and expressive nature of your MIDI controller, and let it inspire new musical ideas and performances within the realm of Ableton Live.
By harnessing the synergy between your MIDI keyboard and Ableton Live, you’re poised to embark on an exciting journey of musical exploration, production, and performance. Let your creativity flow, and let your MIDI keyboard be the conduit through which your musical visions come to life within the captivating realm of Ableton Live.