Introduction
So, you've got your hands on a MIDI keyboard and you're ready to dive into the world of music production using Ableton Live. Congratulations! Setting up your MIDI keyboard in Ableton Live is the first step towards unleashing your creativity and producing incredible music. Whether you're a seasoned musician or a budding producer, integrating your MIDI keyboard with Ableton Live opens up a world of possibilities, allowing you to harness the power of digital audio workstations to bring your musical ideas to life.
In this guide, we'll walk you through the process of setting up your MIDI keyboard in Ableton Live, ensuring that you're ready to start making music in no time. From connecting your MIDI keyboard to configuring Ableton Live and testing the setup, we'll cover each step in detail, providing you with the knowledge and confidence to seamlessly integrate your MIDI keyboard into your music production workflow.
By the end of this guide, you'll have a solid understanding of how to set up your MIDI keyboard in Ableton Live, empowering you to explore the endless creative possibilities that await you in the world of music production. So, without further ado, let's dive into the first step: connecting your MIDI keyboard to your computer.
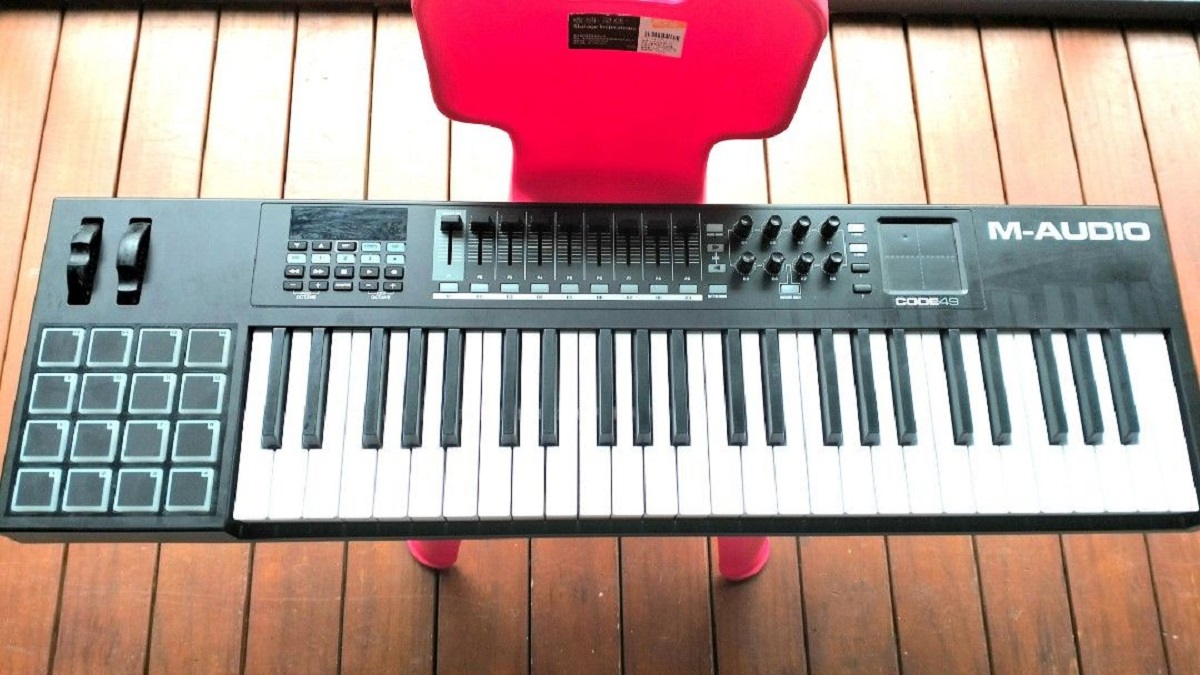
Step 1: Connecting the MIDI Keyboard
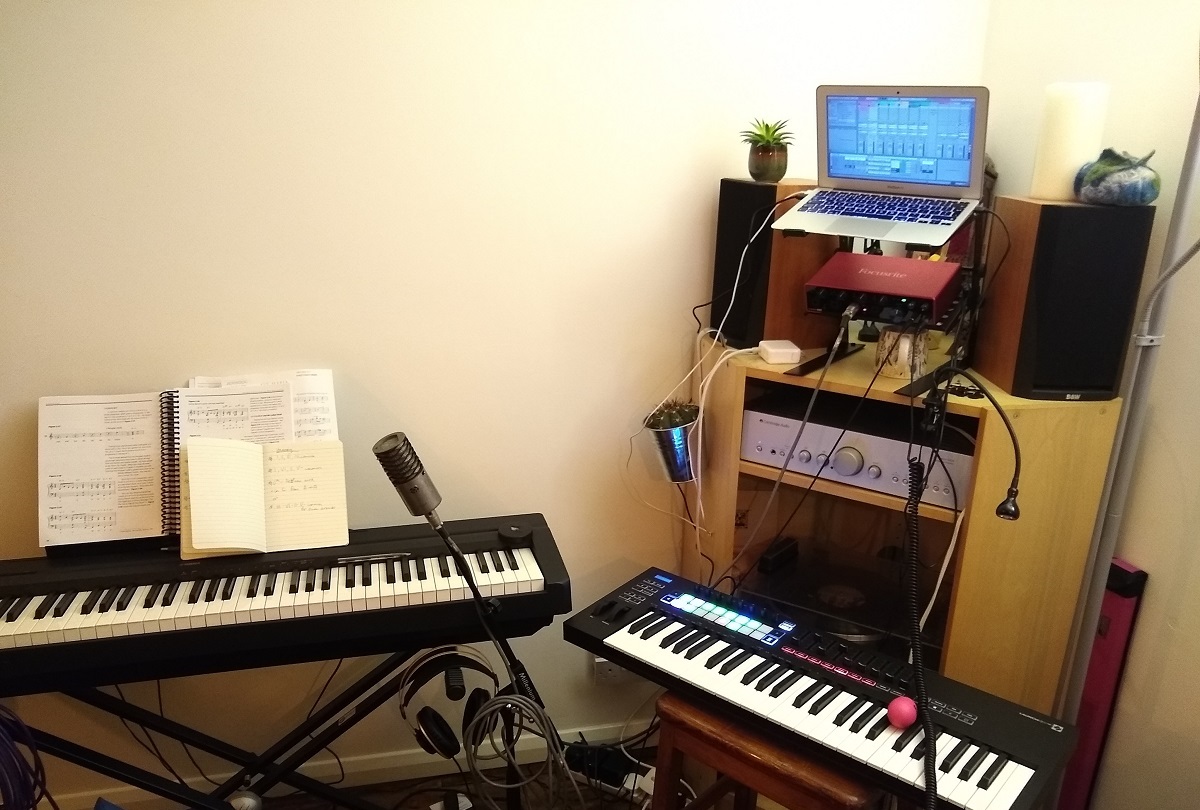
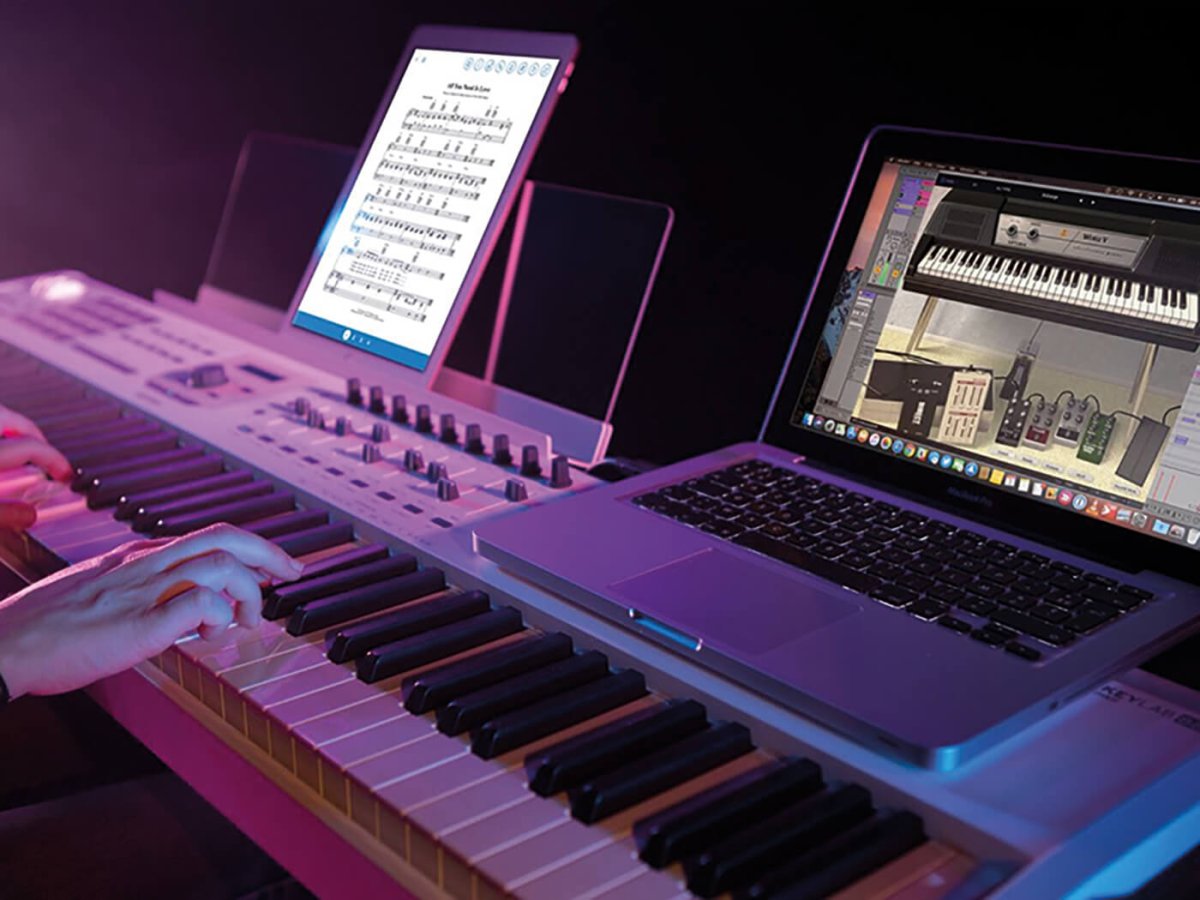
Before you can start using your MIDI keyboard with Ableton Live, you’ll need to establish a physical connection between the keyboard and your computer. This typically involves connecting the MIDI keyboard to your computer using a USB cable, although some MIDI keyboards may also offer traditional MIDI connections. Here’s how to get started:
- Locate the USB port: Most modern MIDI keyboards utilize a USB connection for seamless integration with computers. Locate the USB port on your MIDI keyboard, which is usually found on the back or side of the device.
- Connect the USB cable: Take the USB cable that came with your MIDI keyboard and plug one end into the USB port on the keyboard. The other end of the cable should be inserted into an available USB port on your computer. Once connected, your computer should recognize the MIDI keyboard as a new device.
- Power on the MIDI keyboard: Depending on your MIDI keyboard, it may be powered via USB or require an external power source. Ensure that the MIDI keyboard is powered on and ready to communicate with your computer.
- Install any necessary drivers: In some cases, your computer may require specific drivers to properly communicate with the MIDI keyboard. Check the manufacturer’s website for any available driver downloads and follow the installation instructions if necessary.
Once you’ve successfully connected your MIDI keyboard to your computer, you’re one step closer to integrating it with Ableton Live. With the physical connection established, it’s time to move on to the next step: configuring Ableton Live to recognize and communicate with your MIDI keyboard.
Step 2: Configuring Ableton Live
Now that your MIDI keyboard is physically connected to your computer, it’s essential to configure Ableton Live to recognize and effectively communicate with the MIDI keyboard. Ableton Live provides a user-friendly interface for setting up MIDI devices, ensuring that you can seamlessly integrate your MIDI keyboard into your music production workflow. Follow these steps to configure Ableton Live for your MIDI keyboard:
- Open Ableton Live: Launch Ableton Live on your computer to begin the configuration process. Once the software is running, you’ll be ready to access the necessary settings for integrating your MIDI keyboard.
- Access the Preferences: In Ableton Live, navigate to the “Options” or “Preferences” menu, typically located in the upper toolbar. Select “Preferences” to access the settings related to MIDI devices and connections.
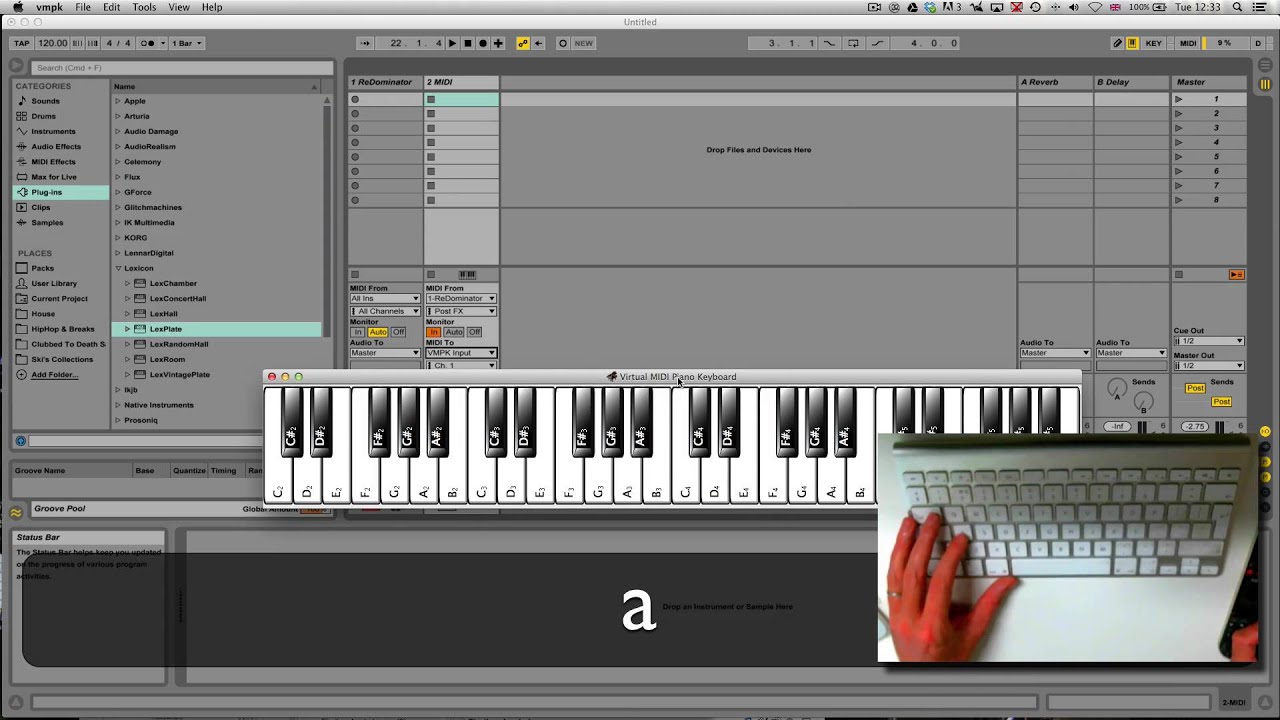
- Choose the MIDI tab: Within the Preferences menu, locate and select the “MIDI” tab. This section allows you to manage MIDI input and output devices, including your MIDI keyboard.
- Select your MIDI keyboard: In the MIDI tab, you should see a list of available MIDI input devices. Locate your MIDI keyboard in the list and ensure that it is enabled for both input and output. This enables Ableton Live to send MIDI signals to your keyboard and receive input from it.
- Configure MIDI settings: Depending on your preferences and workflow, you may want to customize additional MIDI settings, such as assigning MIDI channels, adjusting velocity curves, or enabling specific MIDI features offered by your keyboard. Take the time to explore these settings and tailor them to your needs.
With Ableton Live configured to recognize and communicate with your MIDI keyboard, you’re now ready to move on to the final step: testing the MIDI keyboard to ensure that it’s functioning as expected within Ableton Live. This crucial step allows you to verify the setup and make any necessary adjustments before diving into your music production endeavors.
Step 3: Testing the MIDI Keyboard
After connecting and configuring your MIDI keyboard in Ableton Live, it’s time to test the setup to ensure that your keyboard is effectively communicating with the software. Testing the MIDI keyboard allows you to verify that it’s accurately transmitting MIDI data to Ableton Live, enabling you to play and record musical notes, control virtual instruments, and unleash your creativity. Follow these steps to test your MIDI keyboard within Ableton Live:
- Create a new MIDI track: In Ableton Live, create a new MIDI track by selecting “Create” or “Add Track” from the menu. This track will serve as the destination for MIDI input from your keyboard.
- Select the MIDI input: Within the newly created MIDI track, locate the input settings for MIDI devices. Ensure that your MIDI keyboard is selected as the input device for the track, allowing Ableton Live to receive MIDI data from your keyboard.
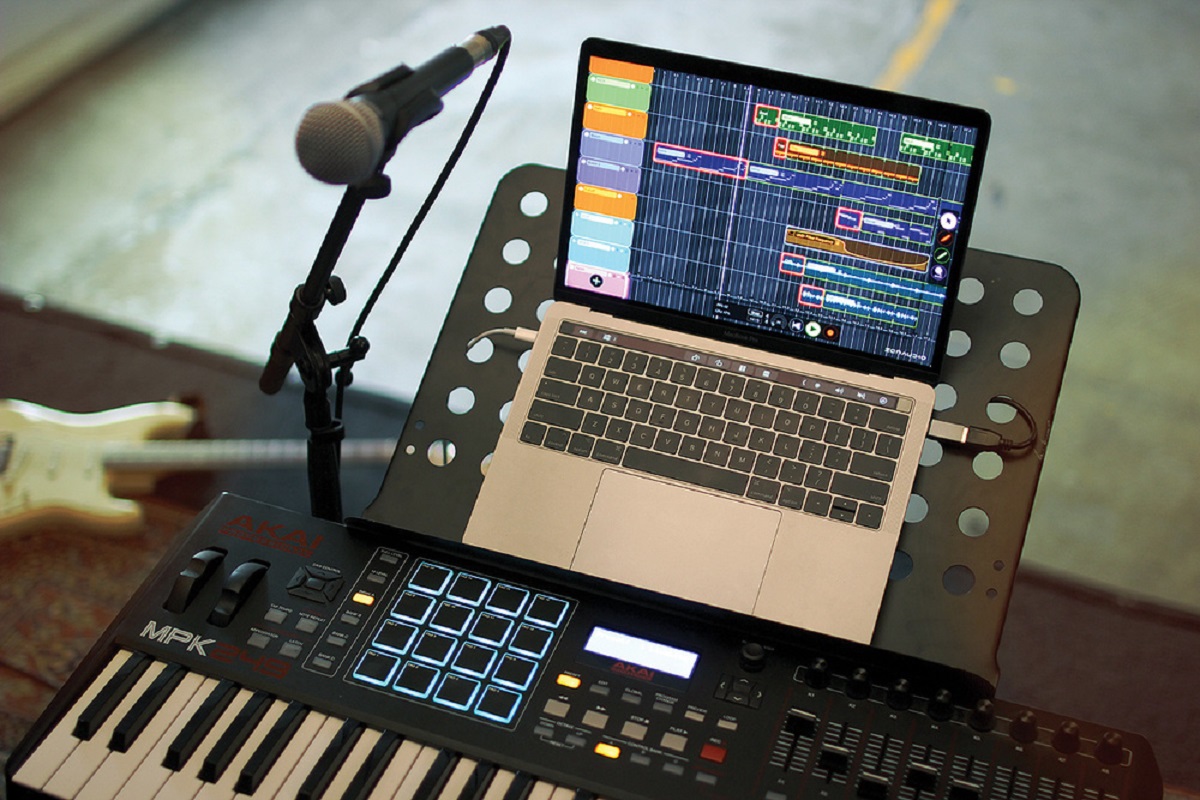
- Play your MIDI keyboard: Begin playing your MIDI keyboard to trigger notes and musical phrases. You should hear the sound of virtual instruments or MIDI clips within Ableton Live in response to your keyboard playing. This confirms that your keyboard is successfully transmitting MIDI data to the software.
- Record MIDI input: If you intend to record your keyboard performance, press the record button in Ableton Live and start playing. This captures your MIDI input as a sequence of notes, allowing you to manipulate and edit the recorded performance within the software.
- Explore MIDI mapping: Take the opportunity to explore MIDI mapping within Ableton Live, allowing you to assign MIDI controls on your keyboard to various parameters and functions within the software. This customization enhances your ability to interact with Ableton Live using your MIDI keyboard.
By testing your MIDI keyboard in Ableton Live, you can confirm that the setup is functioning as intended, empowering you to seamlessly incorporate your keyboard into your music production workflow. This step also provides insight into the responsiveness and performance of your MIDI keyboard within the software, allowing you to make any necessary adjustments or optimizations to enhance your creative process.
Conclusion
Congratulations! You’ve successfully navigated the process of setting up your MIDI keyboard in Ableton Live, laying the foundation for a seamless and productive music production experience. By following the steps outlined in this guide, you’ve established a physical connection between your MIDI keyboard and your computer, configured Ableton Live to recognize and communicate with your keyboard, and tested the setup to ensure its functionality within the software.
With your MIDI keyboard integrated into Ableton Live, you’re now equipped to explore the boundless creative possibilities that await you. Whether you’re composing melodies, triggering samples, or controlling virtual instruments, your MIDI keyboard serves as a versatile tool for expressing your musical ideas with precision and nuance.
As you continue your music production journey, remember to leverage the flexibility and expressive capabilities of your MIDI keyboard within Ableton Live. Experiment with different MIDI mappings, explore the intricacies of velocity-sensitive playing, and embrace the dynamic interaction between your keyboard and the software’s features.
By mastering the integration of your MIDI keyboard with Ableton Live, you’ve unlocked a wealth of creative potential, empowering you to craft captivating compositions and bring your musical visions to life. Embrace the synergy between your creativity and the technology at your fingertips, and let your MIDI keyboard become an extension of your musical expression.
Now, armed with the knowledge and confidence gained from this guide, you’re poised to embark on your music production endeavors with a newfound sense of capability and inspiration. Let your MIDI keyboard be the conduit through which your musical aspirations take shape, and let Ableton Live be the canvas on which your sonic landscapes unfold.
So, with your MIDI keyboard seamlessly integrated into Ableton Live, the stage is set for you to compose, perform, and produce music that resonates with your unique artistic vision. Embrace the journey ahead, and let the harmonious marriage of your MIDI keyboard and Ableton Live propel your musical creativity to new heights.