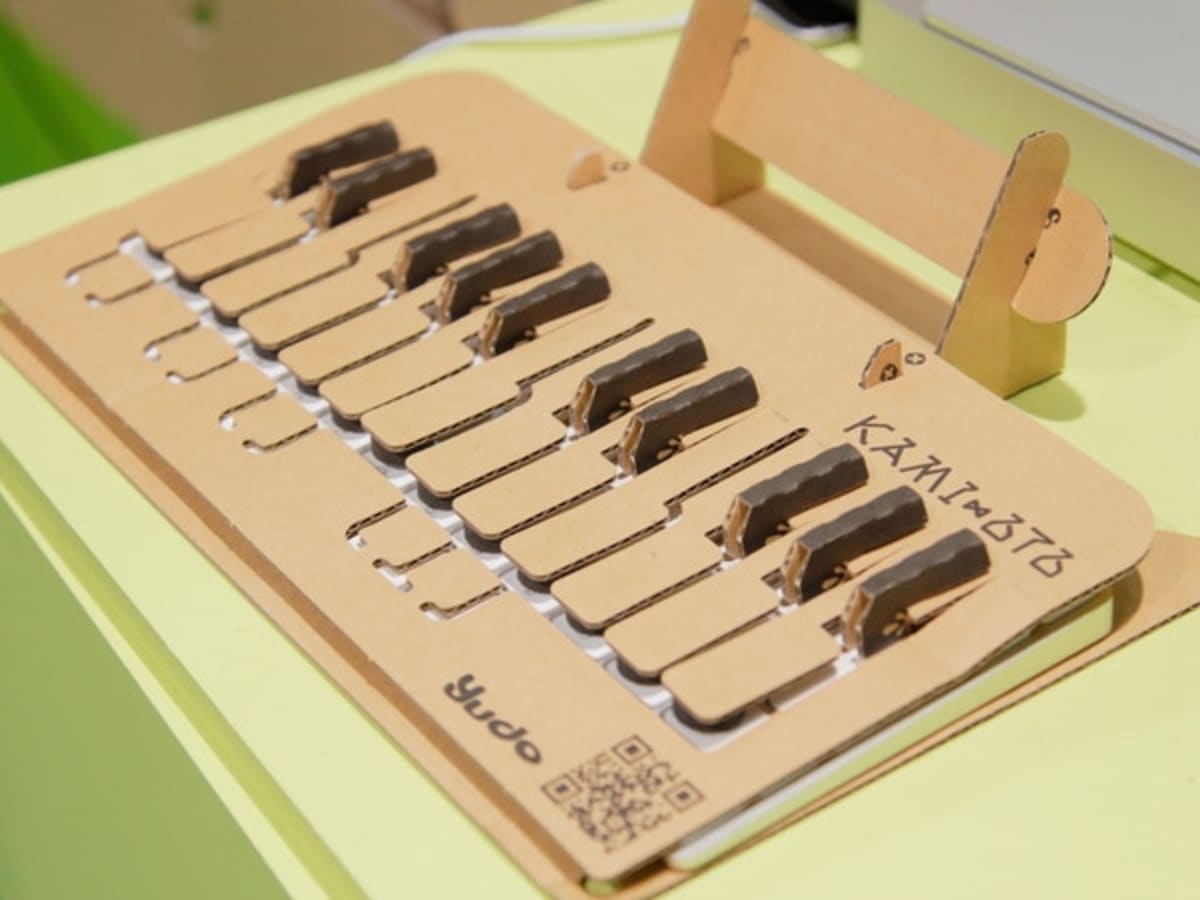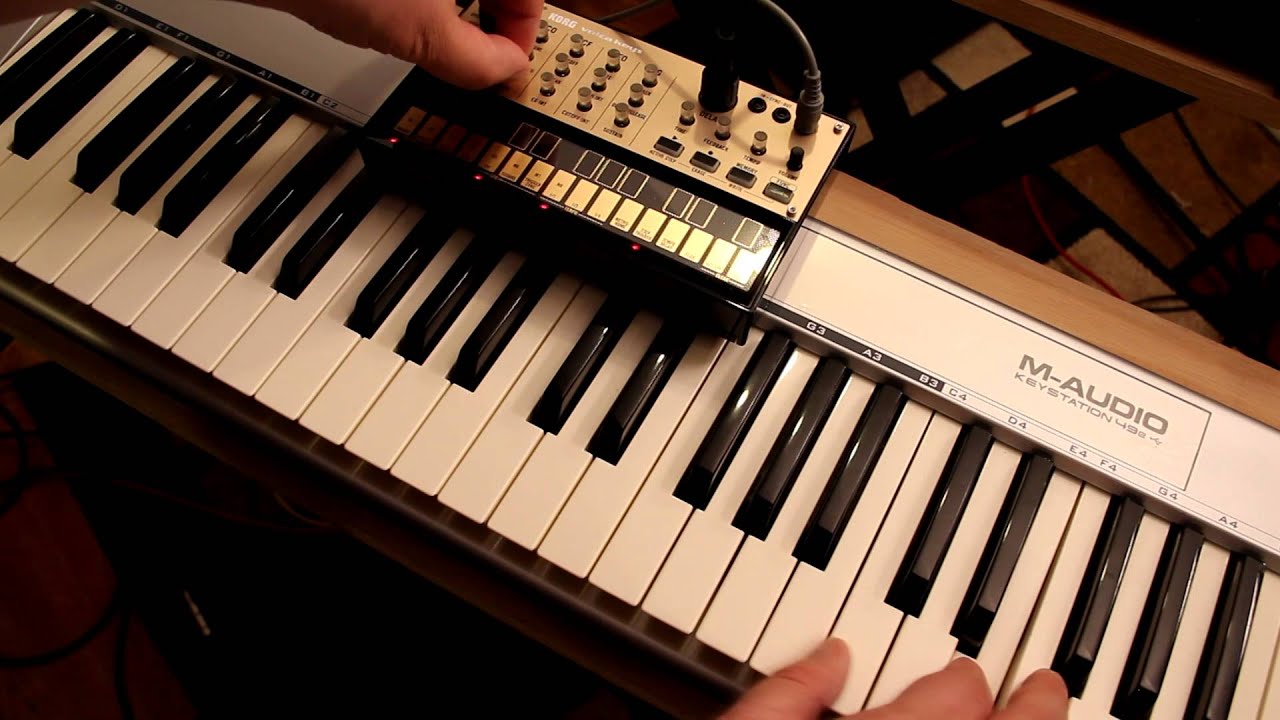
To use a MIDI keyboard with Korg Volca, you only need a standard 5-pin DIN MIDI cable, any MIDI keyboard with a MIDI Out port, and a Korg Volca, all Volca models have a MIDI IN connector. If you don't already have a controller, you can build your own MIDI keyboard tailored to your setup. Once you plug the cable in and match the MIDI channels, your keyboard’s keys will trigger Volca sounds directly, no computer or software required.
What you need to use a MIDI keyboard with Korg Volca
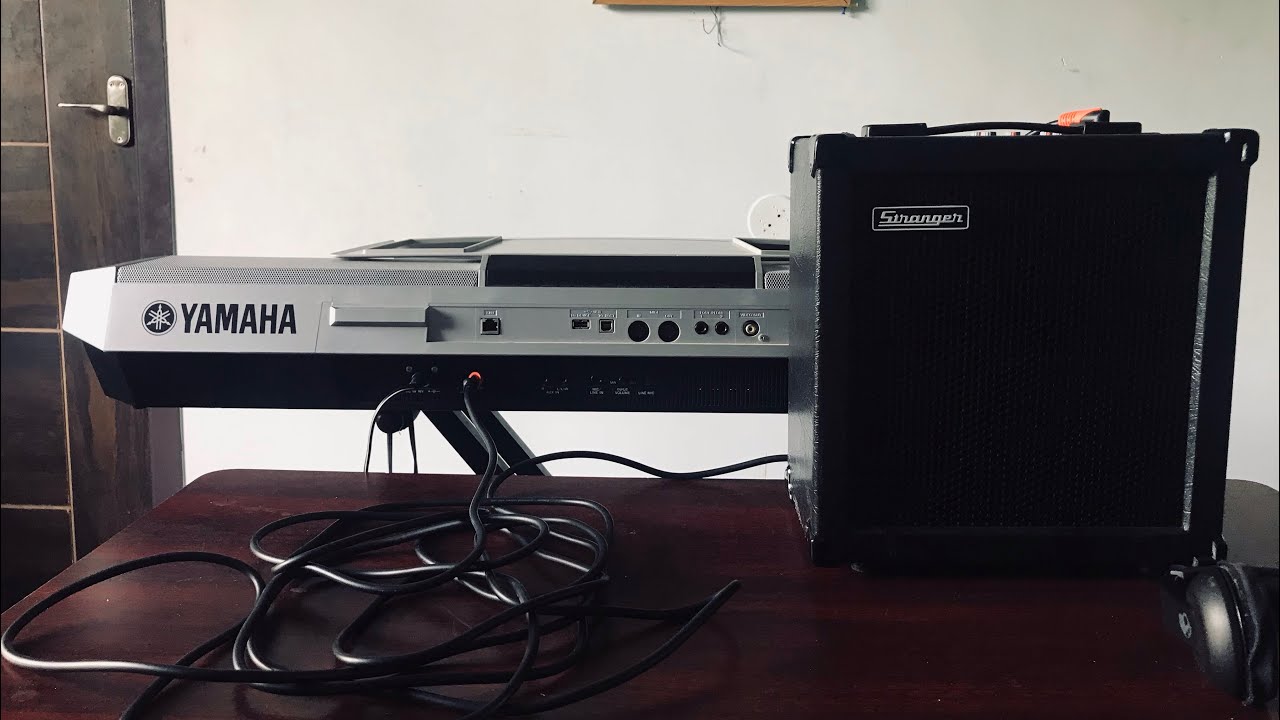
The required hardware is minimal. You need a standard 5-pin DIN MIDI cable, the same type used by most hardware synthesizers. Your MIDI keyboard must have a MIDI Out port; many modern keyboards include this, though some compact models only offer USB MIDI, so check the back panel before buying a cable. Finally, you need a Korg Volca unit, every model in the Volca series, from the Volca Keys to the Volca Drum, includes a MIDI IN connector, so you don’t need any adapters or interfaces. If your keyboard lacks a DIN port, you can still connect a MIDI keyboard in Roblox to experiment with virtual MIDI routing first.
Connect your MIDI keyboard to the Korg Volca MIDI In port
The physical connection is straightforward. Locate the MIDI Out port on your keyboard, it’s usually labeled “MIDI OUT” and uses a round 5-pin DIN connector. Then locate the MIDI In port on your Volca, which is typically on the back or side panel and labeled “MIDI IN.” Plug one end of the MIDI cable into the keyboard’s MIDI Out and the other end into the Volca’s MIDI In. Push each connector in firmly until it clicks; a loose connection can cause intermittent note drops.
Enable MIDI input in the Korg Volca global settings
After connecting the cable, power on both devices, the order doesn’t matter, but it’s easiest to turn on the Volca first so you can hear the result immediately. The Volca’s global parameters menu is where you control MIDI reception. Hold the “FUNC” button (or “SHIFT” on some models) and press the “MEMORY” button to enter global settings. Then use the dial to scroll through parameters until you find the MIDI-related setting, on most Volca models it’s labeled “MIDI RX” or “MIDI In.” Make sure it’s set to “ON” so the Volca accepts incoming MIDI data. If you skip this step, the Volca will ignore your keyboard entirely, even with the cable connected, but once it’s working you can apply the same routing skills to use a MIDI keyboard in BandLab for software instruments.
Assign a MIDI channel on your keyboard and Volca
Both devices must be set to the same MIDI channel for the keyboard to control the correct Volca. On your keyboard, look for a “MIDI Channel” or “Global Channel” setting, this is usually accessed via a button combination or a menu on the keyboard’s LCD screen. Set it to channel 1 (or any channel you prefer). On the Volca, stay in the global settings menu and find the “MIDI Ch” parameter. Use the dial to select the same channel number. If you’re using a Volca that supports split channel vs single channel modes, such as the Volca FM, check the official MIDI Implementation Chart for your specific model. In single channel mode, all notes arrive on one channel; in split channel mode, different notes are routed to different channels, which is useful for layered performances. Matching the channel on both devices ensures the keyboard’s notes trigger the Volca’s sound engine without affecting other MIDI gear in your setup.
Play sounds and control parameters from your MIDI keyboard
With the channel matched, you can immediately play notes. Press keys on your keyboard and you’ll hear the Volca respond, the keyboard acts as a full-size controller for the Volca’s compact keys, giving you more room for chords and melodies. Beyond note triggering, you can use your keyboard’s knobs, sliders, and wheels to modulate Volca parameters in real time. For example, assign a knob to filter cutoff or a mod wheel to pitch bend, and the Volca will respond instantly as you perform. To find which MIDI CC numbers control which Volca parameters, access the official MIDI Implementation Charts, these documents list every continuous controller (CC) and NRPN mapping for your specific Volca model. With that chart in hand, you can map your keyboard’s physical controls to the Volca’s filter, envelope, LFO, and effects, turning the small synth into a hands-on performance instrument. The result is a setup where the keyboard’s expressive controls and the Volca’s sound engine work together seamlessly, letting you shape sounds live without touching the Volca’s tiny knobs.