Introduction
Introduction
Welcome to the exciting world of electronic music production! If you've recently acquired a Korg DDD-5 drum machine, you're in for a treat. This versatile and innovative piece of equipment has the potential to elevate your music to new heights. However, before you can start creating captivating beats and rhythms, you'll need to know how to properly hook up and operate the DDD-5.
In this comprehensive guide, we'll walk you through the essential steps to get your Korg DDD-5 drum machine up and running. Whether you're a seasoned music producer or a newcomer to the world of electronic music, this guide is designed to provide you with the knowledge and confidence to make the most of your drum machine.
Throughout this tutorial, we'll cover everything from powering up the device to syncing it with other gear, ensuring that you have a solid understanding of how to integrate the Korg DDD-5 into your music production setup. By the end of this guide, you'll be ready to unleash your creativity and start crafting mesmerizing beats with your Korg DDD-5.
So, without further ado, let's dive into the world of electronic music production and explore the exciting possibilities that await with the Korg DDD-5 drum machine. Get ready to embark on a musical journey filled with innovation, creativity, and endless sonic possibilities. Let's begin!
Step 1: Gather the necessary equipment
Step 1: Gather the necessary equipment
Before you can start using your Korg DDD-5 drum machine, it’s essential to gather the necessary equipment to ensure a seamless setup process. Here’s what you’ll need:
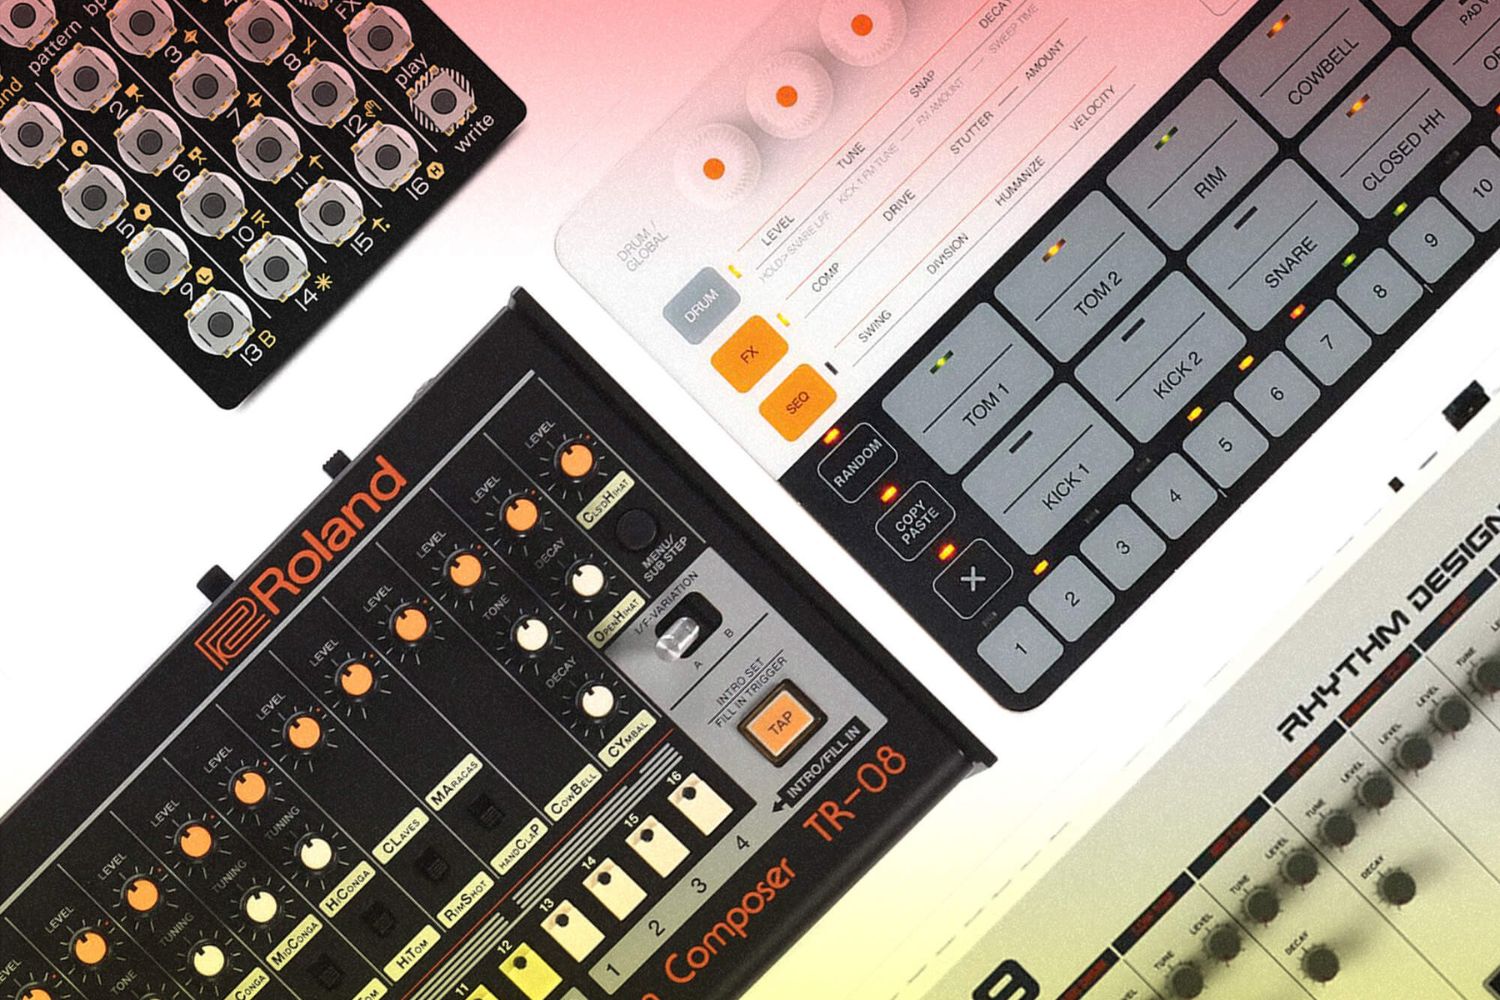
- Korg DDD-5 drum machine: The heart of your electronic drum setup, the DDD-5 provides a wide range of drum sounds and patterns for you to explore.
- Power supply: Ensure you have the appropriate power supply for the DDD-5, as specified in the user manual. This will provide the necessary electricity to operate the drum machine.
- Audio cables: You’ll need audio cables to connect the DDD-5 to your audio interface or mixer. Depending on your setup, you may require standard 1/4-inch cables or other audio connectors.
- Audio interface or mixer: To route the audio output from the DDD-5 to your recording or mixing setup, you’ll need an audio interface or mixer. This will allow you to capture and manipulate the drum sounds effectively.
- Headphones or studio monitors: To monitor the sounds generated by the DDD-5, a reliable pair of headphones or studio monitors is essential. This will enable you to listen to the drum patterns and make adjustments as needed.
By ensuring that you have all the necessary equipment on hand, you’ll be well-prepared to proceed with setting up your Korg DDD-5 drum machine. Once you’ve gathered these essential items, you’re ready to move on to the next step in the process.
Step 2: Power up the Korg DDD-5
Step 2: Power up the Korg DDD-5
Powering up the Korg DDD-5 is the initial step in integrating this dynamic drum machine into your music production setup. Here’s a detailed guide on how to power up the DDD-5:
1. Check the power requirements: Before connecting the power supply to the DDD-5, it’s crucial to verify the specific power requirements outlined in the user manual. Ensure that the voltage and current specifications of the power supply match those recommended for the DDD-5.
2. Connect the power supply: Once you’ve confirmed the power requirements, connect the power supply to the designated power input on the DDD-5. Ensure that the connection is secure to prevent any interruptions during operation.
3. Power on the DDD-5: After the power supply is properly connected, switch on the power button of the DDD-5. You should see the device’s display light up, indicating that it is receiving power.
4. Verify functionality: Upon powering up the DDD-5, take a moment to verify that all the buttons, pads, and controls are responsive. This will ensure that the device is functioning as expected and is ready for the next steps in the setup process.
By following these steps, you’ll successfully power up your Korg DDD-5 drum machine, laying the foundation for an immersive and productive music production experience. With the DDD-5 powered on and ready to go, you’re now prepared to proceed with connecting the audio output to further integrate this exceptional drum machine into your creative workflow.
Step 3: Connect the audio output
Step 3: Connect the audio output
Connecting the audio output of your Korg DDD-5 drum machine is a critical step in ensuring that you can hear and manipulate the sounds produced by the device. Follow these steps to successfully connect the audio output:
1. Locate the audio output ports: The DDD-5 is equipped with audio output ports, typically located on the rear panel of the device. Identify these ports, which are often labeled as “L/MONO” and “R” for the left/mono and right channels, respectively.
2. Choose the appropriate cables: Depending on your audio setup, select the appropriate cables to connect the DDD-5 to your audio interface or mixer. Standard 1/4-inch audio cables are commonly used for this purpose. Ensure that the cables are in good condition and free from any damage that could affect audio quality.
3. Connect the cables: With the chosen cables in hand, connect the “L/MONO” and “R” output ports of the DDD-5 to the corresponding input channels on your audio interface or mixer. Make sure the connections are secure to prevent any signal loss or interference.
4. Set audio levels: Once the DDD-5 is connected to your audio interface or mixer, adjust the audio levels to ensure that the signal from the drum machine is appropriately balanced with other audio sources. This will help maintain a consistent and clear audio output during your music production sessions.
5. Test the audio output: After making the connections and adjusting the audio levels, test the audio output of the DDD-5 by triggering drum sounds and patterns. Listen carefully to ensure that the audio is coming through as expected and that the connections are functioning correctly.
By following these steps, you’ll effectively connect the audio output of your Korg DDD-5 drum machine, integrating its distinctive sounds into your music production environment. With the audio output successfully connected, you’re now ready to explore the next phase of setting up the DDD-5: programming captivating drum patterns and exploring its diverse sonic capabilities.
Step 4: Program the drum patterns
Step 4: Program the drum patterns
Programming drum patterns on the Korg DDD-5 is where the magic happens, allowing you to unleash your creativity and craft captivating rhythms. Follow these steps to effectively program drum patterns on the DDD-5:
1. Access the pattern programming mode: Navigate the DDD-5’s interface to access the pattern programming mode. This may involve pressing specific buttons or selecting menu options to enter the pattern programming interface.
2. Select a drum sound: Choose a drum sound from the DDD-5’s extensive library of built-in sounds. This could include kicks, snares, hi-hats, cymbals, and various percussion elements. Select the sound that best suits the rhythm you aim to create.
3. Input drum hits: Using the device’s pads or interface controls, input drum hits into the pattern sequencer. You can arrange the hits based on the desired rhythm, incorporating accents, ghost notes, and other nuances to add depth and dynamics to the pattern.
4. Explore pattern variations: Experiment with different pattern variations by altering the placement of drum hits, adjusting the tempo, and exploring the DDD-5’s pattern editing features. This allows you to create diverse and compelling rhythmic sequences.
5. Utilize fill patterns: Incorporate fill patterns to add transitional and dynamic elements to your drum sequences. Fill patterns can be used to introduce variations, build anticipation, and add excitement to your compositions.
6. Save your patterns: Once you’ve crafted compelling drum patterns, ensure to save your work to the DDD-5’s memory or external storage if available. This will allow you to access and recall your patterns for future use and further refinement.
By following these steps, you’ll be able to program captivating drum patterns on the Korg DDD-5, tapping into its rich sonic palette and versatile rhythmic capabilities. With your drum patterns programmed and ready to play, you’re now poised to explore the final step in the setup process: syncing the DDD-5 with other gear to expand its sonic potential and integration into your music production environment.
Step 5: Sync with other gear
Step 5: Sync with other gear
Syncing your Korg DDD-5 drum machine with other gear opens up a world of possibilities, allowing you to seamlessly integrate it into your music production setup. Follow these steps to effectively sync the DDD-5 with other gear:
1. Identify sync options: Determine the available sync options on your DDD-5 and the external gear you wish to synchronize with. This could include MIDI, analog sync, or USB connectivity, depending on the capabilities of your equipment.
2. Configure sync settings: Access the sync settings on the DDD-5 and the external gear, ensuring that they are set to the same sync mode and tempo. This synchronization is crucial for maintaining consistent timing and rhythm across all connected devices.
3. Establish the master device: Determine whether the DDD-5 will serve as the master device, dictating the tempo and timing for the entire setup, or if it will sync to an external master device. This decision will depend on your specific workflow and the role of the DDD-5 in your compositions.
4. Test the synchronization: Once the sync settings are configured, test the synchronization by triggering patterns and sequences on the DDD-5 and observing how other connected gear responds. Verify that the timing and tempo remain consistent across all synchronized devices.
5. Explore performance possibilities: With the DDD-5 synced to other gear, explore the performance possibilities that arise from this integration. This could involve triggering drum patterns alongside synthesizers, sequencers, or other electronic instruments, creating cohesive and immersive musical performances.
6. Save sync configurations: If your DDD-5 allows for saving sync configurations, ensure to store these settings for easy recall in future sessions. This will streamline the setup process and allow you to quickly establish synchronization in subsequent music production endeavors.
By following these steps, you’ll effectively sync your Korg DDD-5 drum machine with other gear, unlocking new creative avenues and enhancing the versatility of your music production setup. With the DDD-5 seamlessly integrated into your workflow, you’re now poised to embark on a musical journey filled with innovation, rhythm, and boundless sonic exploration.
Conclusion
Conclusion
Congratulations! You’ve successfully navigated the essential steps to hook up and integrate the Korg DDD-5 drum machine into your music production environment. By following this comprehensive guide, you’ve gained the knowledge and confidence to power up the DDD-5, connect its audio output, program captivating drum patterns, and sync it with other gear. As a result, you’re now well-equipped to harness the full potential of this innovative drum machine and infuse your music with dynamic rhythms and compelling beats.
With the DDD-5 at your disposal, you have a powerful tool for shaping the sonic landscape of your compositions. Whether you’re crafting pulsating electronic tracks, driving rock rhythms, or experimental soundscapes, the DDD-5 offers a diverse array of drum sounds and pattern creation capabilities to fuel your creative endeavors.
As you continue to explore the possibilities of the Korg DDD-5, remember to experiment, innovate, and push the boundaries of your musical expression. Embrace the unique features of the DDD-5, from its intuitive interface to its rich sound library, and let your imagination run wild as you sculpt intricate rhythms and infectious grooves.
By integrating the DDD-5 into your music production setup, you’re embarking on a sonic journey filled with innovation, creativity, and endless possibilities. Whether you’re a seasoned producer or an aspiring musician, the DDD-5 stands ready to elevate your musical projects and inspire new sonic adventures.
With the knowledge and expertise gained from this guide, you’re now prepared to harness the full potential of the Korg DDD-5 and infuse your music with the captivating rhythms and infectious beats that define your unique sound. So, dive into the world of electronic music production with confidence, knowing that the Korg DDD-5 is your faithful companion in crafting mesmerizing rhythms and pushing the boundaries of sonic exploration.