Introduction
So, you've just purchased your Akai MPK Mini MIDI keyboard and you're eager to start creating music in FL Studio. The Akai MPK Mini is a versatile and compact MIDI controller that offers a wide range of creative possibilities for music production. In this guide, I'll walk you through the process of setting up your Akai MPK Mini with FL Studio, so you can start making music right away.
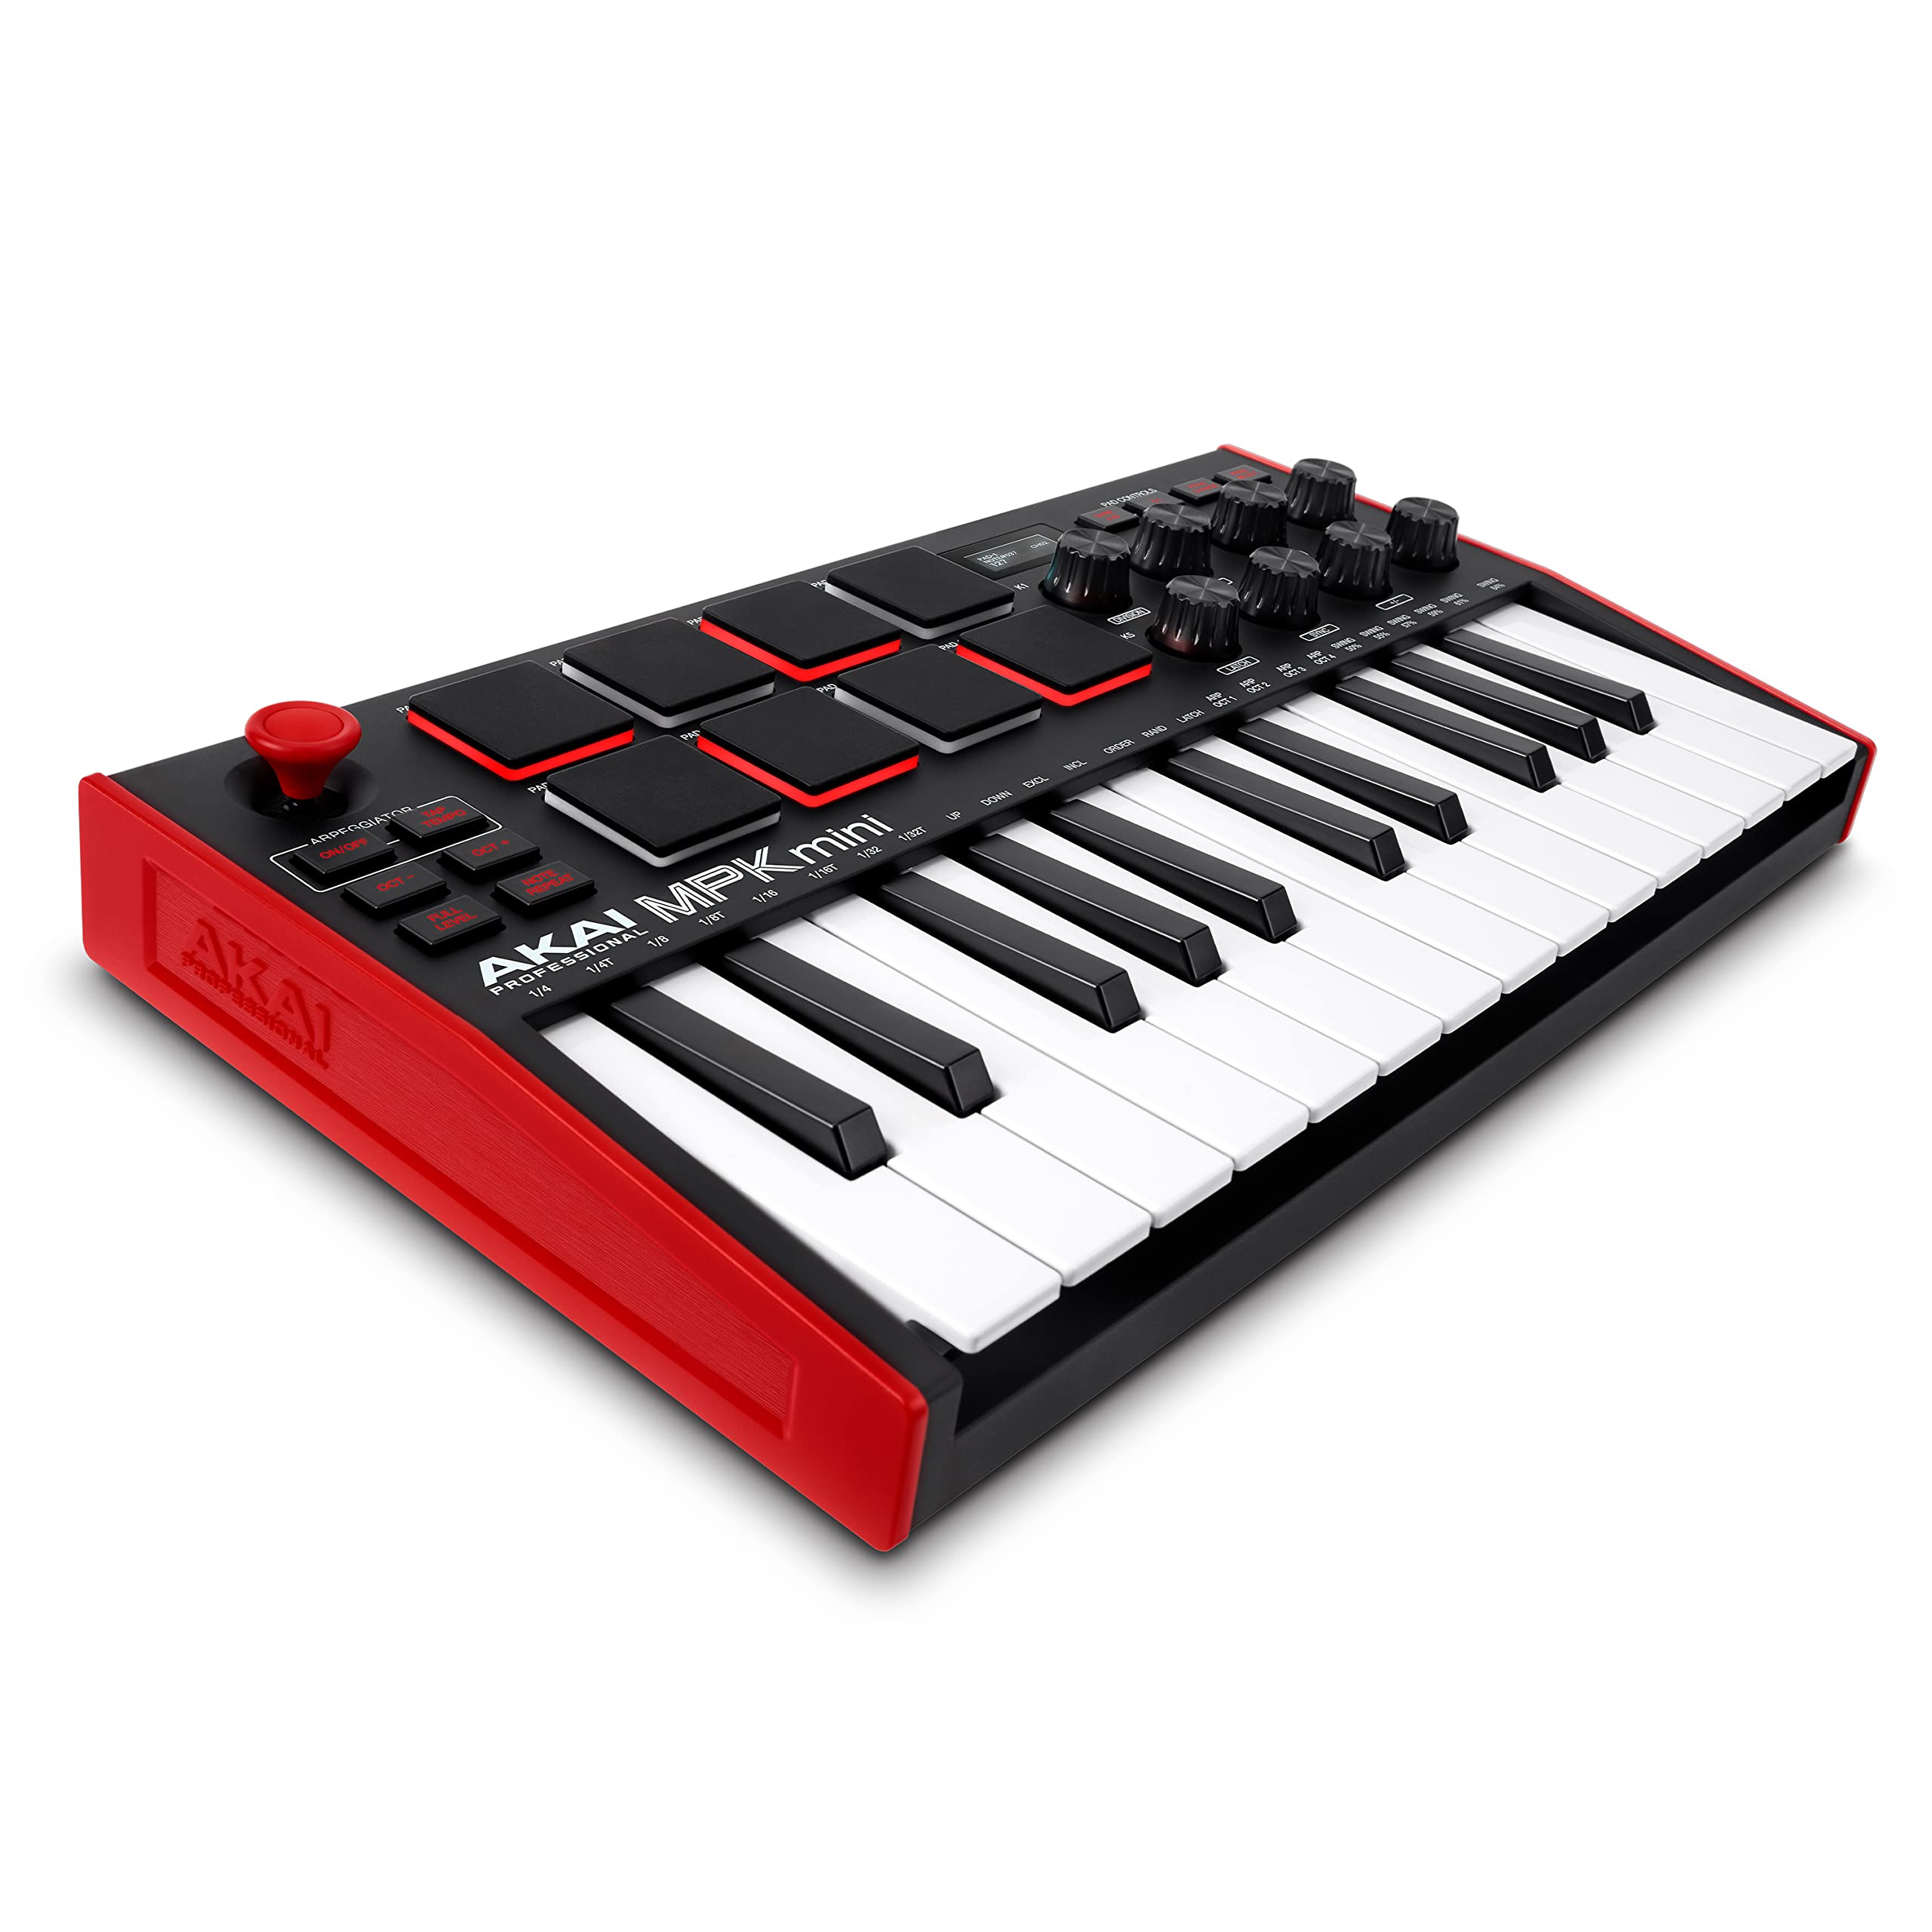
The Akai MPK Mini is a powerful tool for music production, offering a combination of drum pads, keys, and knobs that can be customized to suit your workflow. Whether you're a beginner or an experienced producer, the Akai MPK Mini provides an intuitive interface for composing, recording, and performing music.
By the end of this tutorial, you'll have a solid understanding of how to connect your Akai MPK Mini to your computer, install the necessary software, and configure it within FL Studio. Additionally, you'll learn how to assign MIDI controls within FL Studio, allowing you to harness the full potential of your Akai MPK Mini for your music production needs.
So, let's dive in and explore the step-by-step process of setting up your Akai MPK Mini with FL Studio. Whether you're looking to lay down melodic lines, craft intricate beats, or manipulate sound parameters, the Akai MPK Mini and FL Studio combination offers a dynamic platform for unleashing your musical creativity. Let's get started!
Step 1: Connecting the Akai MPK Mini to Your Computer
Before you can start using your Akai MPK Mini with FL Studio, you need to establish a physical connection between the MIDI keyboard and your computer. Here’s how to do it:
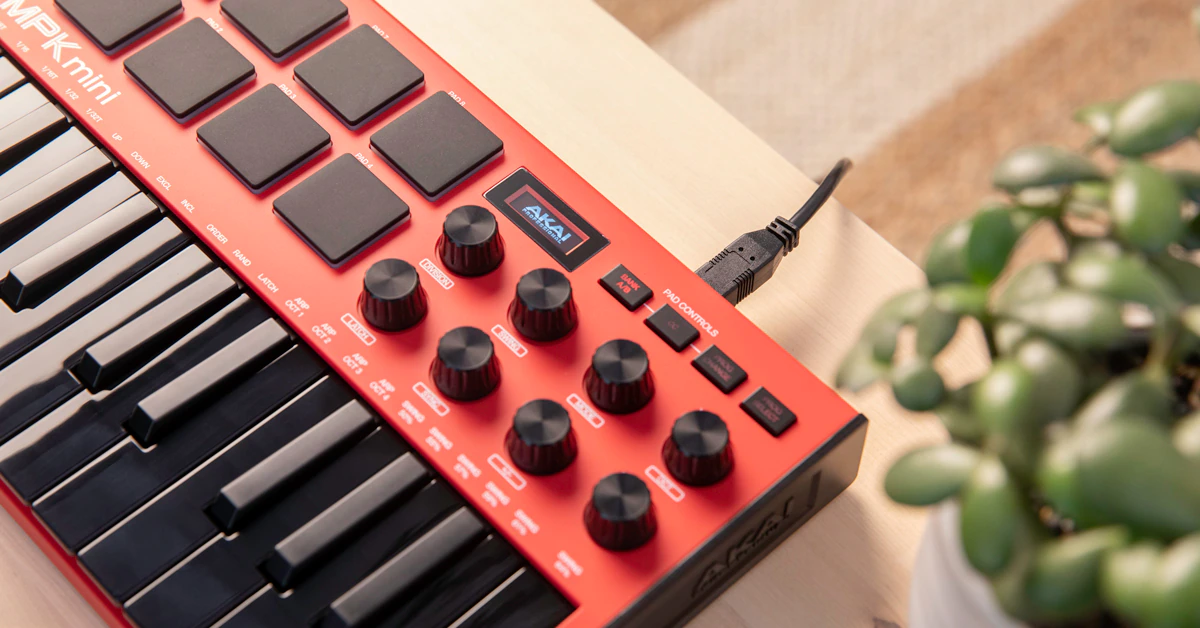
- USB Connection: The Akai MPK Mini can be powered and connected to your computer via a standard USB cable. Simply plug one end of the USB cable into the USB port on the Akai MPK Mini and the other end into an available USB port on your computer. Once connected, your computer should recognize the Akai MPK Mini as a MIDI device.
- Powering On: After connecting the USB cable, power on the Akai MPK Mini by pressing the power button located on the rear panel of the device. The MPK Mini will power up, and the pads and keys will illuminate, indicating that it’s ready for use.
- Driver Installation (if necessary): In most cases, your computer will automatically install the necessary drivers for the Akai MPK Mini. However, if you encounter any issues with device recognition, you may need to download and install the appropriate drivers from the Akai Professional website. Ensure that the drivers are compatible with your computer’s operating system.
Once you’ve completed these steps, your Akai MPK Mini should be successfully connected to your computer, and you’ll be ready to move on to the next phase of the setup process.
With the physical connection established, you’re one step closer to integrating the Akai MPK Mini into your music production workflow. The next step involves installing the Akai MPK Mini Editor software, which will enable you to customize the MIDI keyboard’s settings to suit your preferences and creative needs.
Step 2: Installing the Akai MPK Mini Editor Software
Once your Akai MPK Mini is connected to your computer, the next essential step is to install the Akai MPK Mini Editor software. This software allows you to customize the settings of your MPK Mini, including the pads, knobs, and keys, to tailor the MIDI controller to your specific workflow and preferences.
Here’s how to install the Akai MPK Mini Editor software:
- Download the Software: Visit the Akai Professional website and navigate to the MPK Mini product page. Look for the "Downloads" section and locate the Akai MPK Mini Editor software. Download the software package compatible with your computer’s operating system.
- Install the Software: Once the software package is downloaded, run the installer and follow the on-screen instructions to complete the installation process. Ensure that you select the appropriate installation location and create any necessary shortcuts for easy access to the software.
- Launch the Software: After the installation is complete, launch the Akai MPK Mini Editor software. Connect your Akai MPK Mini to your computer if it’s not already connected. The software should recognize the MIDI controller and establish a connection.
- Customize Your Settings: With the Akai MPK Mini Editor software open, you can now customize various parameters of the MIDI controller, such as pad sensitivity, knob assignments, and key settings. Experiment with different configurations to create a setup that aligns with your music production style and preferences.
By installing and utilizing the Akai MPK Mini Editor software, you gain the flexibility to tailor the functionality of your MIDI controller to suit your specific creative needs. Whether you prefer a particular pad sensitivity for drum programming or custom knob assignments for parameter control, the Akai MPK Mini Editor empowers you to personalize your setup for a seamless music production experience.
With the Akai MPK Mini Editor software installed and configured, you’re now ready to integrate your customized MIDI controller settings into FL Studio, allowing for a cohesive and personalized music production environment.
Step 3: Setting Up the Akai MPK Mini in FL Studio
With the Akai MPK Mini physically connected to your computer and the Akai MPK Mini Editor software installed, the next step is to integrate your MIDI controller into FL Studio. This involves configuring FL Studio to recognize the Akai MPK Mini as a MIDI input device and ensuring that it’s ready to be used for music production.
Here’s how to set up the Akai MPK Mini in FL Studio:
- Launch FL Studio: Open FL Studio on your computer. If you don’t have FL Studio installed, you can download and install it from the official FL Studio website.
- Access the MIDI Settings: Once FL Studio is open, navigate to the "Options" menu and select "MIDI Settings." This will open the MIDI Settings window, where you can configure MIDI input and output devices.
- Select the Akai MPK Mini: In the MIDI Settings window, locate the input section and ensure that the Akai MPK Mini is selected as an active MIDI input device. FL Studio should recognize the Akai MPK Mini as a MIDI controller, and it should appear in the list of available input devices.
- Enable MIDI Input: Once the Akai MPK Mini is selected as an input device, ensure that MIDI input is enabled for the controller. This allows FL Studio to receive MIDI data from the Akai MPK Mini, including note data, pad triggers, and knob movements.
- Test MIDI Input: To confirm that the Akai MPK Mini is successfully integrated into FL Studio, play a few notes on the keyboard and trigger the drum pads. You should see MIDI input indicators in FL Studio, confirming that the MIDI data from the Akai MPK Mini is being received by the software.
By following these steps, you’ll establish a seamless connection between your Akai MPK Mini and FL Studio, ensuring that the MIDI controller is recognized and ready for use in your music production projects. Once the Akai MPK Mini is set up in FL Studio, you can begin harnessing its creative potential to compose melodies, program beats, and control various parameters within the software.
With the Akai MPK Mini integrated into FL Studio, you’re now prepared to dive into the next phase of the setup process: assigning MIDI controls within FL Studio to optimize the functionality of your MIDI keyboard for music production.
Step 4: Assigning MIDI Controls in FL Studio
Now that your Akai MPK Mini is connected to FL Studio, it’s time to assign MIDI controls within the software to optimize the functionality of your MIDI keyboard for music production. Assigning MIDI controls allows you to map the pads, knobs, and keys of the Akai MPK Mini to specific parameters within FL Studio, providing hands-on control over various aspects of your music projects.
Here’s how to assign MIDI controls in FL Studio:
- Open the MIDI Settings: In FL Studio, navigate to the "Options" menu and select "MIDI Settings" if you haven’t already done so. This will allow you to access the MIDI control assignments and mappings.
- Map the Pads: If you want to use the drum pads on your Akai MPK Mini to trigger drum sounds or samples in FL Studio, you can assign each pad to a specific channel or sound. In the MIDI Settings window, locate the section for pad assignments and map each pad to the corresponding channel or sample in FL Studio.
- Assign Knobs and Keys: The knobs and keys on the Akai MPK Mini can be assigned to control parameters such as volume, panning, filter cutoff, and more. In the MIDI Settings window, you can map each knob and key to a specific parameter within FL Studio, allowing for real-time manipulation of sound and effects.
- Create Custom Templates: FL Studio allows you to create custom MIDI control templates, enabling you to save and recall specific configurations for different music production tasks. By creating custom templates, you can streamline your workflow and access tailored control mappings for various aspects of your projects.
- Test the MIDI Controls: After assigning MIDI controls, test the functionality of the Akai MPK Mini within FL Studio. Try triggering drum sounds with the pads, adjusting parameters with the knobs, and playing melodies with the keys. Ensure that the MIDI controls are responsive and accurately reflect your assigned mappings.
By assigning MIDI controls within FL Studio, you empower yourself to interact with your music projects in a tactile and expressive manner, leveraging the capabilities of the Akai MPK Mini to shape and mold your sound with precision and creativity. The hands-on control provided by MIDI assignments enhances the music production experience, allowing for intuitive and dynamic manipulation of your compositions.
With the MIDI controls successfully assigned in FL Studio, you’ve now completed the setup process for your Akai MPK Mini MIDI keyboard. You’re now ready to unleash your creativity and start producing music with the full potential of your MIDI controller at your fingertips.
Conclusion
Congratulations! You’ve successfully set up your Akai MPK Mini MIDI keyboard with FL Studio, paving the way for an immersive and dynamic music production experience. By following the step-by-step process outlined in this guide, you’ve established a seamless integration between the Akai MPK Mini and FL Studio, unlocking the full creative potential of your MIDI controller.
From connecting the Akai MPK Mini to your computer to customizing its settings using the Akai MPK Mini Editor software, you’ve laid the foundation for a personalized music production environment tailored to your specific workflow and preferences. By configuring the MIDI controls within FL Studio, you’ve harnessed the tactile and expressive capabilities of the Akai MPK Mini, allowing for hands-on manipulation of your music projects.
With the Akai MPK Mini at your disposal, you can now compose melodies, program beats, and sculpt sounds with precision and creativity. The combination of the Akai MPK Mini and FL Studio offers a versatile platform for music production, empowering you to bring your musical ideas to life with ease and flexibility.
As you embark on your music production journey with the Akai MPK Mini and FL Studio, continue to explore the myriad possibilities that this powerful combination presents. Experiment with different MIDI control mappings, delve into the expressive potential of the drum pads and keys, and embrace the intuitive workflow facilitated by the integration of your MIDI controller with FL Studio.
Whether you’re a seasoned producer or just beginning your music production endeavors, the Akai MPK Mini and FL Studio offer a compelling synergy that enhances the creative process and fuels inspiration. Embrace the freedom to shape and sculpt your sonic landscape, and let the seamless integration of the Akai MPK Mini and FL Studio be the catalyst for your musical expression.
With your Akai MPK Mini MIDI keyboard now fully integrated into FL Studio, you’re poised to embark on a captivating music production journey, where your creativity knows no bounds, and your musical visions come to life with unparalleled depth and expression.