Introduction
So, you've decided to dive into the world of music production and are eager to explore the possibilities of using a drum machine in FL Studio. A drum machine is a versatile tool that allows you to create rhythmic patterns, beats, and percussive sounds, making it an essential component of electronic music production. Whether you're a seasoned producer or a newcomer to the music-making scene, understanding how to use a drum machine effectively can greatly enhance your creative process and the overall quality of your tracks.
In this guide, we'll walk you through the process of using a drum machine in FL Studio, a popular digital audio workstation (DAW) known for its intuitive interface and powerful features. You'll learn how to set up your drum machine, create compelling patterns, add effects to your sounds, and effectively mix and arrange your drum tracks within FL Studio. By the end of this tutorial, you'll have a solid foundation for incorporating a drum machine into your music production workflow and unleashing your creativity in exciting new ways.
Whether you're aiming to produce pulsating techno beats, groovy hip-hop rhythms, or intricate electronic music, mastering the art of using a drum machine in FL Studio will undoubtedly elevate the quality and depth of your productions. Get ready to embark on a sonic journey as we unravel the intricacies of integrating a drum machine into FL Studio and unleash the full potential of your musical prowess. Let's dive in and explore the boundless possibilities that await you in the realm of electronic music production with FL Studio and a drum machine by your side.
So, let's dive into the world of music production and explore the possibilities of using a drum machine in FL Studio.
Setting Up Your Drum Machine
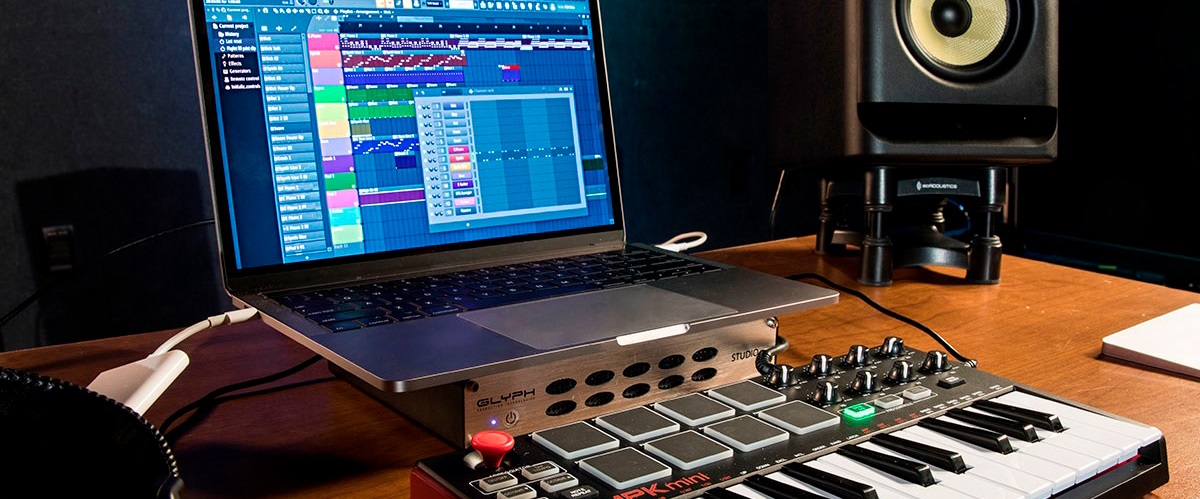
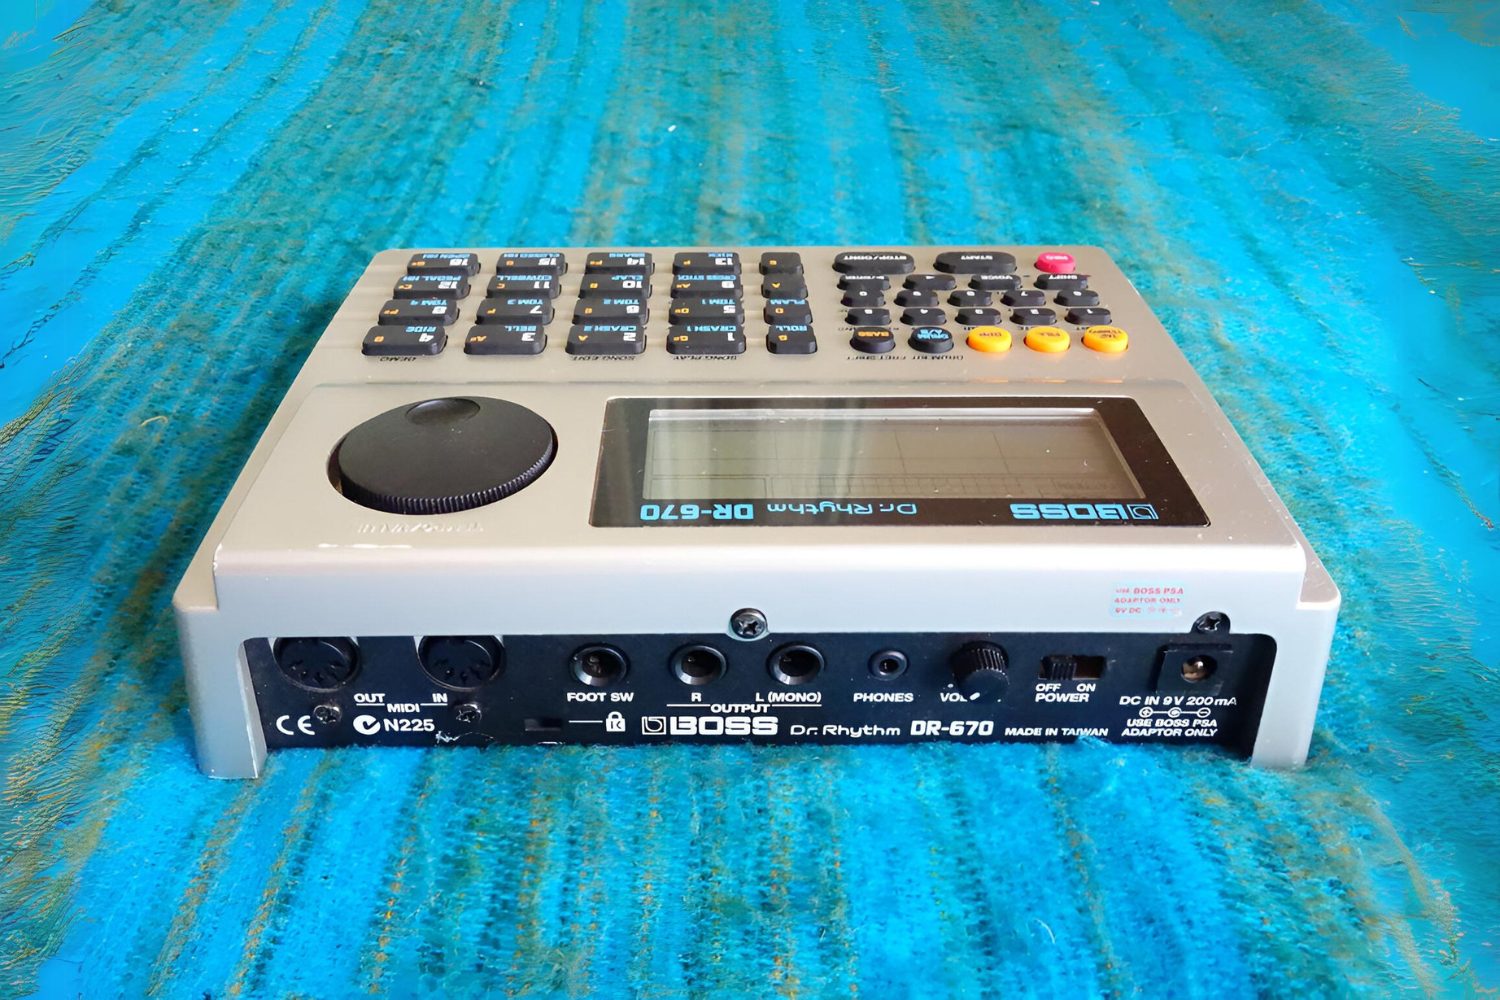
Before delving into the creative process of crafting compelling drum patterns, it’s crucial to ensure that your drum machine is seamlessly integrated into FL Studio. The initial setup involves establishing a connection between your drum machine and the DAW, allowing for seamless communication and control. Here’s a step-by-step guide to setting up your drum machine in FL Studio:
- Connecting Your Drum Machine: Begin by connecting your drum machine to your computer using a USB cable or MIDI interface. Ensure that the necessary drivers are installed to facilitate communication between the hardware and FL Studio.
- Configuring MIDI Settings: Access FL Studio’s MIDI settings and configure the input and output settings to correspond with your drum machine. This step is essential for enabling FL Studio to recognize and respond to the signals transmitted by your drum machine.
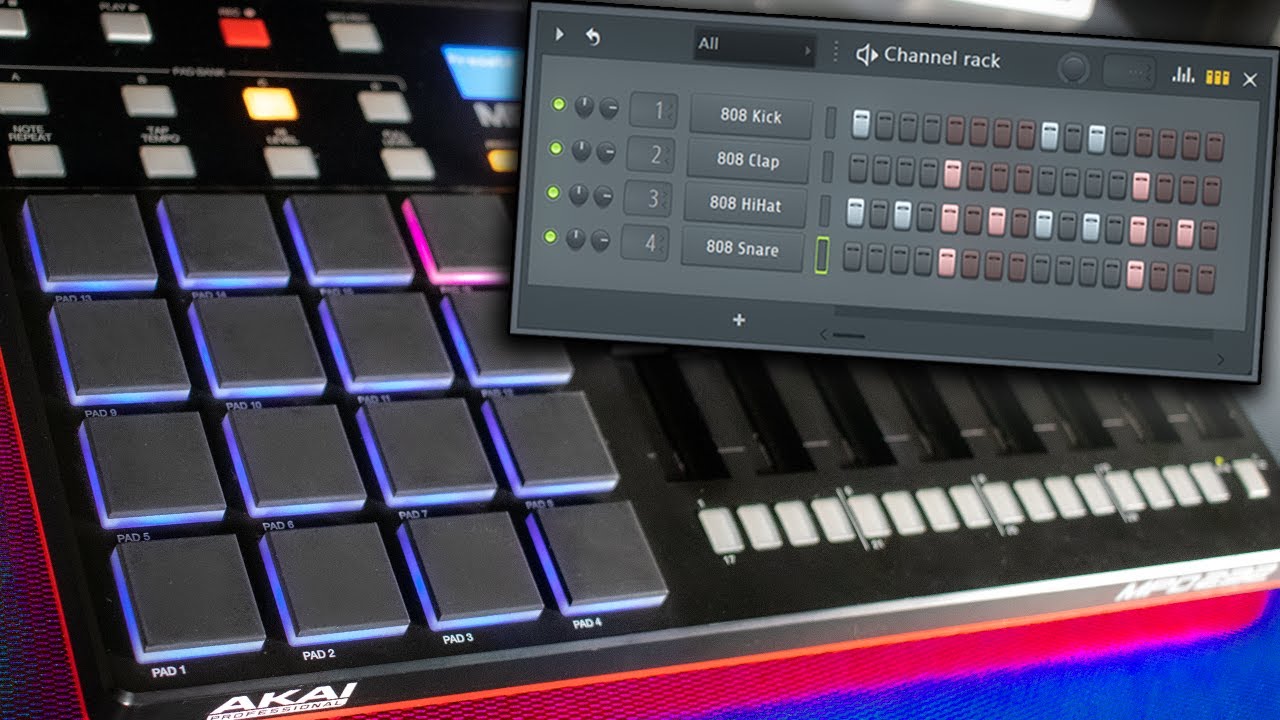
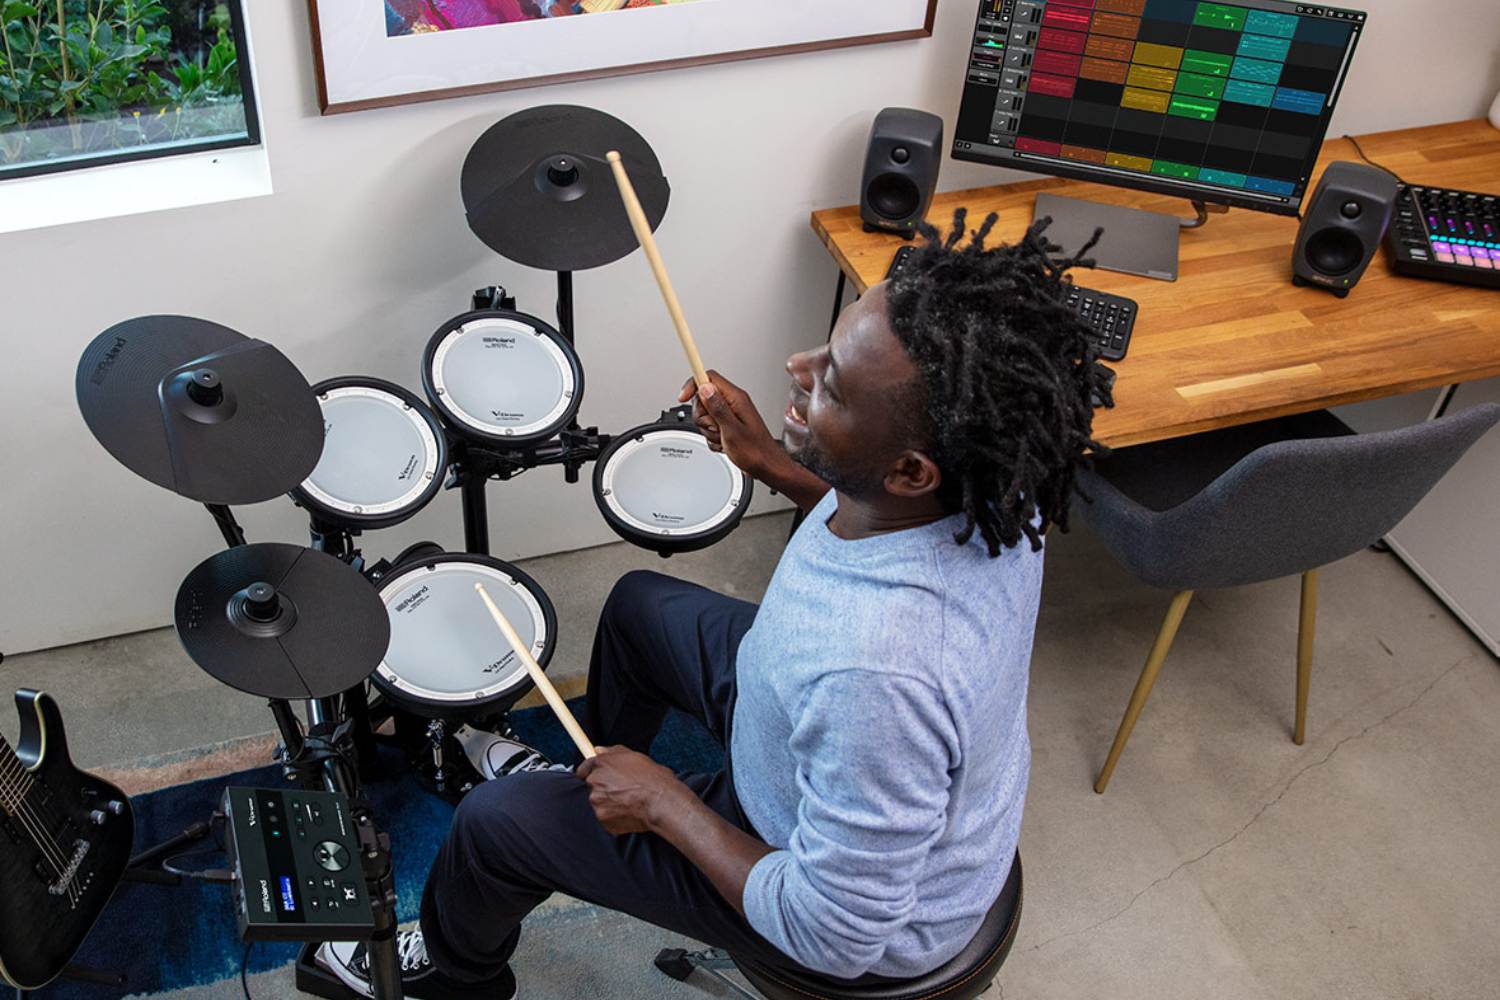
- Mapping Drum Pads: If your drum machine features assignable drum pads, take advantage of FL Studio’s MIDI mapping capabilities to assign specific drum sounds to individual pads. This mapping process streamlines the triggering of drum sounds within FL Studio, enhancing your workflow and performance capabilities.
- Syncing Tempo and Clock Signals: Ensure that your drum machine is synchronized with FL Studio’s tempo and clock signals. This synchronization allows for seamless integration of the drum machine’s rhythmic patterns with the overall tempo of your project, ensuring coherence and precision in your productions.
By meticulously following these steps, you’ll establish a robust connection between your drum machine and FL Studio, laying the groundwork for a seamless and efficient music production experience. With the setup process completed, you’re now ready to unleash your creativity and delve into the exhilarating realm of drum programming and beat creation within FL Studio.
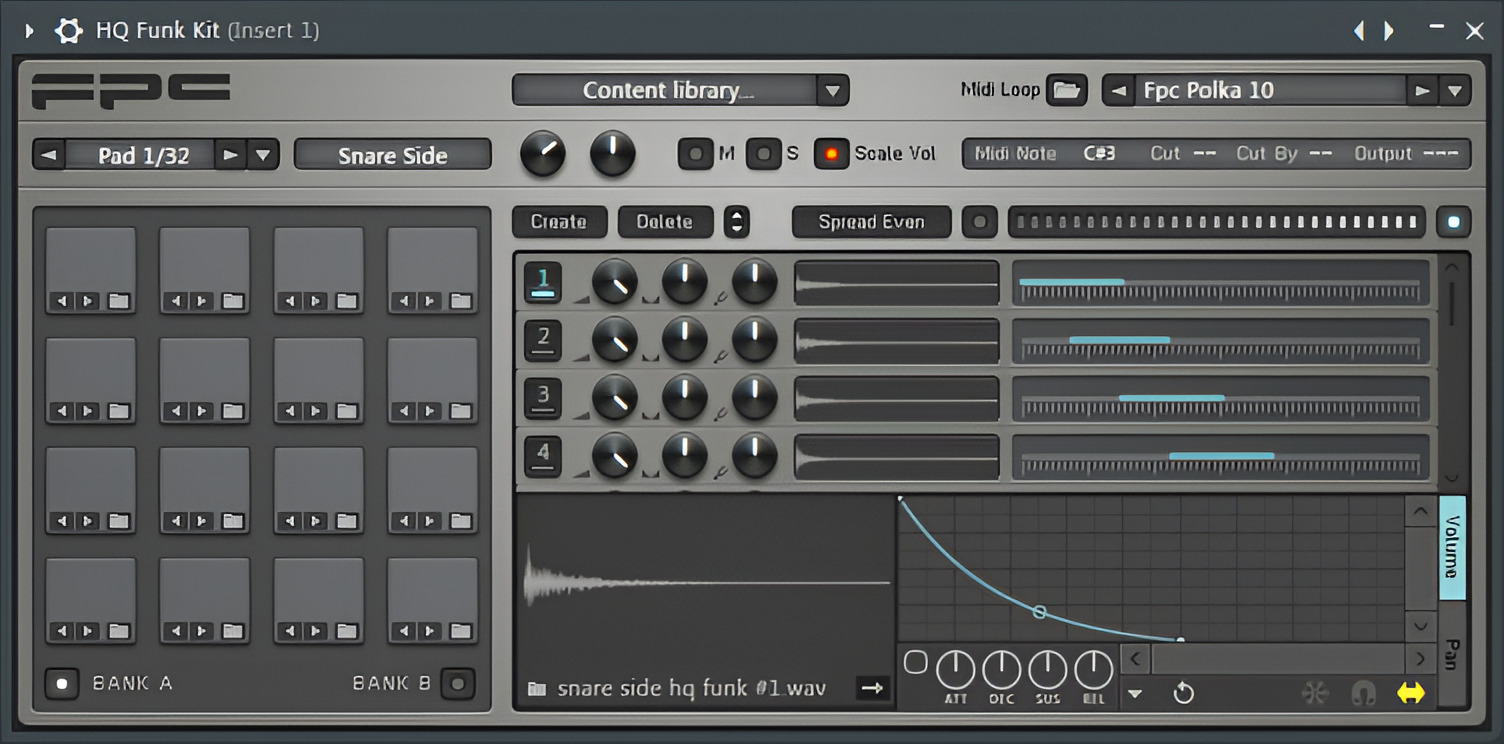
Creating Patterns
With your drum machine seamlessly integrated into FL Studio, it’s time to embark on the exhilarating journey of creating captivating drum patterns that form the rhythmic backbone of your music. FL Studio provides a dynamic environment for crafting intricate and expressive drum sequences, empowering you to infuse your tracks with unique energy and groove. Here’s how you can harness the power of FL Studio to craft compelling drum patterns:
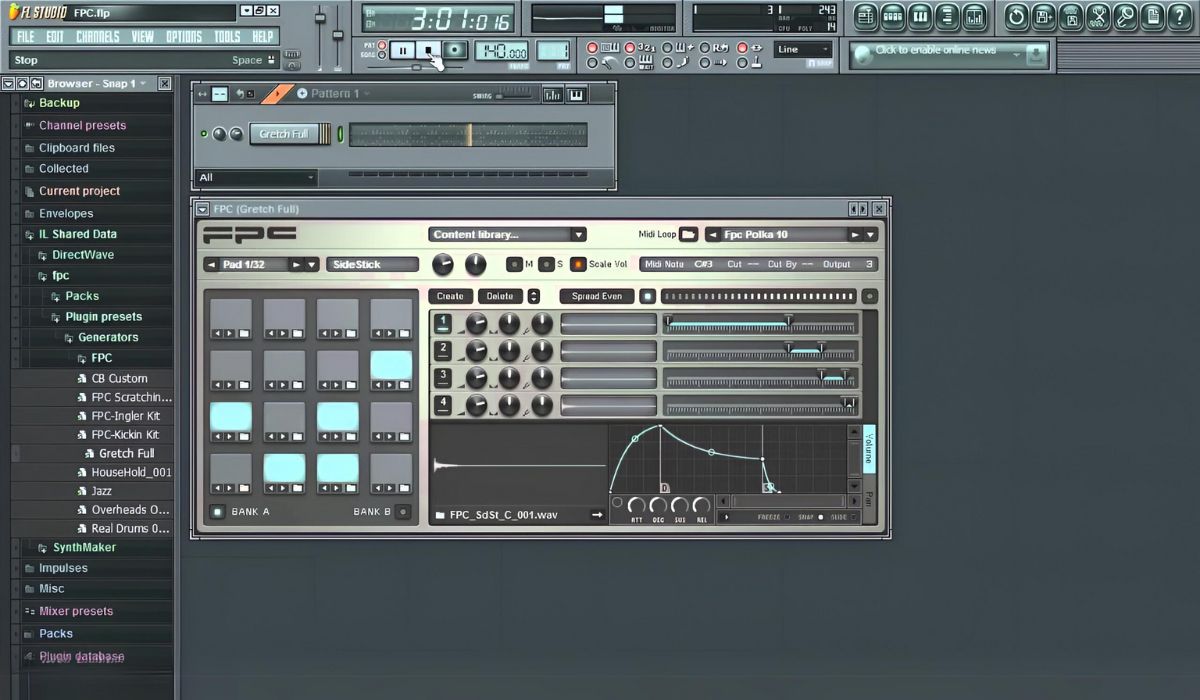
- Pattern Selection: Navigate to FL Studio’s pattern sequencer and select a blank pattern to serve as the canvas for your drum pattern. This dedicated space allows you to arrange and visualize your drum hits in a streamlined manner.
- Layering Drum Sounds: Experiment with layering different drum sounds, such as kicks, snares, hi-hats, and percussion, to construct a rich and diverse sonic palette. FL Studio’s pattern sequencer enables you to layer and arrange these sounds with precision, allowing for intricate and nuanced patterns.
- Rhythmic Programming: Utilize FL Studio’s piano roll or step sequencer to program rhythmic sequences for each drum sound. This versatile approach grants you the freedom to craft complex rhythms, syncopated grooves, and intricate patterns, infusing your music with a distinct sense of movement and vitality.
- Velocity and Dynamics: Leverage FL Studio’s velocity controls to modulate the intensity and dynamics of individual drum hits, adding depth and expressiveness to your patterns. By adjusting the velocity of each hit, you can imbue your drum sequences with a human-like feel and subtle variations, enhancing their musicality.
As you immerse yourself in the process of crafting drum patterns within FL Studio, embrace experimentation and creativity to unlock the full potential of your drum machine. Whether you’re aiming for driving, pulsating rhythms or intricate, textural percussion, FL Studio empowers you to realize your sonic vision with precision and finesse.
Adding Effects
Once you’ve sculpted compelling drum patterns within FL Studio, the next phase of the creative journey involves enhancing and shaping your drum sounds through the application of effects. FL Studio offers a diverse array of effects and processing tools that enable you to imbue your drum sequences with character, depth, and sonic richness. Here’s how you can leverage FL Studio’s effects to elevate your drum tracks:
- Equalization (EQ): Utilize FL Studio’s parametric EQ to sculpt the tonal balance of your drum sounds, emphasizing the desired frequencies and attenuating any sonic anomalies. By applying precise EQ adjustments to individual drum elements, you can achieve clarity, punch, and cohesion within your drum mix.
- Compression: Harness the power of compression to control the dynamic range of your drum sounds, ensuring consistent levels and impactful transients. FL Studio’s compressor allows you to shape the envelope and intensity of your drum hits, enhancing their presence and impact within the mix.
- Reverb and Delay: Experiment with reverb and delay effects to infuse your drum sounds with spatial depth and ambience. By judiciously applying these effects, you can imbue your drum patterns with a sense of space, dimension, and immersive texture, adding a captivating sonic allure to your productions.
- Distortion and Saturation: Introduce harmonic richness and grit to your drum sounds using FL Studio’s distortion and saturation effects. These processing tools can imbue your drum sequences with warmth, edge, and harmonic complexity, elevating their sonic impact and contributing to a vibrant, energetic mix.
As you explore the realm of effects within FL Studio, approach the process with a spirit of experimentation and sonic exploration. By judiciously applying EQ, compression, spatial effects, and harmonic processing to your drum tracks, you can sculpt a dynamic and expressive sonic landscape that captivates listeners and elevates your music to new heights.
Mixing and Arranging
With your drum patterns sculpted and enhanced through the application of effects, the final phase of the music production process within FL Studio involves skillfully mixing and arranging your drum tracks to achieve a polished and cohesive sonic tapestry. The mixing and arrangement stage is where you’ll fine-tune the balance, spatial placement, and overall impact of your drum sounds, ensuring that they seamlessly integrate with the other elements of your composition. Here’s how you can approach the mixing and arranging of your drum tracks within FL Studio:
- Balance and Leveling: Begin by setting the relative levels of your individual drum elements, ensuring that each sound occupies its rightful place within the mix. FL Studio’s mixer provides intuitive controls for adjusting the volume and panning of your drum tracks, allowing you to achieve a balanced and spatially coherent drum mix.
- Dynamic Processing: Apply dynamic processing techniques such as multiband compression and transient shaping to refine the dynamic impact and clarity of your drum tracks. By sculpting the transients, sustain, and tonal balance of your drum sounds, you can achieve a polished and impactful mix that resonates with clarity and power.
- Automation and Movement: Utilize FL Studio’s automation features to introduce subtle changes and expressive movement within your drum patterns. Automating parameters such as panning, filter cutoff, and effect sends can infuse your drum tracks with evolving dynamics and captivating nuances, enhancing their expressive impact within the arrangement.
- Arrangement and Structure: Craft a compelling arrangement for your drum patterns, shaping the evolution and progression of the rhythmic elements throughout the composition. FL Studio’s versatile playlist and arrangement tools enable you to sequence and structure your drum patterns with precision, creating a cohesive and engaging musical narrative.
As you immerse yourself in the art of mixing and arranging your drum tracks within FL Studio, embrace the creative possibilities offered by the DAW’s comprehensive set of mixing tools and arrangement features. By skillfully balancing, processing, and arranging your drum patterns, you can sculpt a captivating sonic landscape that captivates listeners and propels your music to new heights of impact and expressiveness.
Conclusion
Congratulations on embarking on a transformative journey into the realm of music production with FL Studio and a drum machine at your disposal. Throughout this guide, you’ve gained valuable insights into the process of integrating and utilizing a drum machine within FL Studio, unlocking a world of creative possibilities and sonic exploration. By setting up your drum machine, crafting compelling patterns, adding effects, and skillfully mixing and arranging your drum tracks, you’ve honed your skills as a versatile and adept music producer within the digital domain.
As you continue to refine your craft and explore the myriad facets of electronic music production, remember that experimentation, creativity, and a willingness to push the boundaries of sonic expression are your greatest assets. FL Studio serves as a boundless canvas for your musical vision, empowering you to sculpt immersive and evocative sonic landscapes that resonate with audiences and fellow music enthusiasts.
Whether you’re drawn to the hypnotic pulse of techno, the infectious rhythms of hip-hop, or the ethereal textures of ambient music, the knowledge and techniques you’ve acquired in this guide will serve as a solid foundation for your ongoing musical endeavors. Embrace the joy of creation, immerse yourself in the sonic tapestry of FL Studio, and let your passion for music guide you as you continue to evolve and innovate as a music producer.
With each beat, rhythm, and sonic experiment, you’re contributing to the rich tapestry of electronic music, adding your unique voice to a vibrant and ever-evolving artistic landscape. Embrace the creative journey that lies ahead, and let the rhythmic pulse of the drum machine propel you toward new horizons of musical expression and boundless creativity.