Introduction
If you're a music enthusiast or a budding producer, connecting your MIDI keyboard to FL Studio opens up a world of creative possibilities. MIDI keyboards allow you to input musical notes, control various parameters, and unleash your musical ideas with ease. FL Studio, a popular digital audio workstation, seamlessly integrates with MIDI devices, providing a platform for intuitive music production.
In this comprehensive guide, we'll walk you through the process of connecting your MIDI keyboard to FL Studio, ensuring that you can harness its full potential. Whether you're a seasoned producer or a newcomer to the music production realm, this step-by-step tutorial will equip you with the knowledge to establish a seamless connection between your MIDI keyboard and FL Studio.
Embark on this journey with us as we demystify the process, from gathering the necessary equipment to configuring FL Studio for optimal performance. By the end of this guide, you'll be ready to unleash your creativity and musical prowess, empowered by the harmonious fusion of your MIDI keyboard and FL Studio. Let's dive in and unlock the gateway to a world of musical expression and innovation.
Step 1: Gather Your Equipment
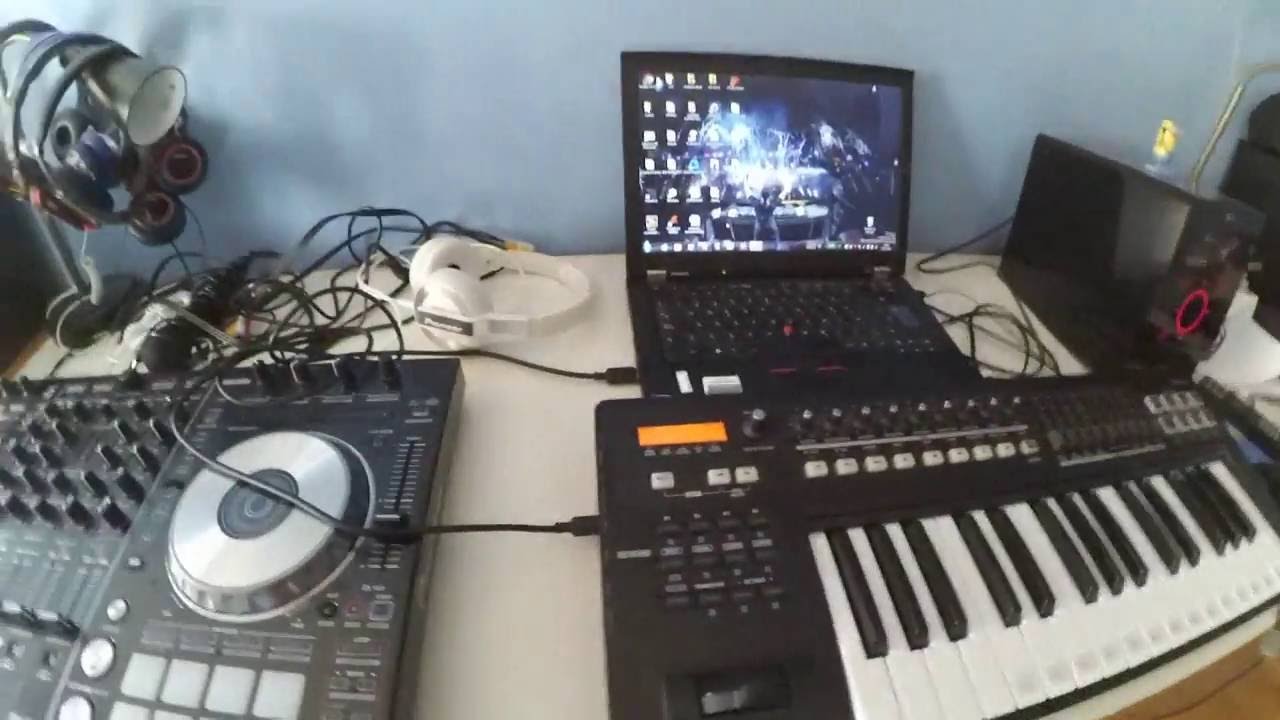
Before embarking on the journey of connecting your MIDI keyboard to FL Studio, it’s essential to gather the requisite equipment. Ensuring that you have the right tools at your disposal will pave the way for a seamless setup process, allowing you to focus on unleashing your musical creativity.
Here’s a checklist of the essential equipment you’ll need:
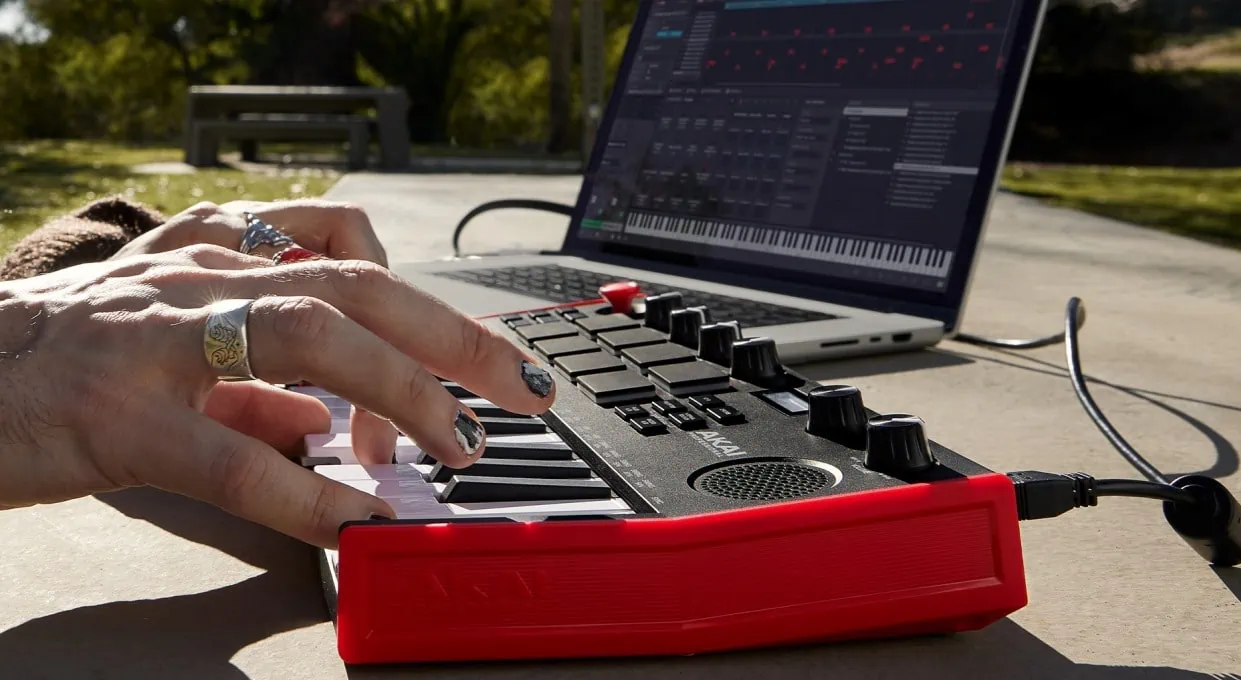
- MIDI Keyboard: Select a MIDI keyboard that aligns with your musical preferences and production requirements. Whether you prefer a compact, portable keyboard or a full-sized, feature-rich one, choose a model that resonates with your musical style.
- Computer: Ensure that you have a computer or laptop capable of running FL Studio. Check the system requirements to guarantee compatibility and optimal performance.
- USB Cable: A standard USB cable will serve as the physical link between your MIDI keyboard and computer. Ensure that the cable is in good condition to facilitate uninterrupted data transfer.
- Power Adapter (if applicable): If your MIDI keyboard requires external power, have the power adapter on hand to supply the necessary electricity.
- Internet Connection: A stable internet connection is beneficial for downloading any essential drivers or updates for your MIDI keyboard and FL Studio.
By assembling these fundamental components, you’ll lay a solid foundation for the subsequent steps in the process. With your MIDI keyboard and accompanying equipment at the ready, you’re poised to seamlessly integrate it with FL Studio, unlocking a realm of musical possibilities.
Step 2: Install the Necessary Drivers
Once you’ve gathered your MIDI keyboard and essential equipment, the next crucial step is to install the requisite drivers on your computer. These drivers facilitate communication between your MIDI keyboard and FL Studio, enabling seamless interaction and functionality. Follow these steps to ensure a smooth driver installation process:
- Check the Manufacturer’s Website: Visit the official website of your MIDI keyboard’s manufacturer to locate the latest drivers for your specific model. Manufacturers often provide driver downloads and updates on their websites to ensure compatibility with various operating systems.
- Download the Drivers: Locate and download the appropriate drivers for your MIDI keyboard and operating system. Ensure that you select the correct driver version to align with your computer’s specifications.
- Run the Installation File: Once the driver download is complete, run the installation file and follow the on-screen instructions. This typically involves accepting the end-user license agreement and choosing the installation directory.
- Restart Your Computer: After the driver installation is complete, restart your computer to finalize the setup process. This ensures that the newly installed drivers are fully integrated into your system.
By meticulously following these steps, you’ll successfully install the necessary drivers for your MIDI keyboard, laying the groundwork for seamless integration with FL Studio. The installation of up-to-date drivers is paramount in ensuring optimal performance and functionality, empowering you to harness the full potential of your MIDI keyboard within the FL Studio environment.
Step 3: Connect the MIDI Keyboard to Your Computer
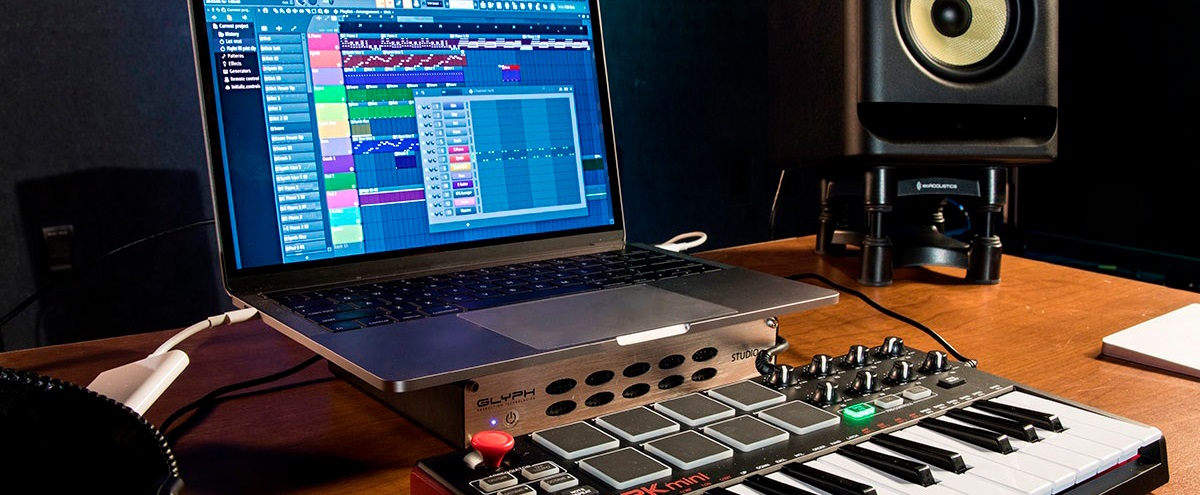
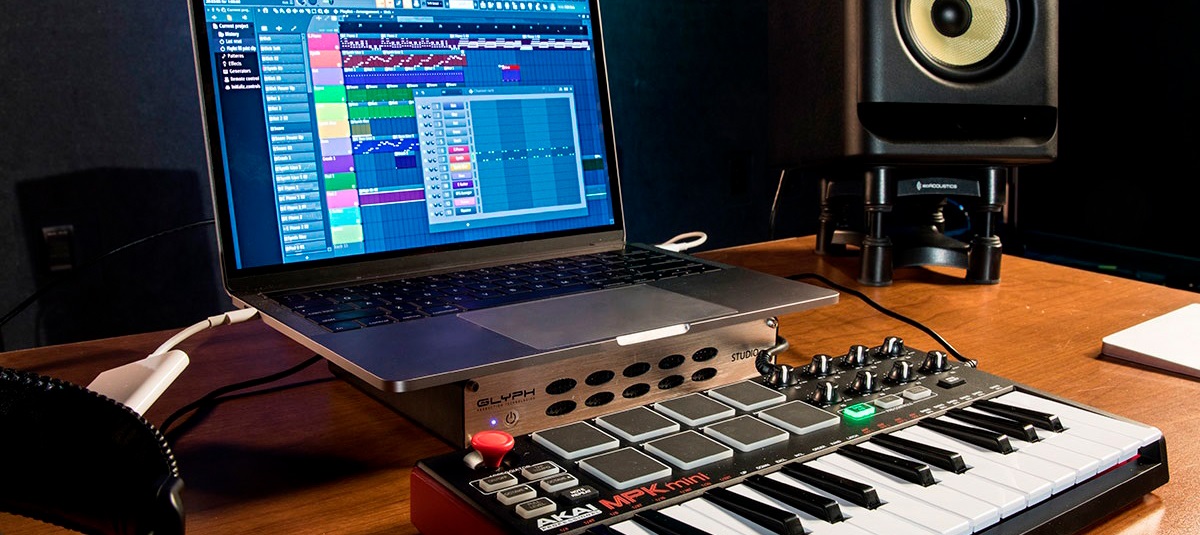
With the requisite drivers installed, the next pivotal step is to physically connect your MIDI keyboard to your computer, establishing the vital link that allows seamless communication between the two devices. Follow these steps to ensure a secure and reliable connection:
- Locate the USB Port: Identify the USB port on your MIDI keyboard. This port is typically located on the rear or side of the keyboard and is used to establish a connection with your computer.
- Connect the USB Cable: Take the standard USB cable and insert one end into the USB port on your MIDI keyboard. Ensure a secure connection to prevent any disruptions during operation.
- Connect to Your Computer: Insert the opposite end of the USB cable into an available USB port on your computer. Choose a port that provides easy access and minimizes the risk of accidental disconnection.
- Power On Your MIDI Keyboard: If your MIDI keyboard requires external power, ensure that it is powered on using the designated power adapter or power source. This step is essential to enable the keyboard to interface with your computer.
By meticulously following these steps, you’ll establish a robust physical connection between your MIDI keyboard and computer, setting the stage for seamless interaction within the FL Studio environment. The secure link forged through the USB connection serves as the conduit for transmitting musical input and commands, allowing you to unleash your creative potential with ease.
Step 4: Configure FL Studio
With your MIDI keyboard physically connected to your computer, the next crucial step is to configure FL Studio to recognize and integrate your MIDI device seamlessly. Follow these essential steps to ensure that FL Studio is optimized for interaction with your MIDI keyboard:
- Launch FL Studio: Open FL Studio on your computer to initiate the configuration process. Ensure that your MIDI keyboard is connected and powered on before proceeding.
- Access the MIDI Settings: Navigate to the “Options” menu within FL Studio and select “MIDI Settings.” This menu provides access to a range of MIDI-related configurations and options.
- Enable the MIDI Keyboard: In the MIDI Settings menu, locate your MIDI keyboard from the list of available input devices. Ensure that the MIDI keyboard is enabled and set as an active input device within FL Studio.
- Assign MIDI Channels: If your MIDI keyboard supports multiple MIDI channels, you can assign specific channels to control various aspects of FL Studio, such as instruments, effects, or mixer parameters. Configure the MIDI channels based on your production preferences and workflow.
- Map MIDI Controls (Optional): If your MIDI keyboard features assignable controls such as knobs, sliders, or pads, you can map these controls to specific functions within FL Studio. This customization enhances your workflow and provides tactile control over various aspects of music production.
By diligently following these steps, you’ll effectively configure FL Studio to harmonize with your MIDI keyboard, creating a symbiotic relationship that amplifies your creative capabilities. The seamless integration of your MIDI device within FL Studio paves the way for intuitive music production, allowing you to translate your musical ideas into compelling compositions with unparalleled fluidity.
Step 5: Test the Connection
After configuring FL Studio to recognize your MIDI keyboard, it’s imperative to conduct a thorough test to ensure that the connection is robust and responsive. This pivotal step allows you to validate the seamless integration of your MIDI device within the FL Studio environment, affirming that it accurately interprets your musical input. Follow these steps to conduct a comprehensive test of the connection:
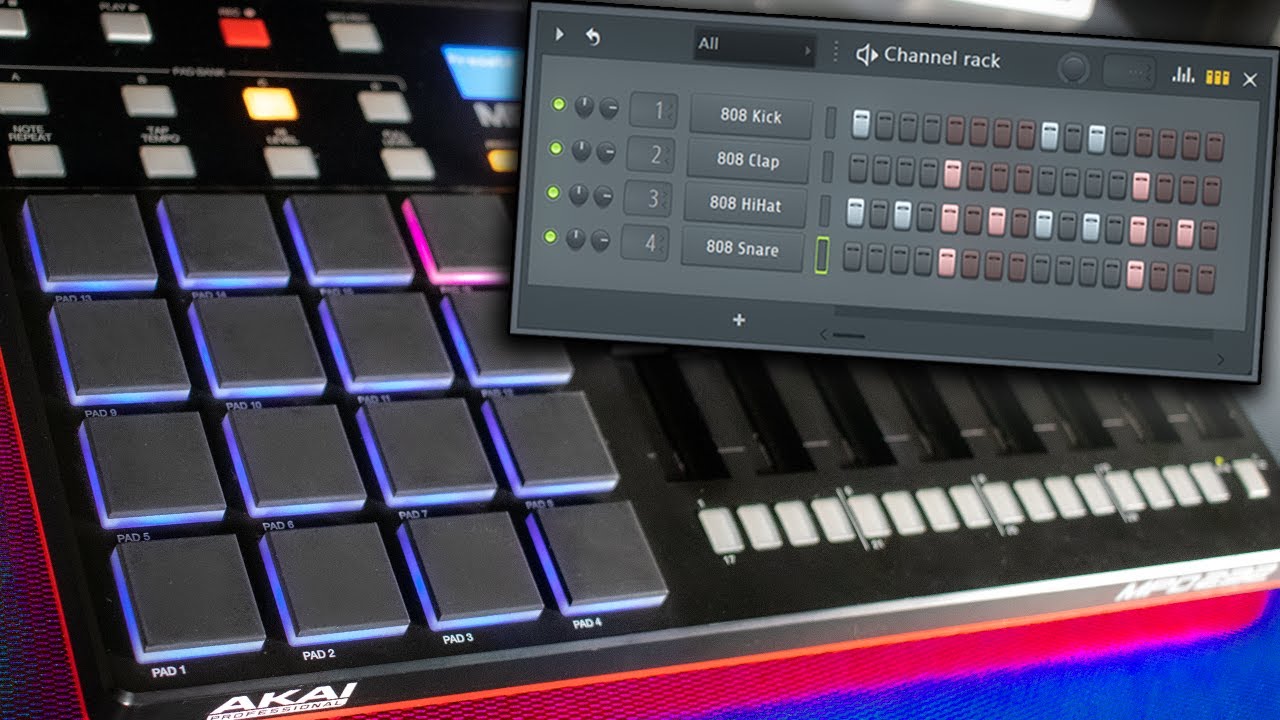
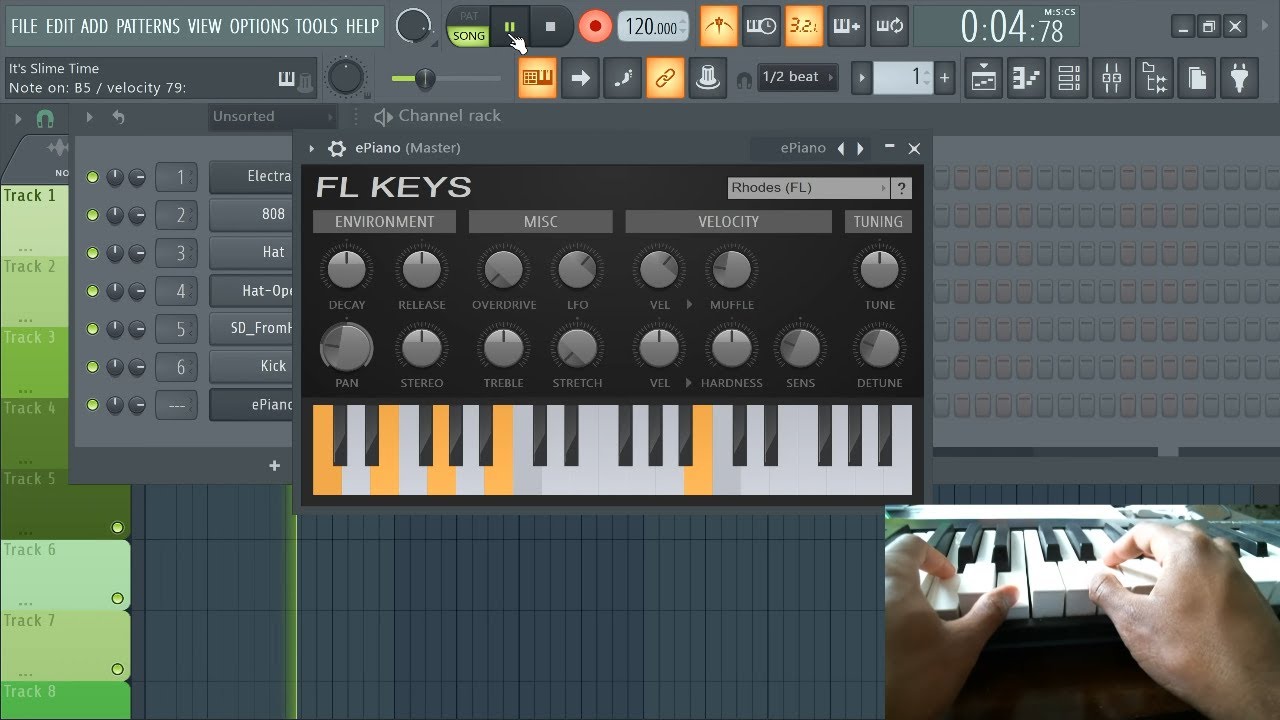
- Select a Virtual Instrument: Within FL Studio, choose a virtual instrument or plugin that you intend to control with your MIDI keyboard. This could be a synthesizer, piano, drum kit, or any other instrument available within FL Studio’s extensive library.
- Play Musical Notes: Use your MIDI keyboard to play musical notes or trigger sounds within the selected virtual instrument. Verify that the notes played on the keyboard are accurately reflected in the FL Studio interface, indicating a seamless translation of your input.
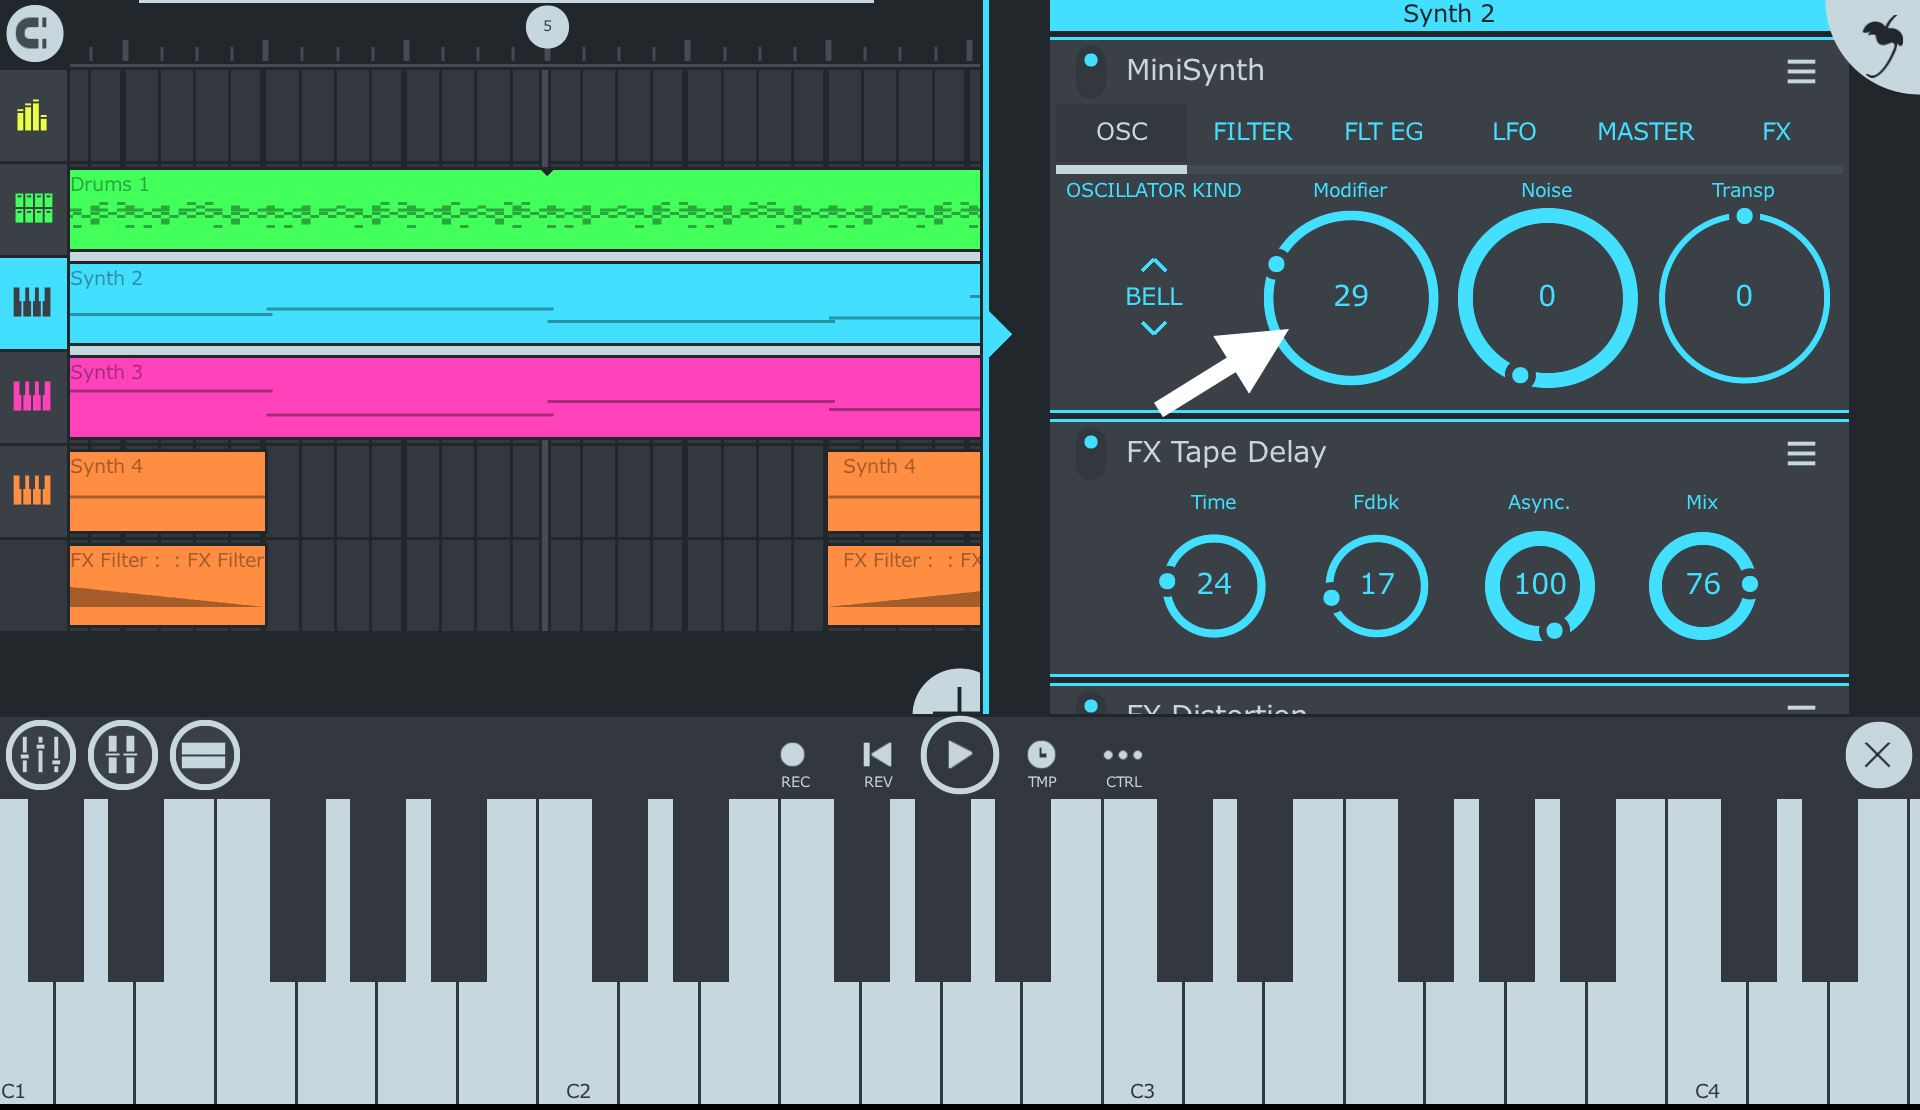
- Test MIDI Controls (if applicable): If your MIDI keyboard features assignable controls such as knobs, sliders, or pads, test their functionality within FL Studio. Ensure that these controls effectively manipulate parameters or trigger functions as intended, validating their seamless integration.
- Record and Playback: Record a short musical passage using your MIDI keyboard within FL Studio. Playback the recorded sequence to confirm that the MIDI input is accurately captured and reproduced, demonstrating the reliability of the connection.
By meticulously conducting these tests, you’ll ascertain the robustness of the connection between your MIDI keyboard and FL Studio, validating its responsiveness and accuracy. This comprehensive evaluation serves as the litmus test for the successful integration of your MIDI device, affirming that it seamlessly translates your musical expressions into the digital realm with precision and fidelity.
Conclusion
Embarking on the journey to connect your MIDI keyboard to FL Studio has equipped you with the knowledge and practical steps to seamlessly integrate these essential components of music production. By following the comprehensive guide outlined in this tutorial, you’ve navigated through the pivotal stages of gathering the necessary equipment, installing drivers, establishing physical connections, configuring FL Studio, and validating the robustness of the connection through thorough testing.
With your MIDI keyboard harmoniously integrated into the FL Studio environment, you now possess the capability to unleash your musical creativity with unparalleled fluidity and precision. The symbiotic relationship between your MIDI device and FL Studio empowers you to translate your artistic vision into captivating compositions, leveraging the intuitive interface and expressive capabilities of your MIDI keyboard within the versatile framework of FL Studio.
As you venture forth into the realm of music production, the seamless connection between your MIDI keyboard and FL Studio serves as the gateway to a world of limitless musical expression and innovation. Whether you’re crafting melodic arrangements, sculpting intricate soundscapes, or experimenting with rhythmic textures, the fusion of your MIDI keyboard and FL Studio amplifies your creative potential, enabling you to embark on a captivating musical journey.
Armed with this newfound knowledge and the practical insights gleaned from this guide, you’re poised to harness the full potential of your MIDI keyboard within the dynamic landscape of FL Studio, shaping your musical aspirations into tangible sonic experiences. Embrace this fusion of technology and creativity as you embark on your music production endeavors, knowing that the seamless connection between your MIDI keyboard and FL Studio is the catalyst for transformative musical expression.