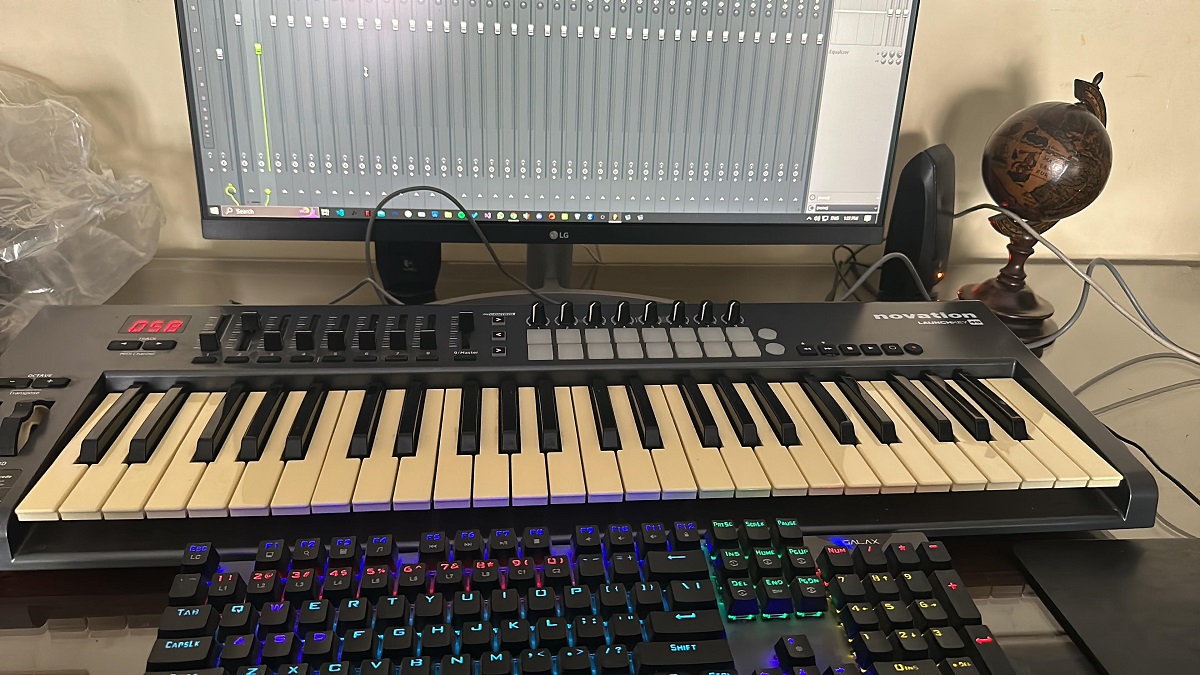
To record MIDI keyboard in piano roll in FL Studio, you connect your controller, enable it in MIDI settings, and capture live note data directly into the Piano Roll for editing. This process lets you preserve the expressive nuances of your performance and then refine every note with precision.
Setting up your MIDI keyboard in FL Studio
Before recording, your MIDI keyboard must be physically connected to your computer via USB or a MIDI cable. Once connected, open FL Studio and access the MIDI settings by choosing Options > MIDI settings from the main menu or pressing F10.
- In the MIDI Settings window, locate your controller in the Input list.
- Click on your device to highlight it, then select the Enable switch or checkbox below the list to activate it.
- Ensure the Enable MIDI remote control option is selected in the Options menu, as MIDI input is disabled otherwise.
Verify the connection by playing a few notes on your keyboard. If successful, the MIDI activity light on the Main Panel will blink when controller data is received. For multiple MIDI controllers, enable each one in Options > MIDI settings and assign different Port numbers to distinguish them.
Configuring the recording filter and pattern
FL Studio records different types of data, so you need to tell it exactly what to capture. Right-click the Record button in the Transport Panel to open the recording filter and ensure that Note is selected as a recording type. All data types with a tick will be recorded, so deselect anything you don't want.
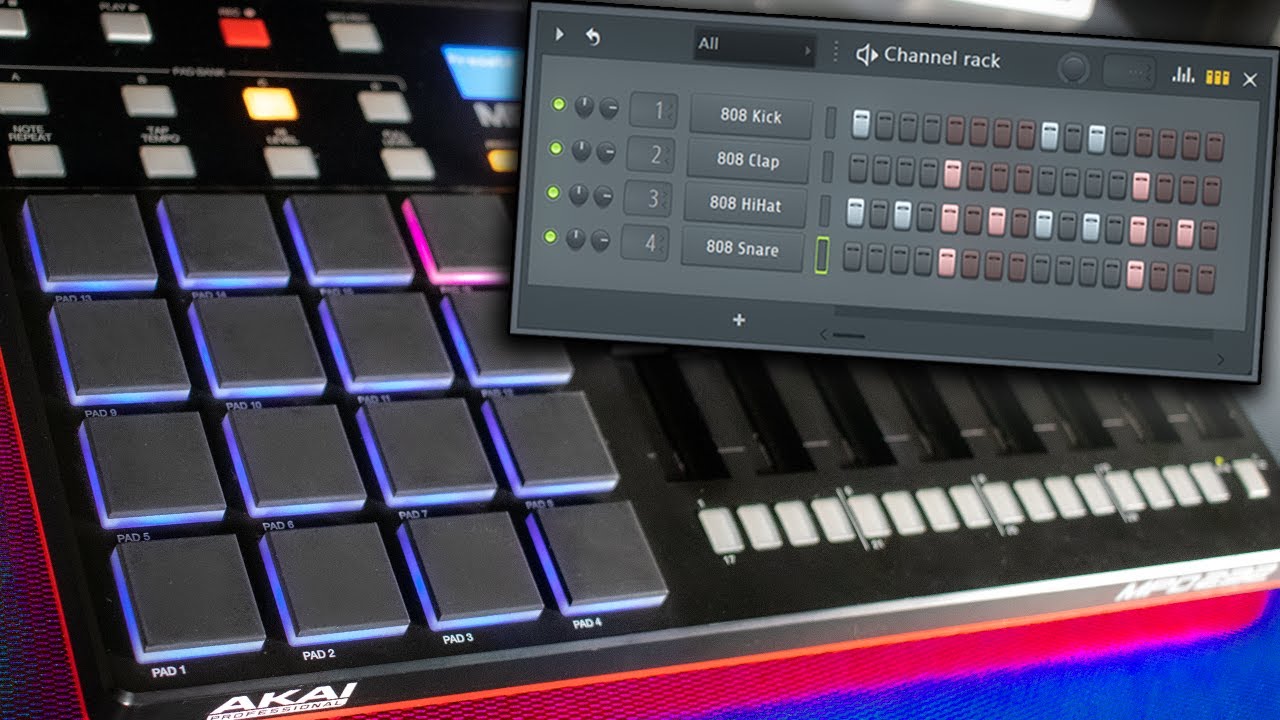
- Select the desired Instrument Channel in the Channel Rack by clicking its channel button; this instrument will receive the note data.
- Select the Pattern where the note data will be recorded. Note data can only be recorded into one pattern at a time.
If you want a count-in before recording starts, select the Recording Countdown option on the Toolbar shortcut icons. This gives you a beat or two to prepare before FL Studio begins capturing your performance.
Recording live MIDI into the Piano Roll
With your keyboard configured and the recording filter set, you're ready to capture your performance. The key is to ensure you're in the right mode for real-time recording rather than step entry.
- Confirm that the Step Editing option in the Toolbar is turned off. This foot icon must be disabled for live recording.
- Arm for recording by selecting the Record button in the Transport panel, which will turn red.
- Press the Play button in the Transport panel, and FL Studio will begin recording any note events received from your MIDI controller into the selected Pattern.
In Pattern mode, MIDI data will be recorded into the currently selected pattern and appear in the selected Channel's Piano roll preview window. Double-click the preview to display the full Piano Roll, where you'll see your notes as vertical bars representing pitch and duration. In Song mode, the Pattern Clip will be automatically placed at the point where Playback started from after recording is stopped. If you have a specific Playlist track for the Clip, place an empty Pattern Clip for the pattern being recorded in the Playlist at the desired starting point.
Fixing timing and quantizing issues
Live recordings often contain timing imperfections, either from your playing or from system latencies. Before reaching for the Offset control, check your Global Snap settings. Global Snap can cause input quantizing during live recording, so adjust it if precise, unquantized recording is desired. To disable input quantizing, set the Global Snap to Line, Cell, or (none).
If timing errors persist after disabling snap, use the Audio Settings Playback tracking: Offset control to correct note-start timing errors caused by system issues or latencies. You can also customize how notes are quantized with the Record-button Right-Click menu options: Note start time, Note end time, and Leave note duration. These give you granular control over what gets snapped and what stays untouched.
Once your recording is captured, the Piano Roll offers extensive editing tools. Click on individual notes to modify pitch, duration, and velocity by dragging boundaries or fine-tuning values. Use quantization and snap settings to align notes to a grid for rhythmic consistency. Explore articulation by adjusting velocities, introducing pitch bends, and modulating expression. FL Studio's brush, pencil, and line tools let you sculpt MIDI data with precision, whether you're correcting imperfections or experimenting with creative embellishments.
Using the typing keyboard as a MIDI controller
If you don't have a physical MIDI keyboard, you can still record into the Piano Roll using your computer's typing keyboard. Select the 'Typing keyboard to piano keyboard' option in FL Studio to enable this alternative input method. This is particularly useful when you're away from your studio or want to quickly sketch an idea without setting up hardware.
With the typing keyboard enabled, you can play notes using your computer keys and record them into the Piano Roll just like a hardware controller. While you won't have velocity sensitivity or pitch bend, it's a practical way to capture melodic ideas. For those interested in building a custom controller, you can also explore how to build your own MIDI keyboard using Arduino or similar platforms, which opens up endless possibilities for tailored performance tools. Similarly, if you're working in other DAWs, you might want to know how to use a MIDI keyboard in BandLab for quick collaborations, or how to connect an electric guitar to fl studio for recording live instruments alongside your MIDI tracks.
Mastering MIDI recording in the Piano Roll transforms how you capture and refine musical ideas. The seamless integration between your controller and FL Studio lets you preserve the dynamics and nuances of your playing, then shape them with meticulous detail. As you iterate through recording, editing, and refining, the Piano Roll becomes a dynamic canvas for translating your musical imagination into polished compositions. Whether you're correcting timing, adjusting velocities, or experimenting with creative variations, the tools at your disposal empower you to breathe life into every note and craft arrangements with expressive depth.