Introduction
So, you've got a digital piano and you're ready to take your music production to the next level. Recording your digital piano in FL Studio can open up a world of creative possibilities, allowing you to capture your musical ideas and refine them into polished tracks. Whether you're a seasoned musician or just starting out, this guide will walk you through the process of recording your digital piano in FL Studio, from setting up your equipment to editing and mixing your recorded tracks.
Recording a digital piano in FL Studio offers a myriad of advantages. It allows you to harness the power of FL Studio's robust recording and editing capabilities to capture the nuances of your piano performance with pristine clarity. Additionally, by integrating your piano recordings with FL Studio's vast array of virtual instruments and effects, you can craft rich, dynamic compositions that transcend the limitations of traditional piano recordings.
In this comprehensive guide, we will delve into the essential steps for recording your digital piano in FL Studio, covering everything from setting up your digital piano and connecting it to FL Studio to configuring the software for recording and editing and mixing your piano tracks. By the end of this guide, you'll be equipped with the knowledge and skills to seamlessly integrate your digital piano into your music production workflow, unleashing your creativity and elevating your musical projects.
Whether you aspire to compose intricate piano solos, incorporate piano accompaniments into your arrangements, or experiment with innovative sound design using your digital piano, recording in FL Studio empowers you to bring your musical visions to life. So, let's dive in and explore the exciting world of recording your digital piano in FL Studio.
In the next section, we'll discuss the crucial steps for setting up your digital piano, ensuring that you're ready to embark on your recording journey with confidence and precision.
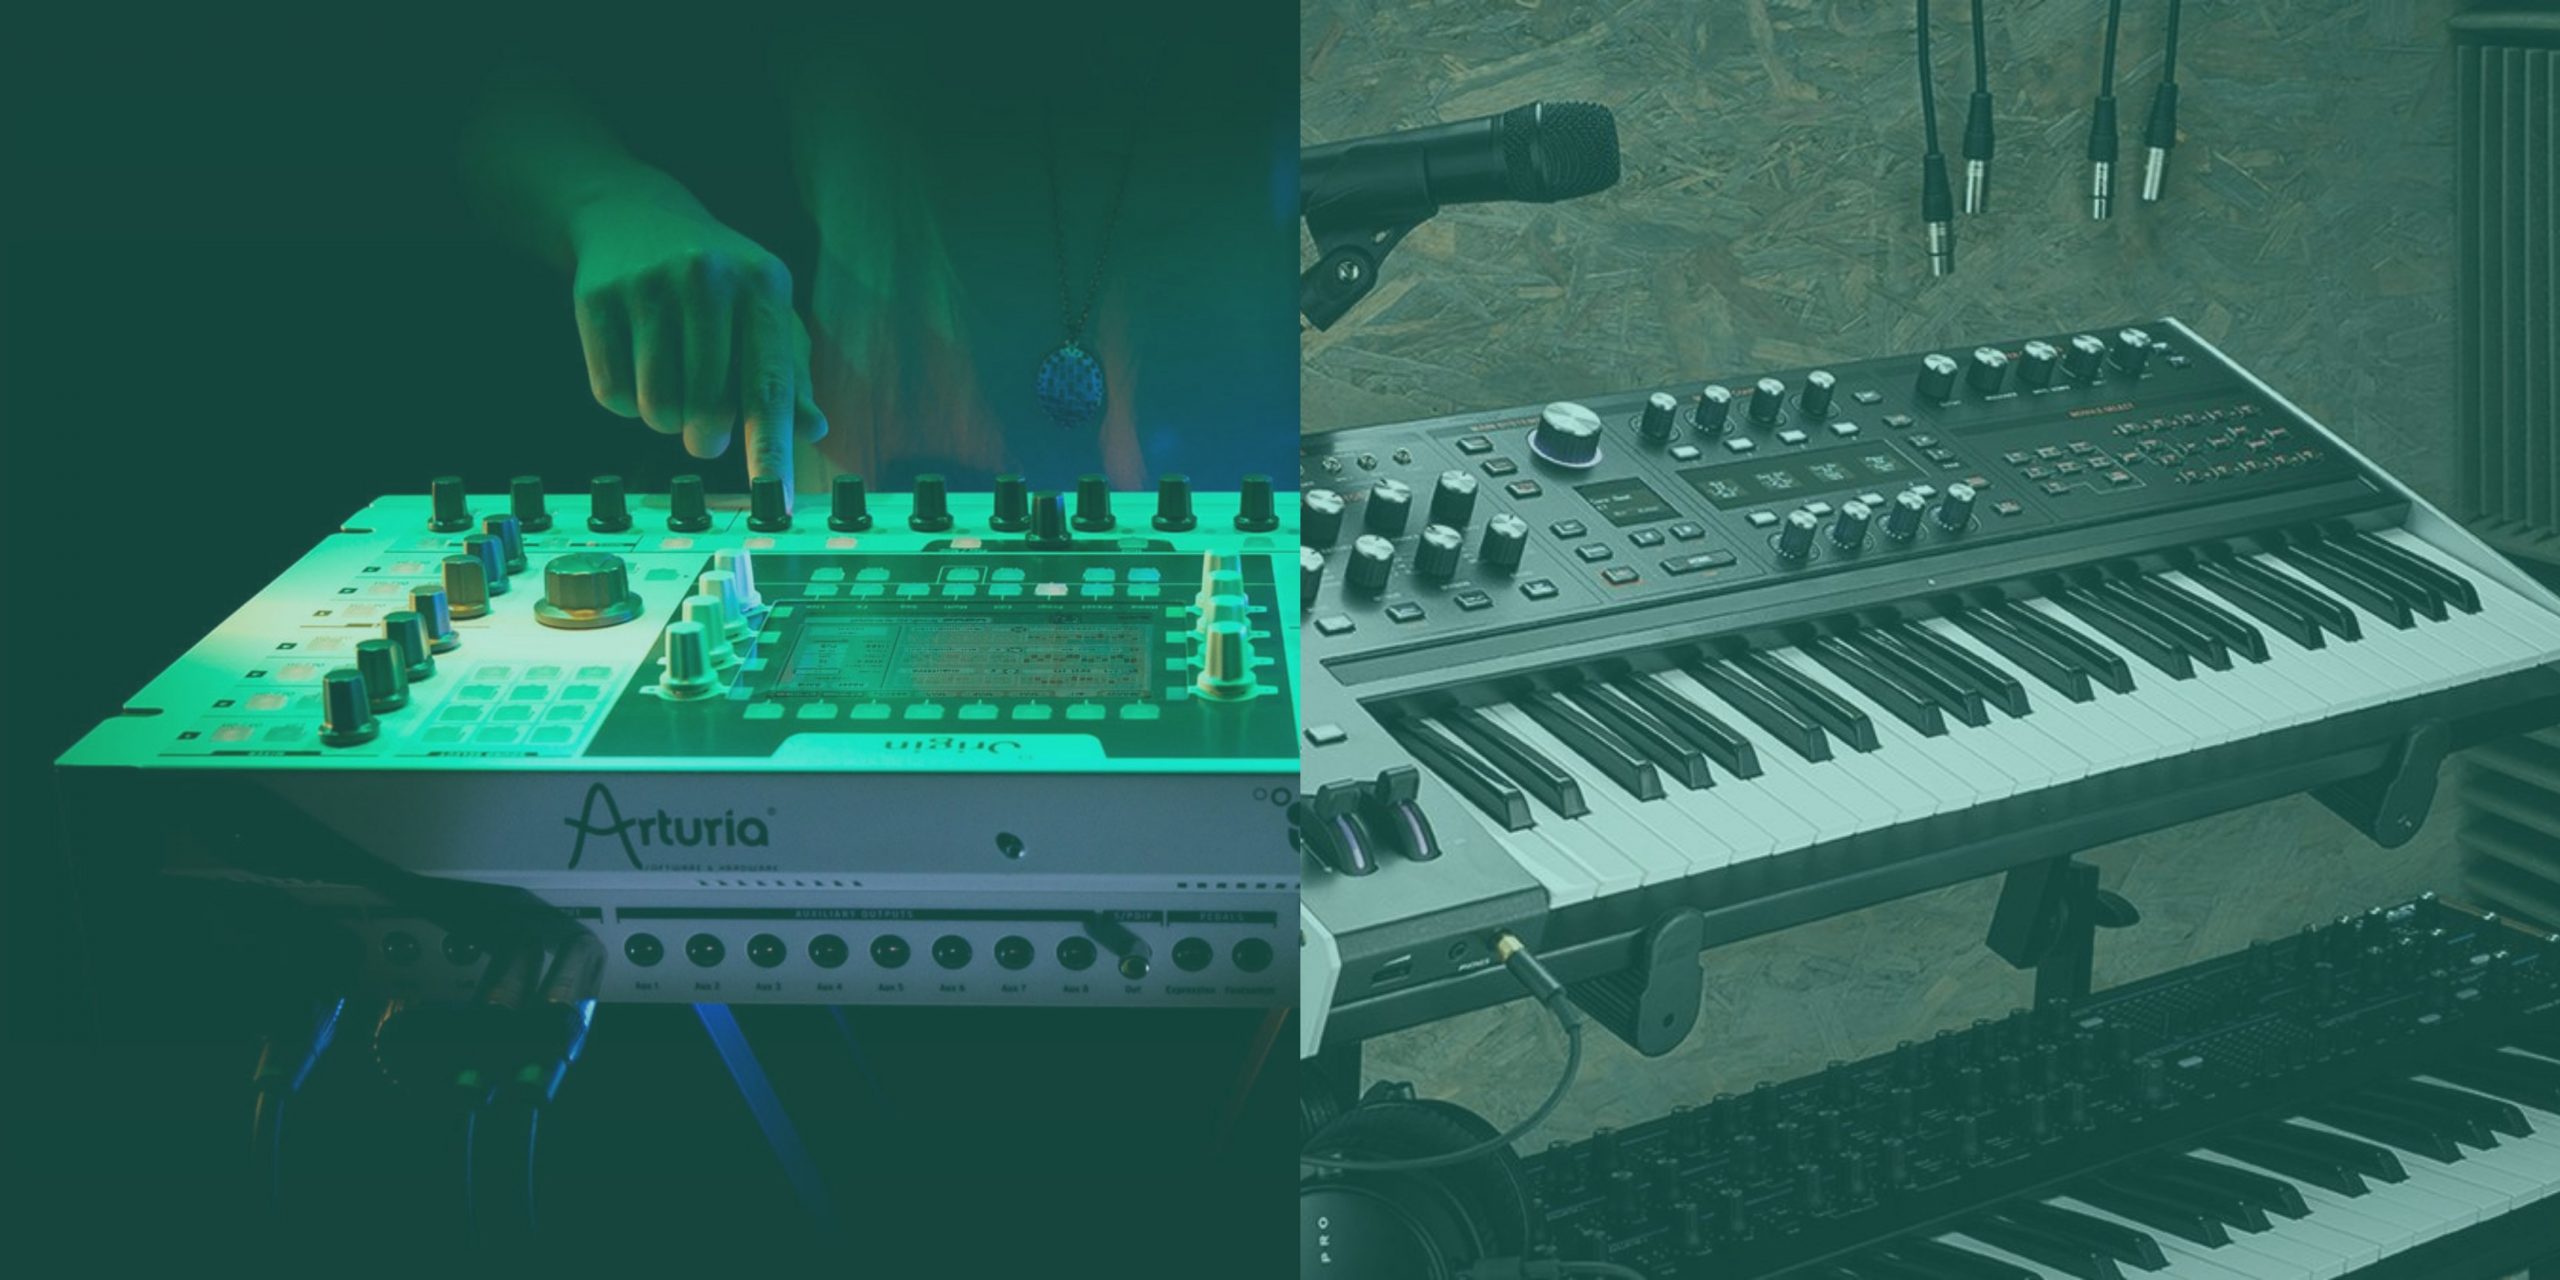
Setting up your digital piano
Before you begin recording your digital piano in FL Studio, it’s essential to ensure that your setup is optimized for seamless integration and high-quality audio capture. Whether you have a compact MIDI controller or a full-sized digital piano, these preliminary steps will lay the foundation for a smooth and productive recording session.
1. Positioning and Environment:
- Find a suitable location for your digital piano, ensuring that it is free from potential distractions and background noise.
- Consider the acoustics of the space and, if possible, position the piano in an area that minimizes reverberation and external interference.
2. Power and Connectivity:
- Connect your digital piano to a reliable power source, ensuring that it is powered on and ready for operation.
- If your digital piano features audio output ports, prepare the necessary cables for connecting it to your audio interface or computer.
3. MIDI Integration (if applicable):
- If your digital piano utilizes MIDI connectivity, ensure that the MIDI output is properly connected to your audio interface or computer using MIDI cables.
- Verify that the MIDI drivers are installed and configured on your computer to enable seamless communication between your digital piano and FL Studio.
4. Audio Interface Setup:
- If you are using an audio interface to capture the audio output from your digital piano, connect the interface to your computer via USB or other compatible connections.
- Install and configure the necessary drivers for your audio interface, ensuring that it is recognized and accessible within FL Studio.
By meticulously attending to these preparatory steps, you can establish an optimal environment for recording your digital piano, setting the stage for a productive and sonically captivating recording experience. With your digital piano primed for integration, the next step entails connecting it to FL Studio, bridging the gap between your musical instrument and the powerful recording and editing capabilities of the software.
In the subsequent section, we will guide you through the process of connecting your digital piano to FL Studio, paving the way for seamless communication and audio transmission between your instrument and the software.
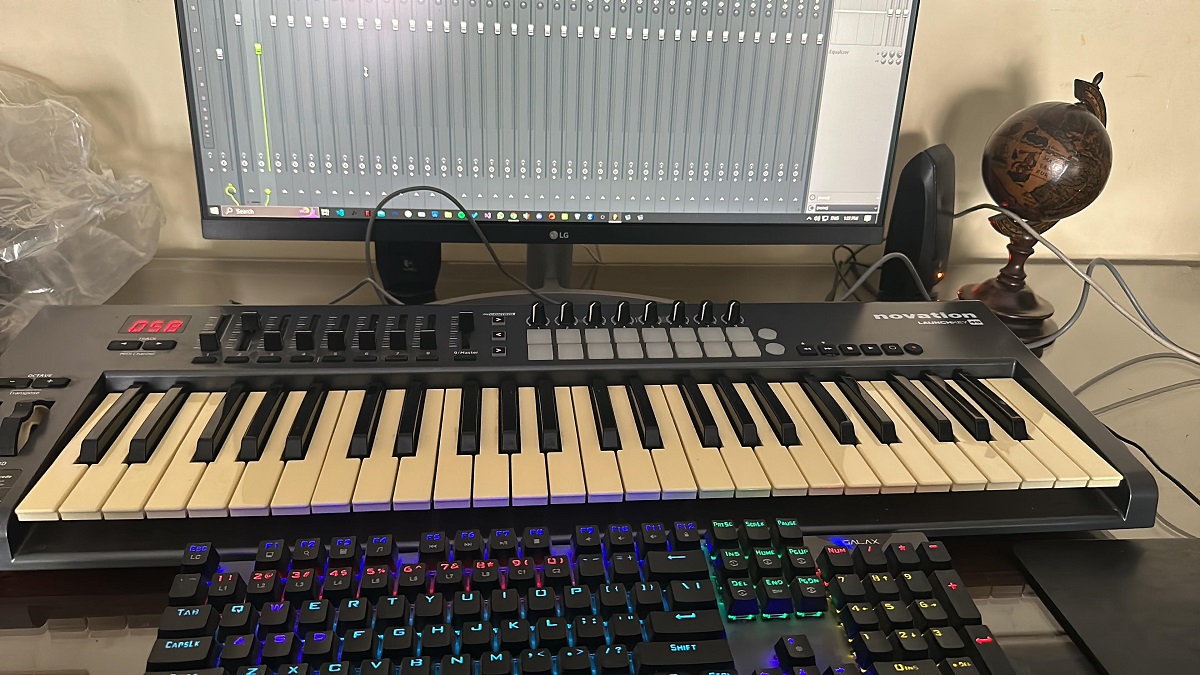
Connecting your digital piano to FL Studio
Now that your digital piano is positioned and ready for action, the next crucial step is to establish a seamless connection between your instrument and FL Studio. This pivotal link will enable FL Studio to receive and process the audio signals from your digital piano, setting the stage for recording and manipulation within the software’s intuitive interface.
1. Audio Connection:
If your digital piano features audio output ports, such as 1/4″ or 1/8″ audio jacks, you can directly connect these outputs to the audio inputs of your audio interface. Using high-quality instrument cables, establish a secure and reliable audio connection, ensuring that the audio signal from your digital piano can be captured by the audio interface.
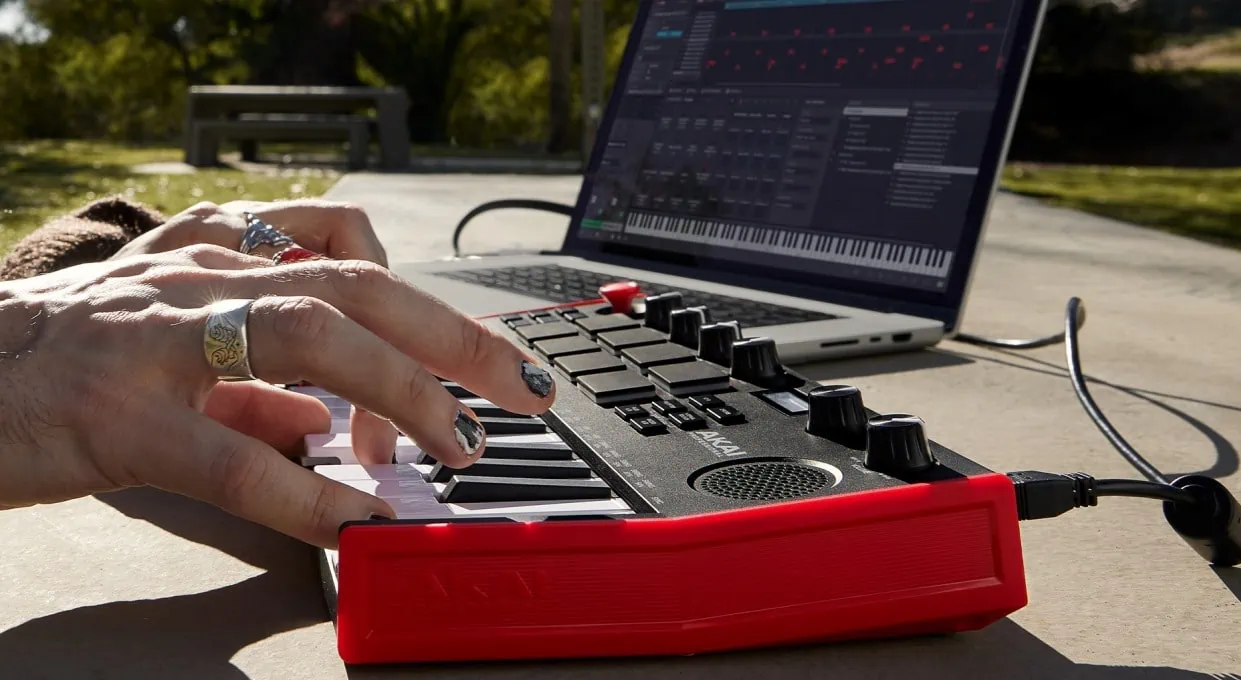
2. USB/MIDI Connection:
If your digital piano supports USB or MIDI connectivity, you can leverage these interfaces to establish a direct connection to your computer. By connecting the USB or MIDI output of your digital piano to the corresponding input on your computer, you can facilitate the transmission of MIDI data and, in some cases, audio signals directly to FL Studio.
3. Audio Interface Configuration:
If you are utilizing an audio interface to capture the audio output from your digital piano, ensure that the interface is properly configured within FL Studio. Access the audio settings in FL Studio to designate the audio interface as the input device, allowing FL Studio to recognize and process the incoming audio signals from your digital piano.
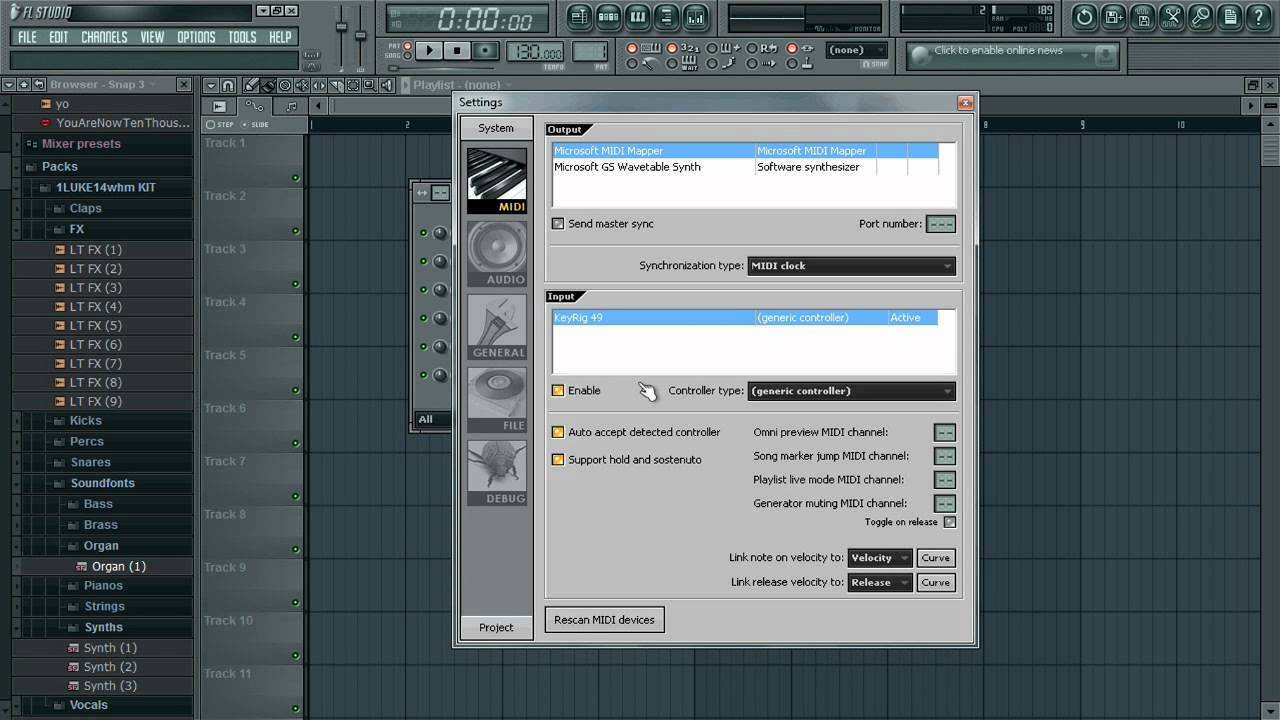
4. MIDI Integration and Configuration (if applicable):
If you are utilizing MIDI connectivity to transmit MIDI data from your digital piano to FL Studio, ensure that the MIDI input settings are configured within FL Studio. Verify that FL Studio recognizes the MIDI input from your digital piano, enabling you to harness the expressive MIDI capabilities of your instrument within the software.
By establishing a robust and reliable connection between your digital piano and FL Studio, you pave the way for a seamless and efficient recording process, empowering you to capture the nuances of your piano performance with precision and clarity. With your digital piano seamlessly integrated into FL Studio, the next step involves configuring the software for recording, optimizing the settings to align with your recording preferences and technical specifications.
In the upcoming section, we will delve into the essential steps for configuring FL Studio to prepare for recording your digital piano, ensuring that you can harness the full potential of the software’s recording and editing capabilities.
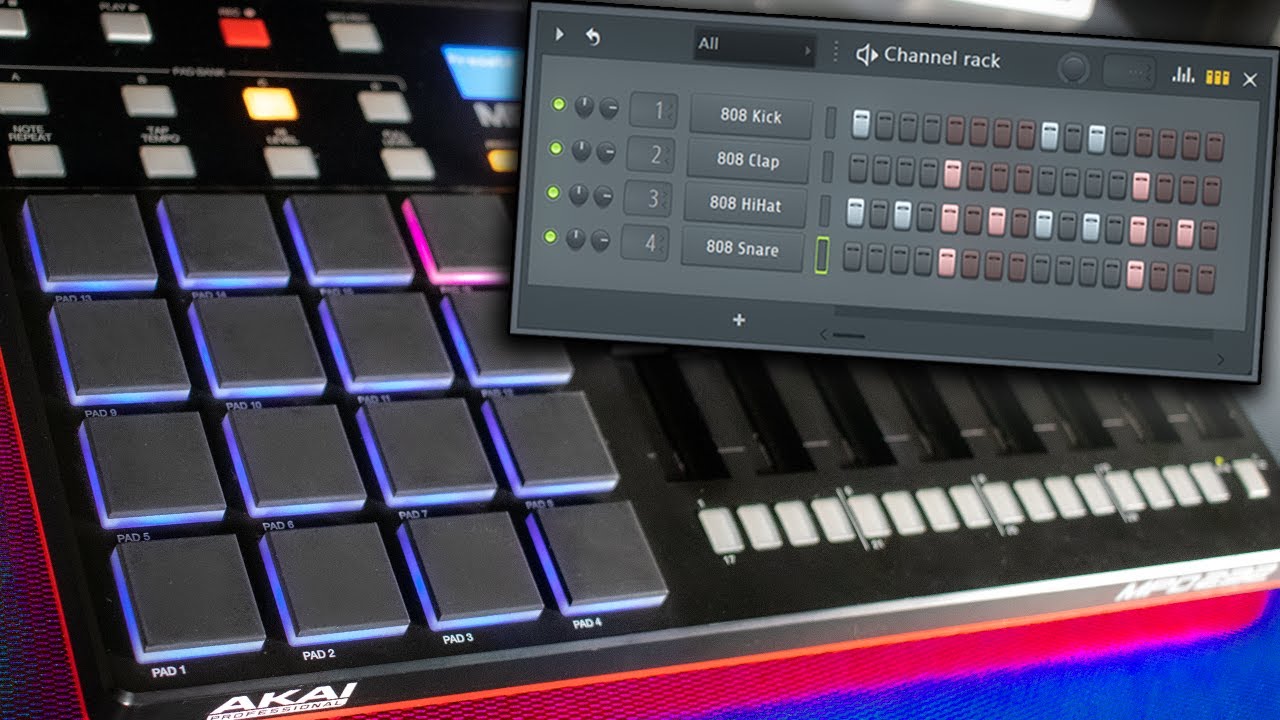
Configuring FL Studio for recording
As you embark on the journey of recording your digital piano in FL Studio, it’s paramount to configure the software to optimize its recording capabilities and ensure a smooth, efficient workflow. By fine-tuning the settings and preferences within FL Studio, you can tailor the recording environment to suit your specific requirements, empowering you to capture your piano performances with precision and clarity.
1. Audio Input Settings:
Access the audio settings within FL Studio to designate the input source for recording. If you are using an audio interface to capture the audio output from your digital piano, select the corresponding input channels of the interface as the primary audio input within FL Studio. Verify that the audio input levels are appropriately set to accommodate the dynamic range of your piano performance without clipping or distortion.
2. Buffer Size and Latency:
Adjust the buffer size and latency settings in FL Studio to optimize the audio processing and minimize latency during recording. By configuring a suitable buffer size, you can achieve a balance between low latency and stable audio performance, ensuring that your piano recordings are captured with minimal delay and maximum responsiveness.
3. Recording Format and Quality:
Specify the recording format and quality settings within FL Studio to align with your preferences and technical specifications. Choose the desired audio file format (e.g., WAV, MP3) and set the sample rate and bit depth to capture your piano recordings with the highest fidelity and resolution possible, preserving the nuances of your performances with pristine audio quality.
4. Monitoring and Playback:
Configure the monitoring and playback settings within FL Studio to facilitate real-time monitoring of your piano performance during recording. Enable direct monitoring through your audio interface to listen to the live input from your digital piano, allowing you to monitor your playing with minimal latency and seamless integration with FL Studio’s recording environment.
5. MIDI Input Configuration (if applicable):
If you are utilizing MIDI connectivity to transmit MIDI data from your digital piano to FL Studio, ensure that the MIDI input settings are configured within the software. Assign the MIDI input channels to correspond with your digital piano, enabling FL Studio to receive and interpret the MIDI data from your performances accurately.
By meticulously configuring FL Studio for recording, you can create an optimized environment for capturing your digital piano performances with precision and fidelity. With the software primed for recording, the next step involves embarking on the actual recording process, harnessing FL Studio’s intuitive interface and robust recording features to capture your musical ideas and expressions.
In the subsequent section, we will guide you through the process of recording your digital piano in FL Studio, empowering you to capture your performances with confidence and creativity.
Recording your digital piano
With FL Studio meticulously configured for recording, you’re now poised to embark on the exhilarating process of capturing your digital piano performances with precision and artistry. Whether you’re crafting intricate melodies, exploring harmonies, or unleashing expressive improvisations, FL Studio provides a versatile and intuitive platform for translating your musical ideas into captivating recordings.
1. Arm the Recording Track:
Select a track within FL Studio to serve as the recording destination for your digital piano. Arm the track for recording, ensuring that it is ready to capture the incoming audio signals from your piano. Verify that the input settings and levels are optimized to accommodate the dynamic range of your performances without compromising audio quality.
2. Engage Record Mode:
Activate the record mode within FL Studio to initiate the recording process. Once the record mode is engaged, FL Studio will commence capturing the audio signals from your digital piano, enabling you to document your performances with precision and clarity. Ensure that you are prepared to begin playing your piano at the desired starting point of the recording.
3. Capture Your Performances:
With the record mode active, unleash your creativity and expressiveness as you play your digital piano. Whether you’re performing a pre-composed piece, improvising melodies, or experimenting with musical ideas, FL Studio faithfully captures the nuances of your playing, preserving the subtleties and dynamics of your performances with pristine fidelity.
4. Monitor and Fine-tune:
During the recording process, utilize FL Studio’s monitoring capabilities to listen to your performances in real time. Monitor the audio output from your digital piano, allowing you to make real-time adjustments to your playing and technique as needed. This real-time feedback empowers you to refine your performances and ensure that your recorded tracks embody the essence of your musical vision.
5. Stop and Review:
Once you’ve captured your performances, deactivate the record mode within FL Studio to conclude the recording process. Take a moment to review and assess your recorded tracks, listening back to your performances to evaluate the nuances, dynamics, and expressive elements. This review phase allows you to identify any sections that may require re-recording or editing, ensuring that your recorded piano tracks align with your artistic intentions.
By leveraging FL Studio’s robust recording features and intuitive interface, you can seamlessly capture the essence of your digital piano performances, preserving the emotive nuances and musical intricacies with uncompromising fidelity. With your piano performances immortalized in digital form, the next phase involves exploring the realm of editing and mixing, where you can refine and embellish your recorded tracks to elevate them to new heights of sonic excellence.
In the forthcoming section, we will delve into the art of editing and mixing your recorded piano tracks in FL Studio, empowering you to sculpt and refine your musical creations with finesse and creativity.
Editing and mixing your recorded piano track
Once you’ve captured your digital piano performances in FL Studio, the realm of editing and mixing unveils a realm of creative possibilities, allowing you to shape and refine your recorded tracks with precision and artistry. Whether you aspire to enhance the tonal characteristics, fine-tune the dynamics, or embellish your performances with immersive effects, FL Studio equips you with a comprehensive suite of tools for sculpting your piano recordings into polished, professional-quality tracks.
1. Arrangement and Composition:
Organize and arrange your recorded piano tracks within FL Studio’s intuitive interface, structuring your compositions to convey your artistic vision. Utilize the piano roll and MIDI editing capabilities to refine the note sequences, adjust the timing and velocity of individual notes, and craft intricate musical arrangements that showcase the depth and expressiveness of your performances.
2. Dynamic Processing and EQ:
Apply dynamic processing techniques, such as compression and limiting, to refine the dynamic range of your piano recordings, ensuring that the softer passages are amplified while the louder sections are controlled. Utilize EQ to sculpt the tonal characteristics of your piano tracks, shaping the frequency spectrum to achieve clarity, warmth, and balance in the overall sound.
3. Reverb and Spatial Effects:
Integrate reverberation and spatial effects to imbue your piano recordings with a sense of depth and ambience, creating a captivating sonic environment that envelops the listener. Experiment with reverb settings, spatial imaging, and stereo enhancement to infuse your piano tracks with a rich, immersive sonic landscape that transcends traditional piano recordings.
4. Creative Sound Design:
Explore the realm of creative sound design within FL Studio, leveraging virtual instruments and audio effects to embellish your piano recordings with innovative textures and sonic embellishments. Whether you seek to incorporate atmospheric pads, ethereal textures, or dynamic rhythmic elements, FL Studio offers a diverse palette of creative tools to elevate your piano tracks to new artistic heights.
5. Mixing and Balance:
Engage in the art of mixing, balancing the individual elements of your recorded piano tracks to achieve cohesion and clarity in the overall sound. Adjust the levels, panning, and spatial positioning of your piano recordings, ensuring that each element occupies its rightful place within the sonic landscape, creating a harmonious and immersive listening experience.
By immersing yourself in the process of editing and mixing your recorded piano tracks within FL Studio, you can unleash your creative potential and refine your musical expressions with precision and artistry. With your piano tracks sculpted and polished, you are poised to share your musical creations with the world, captivating audiences with the emotive power and sonic allure of your digital piano performances.
As you venture into the realm of editing and mixing your piano recordings, embrace the boundless potential of FL Studio’s versatile tools and unleash your creativity to shape and refine your musical visions. Through the art of editing and mixing, your recorded piano tracks will transcend mere recordings, evolving into immersive, evocative sonic experiences that resonate with listeners on a profound level.