Introduction
So, you've just purchased the Kawai ES7 digital piano, and you're excited to start playing beautiful music. However, before you can tickle the ivories, you need to assemble your new instrument. Don't worry; with a little guidance, you'll have your Kawai ES7 set up and ready to play in no time.
Assembling a digital piano may seem like a daunting task, especially if you're not particularly handy with tools. But fear not! This step-by-step guide will walk you through the process, ensuring that you can enjoy your new instrument without any unnecessary stress.
Whether you're a seasoned musician or a beginner, assembling your Kawai ES7 digital piano is a straightforward process that requires only a few basic tools and a bit of patience. By following these simple instructions, you'll be well on your way to creating beautiful music in the comfort of your own home.
So, grab your toolkit and let's get started on assembling your Kawai ES7 digital piano.
Step 1: Unpacking the Digital Piano
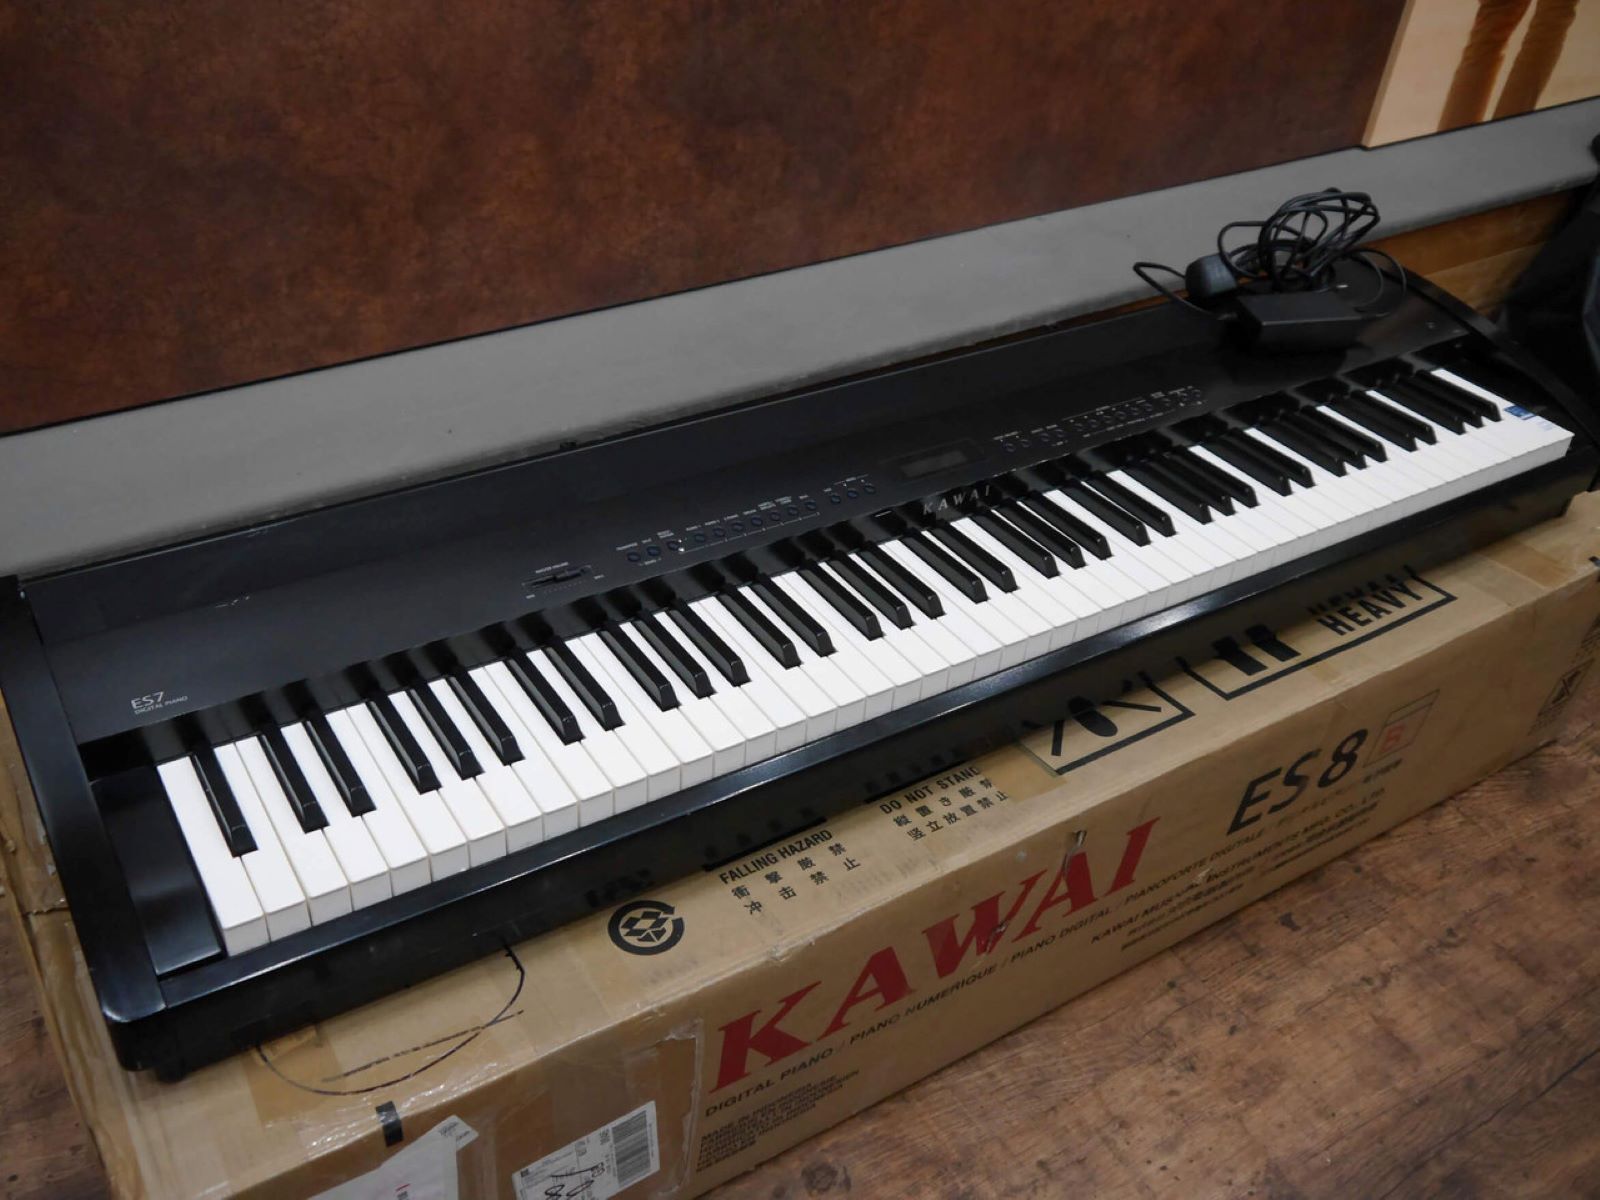
Before you can begin assembling your Kawai ES7 digital piano, you'll need to carefully unpack it from its shipping box. The packaging is designed to protect the instrument during transit, so it's essential to handle the unpacking process with care to avoid any damage.
Start by locating a clear, open area where you can lay out all the components of the digital piano. Carefully remove the packaging materials, such as foam inserts and cardboard, ensuring that you keep track of any small parts that may be included.
Once the piano is fully unpacked, take a moment to inspect each component for any signs of damage that may have occurred during shipping. This includes checking the keys, pedals, and stand for any visible issues. If you notice any damage, it's important to contact the seller or manufacturer promptly to address the issue.
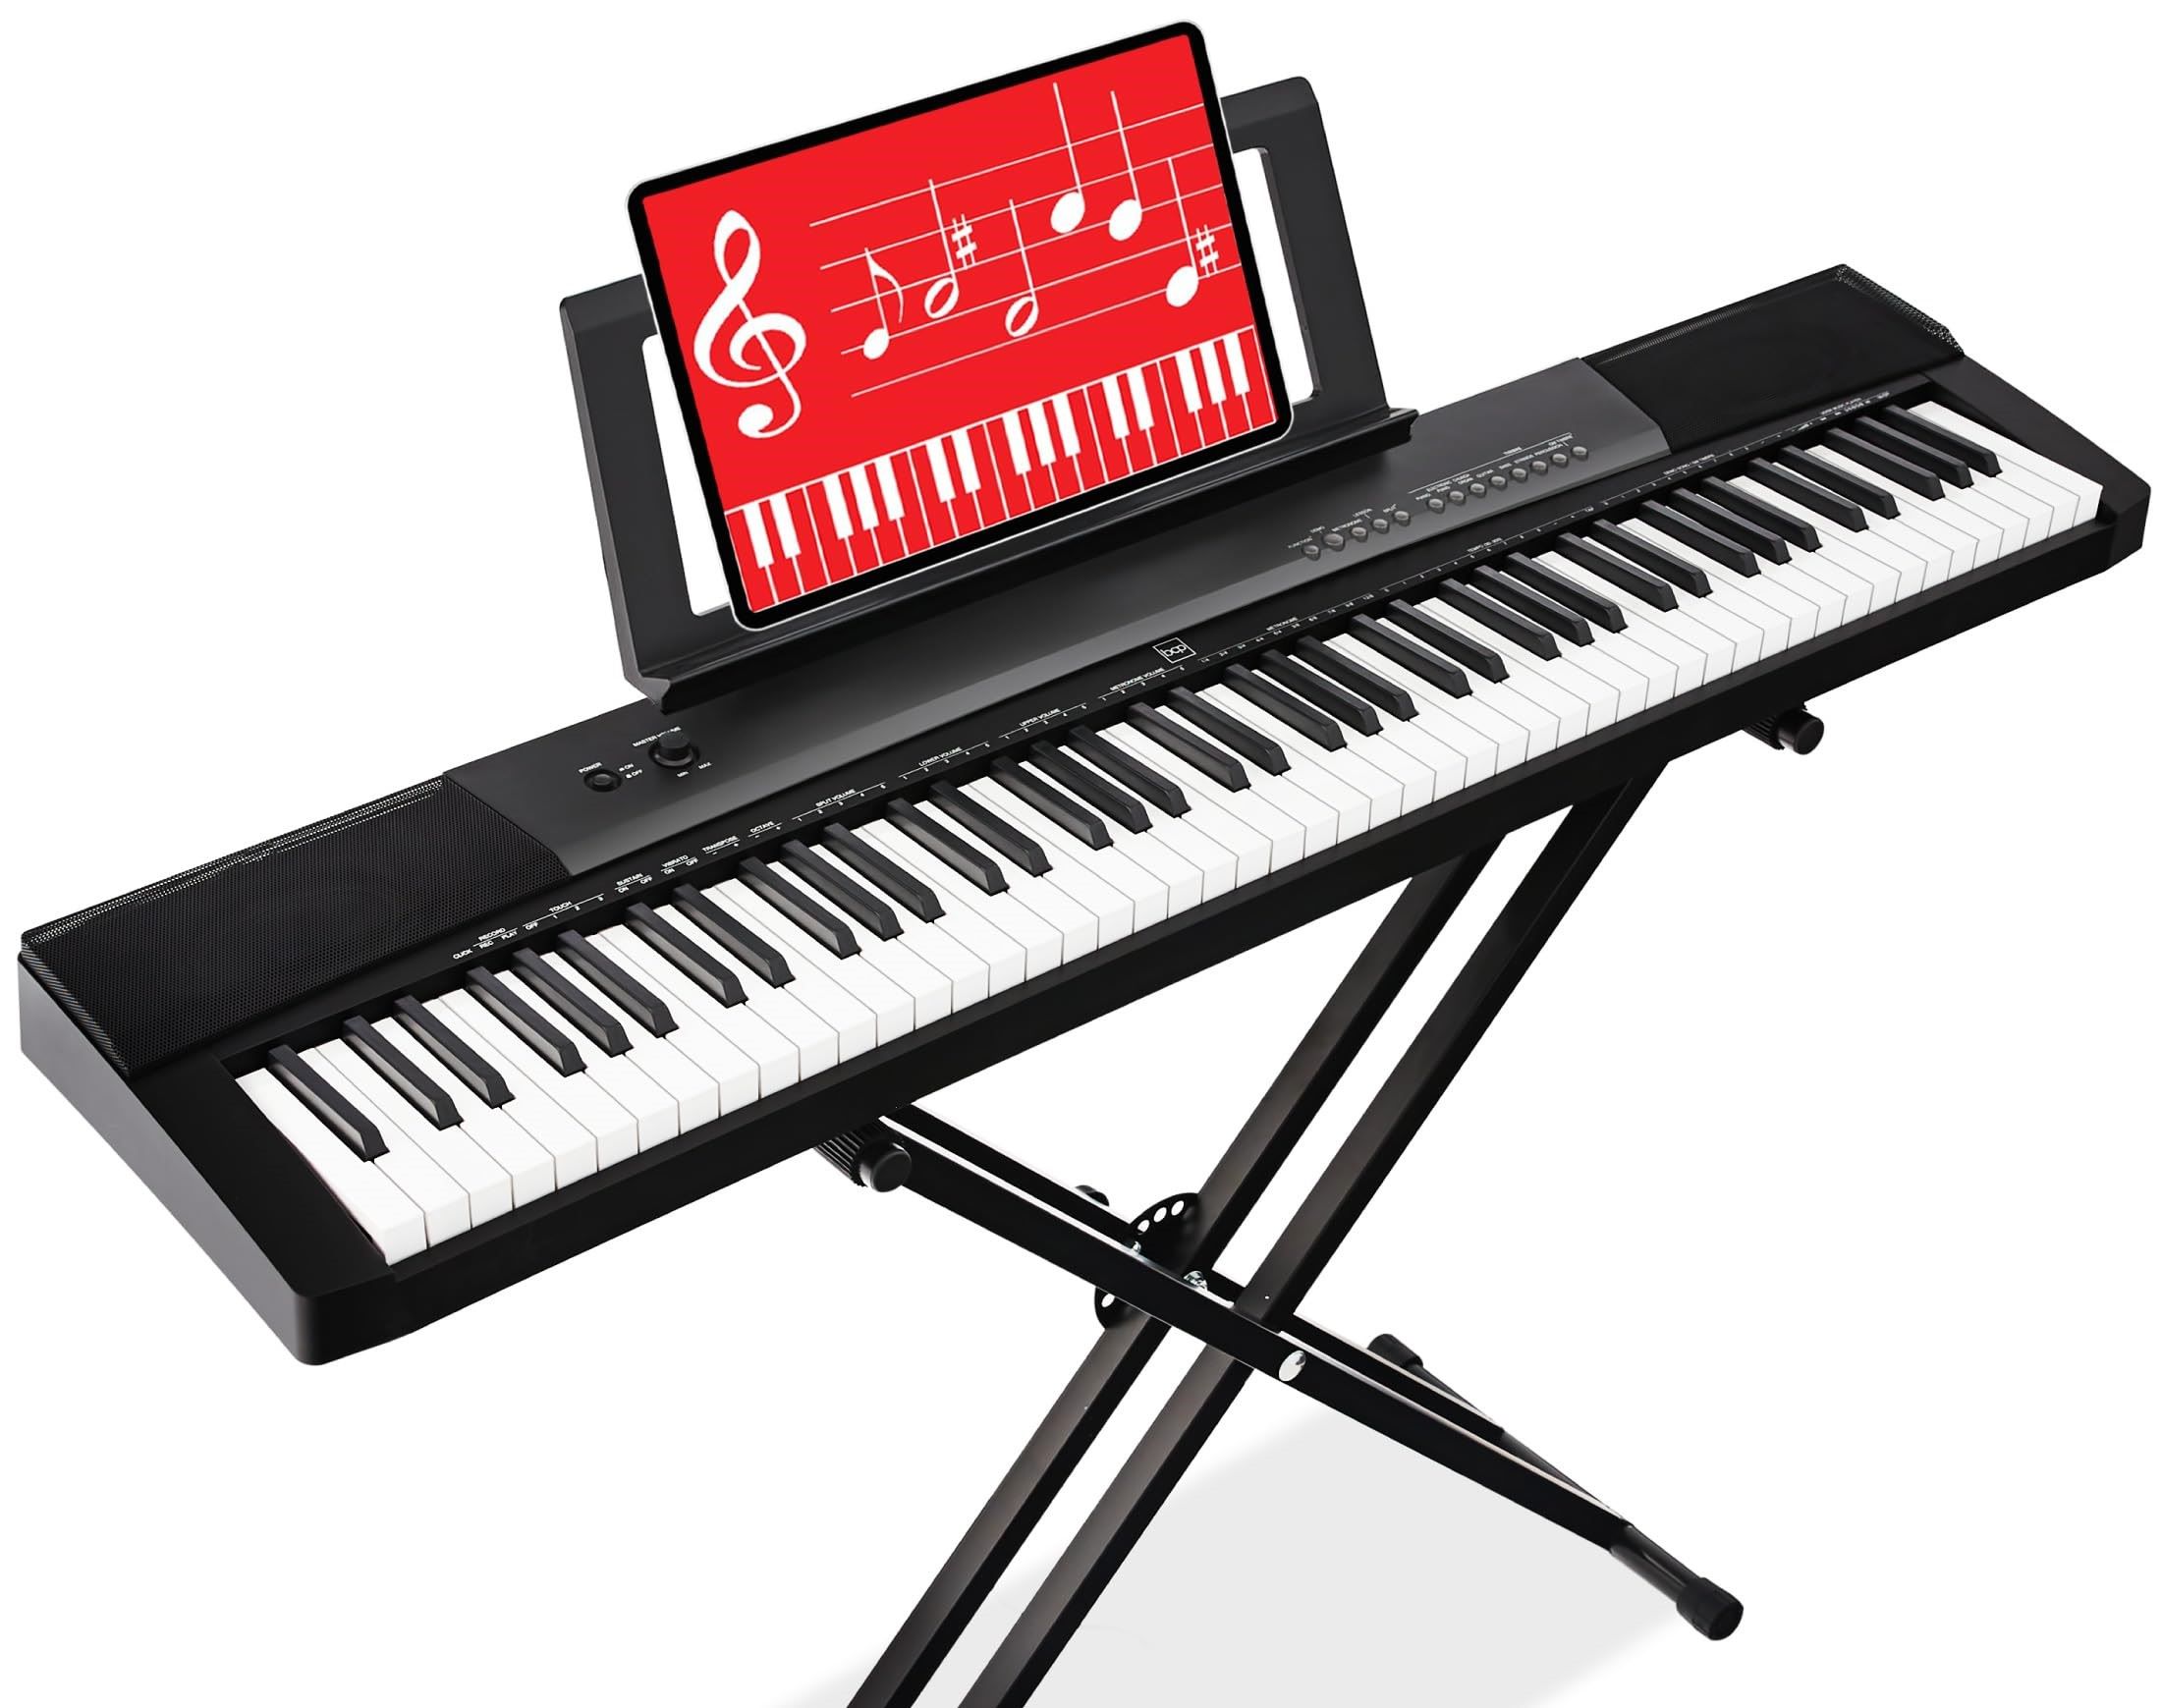
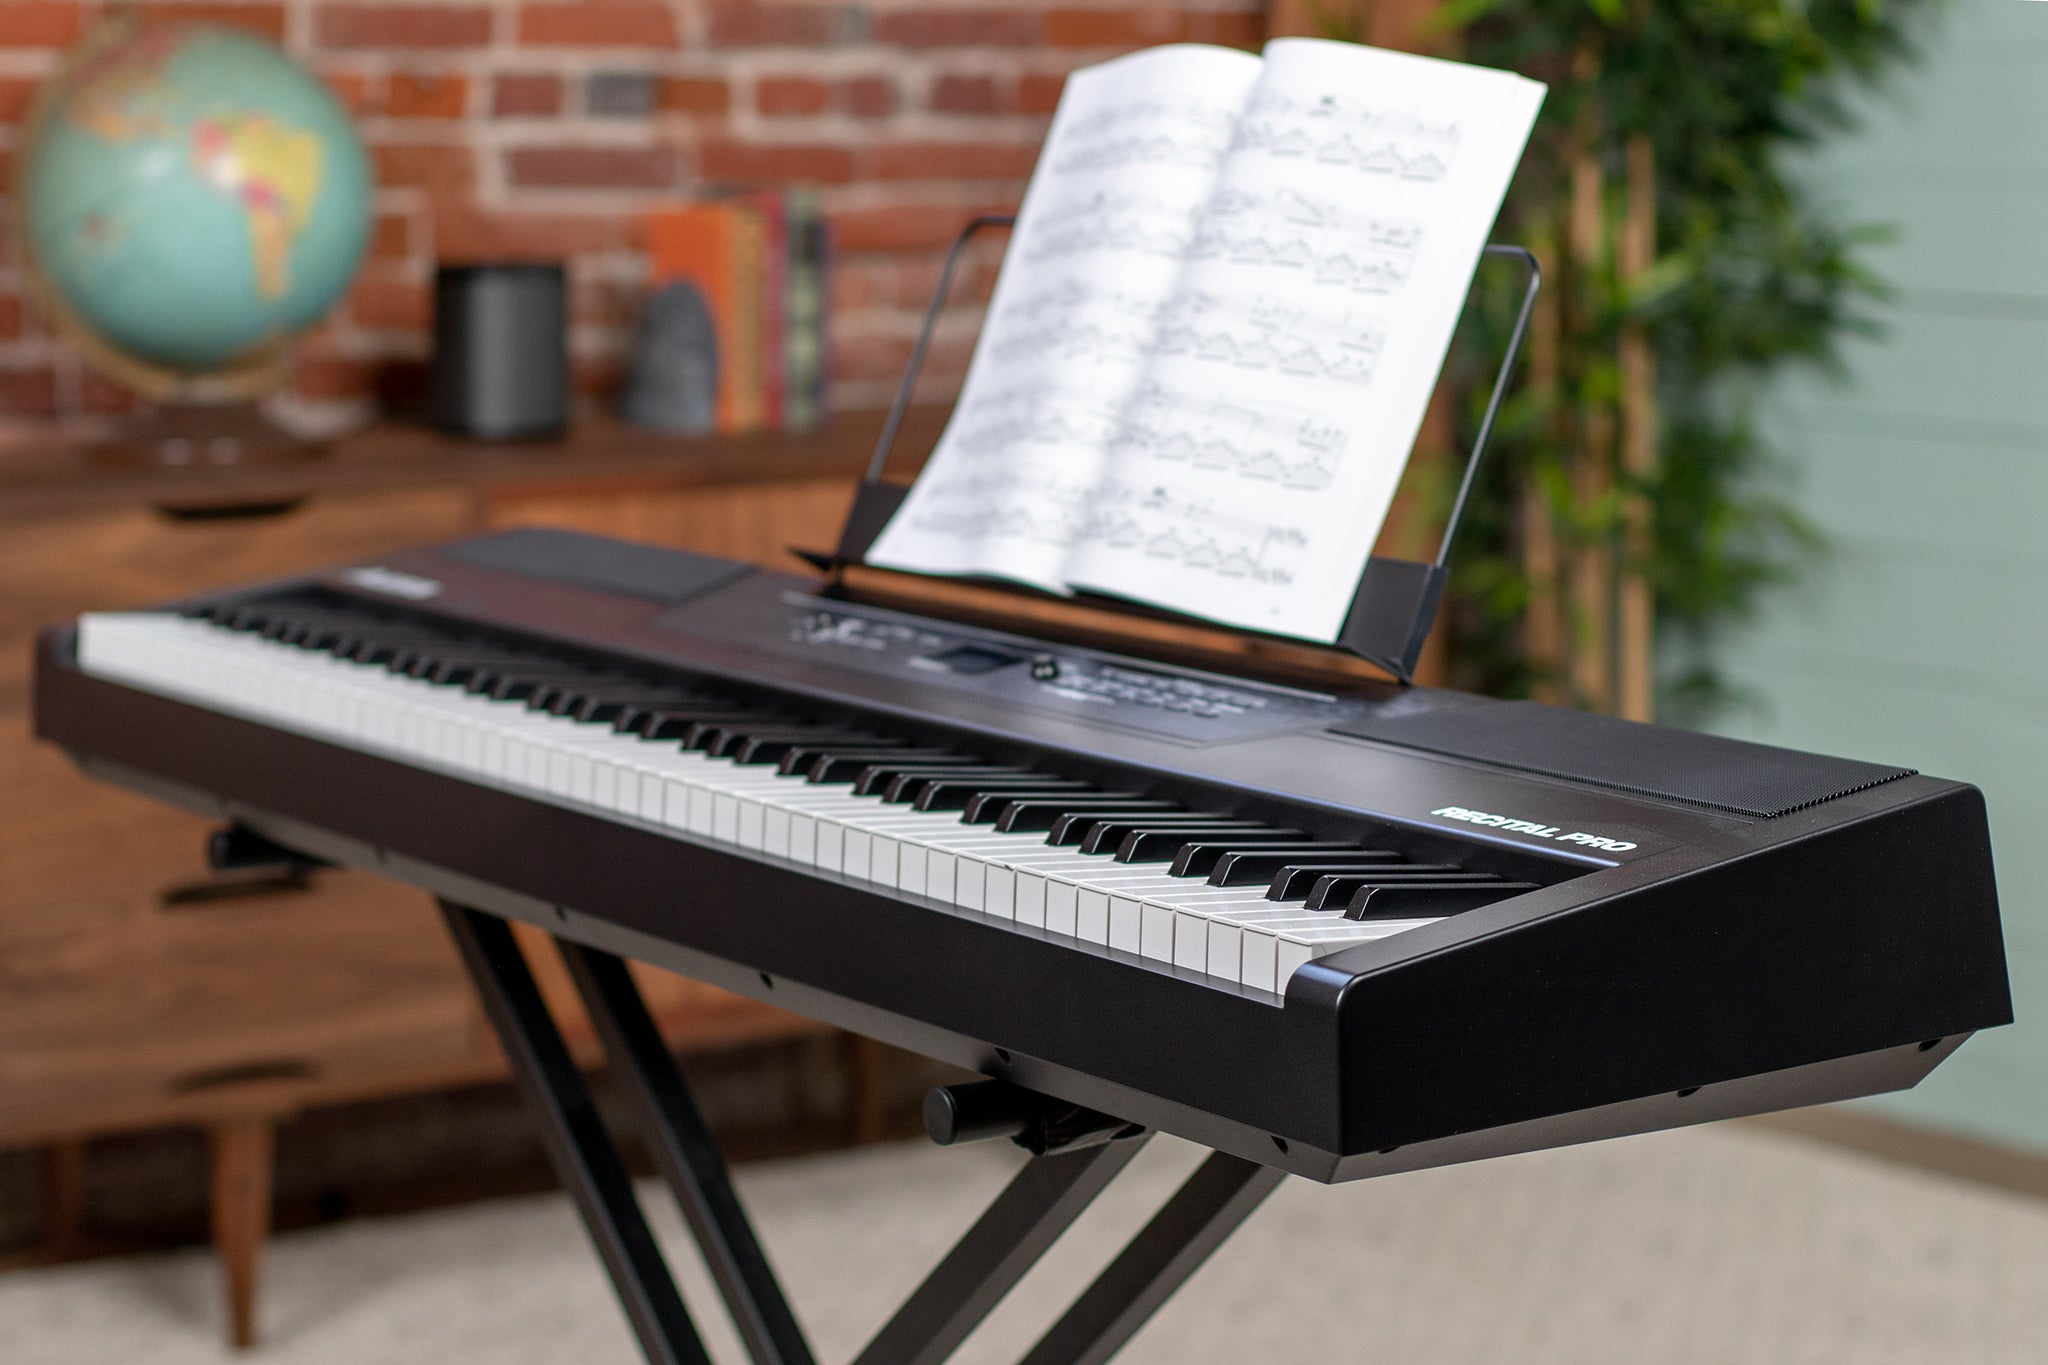
Next, familiarize yourself with the various components of the Kawai ES7 digital piano. This includes the main keyboard unit, the stand, and any additional accessories such as the pedal unit. Understanding the different parts will make the assembly process much smoother.
By taking your time to unpack the digital piano carefully and inspecting each component, you'll ensure that you start the assembly process on the right foot, setting the stage for a successful and enjoyable experience with your new Kawai ES7 digital piano.
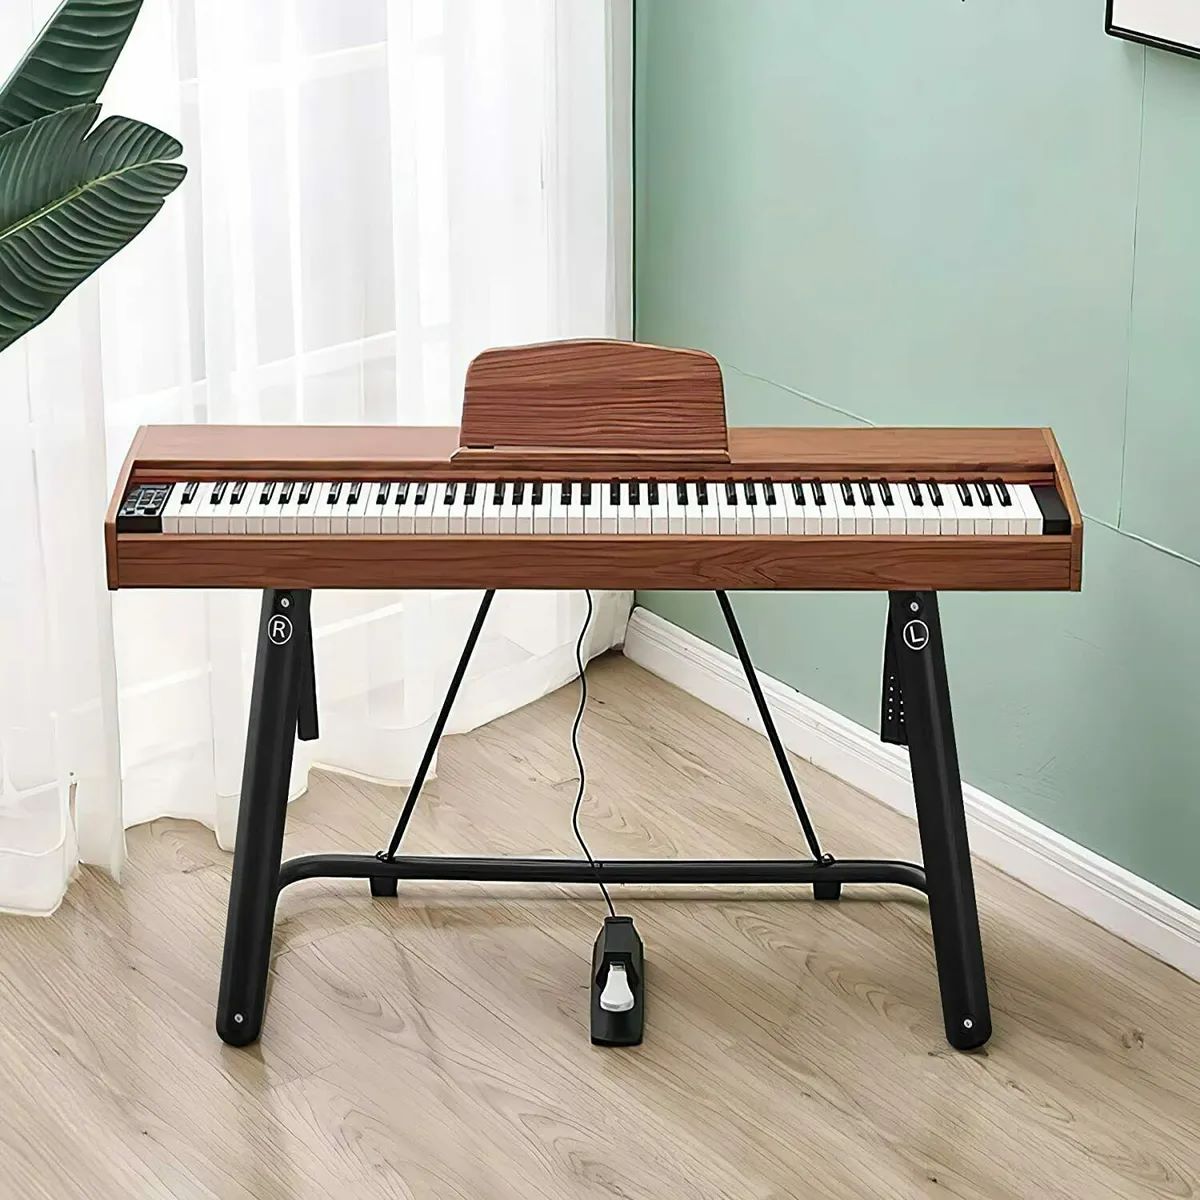
Step 2: Attaching the Stand
Once you have unpacked all the components of your Kawai ES7 digital piano, the next step is to attach the stand. The stand provides stability and support for the keyboard, ensuring that it remains secure while you play. Here’s how to attach the stand to your digital piano:
- Position the Stand: Place the stand in the desired location where you intend to set up and play your digital piano. Ensure that the area is clear of any obstructions and provides ample space for comfortable playing.
- Align the Keyboard: Carefully position the main keyboard unit on top of the stand, ensuring that it is centered and securely placed. The stand should have designated attachment points that align with the bottom of the keyboard unit.
- Secure the Keyboard: Using the provided hardware, such as screws or bolts, attach the keyboard unit to the stand according to the manufacturer’s instructions. Use a screwdriver or the recommended tool to tighten the connections, ensuring that the keyboard is firmly secured to the stand.
- Stabilize the Stand: Once the keyboard is attached, check that the stand is stable and level. Make any necessary adjustments to ensure that the keyboard unit is not wobbly or unsteady on the stand.
Attaching the stand is a crucial step in assembling your Kawai ES7 digital piano. A securely attached stand provides the foundation for a stable and enjoyable playing experience, allowing you to focus on creating beautiful music without any concerns about the stability of your instrument.
Step 3: Attaching the Pedals
With the stand securely in place, the next step in assembling your Kawai ES7 digital piano is to attach the pedals. The pedals play a vital role in controlling various aspects of the piano’s sound, adding depth and expression to your music. Here’s how to attach the pedals to your digital piano:
- Locate the Pedal Unit: Identify the pedal unit that accompanies your Kawai ES7 digital piano. The pedal unit typically consists of sustain, sostenuto, and soft pedals, each serving a distinct purpose in shaping the piano’s sound.
- Position the Pedal Unit: Place the pedal unit in front of the stand, ensuring that it aligns with the designated connection points on the keyboard unit. The pedal unit should be positioned within easy reach of the pianist while maintaining a comfortable playing posture.
- Connect the Pedal Unit: Using the provided cables or connectors, attach the pedal unit to the keyboard unit according to the manufacturer’s instructions. Ensure that the connections are secure and that the pedals function as intended.
- Test the Pedals: Once the pedal unit is attached, test each pedal to ensure that it responds correctly and influences the piano’s sound as expected. Familiarize yourself with the function of each pedal, as they will enhance your playing experience and musical expression.
Attaching the pedals to your Kawai ES7 digital piano completes the essential setup for a fully functional instrument. The pedals contribute to the nuanced and expressive qualities of the piano, allowing you to infuse your music with emotion and dynamics as you play.
Step 4: Connecting the Power
With the stand and pedals in place, the next crucial step in assembling your Kawai ES7 digital piano is to connect the power. Properly connecting the power supply ensures that your digital piano receives the necessary electrical input to function. Here’s how to connect the power to your digital piano:
- Locate the Power Adapter: Identify the power adapter that accompanies your Kawai ES7 digital piano. The power adapter is designed to provide the appropriate voltage and current to power the instrument.
- Locate the Power Input: On the rear or underside of the keyboard unit, locate the power input jack. This is where the power adapter will be connected to the digital piano.
- Connect the Power Adapter: Plug the power adapter into a suitable power outlet, ensuring that the voltage and frequency match the specifications outlined in the piano’s manual. Then, connect the other end of the power adapter to the power input jack on the digital piano.
- Power On the Piano: Once the power adapter is securely connected, switch on the power using the designated power button or switch on the digital piano. Verify that the instrument powers up and that the display or indicator lights illuminate as expected.
Connecting the power to your Kawai ES7 digital piano is a crucial step in the assembly process, as it enables the instrument to function and produce sound. With the power connected, you’re now one step closer to experiencing the rich and authentic piano tones that the Kawai ES7 has to offer.
Step 5: Turning on the Piano
Now that the power is connected, it’s time to turn on your Kawai ES7 digital piano and prepare it for your first musical exploration. Turning on the piano is a straightforward process, and it marks the transition from assembly to activation. Here’s how to turn on your digital piano:
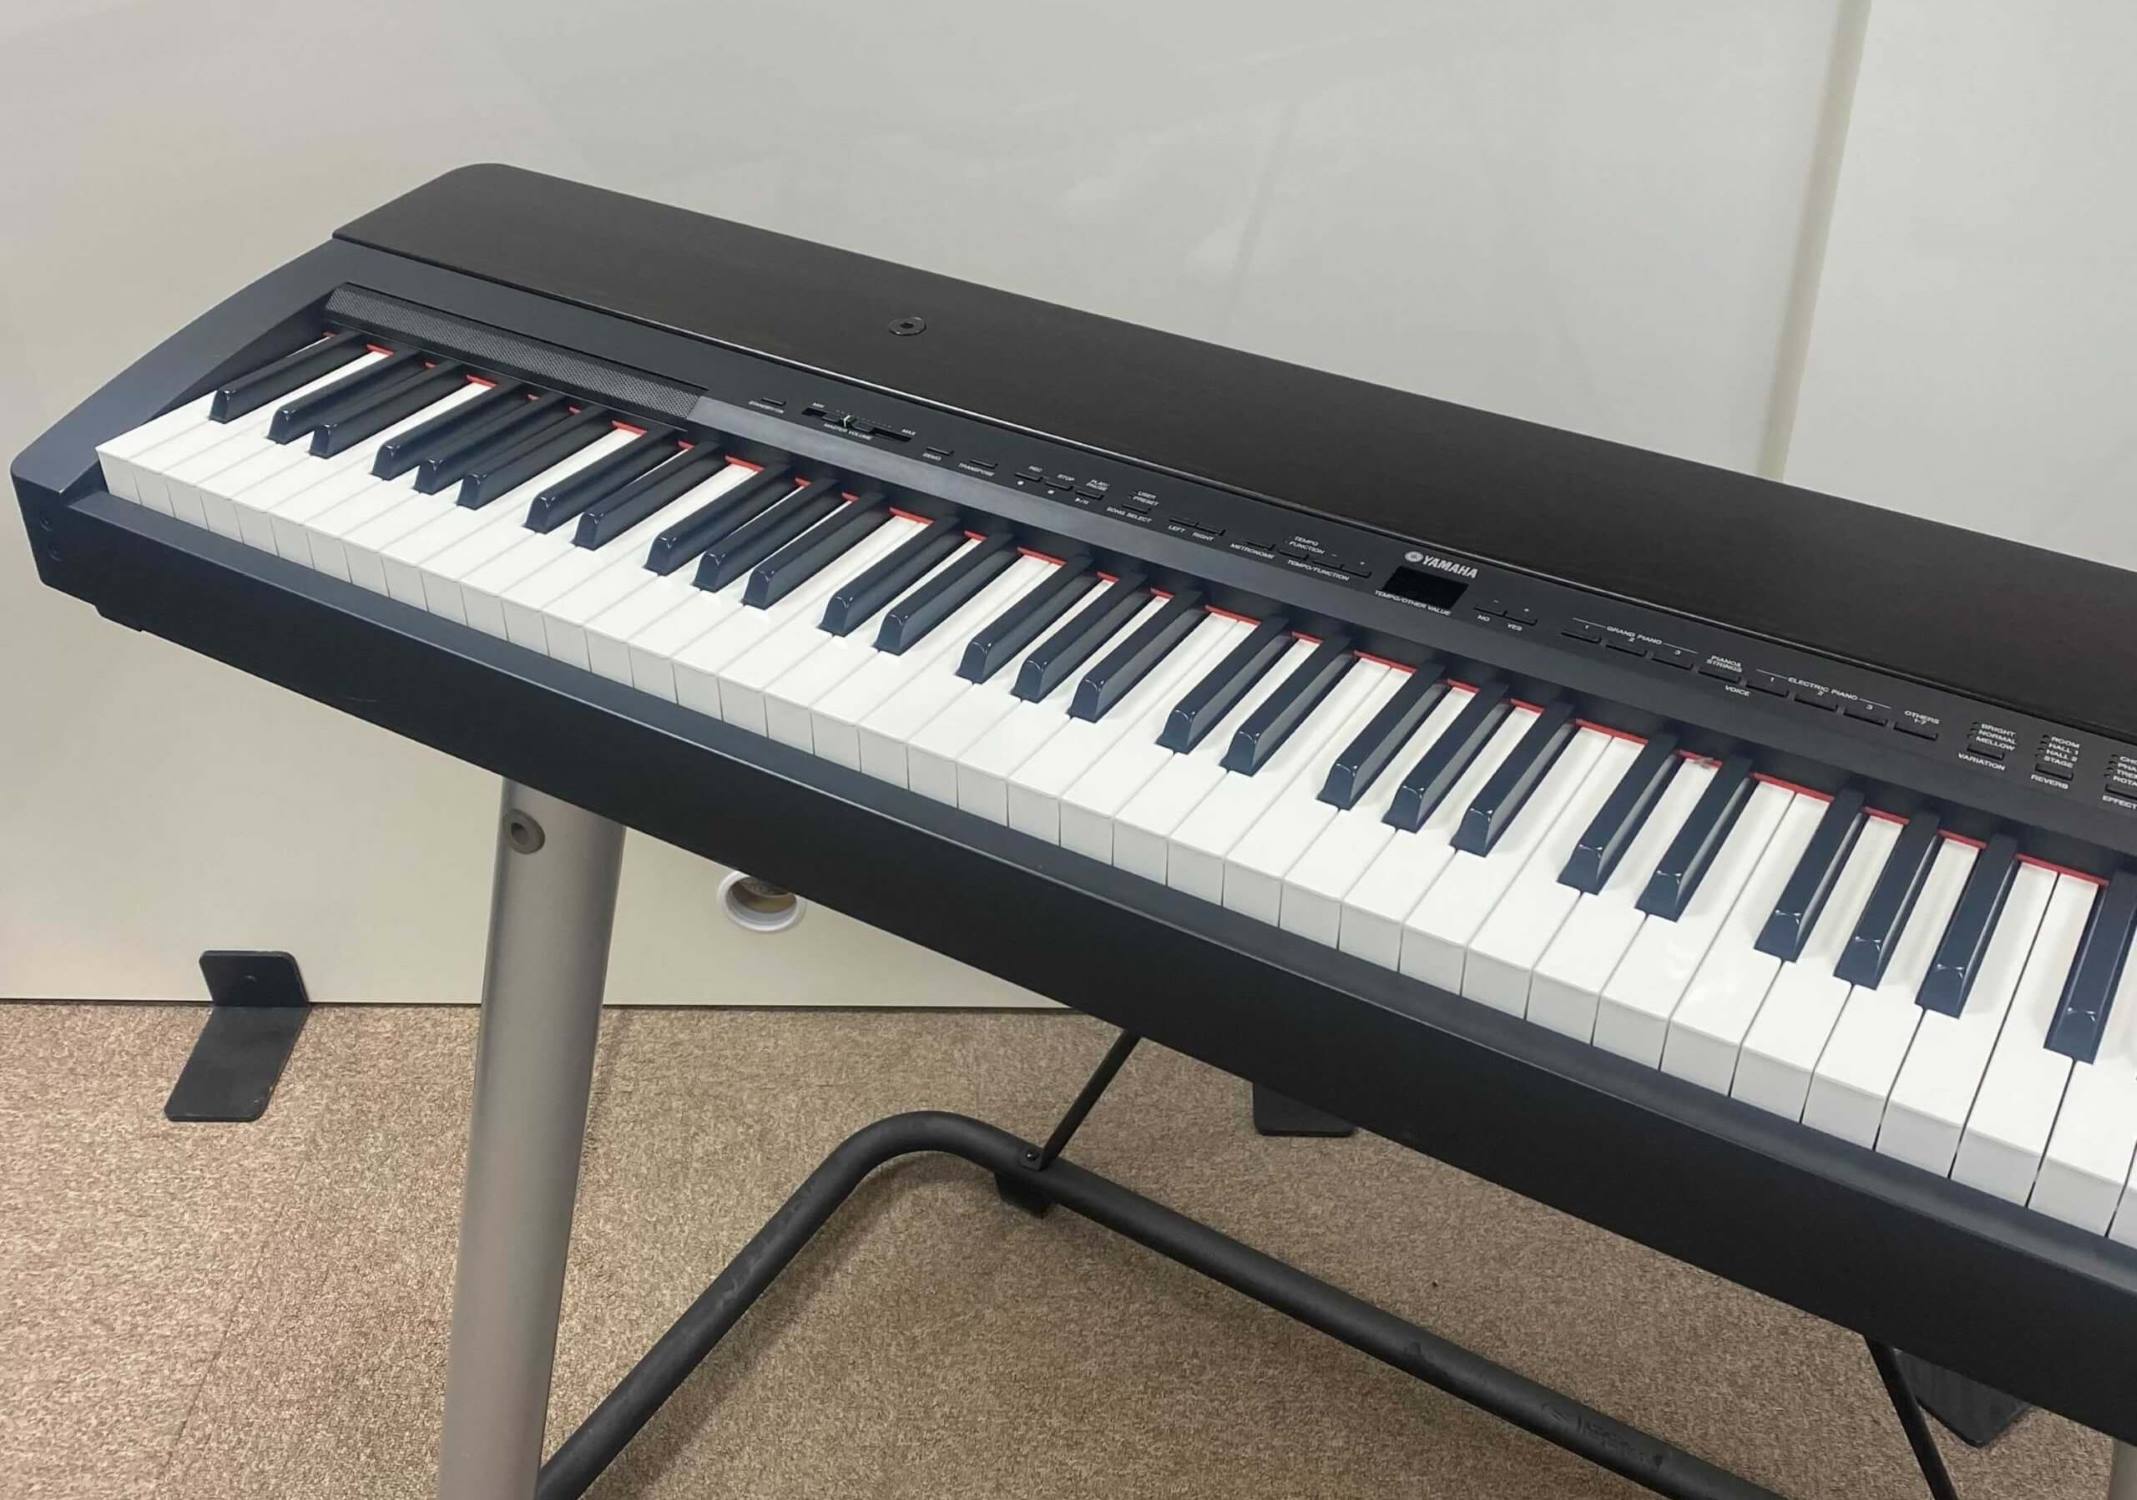
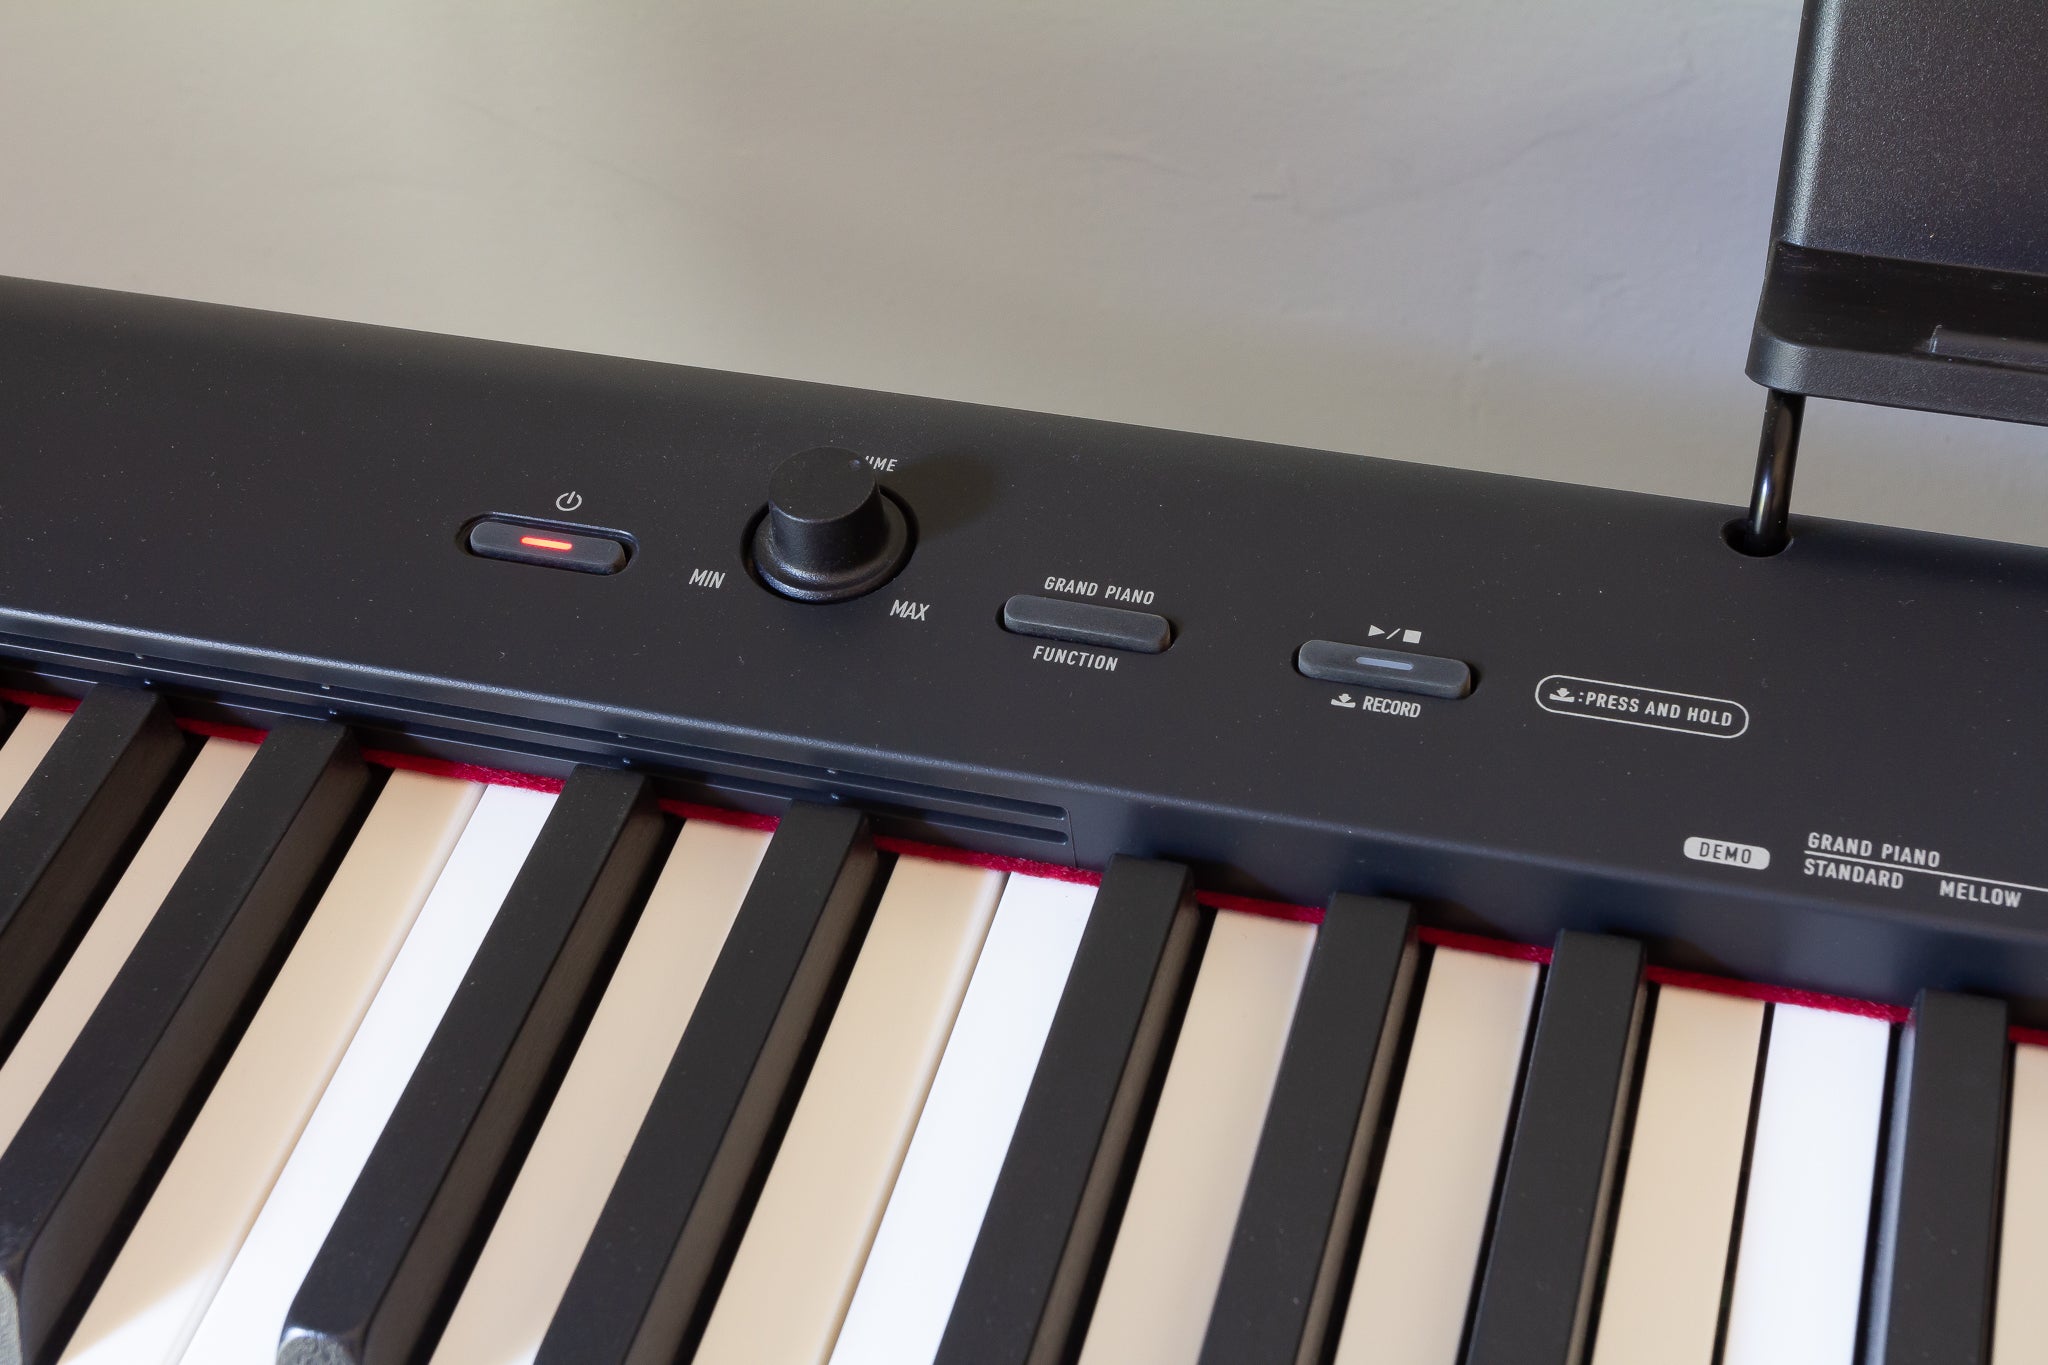
- Locate the Power Button: Familiarize yourself with the location of the power button on the digital piano. The power button is typically located on the control panel or the front of the keyboard unit.
- Press the Power Button: Gently press the power button to turn on the digital piano. Depending on the model, you may need to hold the button for a few seconds to initiate the power-up sequence.
- Observe the Startup Sequence: As the piano powers on, observe the display and indicator lights for any startup messages or prompts. The piano may undergo a brief initialization process before it’s ready for operation.
- Verify Functionality: Once the piano is powered on, verify that the keys, pedals, and control functions are responsive. Familiarize yourself with the layout of the control panel and the available settings to prepare for playing.
Turning on your Kawai ES7 digital piano is an exciting moment, as it signifies the activation of a world of musical possibilities. With the piano powered on, you’re now ready to explore its rich sound palette and embark on a musical journey that’s uniquely yours.
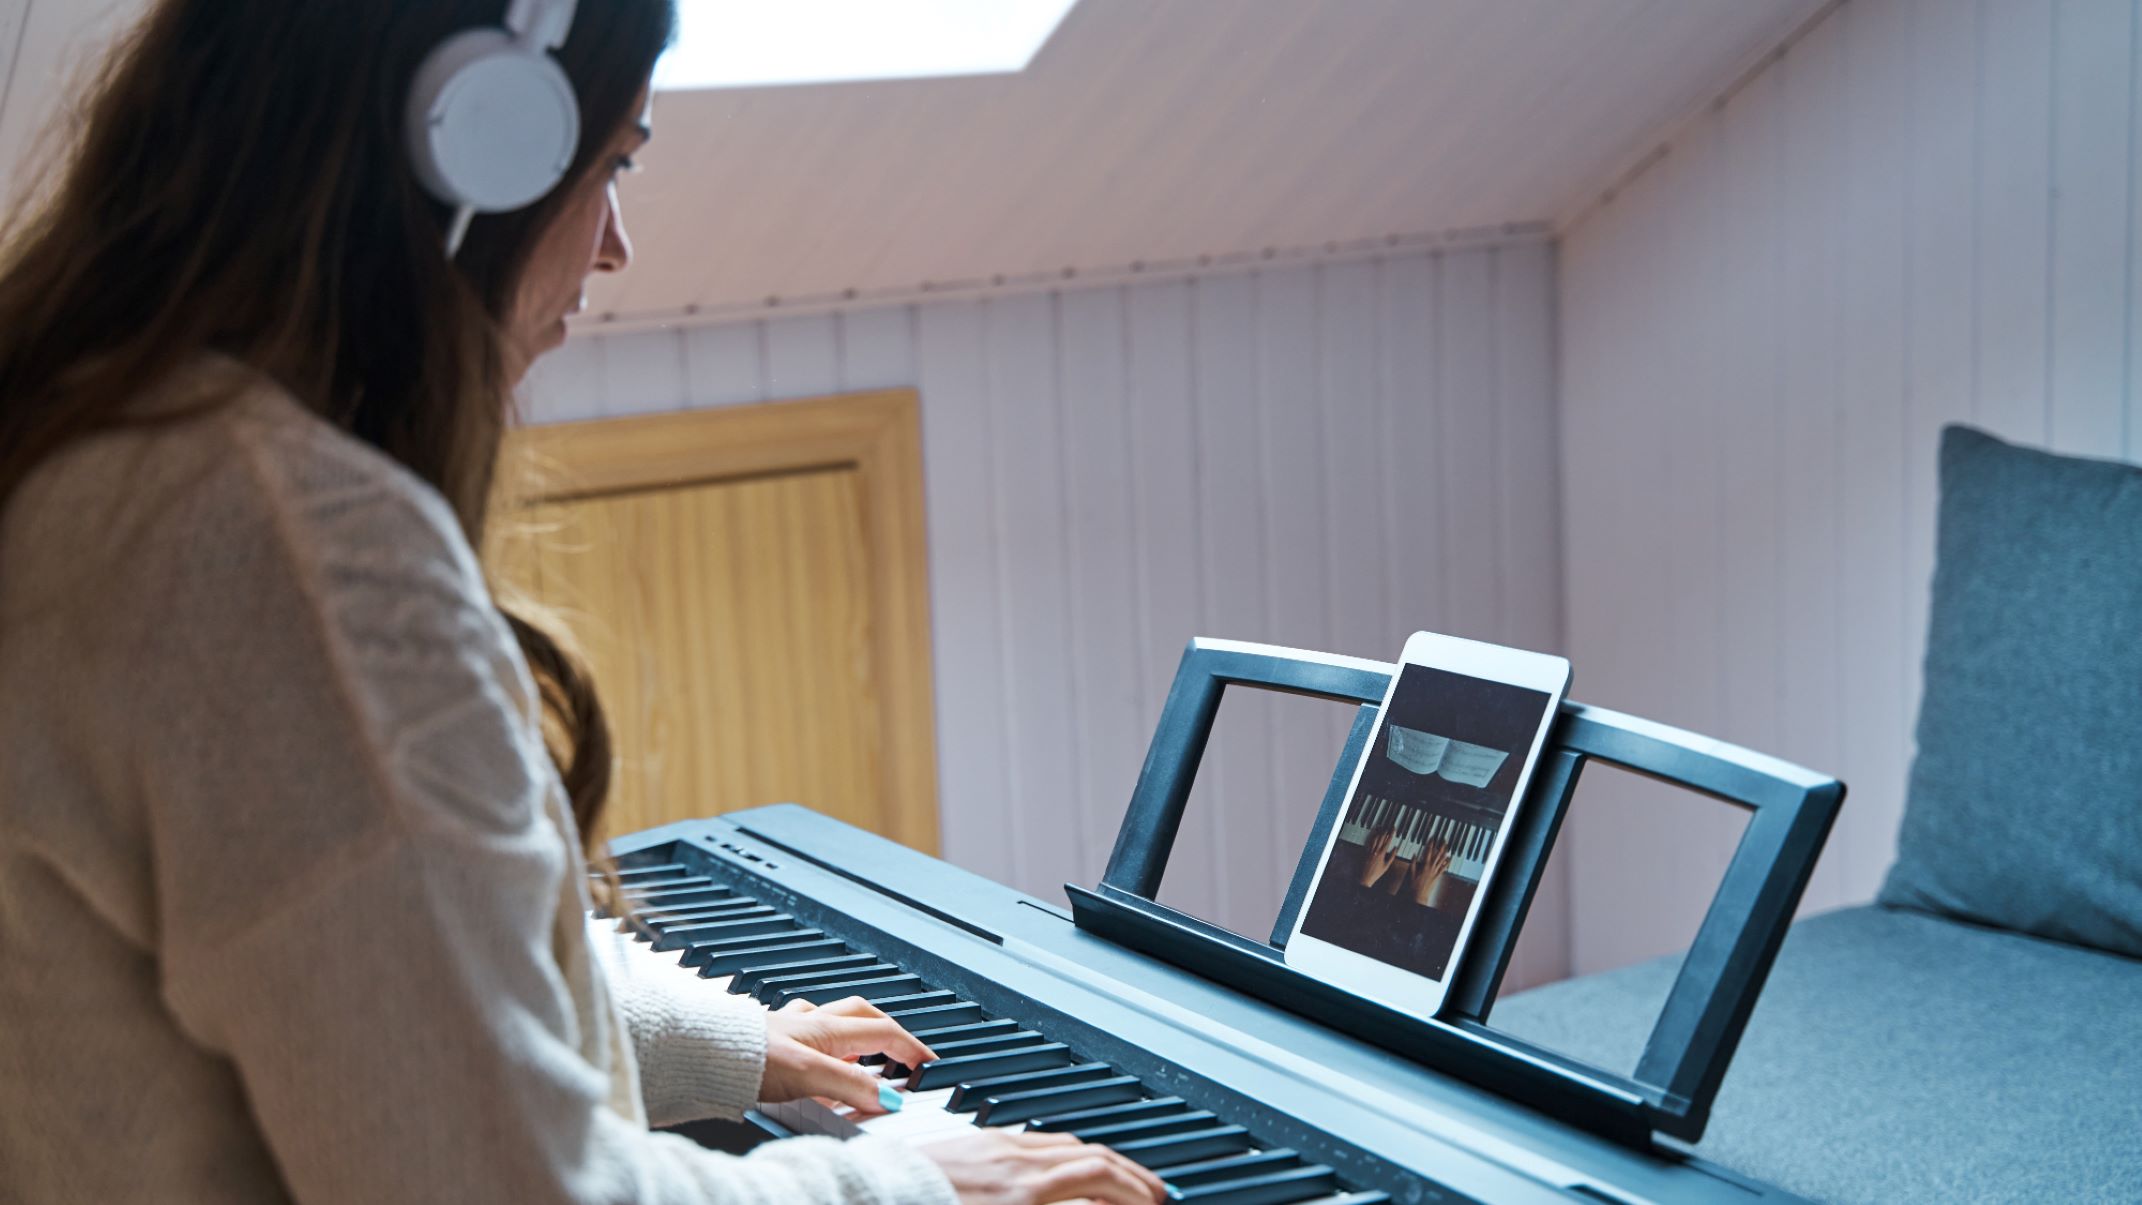
Step 6: Setting Up the Piano
With your Kawai ES7 digital piano powered on, it’s time to delve into the essential settings and adjustments that will optimize your playing experience. Setting up the piano involves configuring various parameters to suit your preferences and ensure that the instrument meets your specific musical needs. Here’s how to set up your digital piano:
- Adjust the Sound Settings: Explore the piano’s sound settings to customize the tone, reverb, and other audio parameters. Tailor the sound to your liking, whether you prefer a bright, resonant tone or a mellow, subdued ambiance.
- Configure Touch Sensitivity: Many digital pianos offer adjustable touch sensitivity to mimic the feel of an acoustic piano. Experiment with different touch settings to find the response that best suits your playing style and dynamics.
- Explore Additional Features: Familiarize yourself with any additional features or functions offered by the Kawai ES7, such as recording capabilities, metronome settings, and sound layering. These features can enhance your practice sessions and performance opportunities.
- Positioning and Ergonomics: Ensure that the piano is positioned at an optimal height and angle for comfortable playing. Consider using a piano bench or chair that promotes good posture and proper hand positioning while playing.
Setting up your Kawai ES7 digital piano allows you to tailor the instrument to your preferences, creating a personalized playing environment that inspires creativity and musical expression. By adjusting the sound, touch sensitivity, and exploring additional features, you can unlock the full potential of your digital piano and embark on a fulfilling musical journey.
Conclusion
Congratulations! You’ve successfully assembled and set up your Kawai ES7 digital piano, and you’re now ready to unleash your musical creativity. The process of assembling a digital piano may seem daunting at first, but with the guidance provided in this step-by-step guide, you’ve navigated through each stage with confidence and precision.
By carefully unpacking the piano, attaching the stand, pedals, and power supply, and configuring the settings, you’ve not only assembled an instrument but also personalized it to suit your playing style and preferences. The Kawai ES7 digital piano offers a world of musical possibilities, and now that it’s fully assembled and set up, you’re poised to explore its rich sound palette and dynamic capabilities.
As you embark on your musical journey with the Kawai ES7, remember that the assembly process is just the beginning. Your digital piano is a gateway to endless opportunities for learning, creating, and sharing music. Whether you’re a seasoned pianist or a beginner, the Kawai ES7 invites you to immerse yourself in the joy of playing and discovering new melodies.
Now that your Kawai ES7 digital piano is assembled and ready for action, take a moment to appreciate the craftsmanship and technology that have culminated in this exceptional instrument. Whether you’re practicing in the comfort of your home or performing on stage, your Kawai ES7 will be your faithful companion, faithfully reproducing the beauty and subtlety of acoustic piano sound.
So, sit down at your piano bench, place your fingers on the keys, and let the music flow. Your Kawai ES7 digital piano is more than just an instrument; it’s a source of inspiration, creativity, and joy. Embrace the journey that lies ahead, and let the music you create on your Kawai ES7 resonate with passion and emotion.