Introduction
Introduction
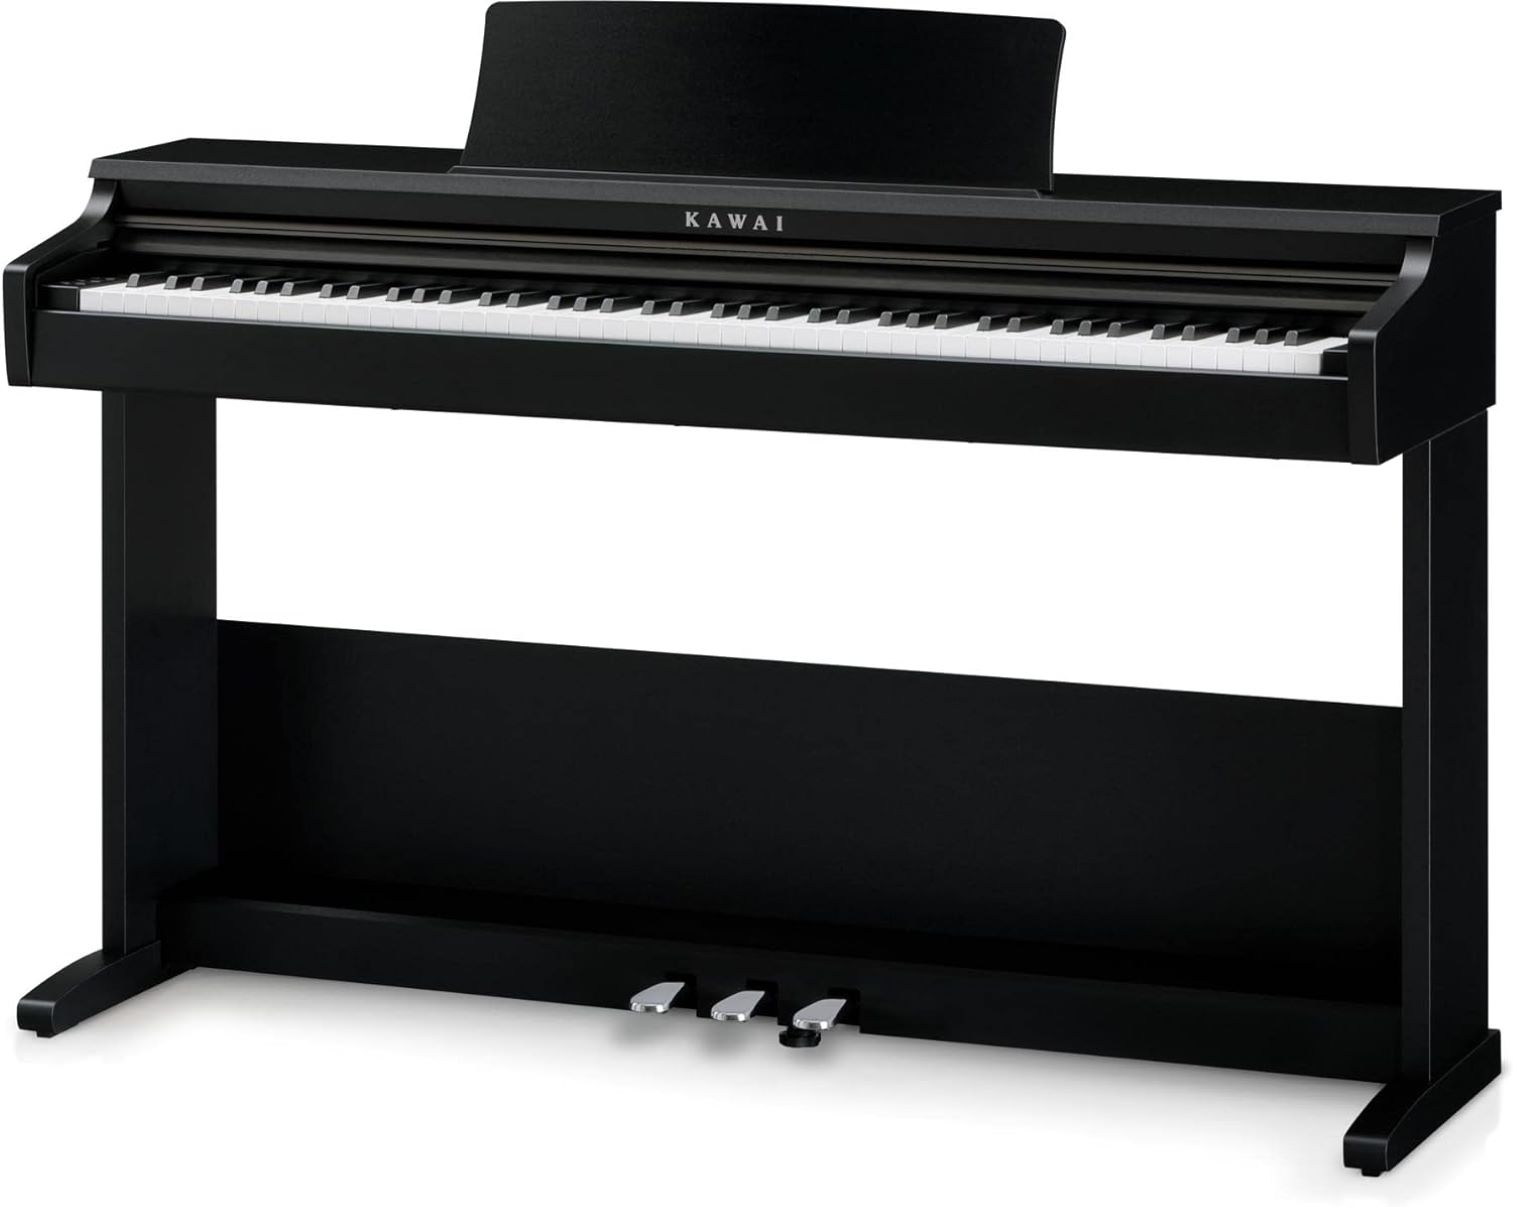
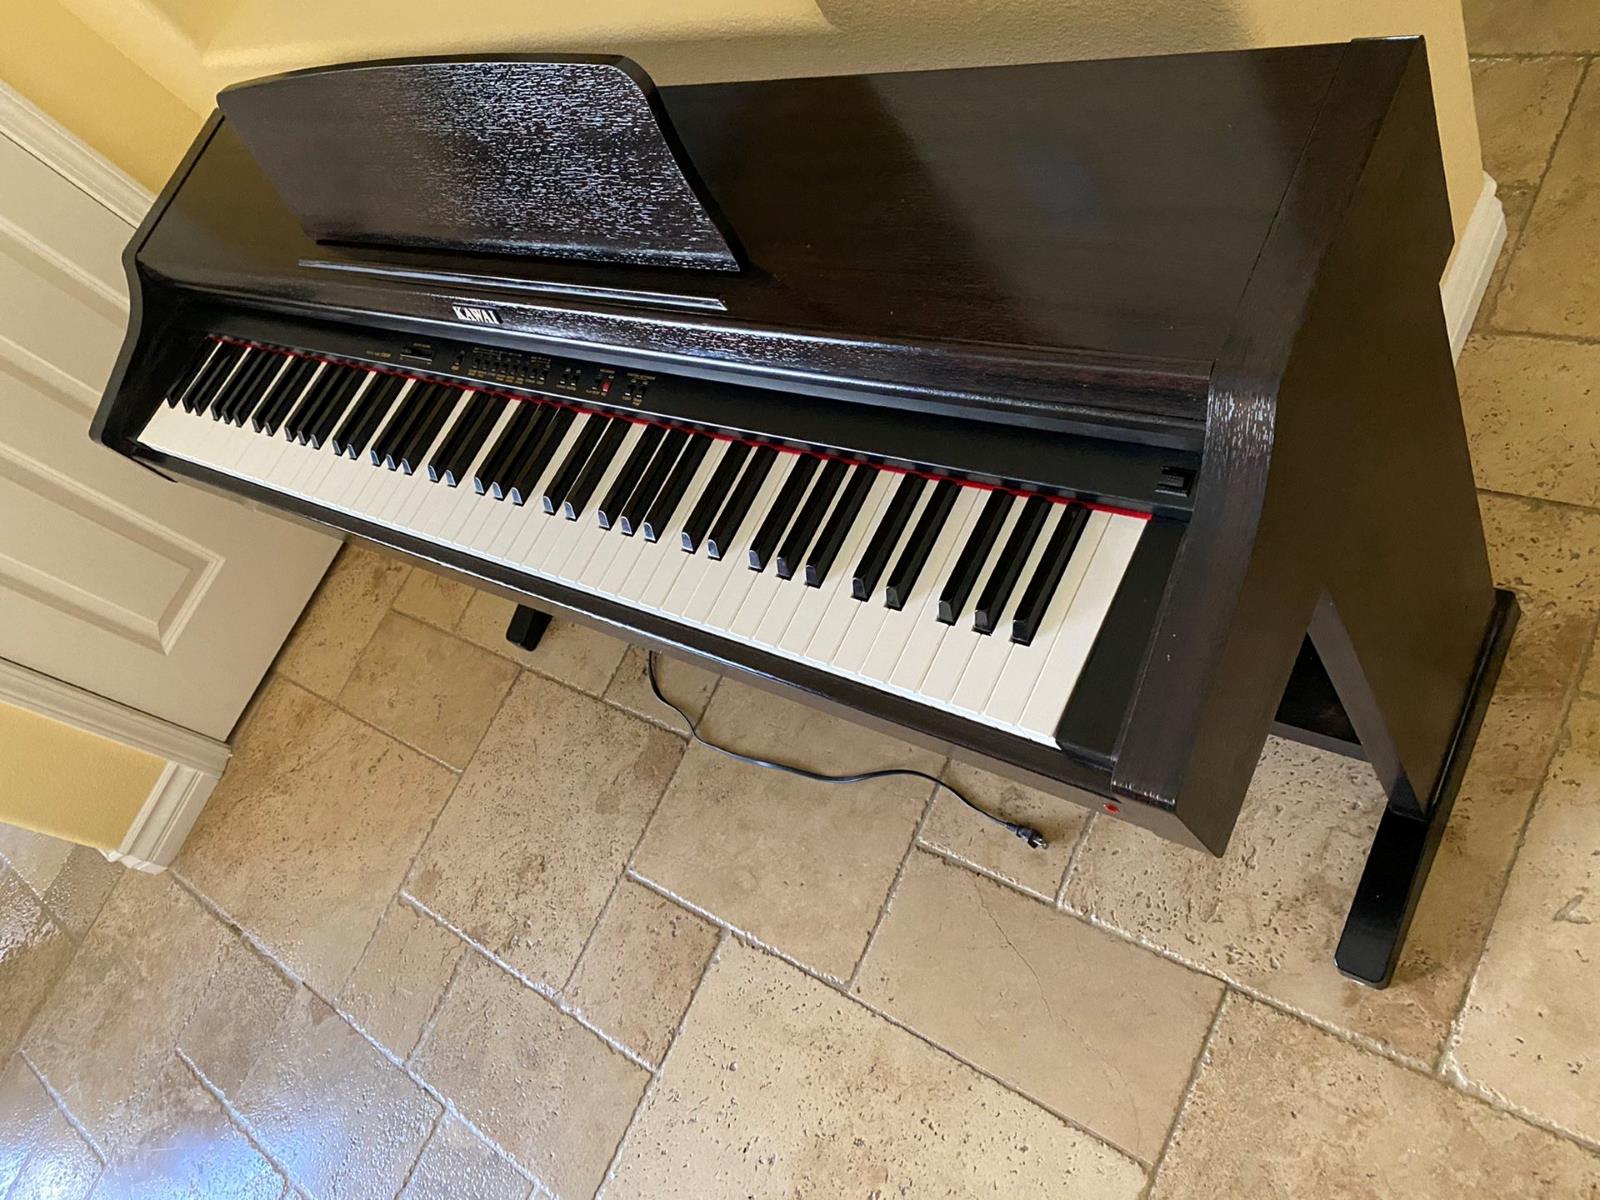
Welcome to the comprehensive guide on replacing the power switch on your Kawai CN290 digital piano. The power switch is an essential component that allows you to turn your digital piano on and off. Over time, frequent use can lead to wear and tear, resulting in the need for a replacement. Fortunately, with the right tools and a systematic approach, you can easily replace the power switch and restore the functionality of your beloved instrument.
Whether you are a seasoned musician or an enthusiastic beginner, understanding the process of replacing the power switch can empower you to maintain and repair your digital piano with confidence. By following this step-by-step guide, you will gain valuable insights into the inner workings of your instrument and develop a deeper appreciation for its craftsmanship.
In the following sections, we will walk through the necessary tools and materials, as well as the precise steps required to successfully replace the power switch on your Kawai CN290 digital piano. From disconnecting the power to reassembling the instrument, each step is crucial in ensuring a seamless and effective replacement process. With patience and attention to detail, you can breathe new life into your digital piano and continue creating beautiful music for years to come.
Now, let's gather the essential tools and materials needed for this project and embark on the journey to rejuvenate your Kawai CN290 digital piano.
Tools and Materials Needed
Tools and Materials Needed
Before embarking on the power switch replacement process, it is imperative to gather the necessary tools and materials to ensure a smooth and efficient experience. Here is a comprehensive list of items you will need:
- Screwdriver Set: A set of precision screwdrivers, including Phillips and flathead varieties, will be essential for removing screws and accessing internal components of the digital piano.
- Replacement Power Switch: Acquire a compatible replacement power switch specifically designed for the Kawai CN290 digital piano. Ensuring compatibility is crucial for seamless integration and optimal functionality.
- Work Surface: Prepare a clean and spacious work surface where you can comfortably disassemble and reassemble the digital piano. A soft cloth or blanket can provide cushioning and protection for the instrument.
- Container for Screws: Utilize a small container or compartmentalized tray to store the screws and small components removed during the disassembly process. This will prevent loss and confusion when reassembling the piano.
- Electrical Tape: Electrical tape may be needed to secure and insulate electrical connections during the replacement process, ensuring safety and proper functionality.
- Organizational Labels: Using adhesive labels or masking tape, label and organize the various screws and components as you remove them. This simple step will streamline the reassembly process.
- Clean Cloth and Cleaning Solution: A clean, lint-free cloth and mild cleaning solution can be used to gently clean the internal components and surfaces of the digital piano while it is disassembled.
- Patience and Attention to Detail: While not physical tools, patience and attention to detail are invaluable throughout the entire process. Take your time, stay organized, and handle the components with care.
By ensuring that you have the necessary tools and materials at your disposal, you can approach the power switch replacement with confidence and precision. With these items in hand, you are ready to delve into the step-by-step process of rejuvenating your Kawai CN290 digital piano.
Step 1: Disconnect the Power
Step 1: Disconnect the Power
Before initiating any work on your Kawai CN290 digital piano, it is crucial to prioritize safety by disconnecting the power source. Follow these steps to ensure a safe and secure disconnection:
- Power Off: Begin by powering off the digital piano using the designated power button or switch. Wait for a few moments to ensure that all internal components have fully shut down.
- Unplug the Power Cord: Carefully unplug the power cord from the electrical outlet and the input on the digital piano. Gently guide the cord out, taking care not to exert excessive force that could damage the cord or the piano’s input.
- Confirm Disconnection: Double-check that the power cord is completely disconnected from both the outlet and the digital piano. This step is critical to prevent any electrical hazards during the subsequent disassembly and repair processes.
By diligently following these steps, you can ensure that the digital piano is safely disconnected from its power source, mitigating the risk of electrical accidents or damage to internal components. With the power safely disconnected, you are ready to proceed to the next phase of the power switch replacement process.
Step 2: Remove the Back Panel
Step 2: Remove the Back Panel
With the power safely disconnected, the next crucial step in replacing the power switch on your Kawai CN290 digital piano is to remove the back panel. This will grant access to the internal components and allow for the seamless replacement of the power switch. Follow these steps to remove the back panel:
- Positioning the Piano: Place the digital piano on a stable surface with ample space around it, ensuring that the back of the piano is easily accessible for the upcoming disassembly process.
- Identify the Screws: Examine the back panel to locate the screws securing it to the main body of the piano. Depending on the model, these screws may be positioned along the edges or in specific recessed areas.
- Use the Appropriate Screwdriver: Select the appropriate screwdriver from your set, ensuring that it fits the screws snugly to prevent stripping. Begin removing the screws, taking care to place them in a designated container to prevent misplacement.
- Gently Remove the Back Panel: Once all the screws have been removed, gently slide or lift the back panel away from the main body of the piano. Take note of any resistance and ensure that no cables or wires are still connected before fully detaching the panel.
By carefully executing these steps, you can successfully remove the back panel of your Kawai CN290 digital piano, unveiling the internal components and creating a clear path for the subsequent phases of the power switch replacement process.
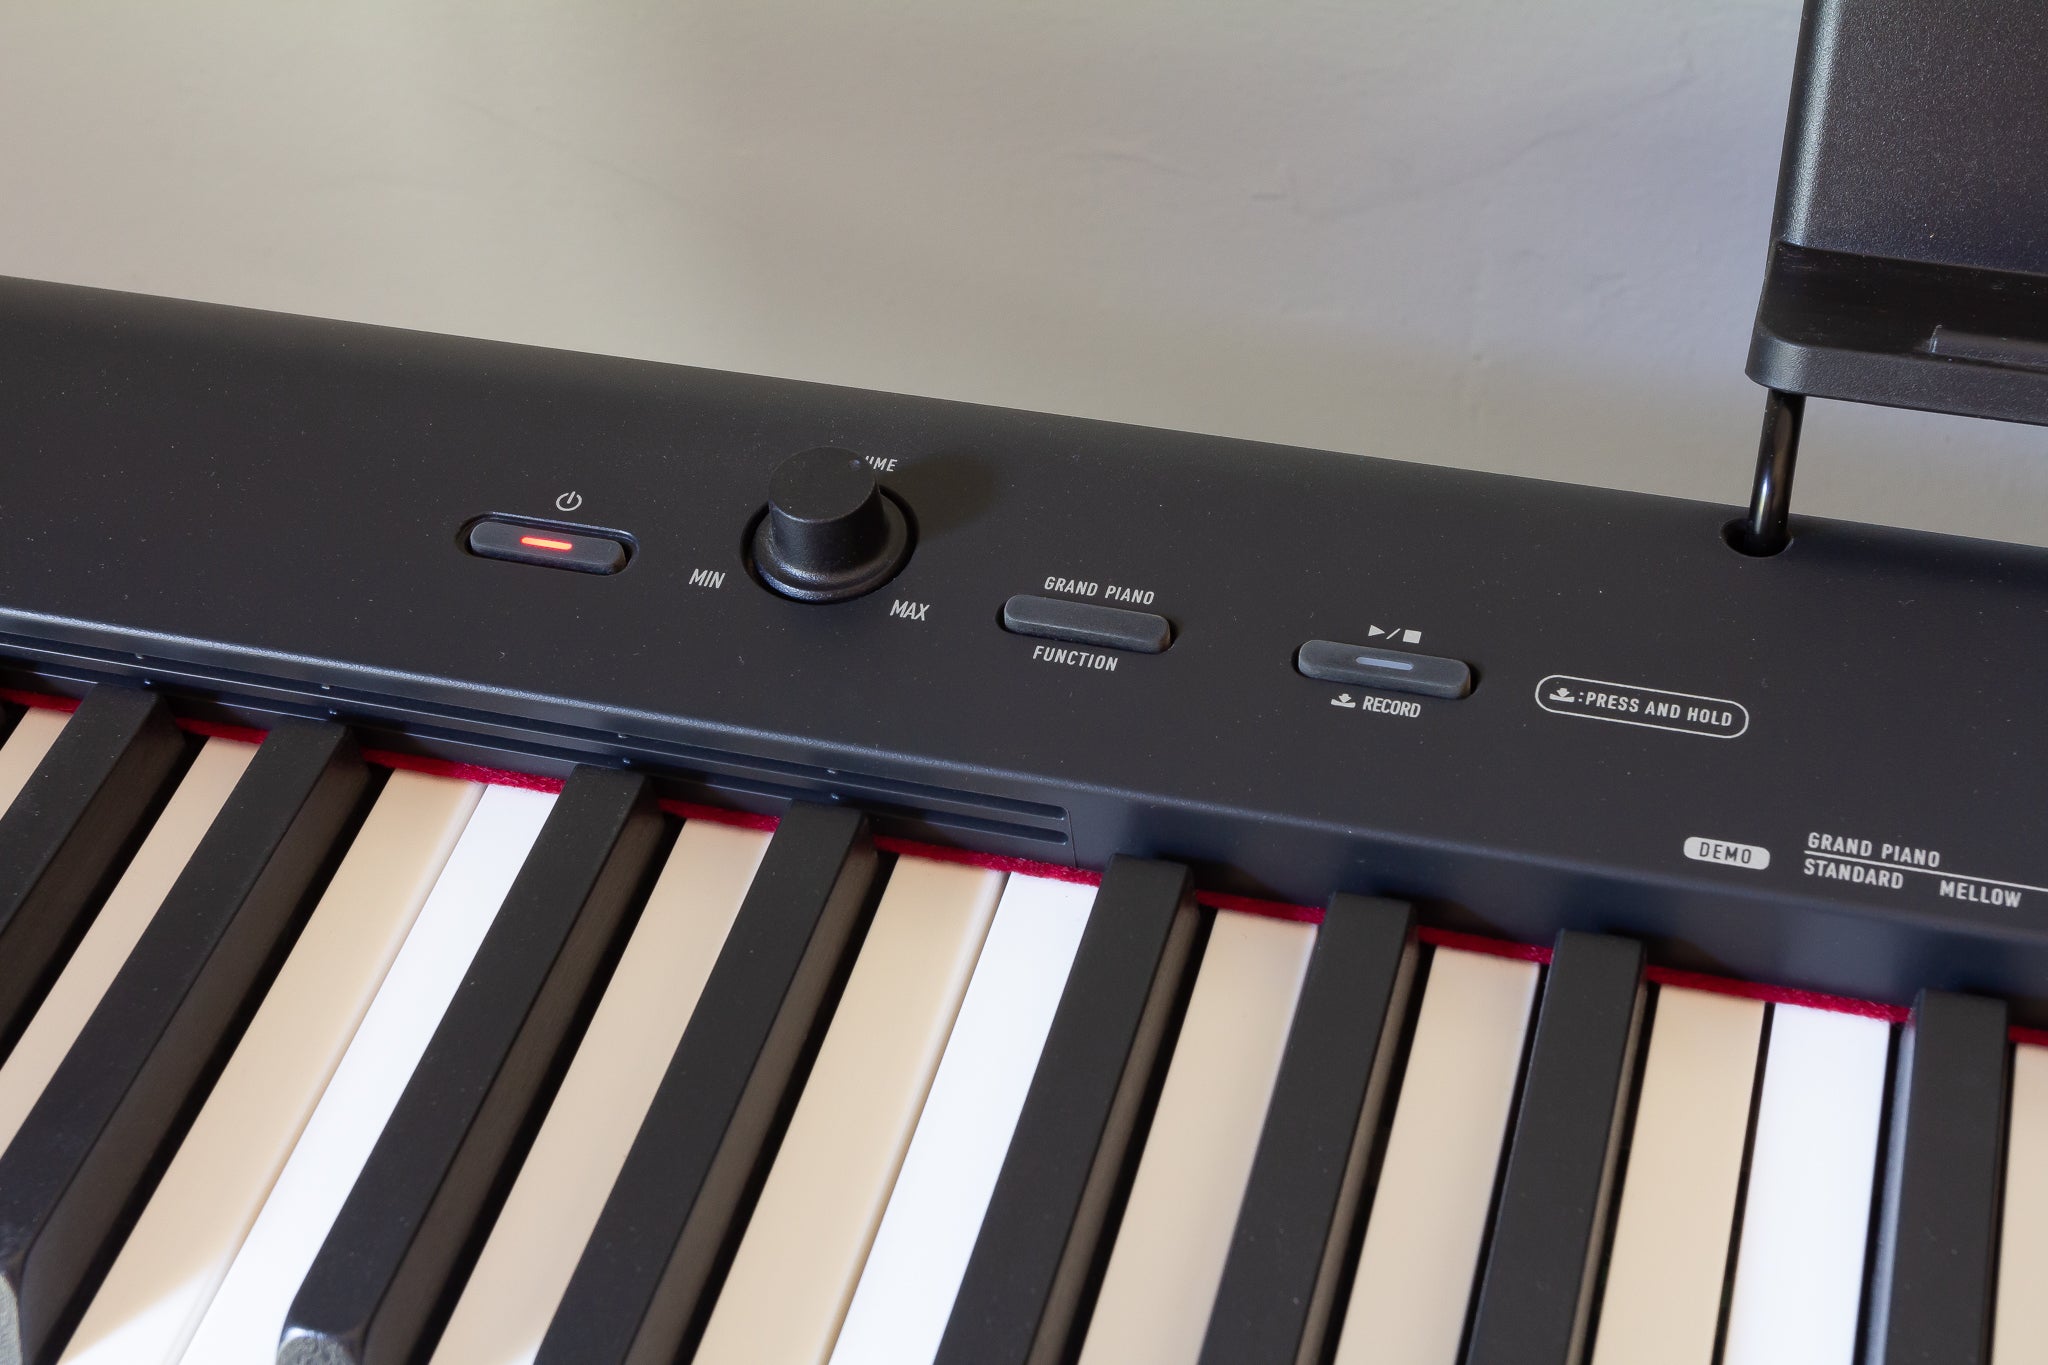
Step 3: Locate the Power Switch
Step 3: Locate the Power Switch
After removing the back panel, the next essential step in replacing the power switch on your Kawai CN290 digital piano is to locate the existing power switch within the internal framework of the instrument. Follow these guidelines to effectively locate the power switch:
- Internal Component Inspection: With the back panel removed, take a moment to visually inspect the internal components of the digital piano. Familiarize yourself with the layout and identify the power switch based on its distinctive appearance and electrical connections.
- Consult the Owner’s Manual: If available, refer to the owner’s manual or technical documentation for your Kawai CN290 digital piano. The manual may contain detailed diagrams or descriptions that pinpoint the location of the power switch within the instrument.
- Follow the Power Cord: Trace the path of the power cord from the external input to the internal components of the piano. The power switch is typically situated along this pathway, often in close proximity to the point of entry for the power cord.
- Identify Electrical Connections: Look for the electrical connections associated with the power switch, such as wires or connectors leading to and from the switch. This can provide further clarity in pinpointing the precise location of the power switch.
By methodically following these steps, you can effectively locate the power switch within your Kawai CN290 digital piano, setting the stage for the subsequent phase of the replacement process. A clear understanding of the power switch’s location is pivotal in ensuring a smooth and precise replacement procedure.
Step 4: Replace the Power Switch
Step 4: Replace the Power Switch
With the existing power switch located and the internal components accessible, you are now ready to embark on the pivotal phase of replacing the power switch on your Kawai CN290 digital piano. Follow these comprehensive steps to seamlessly replace the power switch:
- Disconnect Electrical Connections: Prior to removing the existing power switch, carefully disconnect any electrical connections leading to and from the switch. Take note of the orientation and arrangement of the wires or connectors to facilitate the reconnection process.
- Remove Mounting Hardware: Depending on the design of the power switch, it may be secured in place by mounting hardware such as screws or clips. Use the appropriate tools to remove the mounting hardware, ensuring that the switch is free to be extracted from its position.
- Extract the Power Switch: Gently extract the existing power switch from its housing, taking care not to damage surrounding components or wiring. Note any specific orientation or alignment of the switch within its housing for accurate placement of the replacement switch.
- Install the Replacement Switch: Position the replacement power switch securely within the designated housing, aligning it according to the orientation observed during the removal of the original switch. Ensure that the switch is seated properly and any mounting holes align with the corresponding hardware.
- Reconnect Electrical Connections: Carefully reconnect the electrical connections to the replacement power switch, ensuring a secure and accurate attachment. Verify that the connections mirror the original configuration to maintain proper functionality.
- Secure Mounting Hardware: If applicable, reattach any mounting hardware to secure the replacement power switch in place. Double-check the stability and alignment of the switch within its housing to prevent any issues during reassembly.
By meticulously following these steps, you can effectively replace the power switch on your Kawai CN290 digital piano, paving the way for the final phase of reassembling the instrument and restoring its functionality.
Step 5: Reassemble the Digital Piano
Step 5: Reassemble the Digital Piano
Having successfully replaced the power switch, the final phase of the process involves reassembling your Kawai CN290 digital piano. Follow these systematic steps to ensure a seamless and effective reassembly:
- Position the Back Panel: Align the back panel with the main body of the digital piano, taking care to position it correctly before initiating the reattachment process.
- Reattach the Back Panel: Using the appropriate screws and your screwdriver, securely fasten the back panel to the main body of the piano. Ensure that the screws are tightened evenly to maintain a stable and uniform fit.
- Verify Power Switch Functionality: Before fully securing the back panel, verify the functionality of the replacement power switch. Power on the digital piano and test the newly installed switch to confirm that it effectively controls the power state of the instrument.
- Secure Cable Management: If any cables or wires were displaced during the disassembly process, carefully organize and secure them within the piano’s internal framework to prevent tangling or interference with moving parts.
- Inspect and Clean: Take a moment to inspect the exterior of the digital piano for any dust or debris that may have accumulated during the disassembly process. Use a clean, soft cloth to gently wipe down the surfaces and restore the piano to its pristine condition.
- Power On and Enjoy: Once the back panel is securely reattached and all components are in place, power on your Kawai CN290 digital piano and revel in the successful replacement of the power switch. Celebrate the restoration of full functionality and the opportunity to continue creating beautiful music.
By diligently following these steps, you can effectively reassemble your Kawai CN290 digital piano, culminating in a satisfying and rejuvenating experience. The successful replacement of the power switch not only restores the functionality of your instrument but also empowers you with the knowledge and confidence to undertake future maintenance and repairs.
Conclusion
Conclusion
Congratulations on successfully completing the comprehensive process of replacing the power switch on your Kawai CN290 digital piano. By following the systematic steps outlined in this guide, you have not only rejuvenated the functionality of your beloved instrument but also gained valuable insights into its internal workings. The journey from disconnecting the power to reassembling the piano has provided a hands-on opportunity to maintain and repair your digital piano with confidence and precision.
As you reflect on the meticulous process of locating, replacing, and reassembling the power switch, take pride in your newfound ability to address maintenance and repair tasks with proficiency. The careful attention to detail and the utilization of essential tools and materials have contributed to a successful outcome, ensuring that your Kawai CN290 digital piano continues to enrich your musical endeavors for years to come.
Furthermore, the knowledge and skills acquired through this process empower you to approach future maintenance tasks with confidence, fostering a deeper connection with your instrument and a sense of ownership over its care and well-being. Whether it’s a power switch replacement, routine maintenance, or minor repairs, you are now equipped to engage with your digital piano on a more intimate and knowledgeable level.
As you power on your Kawai CN290 digital piano and experience the seamless functionality of the newly replaced power switch, take a moment to appreciate the harmony between craftsmanship and user involvement. Your proactive approach to maintenance and repair not only ensures the longevity of your instrument but also strengthens the bond between musician and music-making tool.
Embrace the satisfaction of a job well done, and let the rejuvenated power switch serve as a testament to your dedication to preserving and enhancing the musical experiences facilitated by your Kawai CN290 digital piano. With your newfound expertise and the resilience of your instrument, you are poised to continue creating beautiful music and cherishing the artistry that enriches your life.