Introduction
Are you ready to elevate your audio recording game and captivate your audience with crystal-clear sound? The TONOR Pro Condenser Microphone is a top-tier choice for budding musicians, podcasters, YouTubers, and anyone seeking professional-grade audio quality. This versatile and user-friendly microphone is designed to deliver exceptional sound reproduction, making it an ideal tool for a wide range of recording applications.
In this comprehensive guide, we will walk you through the process of setting up and optimizing your TONOR Pro Condenser Microphone, ensuring that you unleash its full potential with ease. Whether you're a seasoned audio engineer or a novice content creator, this step-by-step tutorial will equip you with the knowledge and skills needed to harness the power of this exceptional microphone.
Throughout this tutorial, we will cover each crucial step, from unboxing the microphone to connecting it to your computer and adjusting the settings for optimal performance. By the end of this guide, you will be ready to embark on your audio recording journey with confidence, knowing that you have maximized the capabilities of your TONOR Pro Condenser Microphone.
So, without further ado, let's dive into the exciting world of high-quality audio recording and unleash the potential of your TONOR Pro Condenser Microphone.
Unboxing the TONOR Pro Condenser Microphone
As you unbox your TONOR Pro Condenser Microphone, you’ll be greeted by a carefully curated selection of components designed to ensure a seamless setup process. The package typically includes the following items:
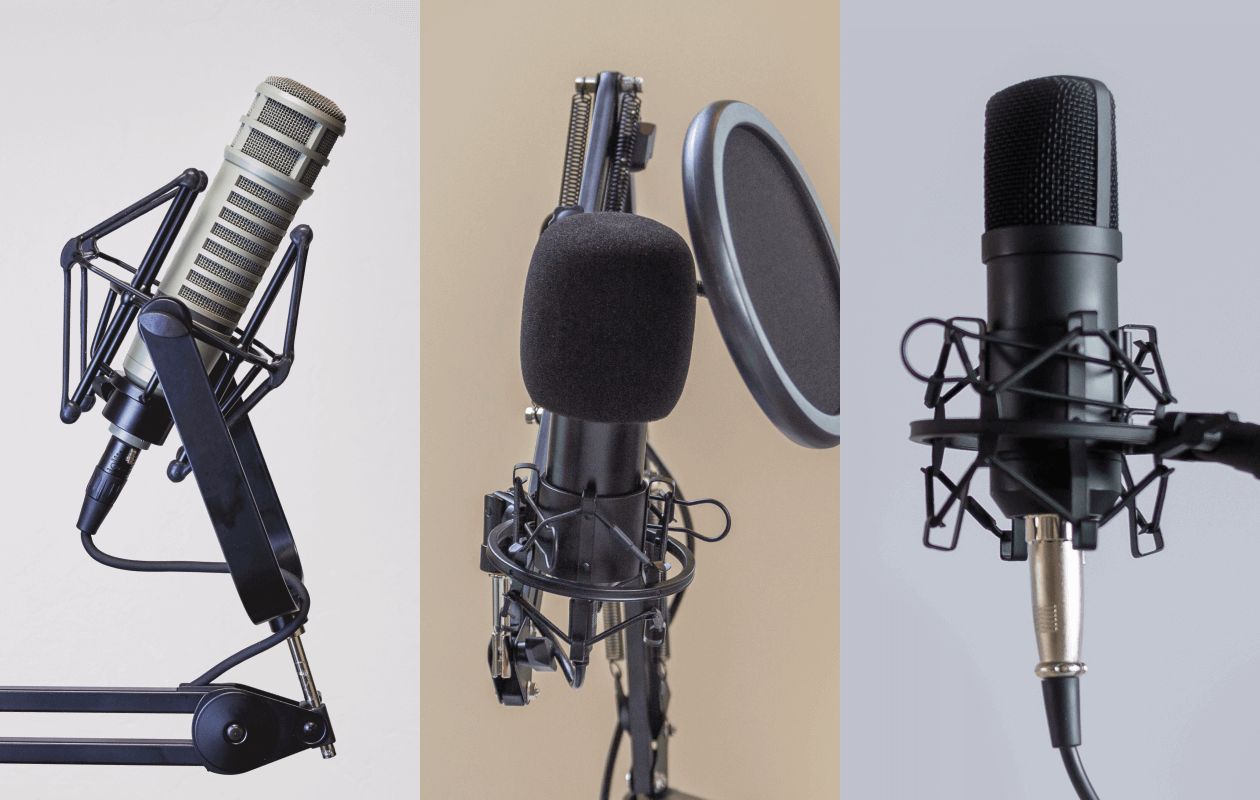
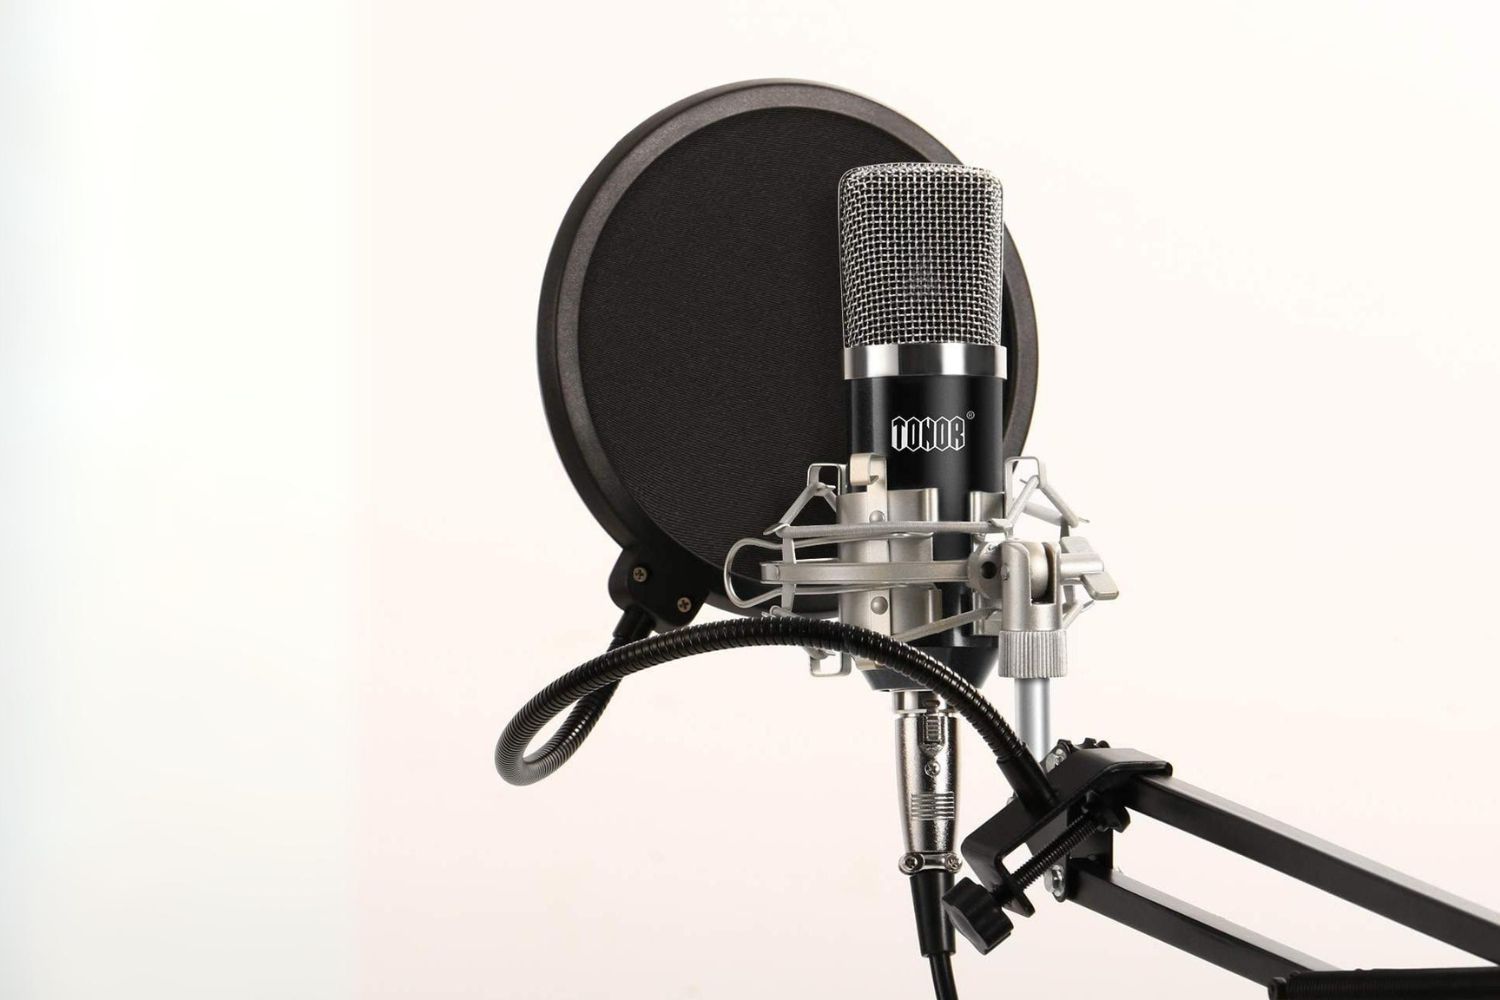
- The TONOR Pro Condenser Microphone: This sleek and stylish microphone boasts a professional-grade build quality, exuding an air of sophistication while promising exceptional audio performance.
- Shock Mount: The shock mount serves as a crucial accessory, effectively minimizing vibrations and handling noise to deliver pristine audio recordings.
- Pop Filter: The inclusion of a pop filter is a testament to TONOR’s commitment to providing a comprehensive recording solution. This essential accessory helps eliminate plosives and sibilance, resulting in clear and professional-sounding vocals.
- Adjustable Suspension Scissor Arm Stand: The robust and adjustable stand offers flexibility and stability, allowing you to position the microphone precisely for optimal recording results.
- Metal Shock Mount: This durable shock mount provides an added layer of protection, safeguarding the microphone against accidental bumps or movements during recording sessions.
- Table Mounting Clamp: The convenient table mounting clamp enables easy and secure attachment of the microphone stand to your desk or table, ensuring a stable and reliable setup.
- XLR Cable: The inclusion of an XLR cable underscores TONOR’s commitment to delivering a comprehensive recording solution, allowing you to connect the microphone to your audio interface or mixer with ease.
- 3.5mm to XLR Cable: This versatile cable expands the connectivity options, enabling you to interface the microphone with a wide range of devices, including cameras, audio interfaces, and more.
- User Manual: The user manual serves as a valuable resource, providing clear and concise instructions for assembling, connecting, and optimizing the microphone for various recording scenarios.
Upon unboxing these components, you’ll immediately recognize TONOR’s dedication to delivering a premium and user-friendly recording experience. The thoughtful inclusion of essential accessories ensures that you have everything you need to embark on your audio recording journey with confidence.
Assembling the Microphone Stand
As you embark on the assembly of the TONOR Pro Condenser Microphone’s stand, you’ll appreciate the intuitive design and user-friendly nature of the components. Follow these straightforward steps to assemble the microphone stand with ease:
- Attaching the Shock Mount: Begin by securing the shock mount to the adjustable suspension scissor arm stand. The shock mount serves as a crucial element in isolating the microphone from vibrations and handling noise, ensuring pristine audio quality.
- Mounting the Microphone: Carefully position the TONOR Pro Condenser Microphone within the shock mount, ensuring a secure and stable fit. The shock mount’s design allows for effortless installation, providing a reliable and vibration-free mounting solution.
- Securing the Stand: Utilize the table mounting clamp to affix the stand to your desk or table, ensuring a stable and secure setup. The table mounting clamp offers versatility and convenience, allowing you to position the microphone precisely for optimal recording performance.
- Adjusting the Position: Take advantage of the stand’s adjustable nature to position the microphone according to your specific recording requirements. Whether you’re capturing vocals, instruments, or podcasts, the flexibility of the stand enables you to achieve the perfect recording angle and distance.
As you complete the assembly process, you’ll marvel at the seamless integration of the TONOR Pro Condenser Microphone with its accompanying stand. The intuitive design and robust construction of the stand instill confidence, allowing you to focus on your creative pursuits without the distraction of technical complexities.
With the microphone securely mounted on the stand, you’re now poised to delve into the next crucial step: connecting the TONOR Pro Condenser Microphone to your computer. This pivotal stage will pave the way for seamless integration with your recording setup, setting the stage for captivating audio recordings that resonate with clarity and professionalism.
Connecting the Microphone to a Computer
With the TONOR Pro Condenser Microphone assembled and ready for action, the next step involves establishing a seamless connection to your computer. Whether you’re a musician, podcaster, or content creator, the process of connecting the microphone is a pivotal bridge that links your creative endeavors to the digital realm. Follow these steps to ensure a hassle-free and reliable connection:
- Locate an Available USB Port: Identify an available USB port on your computer, ensuring that it is easily accessible and free from obstructions. The TONOR Pro Condenser Microphone utilizes a USB interface, simplifying the connectivity process and obviating the need for complex audio interfaces or external power sources.
- Insert the USB Cable: Take the USB cable provided with the microphone and insert it into the USB port on your computer. The plug-and-play nature of the USB connection streamlines the setup process, allowing you to focus on your creative pursuits without the burden of technical intricacies.
- Recognition and Installation: Upon connecting the microphone, your computer should promptly recognize the device and initiate the installation process. Follow any on-screen prompts to ensure that the necessary drivers are installed, enabling seamless communication between the TONOR Pro Condenser Microphone and your computer.
- Verification of Input Source: Access your computer’s audio settings to verify that the TONOR Pro Condenser Microphone is selected as the input source. This crucial step ensures that your recording software or digital audio workstation (DAW) recognizes the microphone as the primary input device, facilitating smooth and uninterrupted recording sessions.
As you complete the process of connecting the TONOR Pro Condenser Microphone to your computer, you’ll appreciate the simplicity and efficiency of the USB interface, which seamlessly integrates the microphone into your recording setup. With the connection established, you’re now poised to embark on the exciting journey of optimizing the microphone settings for your specific recording requirements.
Stay tuned as we delve into the next crucial phase: adjusting the microphone settings to unleash its full potential and achieve professional-grade audio recordings with ease.
Adjusting the Microphone Settings
With the TONOR Pro Condenser Microphone seamlessly connected to your computer, it’s time to fine-tune the microphone settings to ensure optimal performance and exceptional audio quality. Whether you’re gearing up for a vocal recording, podcasting session, or instrumental performance, the ability to adjust the microphone settings empowers you to tailor the audio capture to your specific needs. Follow these essential steps to optimize the microphone settings:
- Accessing System Preferences: Navigate to the system preferences or audio settings on your computer to locate the input devices section. Here, you’ll be able to select the TONOR Pro Condenser Microphone as the primary input device, ensuring that your recording software or digital audio workstation (DAW) recognizes the microphone for audio capture.
- Setting Input Levels: Adjust the input levels of the microphone to achieve an optimal balance between clarity and volume. Aim to set the input levels such that they capture the nuances of your audio source without introducing distortion or clipping, thereby preserving the integrity of your recordings.
- Applying Gain Adjustments: Depending on your recording environment and the nature of the audio source, you may need to apply gain adjustments to amplify or attenuate the microphone’s sensitivity. Fine-tune the gain settings to ensure that the microphone captures the desired audio levels with precision and fidelity.
- Utilizing Polar Patterns: The TONOR Pro Condenser Microphone offers selectable polar patterns, enabling you to tailor the microphone’s directional sensitivity to suit your recording scenario. Whether you require a cardioid pattern for solo vocals, an omnidirectional pattern for group discussions, or a figure-8 pattern for duet performances, the microphone’s versatility allows you to adapt to diverse recording situations.
As you navigate through the process of adjusting the microphone settings, you’ll appreciate the intuitive nature of the TONOR Pro Condenser Microphone’s controls and the flexibility they afford. The ability to fine-tune input levels, apply gain adjustments, and leverage selectable polar patterns empowers you to capture audio with precision and artistry, setting the stage for captivating recordings that resonate with professional quality.
With the microphone settings optimized to your exact specifications, you’re now primed to embark on the exhilarating phase of testing the microphone, where you’ll have the opportunity to witness firsthand the impressive capabilities and sonic fidelity of the TONOR Pro Condenser Microphone.
Testing the Microphone
As you prepare to embark on the exhilarating phase of testing the TONOR Pro Condenser Microphone, you’re on the cusp of experiencing the sonic prowess and exceptional clarity that this professional-grade microphone has to offer. Whether you’re gearing up to record vocals, musical performances, podcasts, or voiceovers, the testing phase serves as a pivotal moment to validate the microphone’s capabilities and unleash its full potential.
Follow these essential steps to conduct a comprehensive and insightful test of the TONOR Pro Condenser Microphone:
- Vocal Performance: If you’re a vocalist, seize the opportunity to showcase your vocal prowess by performing a segment of your favorite song or delivering a spoken piece. Pay close attention to the microphone’s ability to capture the nuances of your voice, from delicate whispers to powerful crescendos, with pristine clarity and fidelity.
- Instrumental Recording: Musicians can leverage the microphone’s exceptional audio reproduction capabilities to capture the rich timbres and expressive nuances of their instruments. Whether you’re strumming a guitar, tickling the ivories, or coaxing melodies from a saxophone, the microphone’s ability to faithfully reproduce the intricacies of your performance will leave an indelible impression.
- Podcasting or Voiceover: If your endeavors involve podcasting or voiceover work, utilize the microphone to record a segment of your content. Evaluate the microphone’s ability to convey the warmth and resonance of your voice, ensuring that every syllable is captured with clarity and presence, setting the stage for engaging and immersive audio productions.
- Environmental Considerations: Take note of the microphone’s performance in different environmental conditions. Test its ability to reject background noise and focus on the primary audio source, ensuring that your recordings are free from unwanted distractions and artifacts.
As you immerse yourself in the testing phase, you’ll be captivated by the TONOR Pro Condenser Microphone’s ability to elevate your audio recordings to new heights. Its exceptional clarity, fidelity, and versatility underscore its status as an indispensable tool for content creators, musicians, and audio enthusiasts alike.
With the microphone’s impressive performance validated through rigorous testing, you’re now poised to harness its capabilities and embark on a journey of creative expression and sonic excellence. The TONOR Pro Condenser Microphone stands as a testament to the pursuit of audio perfection, empowering you to capture and convey your artistic vision with unparalleled precision and artistry.
Conclusion
As we draw the curtain on this comprehensive guide to setting up and optimizing the TONOR Pro Condenser Microphone, you’ve embarked on a journey that has equipped you with the knowledge and skills to unleash the full potential of this exceptional audio recording tool. From the moment you unboxed the meticulously curated components to the exhilarating phase of testing the microphone’s capabilities, you’ve been immersed in a world of professional-grade audio quality and user-friendly functionality.
The TONOR Pro Condenser Microphone stands as a beacon of innovation and excellence, offering a versatile and reliable solution for musicians, podcasters, content creators, and audio enthusiasts. Its seamless assembly, intuitive connectivity, and adjustable settings underscore its commitment to facilitating a streamlined and rewarding recording experience.
With each step, from assembling the microphone stand to adjusting the microphone settings and conducting insightful tests, you’ve witnessed firsthand the meticulous craftsmanship and sonic prowess that define the TONOR Pro Condenser Microphone. Its ability to capture the nuances of vocals, instruments, podcasts, and voiceovers with unparalleled clarity and fidelity positions it as an indispensable asset in the pursuit of audio perfection.
Armed with the knowledge gleaned from this guide, you’re now poised to embark on your audio recording journey with confidence and creativity, knowing that the TONOR Pro Condenser Microphone stands as a steadfast ally in your quest for sonic excellence. Whether you’re crafting captivating musical compositions, engaging podcasts, or immersive voiceovers, the TONOR Pro Condenser Microphone empowers you to articulate your artistic vision with precision and artistry.
As you step into the realm of high-quality audio recording, let the TONOR Pro Condenser Microphone be your trusted companion, faithfully capturing the essence of your creativity and delivering recordings that resonate with professionalism and impact. Embrace the possibilities that this exceptional microphone unlocks, and let your passion and talent shine through each captivating audio production.