Introduction
Introduction
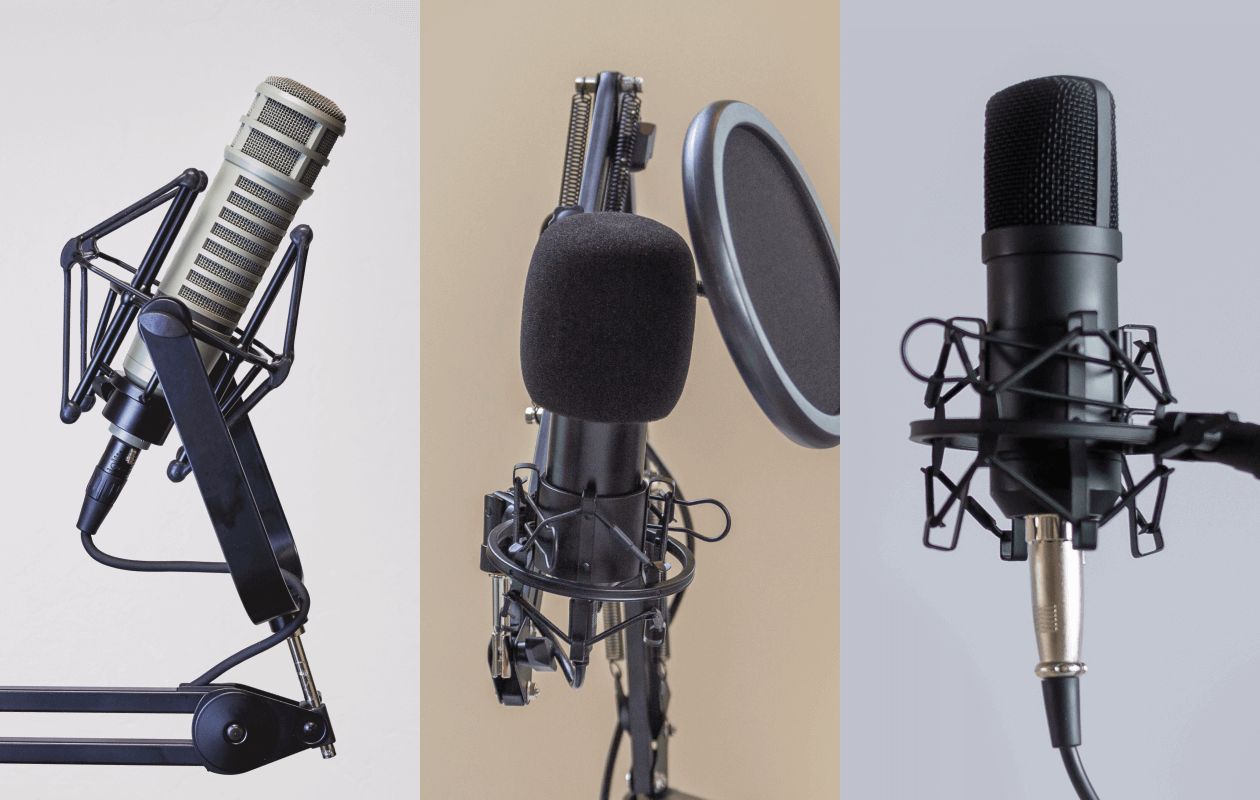
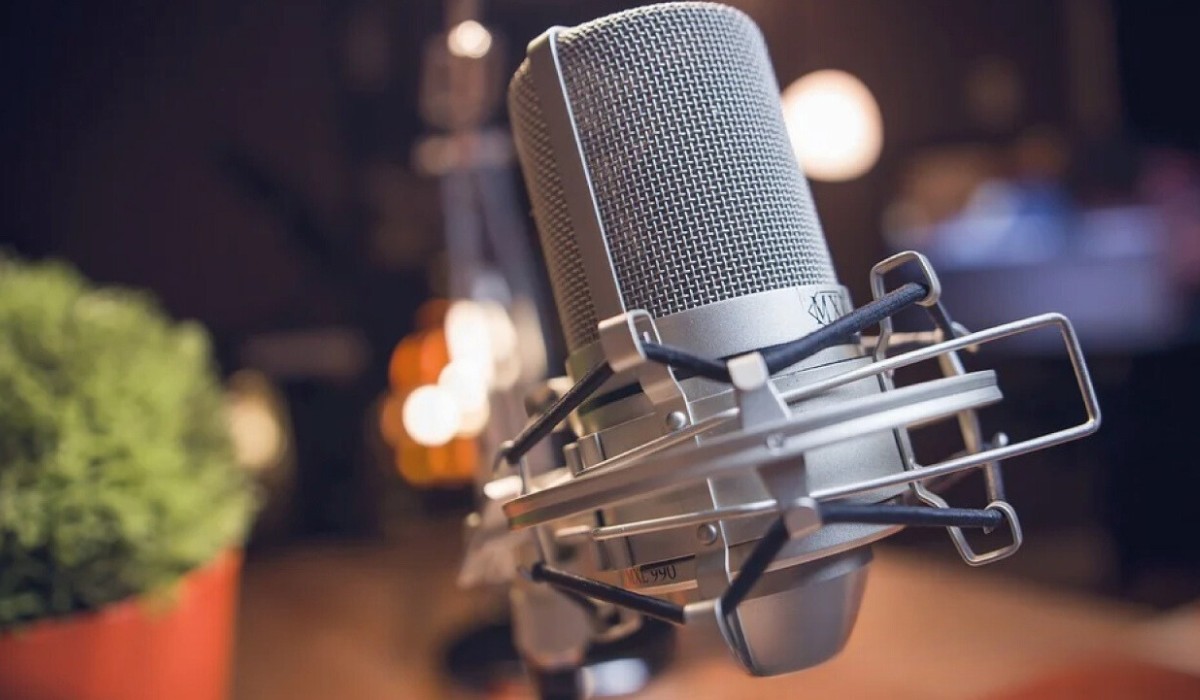
The NW-700 condenser microphone is a popular choice for recording vocals, podcasts, and acoustic instruments. With its high sensitivity and wide frequency response, it delivers crisp and clear audio, making it a valuable tool for content creators, musicians, and audio enthusiasts. When using the NW-700 microphone with Windows, proper setup and configuration are essential to ensure optimal performance and recording quality.
In this guide, we will walk through the process of setting up the NW-700 condenser microphone with a Windows computer, configuring the microphone settings, and testing its functionality. Whether you are a beginner exploring the world of audio recording or a seasoned professional seeking to maximize the potential of your equipment, this comprehensive tutorial will provide you with the knowledge and skills to harness the full capabilities of the NW-700 condenser microphone in a Windows environment.
Throughout this guide, we will cover the essential steps for seamlessly integrating the NW-700 condenser microphone into your Windows setup, allowing you to capture pristine audio with clarity and precision. By following the instructions and tips provided in this tutorial, you can elevate your recording experience and unlock the full potential of the NW-700 condenser microphone for your creative endeavors. Let's embark on this journey to harness the power of the NW-700 condenser microphone with Windows and unleash the true depth of your audio recordings.
Setting up the NW-700 Condenser Microphone
Setting up the NW-700 Condenser Microphone
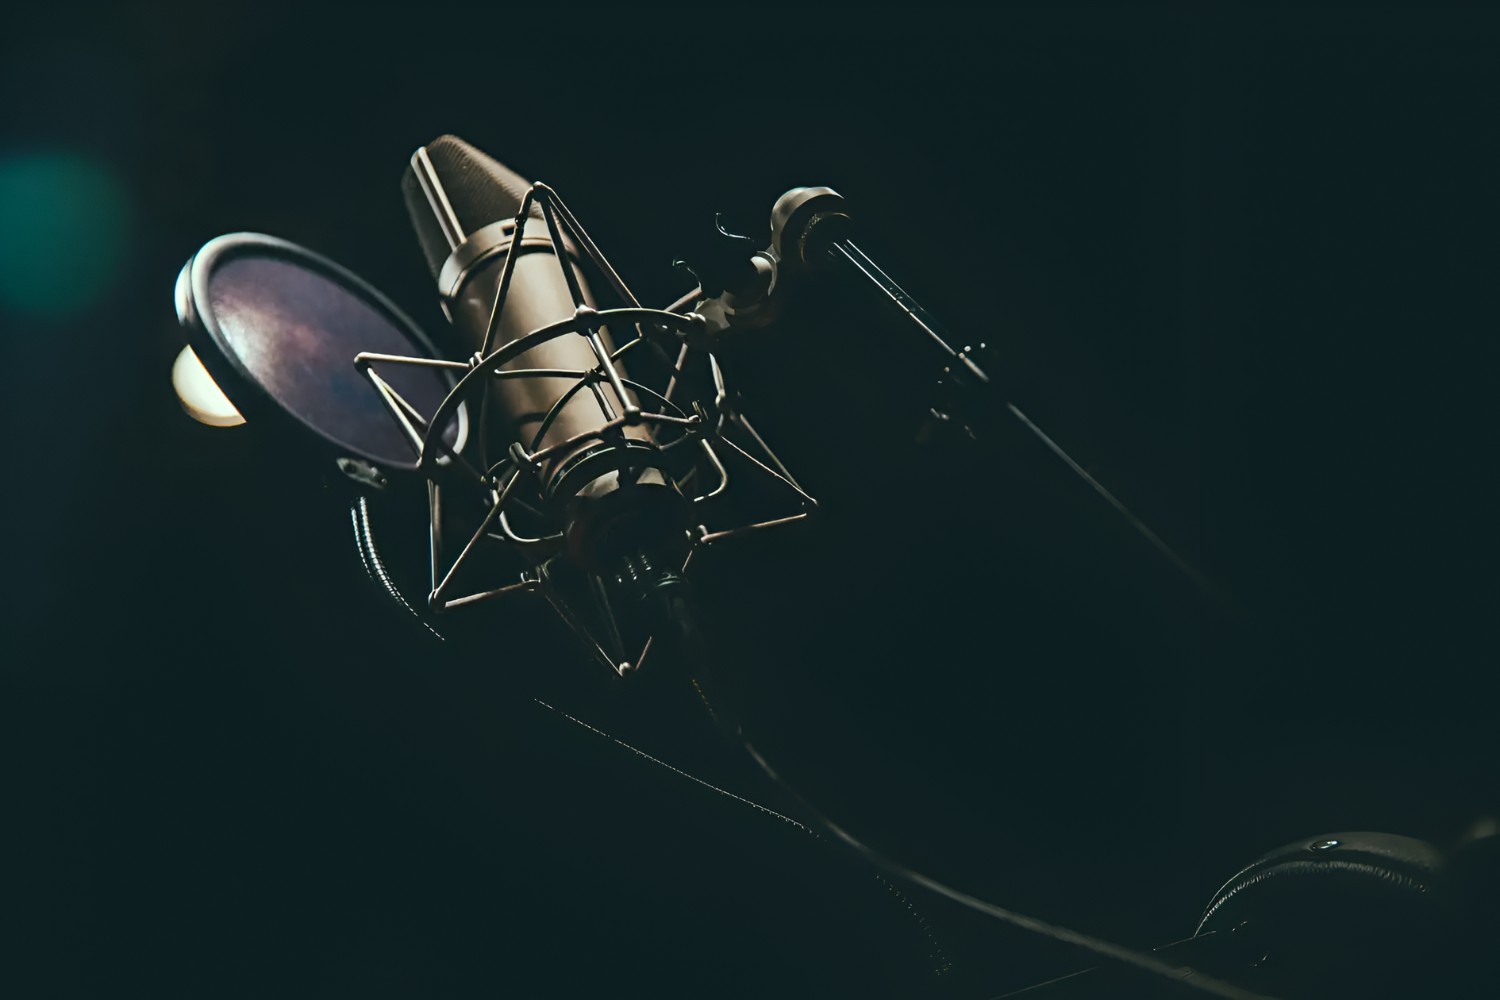
Before delving into the technical configurations, it is crucial to properly set up the NW-700 condenser microphone to ensure seamless integration with your Windows system. Begin by carefully unpacking the microphone and its accompanying accessories, including the shock mount, pop filter, and XLR cable. Assemble the shock mount and attach the microphone securely, ensuring that it is positioned in a stable and vibration-free manner.
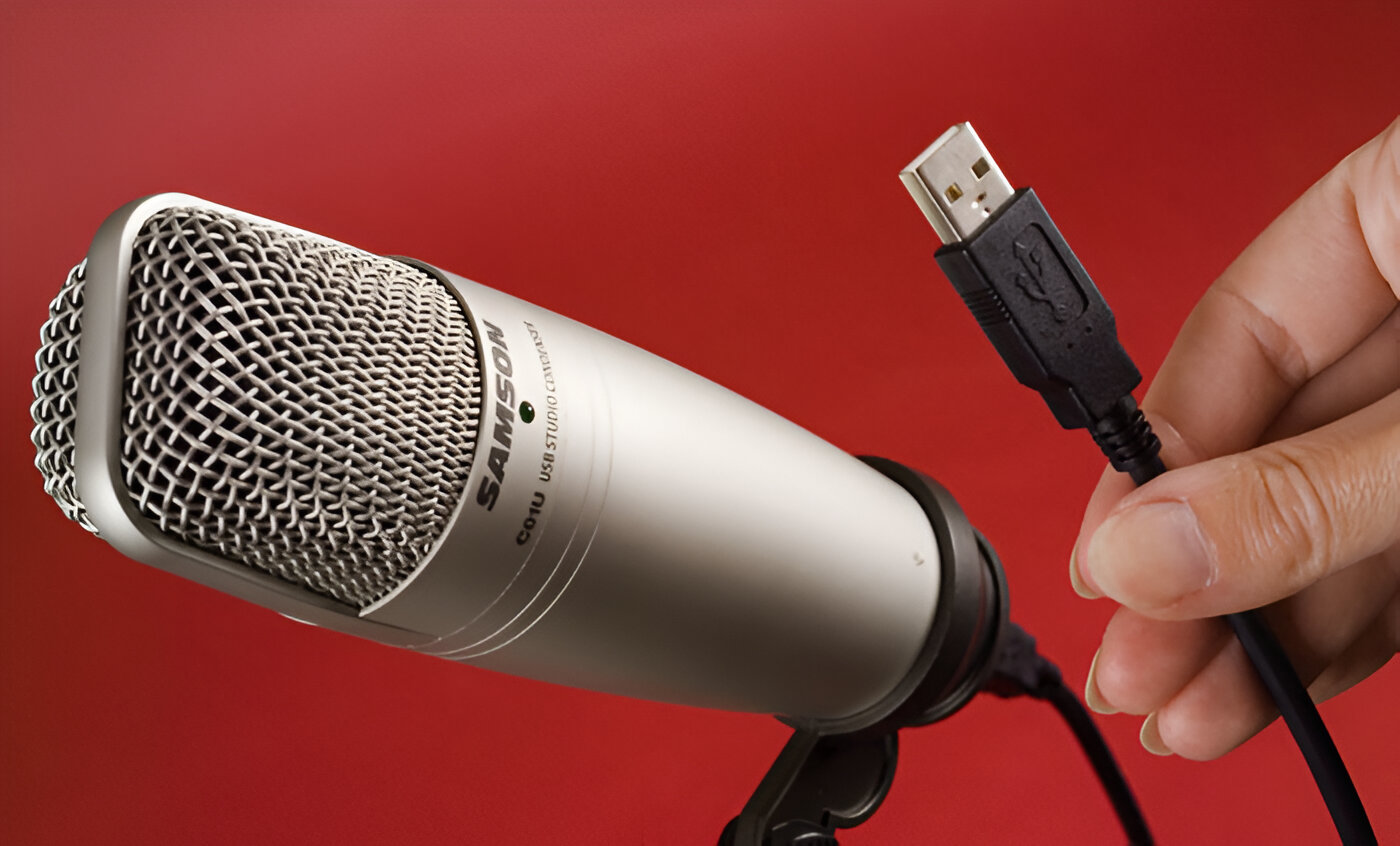
Next, connect the XLR cable to the microphone and the audio interface or sound card of your Windows computer. It is essential to use a reliable audio interface with phantom power capability to provide the necessary voltage for the condenser microphone to operate effectively. Once the physical connections are in place, power on the audio interface and ensure that the phantom power option is activated to supply the required voltage to the microphone.
Position the microphone in a suitable location, taking into account factors such as proximity to sound sources, room acoustics, and potential sources of interference. Utilize the included pop filter to minimize plosive sounds and reduce the impact of breath noises during vocal recordings. Additionally, consider acoustic treatment in the recording environment to optimize the microphone’s performance and capture clean, professional-quality audio.
By meticulously setting up the NW-700 condenser microphone and its associated accessories, you lay the foundation for a seamless and effective recording experience. With the physical installation complete, you are now ready to proceed to the next crucial phase: configuring the microphone settings within the Windows operating system.
Configuring the Microphone Settings in Windows
Configuring the Microphone Settings in Windows
Once the NW-700 condenser microphone is physically set up, the next step involves configuring its settings within the Windows operating system to ensure seamless integration and optimal performance. To begin, right-click on the speaker icon located in the system tray and select “Open Sound settings” to access the Sound settings menu. Alternatively, navigate to the Control Panel and select “Hardware and Sound,” followed by “Sound.”
Within the Sound settings, navigate to the “Input” section, where you will find the list of available recording devices. Locate the NW-700 condenser microphone from the list and set it as the default recording device by right-clicking on it and selecting “Set as Default Device.” This designates the NW-700 microphone as the primary input source for audio recordings and communications, ensuring that Windows applications recognize and utilize it accordingly.
After designating the NW-700 microphone as the default recording device, proceed to the “Microphone Properties” or “Recording Devices” settings. Here, you can further refine the microphone’s settings by adjusting parameters such as the microphone’s volume, levels, and enhancements. Access the “Levels” tab to fine-tune the microphone’s input volume, ensuring that it aligns with your recording requirements without introducing distortion or clipping.
Additionally, explore the “Enhancements” tab to access audio processing features that can enhance the microphone’s performance. Depending on your preferences and recording needs, you can experiment with options such as noise suppression, acoustic echo cancellation, and microphone effects to optimize the audio quality and minimize unwanted artifacts during recordings.
Furthermore, consider accessing the “Advanced” tab to review additional settings related to the microphone’s exclusive mode, signal format, and other advanced configurations. These settings provide a deeper level of control over the microphone’s behavior and can be tailored to align with specific recording scenarios and software applications.
By meticulously configuring the NW-700 condenser microphone’s settings within the Windows operating system, you establish a solid foundation for capturing pristine audio and leveraging the microphone’s capabilities to their fullest potential. With the microphone settings optimized, you are now prepared to proceed to the critical phase of testing the microphone to validate its functionality and performance.
Testing the Microphone
Testing the Microphone
After setting up and configuring the NW-700 condenser microphone with Windows, it is essential to conduct thorough testing to ensure that the microphone functions as intended and delivers the desired audio quality. To initiate the testing process, open a recording software or communication application on your Windows computer, such as Audacity, Adobe Audition, Skype, or Zoom, and access the audio settings within the respective program.
Within the recording software or communication application, select the NW-700 condenser microphone as the input device to initiate a test recording or a voice call. Speak into the microphone at varying distances and vocal intensities to gauge its sensitivity and capture capabilities. Monitor the audio levels and waveform display within the recording software to verify that the microphone is capturing sound accurately and with the desired clarity.
During the testing phase, it is advisable to assess the microphone’s performance across different recording scenarios, including vocal recordings, instrument captures, and real-time communication applications. This comprehensive testing approach allows you to evaluate the microphone’s versatility and suitability for a wide range of audio recording and communication purposes.
While conducting the microphone tests, pay close attention to the audio quality, background noise levels, and any potential issues such as distortion, clipping, or unwanted artifacts. Adjust the microphone settings within the recording software or communication application to optimize the audio input levels and ensure that the microphone’s performance aligns with your specific recording requirements.
Furthermore, consider conducting test recordings in varied acoustic environments to assess the microphone’s ability to capture clean and detailed audio, taking into account factors such as ambient noise, room reverberation, and external interference. By evaluating the microphone’s performance under diverse conditions, you can gain valuable insights into its capabilities and make informed adjustments to enhance its recording performance.
Upon completing the comprehensive testing phase, you will have a clear understanding of the NW-700 condenser microphone’s functionality and its ability to meet your recording and communication needs within a Windows environment. The insights gained from the testing process will guide you in optimizing the microphone’s settings and leveraging its capabilities to achieve professional-grade audio recordings and communication experiences.
Tips for Optimal Microphone Performance
Tips for Optimal Microphone Performance
Maximizing the performance of the NW-700 condenser microphone in a Windows environment involves implementing various best practices and techniques to elevate the quality of audio recordings and communication experiences. By adhering to the following tips, you can harness the full potential of the microphone and achieve exceptional results in your recording endeavors.
- Utilize Proper Mic Placement: Position the NW-700 condenser microphone in an optimal location, ensuring an appropriate distance from the sound source and implementing acoustic treatments to minimize reflections and unwanted ambient noise.
- Engage Phantom Power: Ensure that the audio interface or sound card provides the necessary phantom power to the condenser microphone, as this voltage is essential for its operation and sensitivity.
- Employ a Pop Filter: Use the included pop filter to mitigate plosive sounds and minimize the impact of breath noises during vocal recordings, resulting in cleaner and more professional audio.
- Adjust Input Levels: Fine-tune the microphone’s input levels within the Windows settings or recording software to achieve an optimal balance between capturing clear audio and avoiding distortion.
- Explore Audio Enhancements: Experiment with audio processing features such as noise suppression, acoustic echo cancellation, and microphone effects to enhance the microphone’s performance and minimize unwanted artifacts during recordings.
- Conduct Regular Testing: Periodically test the microphone across various recording scenarios and environments to assess its performance, identify potential issues, and make necessary adjustments to optimize its functionality.
- Consider Room Acoustics: Pay attention to the acoustic characteristics of the recording environment and implement acoustic treatments or adjustments to minimize reverberation and external noise interference.
- Monitor Audio Levels: Continuously monitor the microphone’s audio levels during recordings to ensure that the input signal remains within an optimal range, preventing distortion and maintaining audio clarity.
- Explore Recording Software Features: Familiarize yourself with the features and settings of the recording software or communication applications to leverage advanced functionalities that can enhance the microphone’s performance and recording quality.
- Seek Professional Guidance: Consider consulting with audio professionals or seeking online resources to gain insights into advanced microphone techniques, recording methodologies, and optimal settings for specific recording scenarios.
By incorporating these tips into your approach to using the NW-700 condenser microphone with Windows, you can elevate the microphone’s performance, capture exceptional audio, and optimize its functionality for diverse recording and communication purposes. Embracing best practices and refining your microphone usage techniques will empower you to unlock the full potential of the NW-700 condenser microphone and achieve outstanding results in your audio recording endeavors.