Introduction
Plugging a condenser microphone into a laptop opens up a world of possibilities for content creators, musicians, podcasters, and voice-over artists. The ability to capture high-quality audio directly onto a laptop provides a level of convenience and flexibility that was once unimaginable. Whether you are a seasoned pro or just starting out, understanding how to connect a condenser microphone to your laptop is essential for achieving professional-grade recordings.
In this guide, we will delve into the intricacies of condenser microphones, explore the different types available, compare USB and XLR connections, and provide step-by-step instructions for connecting your condenser microphone to your laptop. Additionally, we will cover how to adjust input levels and troubleshoot common issues that may arise during the setup process. By the end of this article, you will be equipped with the knowledge and confidence to seamlessly integrate a condenser microphone into your laptop setup, unleashing the full potential of your creativity and talent.
Understanding Condenser Microphones
Condenser microphones, also known as capacitor microphones, are revered for their exceptional sensitivity and wide frequency response, making them an ideal choice for capturing nuanced sound with remarkable clarity. Unlike dynamic microphones, which utilize a coil and magnet to convert sound waves into electrical signals, condenser microphones employ an electrically-charged diaphragm and a backplate to achieve the same effect. This design allows condenser microphones to offer unparalleled transient response and high-frequency accuracy, making them indispensable tools in professional recording environments.
One of the defining characteristics of condenser microphones is their reliance on phantom power to operate. Phantom power, typically supplied by an audio interface or mixing console, delivers the voltage necessary to charge the microphone’s internal capacitor, enabling it to function effectively. It’s important to note that not all condenser microphones require phantom power, as some models feature built-in batteries or USB power options.
Condenser microphones are available in a variety of polar patterns, including cardioid, omnidirectional, and figure-8, allowing for versatile recording capabilities in different acoustic environments. The sensitivity and precision of condenser microphones make them well-suited for capturing vocals, acoustic instruments, and ambient soundscapes with unparalleled fidelity.
Understanding the inner workings and capabilities of condenser microphones is crucial for harnessing their full potential when integrating them into a laptop-based recording setup. Armed with this knowledge, you can make informed decisions about microphone selection, placement, and usage, setting the stage for exceptional audio capture and production.
Types of Condenser Microphones
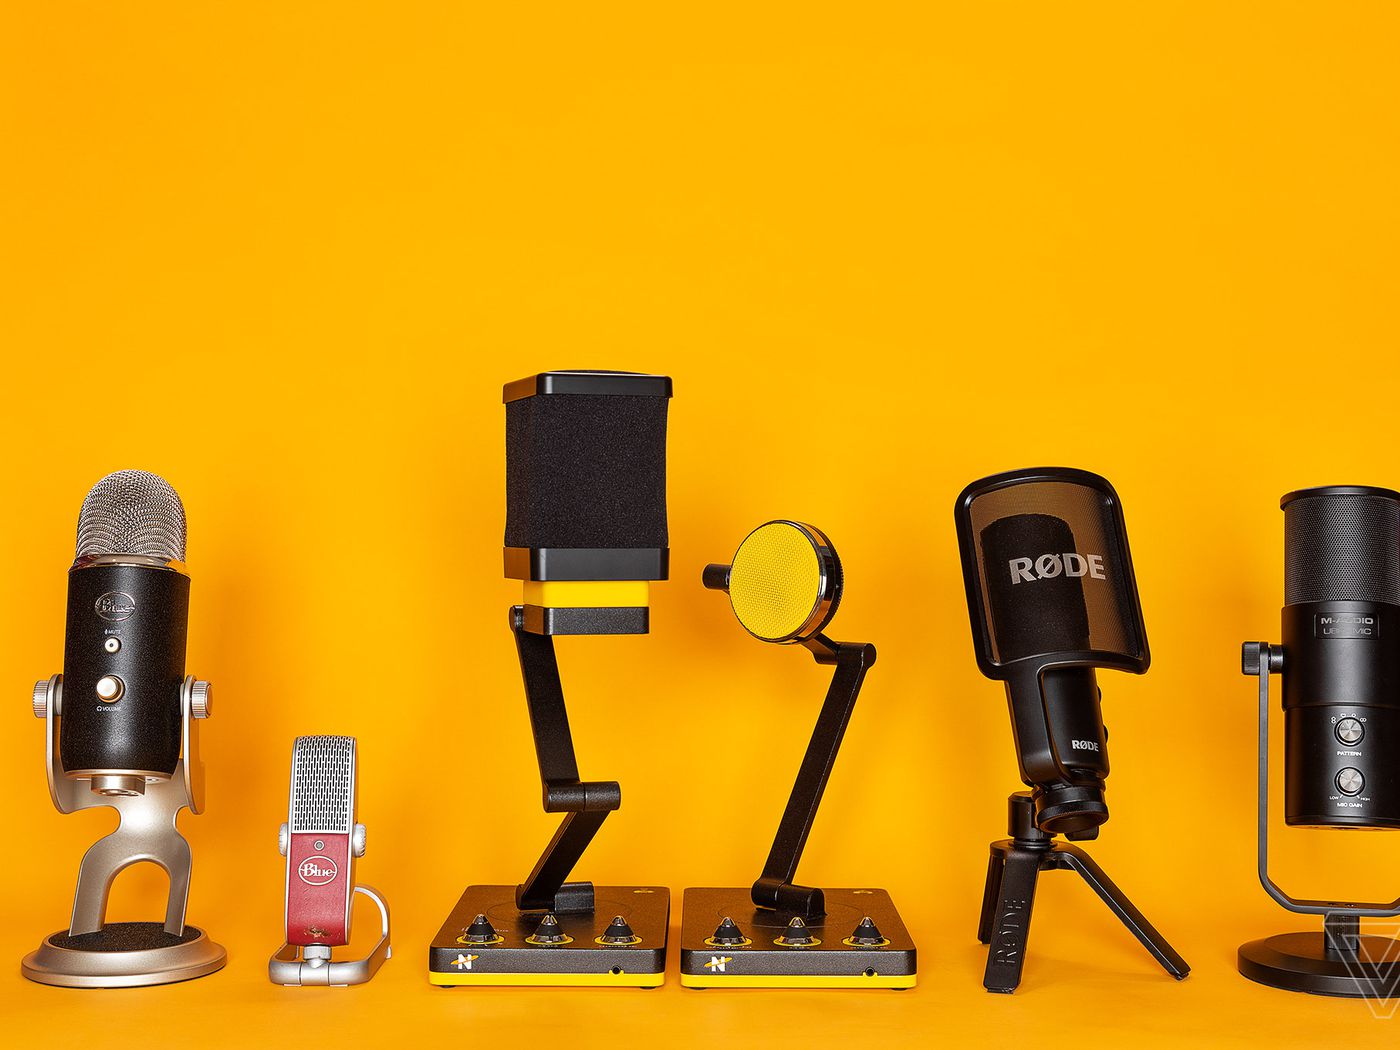
Condenser microphones come in various configurations, each tailored to specific recording needs and preferences. Understanding the different types of condenser microphones is essential for selecting the most suitable option for your recording endeavors.
- Large-Diaphragm Condenser Microphones: Renowned for their warmth and sensitivity, large-diaphragm condenser microphones excel in capturing rich, detailed vocals and instruments. Their extended frequency response and ability to handle high sound pressure levels make them versatile choices for studio recording, podcasting, and vocal performances.
- Small-Diaphragm Condenser Microphones: Characterized by their precision and transient response, small-diaphragm condenser microphones are ideal for capturing intricate details in acoustic instruments, such as pianos, strings, and percussion. Their compact size and accurate sound reproduction make them valuable tools for stereo recording and capturing fast transients with exceptional clarity.
- Tube Condenser Microphones: Tube condenser microphones employ vacuum tube circuitry to impart a classic, vintage character to recordings. Renowned for their warm, smooth sound and harmonic richness, tube condenser microphones are favored for capturing vocals, brass instruments, and electric guitars, adding a touch of sonic nostalgia to modern productions.
- Electret Condenser Microphones: Compact and efficient, electret condenser microphones are commonly found in portable recording devices, lavalier microphones, and USB microphones. Their low power requirements and compact designs make them popular choices for on-the-go recording, video conferencing, and mobile podcasting.
By familiarizing yourself with the diverse array of condenser microphone types available, you can make informed decisions based on your specific recording needs, sonic preferences, and budget considerations. Each type offers unique sonic characteristics and applications, empowering you to select the perfect condenser microphone for your creative pursuits.
USB vs XLR Connection
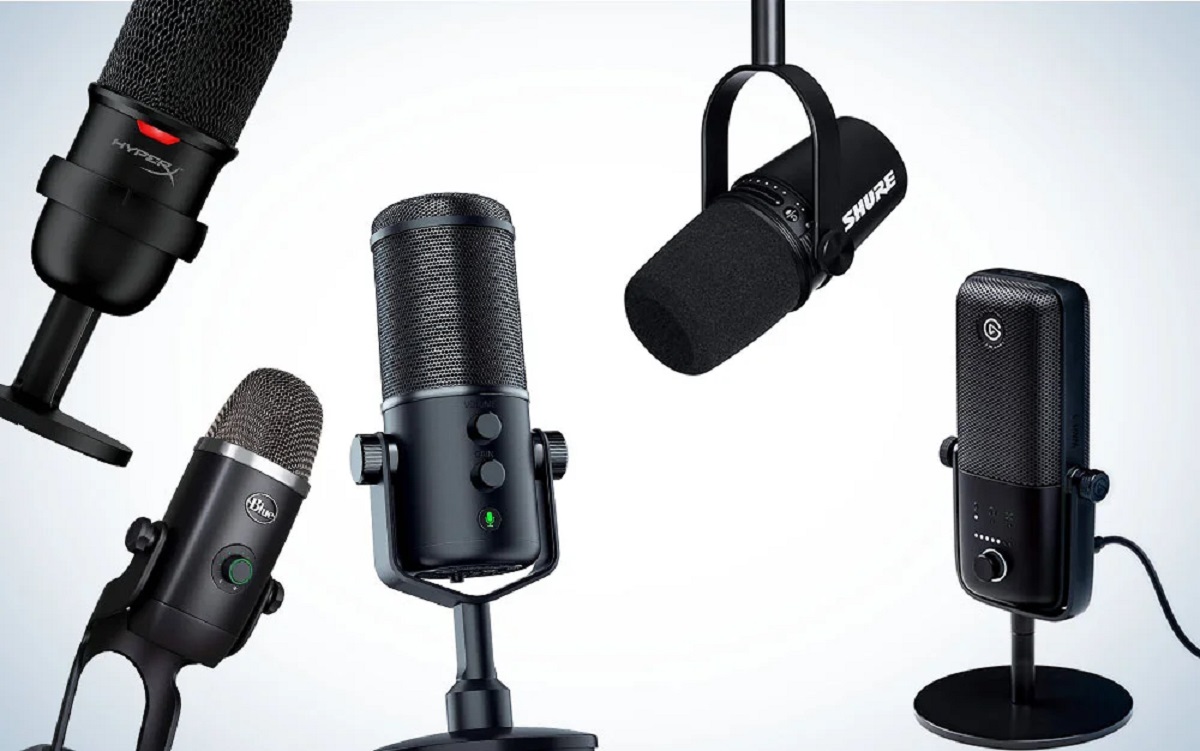
When connecting a condenser microphone to a laptop, you are likely to encounter two primary connection options: USB and XLR. Understanding the differences between these connection methods is crucial for making an informed decision based on your specific recording setup and requirements.
USB Connection: Condenser microphones with USB connectivity offer a plug-and-play solution for direct integration with laptops and desktop computers. These microphones feature built-in analog-to-digital converters, allowing them to convert the captured audio signal into a digital format without the need for an external audio interface or preamp. USB condenser microphones are favored for their simplicity and convenience, making them ideal for solo podcasters, content creators, and musicians seeking a hassle-free recording experience.
XLR Connection: XLR-equipped condenser microphones require an external audio interface or preamp to facilitate the connection to a laptop or recording device. This traditional analog connection method offers greater flexibility and control over input gain, phantom power, and signal routing. XLR microphones are commonly used in professional studio environments and live sound applications, providing superior audio quality and the ability to utilize a wide range of outboard gear and processing tools.
When deciding between USB and XLR connections, it’s essential to consider the specific demands of your recording projects, your preferred workflow, and the level of control and customization you require. USB condenser microphones are well-suited for on-the-go recording, quick setup, and portable podcasting setups, while XLR condenser microphones offer professional-grade versatility, expandability, and compatibility with a wide range of audio equipment.
Ultimately, the choice between USB and XLR connections hinges on your unique recording needs, budget constraints, and long-term aspirations for your audio production setup. By weighing the advantages and limitations of each connection method, you can make an informed decision that aligns with your creative vision and technical requirements.
Connecting a Condenser Microphone to a Laptop
Connecting a condenser microphone to a laptop involves a straightforward process that varies depending on the microphone’s connection type—USB or XLR. Here’s a step-by-step guide to help you seamlessly integrate your condenser microphone with your laptop:
USB Condenser Microphone:
- Locate an available USB port on your laptop and ensure it is in good working condition.
- Unpack your USB condenser microphone and its accompanying USB cable. Inspect the cable for any damage before proceeding.
- Connect one end of the USB cable to the USB port on the microphone and the other end to an available USB port on your laptop.
- Wait for your laptop to recognize the USB condenser microphone. Depending on your operating system, you may need to install drivers or select the microphone as the default input device in your system settings.
- Once the microphone is successfully recognized, open your preferred recording software or digital audio workstation (DAW) and configure the input settings to start capturing audio from the condenser microphone.
XLR Condenser Microphone:
- Acquire an audio interface or preamp with XLR inputs to connect your condenser microphone to your laptop. Ensure that the audio interface or preamp is compatible with your laptop’s operating system and has the necessary drivers installed.
- Connect the XLR cable from the condenser microphone to the XLR input on the audio interface or preamp.
- Use a standard USB cable to connect the audio interface or preamp to an available USB port on your laptop.
- Power on the audio interface or preamp and ensure that phantom power is activated if your condenser microphone requires it.
- Open your recording software or DAW, select the audio interface or preamp as the input device, and configure the input settings to begin recording with the condenser microphone.
By following these steps, you can effectively connect your condenser microphone to your laptop, enabling you to embark on your recording journey with confidence and ease. Whether you opt for a USB or XLR connection, the seamless integration of your condenser microphone with your laptop paves the way for capturing pristine audio and bringing your creative projects to life.
Adjusting Input Levels
After connecting your condenser microphone to your laptop, it’s crucial to properly adjust the input levels to achieve optimal signal clarity and prevent distortion. Whether you’re using built-in laptop audio inputs, an external audio interface, or a USB microphone, the process of adjusting input levels remains essential for capturing pristine audio recordings.
Using Built-in Laptop Audio Inputs:
If you’re utilizing the built-in audio inputs on your laptop, follow these steps to adjust the input levels:
- Access your laptop’s sound settings or audio control panel to locate the input level controls for the microphone.
- Speak or sing into the microphone at your typical recording volume while observing the input level meters in the sound settings. Aim to achieve a healthy signal level without entering the red (clipping) zone, which indicates distortion.
- If your laptop offers microphone boost or gain adjustment options, utilize these features to fine-tune the input level to your desired recording intensity.
Using an External Audio Interface or Preamp:
When employing an external audio interface or preamp, the process of adjusting input levels may involve the following steps:
- Access the control panel or software interface of your audio interface or preamp to locate the input gain controls for the microphone input channels.
- Speak or sing into the microphone while monitoring the input level meters on the interface or software. Adjust the input gain knobs to attain a healthy signal level without exceeding the maximum input capacity of the interface or preamp.
- Utilize any additional features, such as pad switches or high-pass filters, to optimize the microphone input signal according to the recording requirements.
Using a USB Condenser Microphone:
For USB condenser microphones, input level adjustments may be facilitated through the microphone’s dedicated control software or settings. Follow the manufacturer’s guidelines to adjust the input levels and ensure optimal signal strength without distortion.
By meticulously adjusting the input levels of your condenser microphone, you can capture pristine audio recordings with the ideal balance of clarity and headroom. Whether you’re recording vocals, instruments, or podcasts, the proper management of input levels is pivotal in achieving professional-grade results and maximizing the potential of your condenser microphone setup.
Troubleshooting Common Issues
While connecting and using a condenser microphone with a laptop is generally straightforward, certain issues may arise that can hinder the recording process. By familiarizing yourself with common troubleshooting techniques, you can address these issues effectively, ensuring a seamless recording experience.
Unrecognized USB Microphone:
If your USB condenser microphone is not being recognized by your laptop, try the following troubleshooting steps:
- Ensure that the USB port on your laptop is functional by connecting other devices.
- Try using a different USB cable to rule out potential cable malfunctions.
- Install any required drivers or software provided by the microphone manufacturer to enable proper recognition by your operating system.
- Check your laptop’s sound settings or system preferences to verify that the microphone is selected as the default input device.
Low Input Volume or No Signal:
If you’re experiencing low input volume or no signal from your condenser microphone, consider the following troubleshooting steps:
- Inspect the XLR or USB cable connections to ensure they are secure and free from damage.
- Activate phantom power on your audio interface or preamp if using a condenser microphone that requires it.
- Adjust the input gain or volume controls on your audio interface, preamp, or laptop to increase the microphone’s input signal level.
- Verify that the microphone is not muted or disabled in your recording software or system settings.
Excessive Background Noise:
If you’re encountering excessive background noise during recordings, try the following troubleshooting techniques:
- Minimize environmental noise by recording in a quiet, acoustically treated space or using isolation shields and reflection filters.
- Experiment with microphone placement and orientation to optimize the signal-to-noise ratio and reduce unwanted ambient sounds.
- Consider using noise reduction plugins or software processing tools during post-production to mitigate background noise without compromising the primary audio content.
By implementing these troubleshooting strategies, you can effectively address common issues related to condenser microphone setup and usage, ensuring a smooth and productive recording experience. Additionally, familiarizing yourself with the specific troubleshooting resources provided by your microphone manufacturer can offer valuable insights into resolving unique technical challenges that may arise.
Conclusion
Integrating a condenser microphone with a laptop opens up a world of creative possibilities, empowering content creators, musicians, podcasters, and voice-over artists to capture high-quality audio with ease and precision. By understanding the nuances of condenser microphones, exploring the different connection options, and mastering the setup process, you can harness the full potential of your recording endeavors.
Condenser microphones, renowned for their sensitivity and wide frequency response, offer exceptional sonic fidelity, making them invaluable tools for capturing vocals, instruments, and ambient soundscapes with unparalleled clarity. Whether you opt for a large-diaphragm, small-diaphragm, tube, or electret condenser microphone, each type brings unique sonic characteristics and applications to the table, catering to diverse recording needs and preferences.
When considering the connection method for your condenser microphone, weighing the advantages of USB and XLR connections is pivotal in aligning the setup with your recording workflow and technical requirements. USB condenser microphones provide convenience and simplicity, while XLR connections offer professional-grade versatility and control, catering to a wide range of recording scenarios.
By following the step-by-step guide for connecting a condenser microphone to a laptop and mastering the art of adjusting input levels, you can ensure pristine audio capture and optimal signal management, laying the groundwork for professional-grade recordings. Additionally, familiarizing yourself with common troubleshooting techniques equips you with the tools to address technical challenges effectively, ensuring a seamless and productive recording experience.
As you embark on your journey of integrating a condenser microphone with your laptop, remember that knowledge, experimentation, and attention to detail are your allies. Embrace the creative potential that this setup affords, and let your passion for sound and storytelling guide you toward capturing captivating audio that resonates with your audience.
With the right knowledge and resources at your disposal, the fusion of a condenser microphone and a laptop becomes a gateway to boundless creativity, enabling you to bring your artistic vision to life with uncompromising sonic excellence.