Introduction
When it comes to capturing high-quality audio, the position of a condenser microphone plays a pivotal role in achieving the desired sound. Whether you are recording vocals, instruments, or podcasts, understanding how to position a condenser microphone can significantly impact the overall audio quality of your recordings. By strategically placing the microphone and utilizing the appropriate accessories, you can optimize its performance and capture clear, balanced sound.
The process of positioning a condenser microphone involves considering various factors such as the microphone's polar pattern, the intended sound source, and the surrounding environment. Additionally, the use of shock mounts and pop filters, along with precise adjustments to the microphone's angle and distance, can further enhance the recording quality. By comprehensively addressing these aspects, you can effectively position a condenser microphone to achieve optimal audio capture.
In this guide, we will delve into the intricacies of positioning a condenser microphone, providing valuable insights into the key considerations and techniques essential for capturing professional-grade audio. From understanding the microphone's polar pattern to testing and refining the position, this comprehensive exploration will equip you with the knowledge and skills needed to maximize the potential of your condenser microphone. Whether you are a seasoned audio engineer or a budding content creator, mastering the art of microphone positioning is a fundamental step toward elevating the quality of your recordings. Let's embark on this insightful journey to unlock the full potential of condenser microphone placement.
Understanding the Polar Pattern
Before positioning a condenser microphone, it is crucial to comprehend its polar pattern, as this characteristic profoundly influences the microphone’s sensitivity to sound from different directions. The polar pattern, also known as the pickup pattern, describes the microphone’s directional sensitivity and determines how it captures sound from various angles. Common polar patterns for condenser microphones include cardioid, omnidirectional, figure-8, and hypercardioid, each with distinct characteristics suited for specific recording scenarios.
The cardioid polar pattern, for instance, is heart-shaped and captures sound predominantly from the front while minimizing rear and side audio. This makes it ideal for recording solo vocals, instruments, and podcast hosts, as it focuses on the intended sound source while reducing background noise and room reverberation. On the other hand, omnidirectional microphones capture sound equally from all directions, making them suitable for capturing ambient sounds, group vocals, and live performances where a broader audio perspective is desired.
Understanding the polar pattern of your condenser microphone enables you to strategically position it based on the desired sound source and the surrounding acoustic environment. For instance, when recording in a noisy or reverberant space, opting for a microphone with a tighter polar pattern, such as hypercardioid, can help minimize unwanted background noise and reflections. Conversely, in a controlled studio environment, an omnidirectional or cardioid microphone may be more suitable, depending on the specific recording requirements.
By familiarizing yourself with the polar pattern of your condenser microphone and its implications for sound capture, you can make informed decisions when positioning the microphone to achieve optimal audio fidelity. The next step involves selecting the right location for microphone placement, taking into account the interplay between the microphone’s polar pattern, the sound source, and the acoustic characteristics of the recording environment.
Choosing the Right Location
When positioning a condenser microphone, selecting the optimal location is a critical step in capturing high-quality audio. The chosen location should consider the nature of the sound source, the microphone’s polar pattern, and the acoustic properties of the recording environment. Whether you are recording vocals, instruments, or ambient sounds, the location of the microphone significantly impacts the clarity and balance of the captured audio.
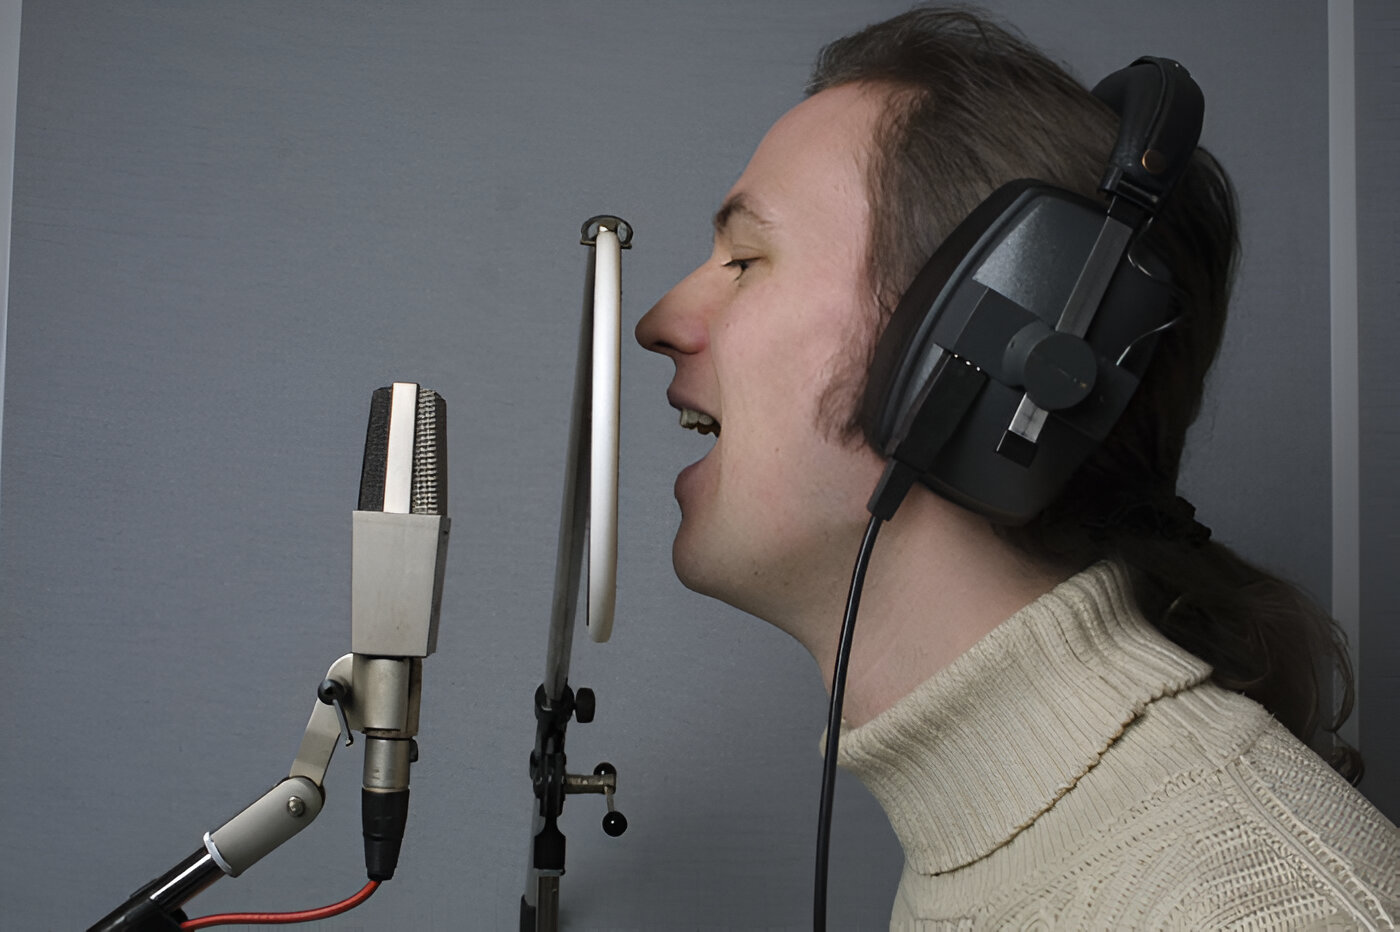
For vocal recordings, the ideal location for a condenser microphone often involves positioning it slightly above and in front of the vocalist, angled downward toward the mouth. This placement allows the microphone to capture the nuances of the vocal performance while minimizing plosives and sibilance. Additionally, maintaining a consistent distance between the microphone and the vocalist ensures a balanced and intimate vocal recording, enhancing clarity and articulation.
When recording instruments, such as acoustic guitars or pianos, the microphone’s location should be strategically chosen to capture the instrument’s tonal characteristics and resonance. Placing the microphone near the sound hole of an acoustic guitar or above the hammers of a piano allows for optimal sound capture, preserving the instrument’s natural timbre and dynamics. Understanding the specific sonic attributes of each instrument guides the precise placement of the condenser microphone to achieve an authentic and vibrant recording.
For ambient recordings, such as capturing room ambience or environmental sounds, the microphone’s location plays a crucial role in capturing the spatial characteristics of the surroundings. Placing the microphone in strategic positions within the recording space enables the capture of immersive and natural ambient sounds, enriching the overall sonic landscape of the recording.
Furthermore, the acoustic properties of the recording environment, including room size, reflective surfaces, and background noise, influence the choice of microphone location. In larger rooms with pronounced reverberation, positioning the microphone closer to the sound source helps mitigate excessive room reflections, resulting in a more focused and direct sound capture. Conversely, in smaller, acoustically treated spaces, the microphone location can be adjusted to leverage the room’s natural acoustics, enhancing the depth and spaciousness of the recording.
By carefully considering the nature of the sound source, the microphone’s polar pattern, and the acoustic characteristics of the recording environment, you can strategically choose the right location for positioning a condenser microphone, setting the stage for capturing exceptional audio recordings.
Using Shock Mounts and Pop Filters
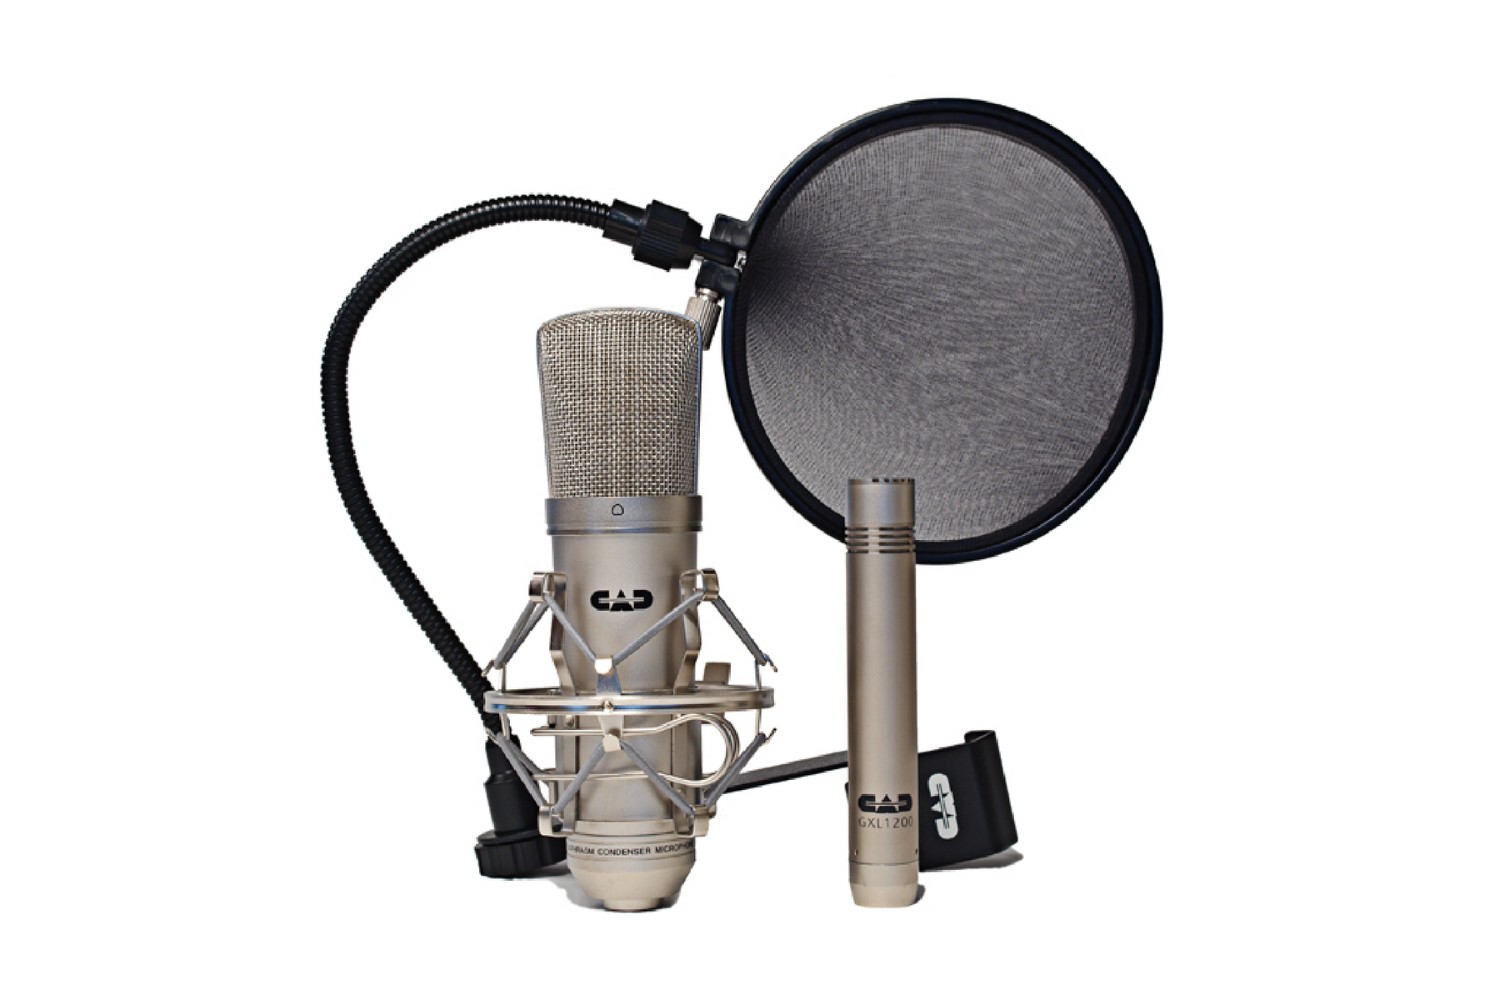
When positioning a condenser microphone, the utilization of shock mounts and pop filters is instrumental in enhancing the quality of audio capture by mitigating unwanted vibrations and minimizing plosive sounds. A shock mount is a suspension device that isolates the microphone from mechanical vibrations, such as floor rumble or handling noise, ensuring that the recorded audio remains free from disruptive low-frequency interference. By securely mounting the microphone within a shock-absorbing cradle, the impact of external vibrations on the microphone’s diaphragm is significantly reduced, preserving the clarity and fidelity of the recorded sound.
Pop filters, also known as pop shields or windshields, serve to attenuate plosive sounds, which are caused by bursts of air hitting the microphone during vocal performances, particularly when pronouncing plosive consonants like “p” and “b.” These sudden bursts of air can result in disruptive low-frequency pops in the recorded audio, affecting its overall quality. By placing a pop filter between the vocalist and the microphone, the force of the air is diffused, preventing plosive sounds from overloading the microphone diaphragm and ensuring a clean and natural vocal recording.
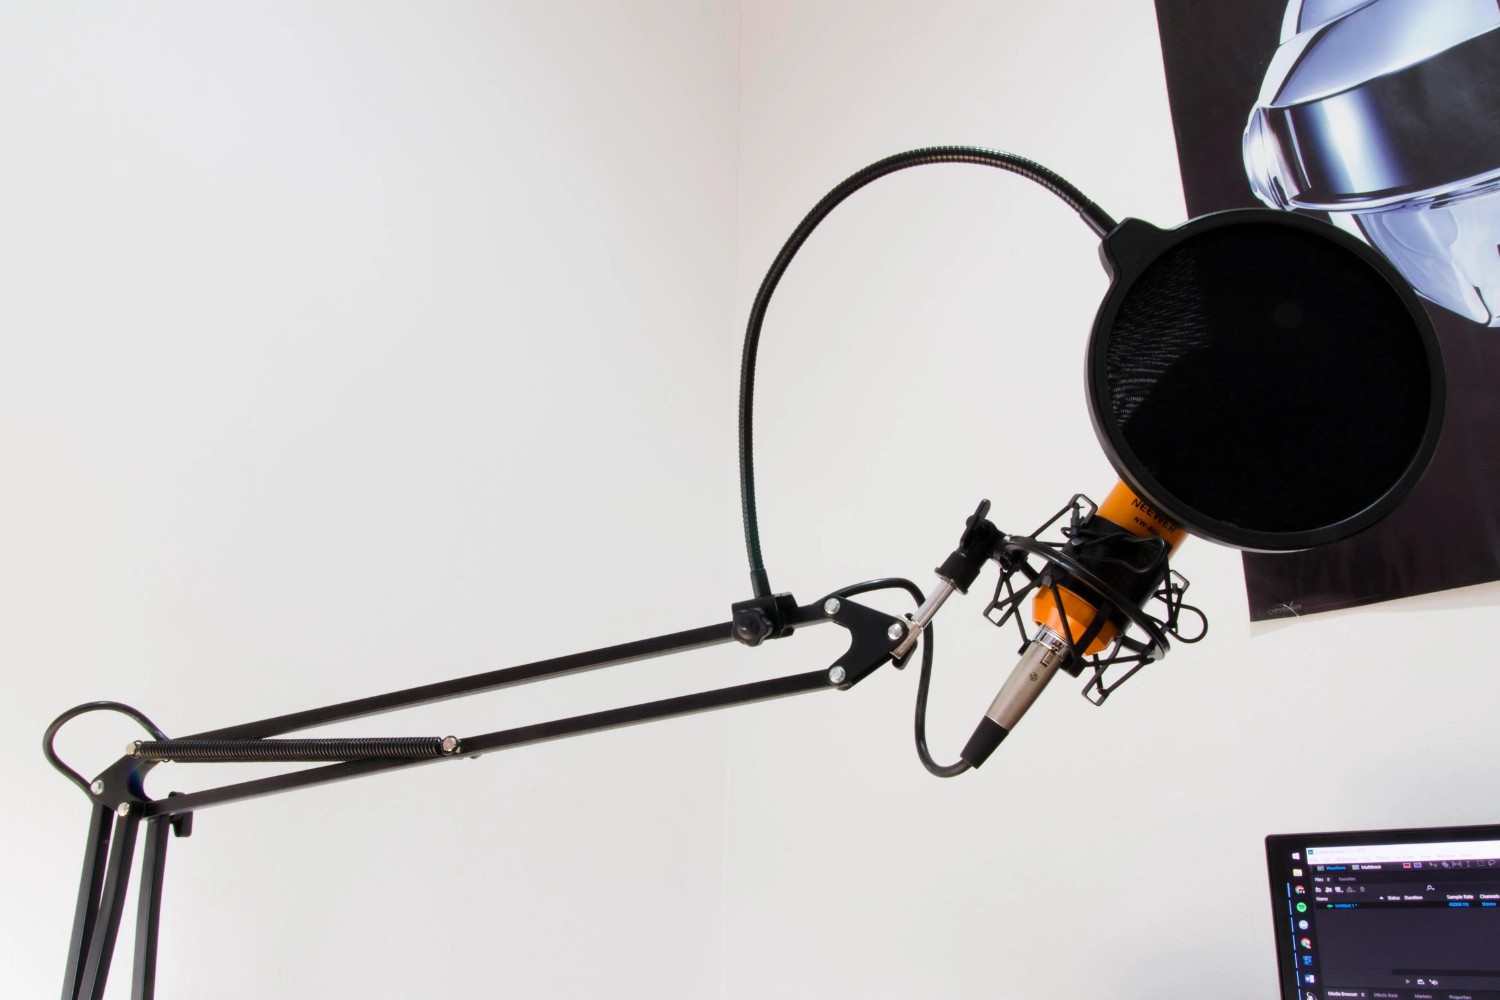
When positioning a condenser microphone for vocal recordings, integrating a shock mount and pop filter into the setup is essential for capturing pristine and professional-grade audio. The shock mount isolates the microphone from physical disturbances, such as table vibrations or footsteps, while the pop filter safeguards against the intrusion of plosive sounds, enabling the microphone to faithfully capture the nuances of the vocal performance without unwanted interference.
For instrument recordings, the use of shock mounts is equally beneficial, especially when capturing acoustic instruments with sensitive tonal characteristics. By minimizing the transmission of mechanical vibrations to the microphone, the shock mount preserves the instrument’s natural resonance and timbre, resulting in a more transparent and detailed audio capture.
Whether in a studio environment or a live recording setting, the incorporation of shock mounts and pop filters into the microphone setup contributes to the overall professionalism and sonic integrity of the recordings. These accessories not only protect the microphone from external disturbances but also facilitate a conducive environment for capturing pristine audio, ensuring that the positioning of the condenser microphone is optimized for exceptional sound quality.
Adjusting the Angle and Distance
Fine-tuning the angle and distance of a condenser microphone is a crucial step in optimizing the audio capture for various sound sources. The microphone’s angle and distance directly impact the tonal balance, presence, and spatial characteristics of the recorded sound, making it essential to carefully adjust these parameters to achieve the desired sonic results.
When recording vocals, the angle and distance of the microphone play a pivotal role in capturing the nuances of the performer’s voice. Positioning the microphone at a slight angle, pointing toward the corner of the mouth, allows for the capture of articulate vocals while minimizing sibilance and plosive sounds. Additionally, maintaining a consistent distance between the microphone and the vocalist ensures a balanced and intimate vocal recording, enhancing clarity and articulation.
For instrument recordings, adjusting the angle and distance of the microphone is equally critical in capturing the instrument’s tonal characteristics and spatial presence. Experimenting with different microphone angles and distances enables the engineer to tailor the sound capture to highlight specific tonal qualities and spatial nuances, ultimately shaping the overall sonic character of the recording.
When positioning a condenser microphone for ambient or room recordings, the angle and distance of the microphone contribute to the spatial depiction and immersive quality of the captured sound. By strategically adjusting the microphone’s orientation and proximity to the sound source, the recording can effectively convey the spatial dimensions and reverberant characteristics of the environment, enriching the sonic landscape of the recording.
Furthermore, the microphone’s angle and distance should be adjusted in consideration of the sound source’s dynamics and projection patterns. For instruments with complex tonal structures, such as drums or percussion, varying the microphone angle and distance allows for precise capture of the instrument’s transient details and spatial dispersion, enhancing the overall depth and definition of the recorded sound.
By meticulously adjusting the angle and distance of the condenser microphone based on the specific sound source and recording objectives, audio engineers and content creators can sculpt the sonic characteristics of the recordings, ensuring that the captured audio is imbued with clarity, dimension, and expressive fidelity.
Testing and Adjusting the Position
Once the condenser microphone is initially positioned, it is imperative to conduct thorough testing and subsequent adjustments to ensure that the captured audio aligns with the desired sonic characteristics and recording objectives. Testing the microphone’s position involves critically evaluating the audio capture, identifying any sonic irregularities or deficiencies, and making precise adjustments to refine the microphone’s placement for optimal sound quality.
During the testing phase, it is essential to monitor the audio capture through high-quality studio monitors or headphones, enabling a detailed assessment of the recorded sound. By actively listening to the captured audio, engineers and producers can discern any tonal imbalances, spatial inconsistencies, or undesirable artifacts that may necessitate adjustments to the microphone’s position.
When testing vocal recordings, attentive listening allows for the identification of potential issues such as excessive sibilance, plosive sounds, or inconsistent tonal characteristics. Based on the observed sonic attributes, adjustments to the microphone’s angle, distance, or placement may be required to address these issues and achieve a more polished and balanced vocal recording.
Similarly, when evaluating instrument recordings, attentive monitoring facilitates the detection of tonal irregularities, phase discrepancies, or spatial inadequacies that may warrant adjustments to the microphone’s position. By iteratively testing and adjusting the microphone placement, engineers can refine the sound capture to accurately convey the instrument’s timbral nuances and spatial presence, ensuring a cohesive and immersive sonic portrayal.
For ambient or room recordings, meticulous testing and adjustment of the microphone position allow for the evaluation of spatial depiction, reverberant characteristics, and overall sonic coherence. By iteratively refining the microphone’s placement based on the observed sonic attributes, engineers can sculpt the spatial dimensions and acoustic ambiance of the recording, resulting in a captivating and immersive sonic experience.
Moreover, the testing and adjustment process may involve experimenting with alternative microphone placements, polar patterns, or auxiliary accessories to further optimize the audio capture. By exploring different positioning strategies and sonic approaches, engineers and producers can expand their creative palette and refine the sonic identity of the recordings.
By diligently testing and adjusting the condenser microphone’s position, audio professionals can fine-tune the audio capture to align with the intended sonic vision, ensuring that the recordings exhibit exceptional clarity, balance, and expressive fidelity.
Conclusion
Mastering the art of positioning a condenser microphone is an indispensable skill for audio engineers, musicians, and content creators seeking to capture pristine and professional-grade audio recordings. By understanding the microphone’s polar pattern and its implications for sound capture, individuals can strategically position the condenser microphone to optimize its performance based on the specific recording requirements and acoustic environment.
Choosing the right location for the microphone involves considering the nature of the sound source, the microphone’s polar pattern, and the acoustic properties of the recording environment. Whether recording vocals, instruments, or ambient sounds, the selected location plays a pivotal role in shaping the sonic characteristics and spatial depiction of the recordings.
Furthermore, the integration of shock mounts and pop filters into the microphone setup enhances the audio capture by mitigating unwanted vibrations and minimizing plosive sounds, ensuring that the microphone’s positioning is optimized for exceptional sound quality.
Adjusting the angle and distance of the condenser microphone allows for precise sculpting of the sonic characteristics, tonal balance, and spatial nuances of the recordings, enabling engineers and producers to tailor the sound capture to align with their creative vision.
Testing and adjusting the microphone’s position through attentive monitoring and iterative refinement ensures that the captured audio exhibits exceptional clarity, balance, and expressive fidelity, aligning with the intended sonic objectives and recording standards.
Ultimately, the process of positioning a condenser microphone is an art form that demands a meticulous and creative approach, where technical knowledge converges with artistic sensibilities to capture the essence of sound with unparalleled fidelity and authenticity. By honing the skills and techniques outlined in this guide, individuals can elevate the quality of their audio recordings, unlocking the full potential of condenser microphone placement and achieving sonic excellence in their creative endeavors.