Introduction
So, you’ve decided to take your audio recording to the next level and invest in a professional condenser microphone. Congratulations! This decision will undoubtedly elevate the quality of your recordings, whether you’re a podcaster, musician, voice-over artist, or content creator. However, setting up a professional condenser microphone may seem daunting at first, especially if you’re new to the world of audio equipment. But fear not, as this guide will walk you through the process step by step, ensuring that you can unleash the full potential of your new microphone with confidence.
Setting up a professional condenser microphone involves several crucial steps, from unboxing the equipment to adjusting the microphone position for optimal sound capture. Each step plays a vital role in ensuring that your microphone functions at its best and delivers exceptional audio quality. By following this guide, you’ll not only learn how to set up your microphone correctly but also gain a deeper understanding of the components involved in the process. So, let’s dive in and embark on this exciting journey to unleash the full potential of your professional condenser microphone!
Step 1: Unboxing the Microphone
Unboxing your new professional condenser microphone is an exhilarating experience, akin to unwrapping a treasure that holds the key to exceptional audio quality. As you carefully open the package, you’ll find several components nestled within, each playing a crucial role in the microphone setup process. Here’s what you can expect to find as you unbox your microphone:
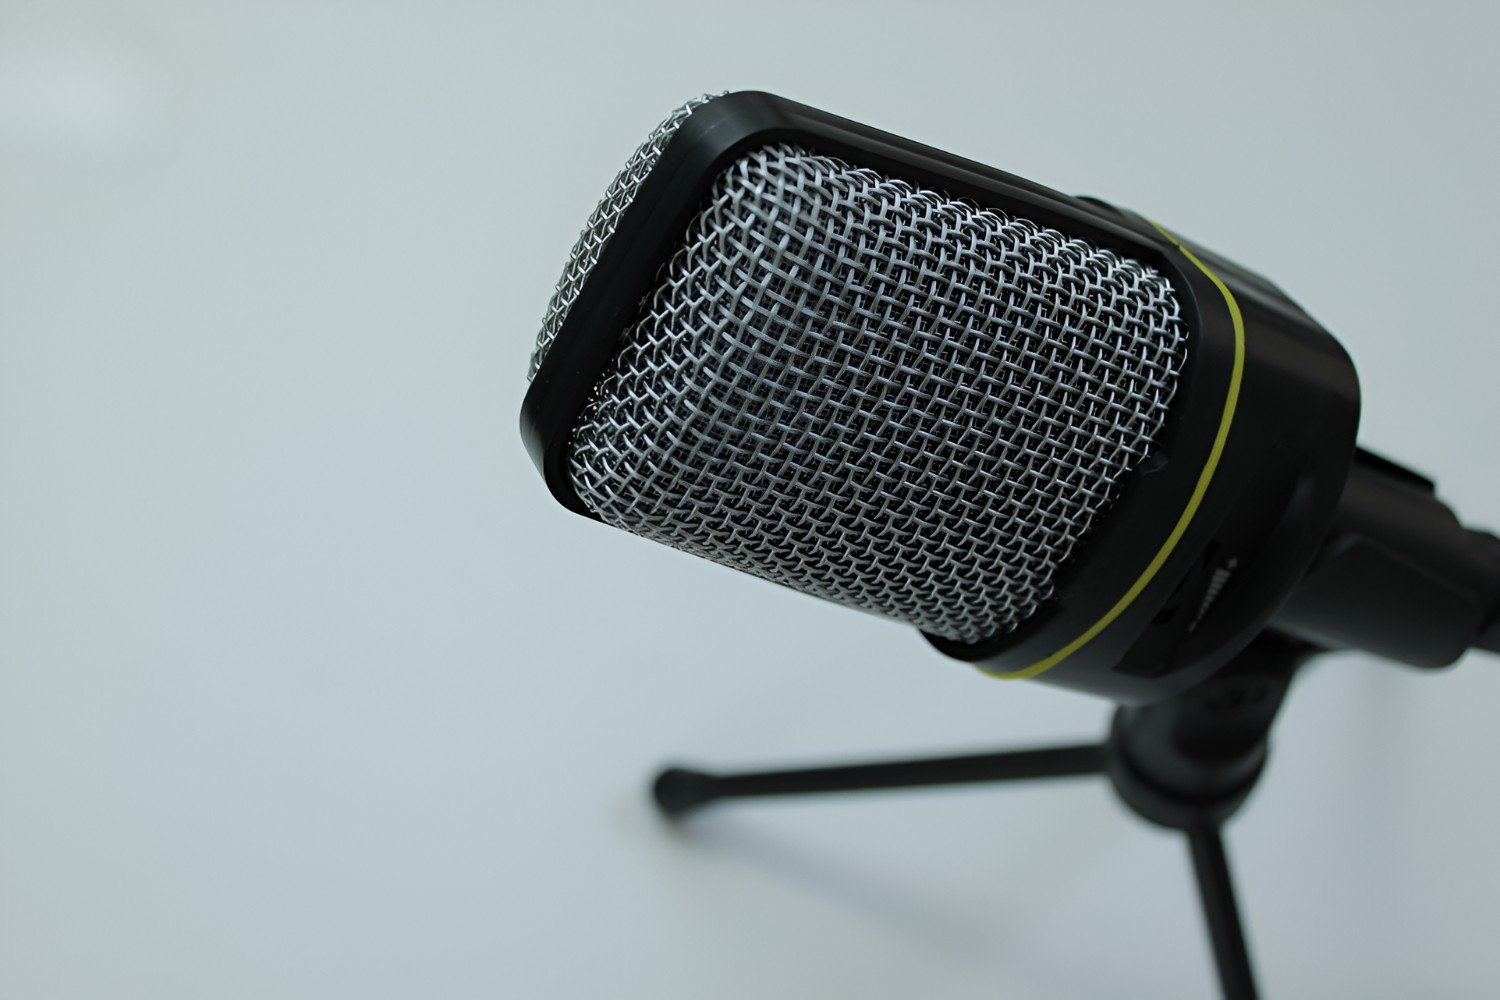
- The Microphone: The star of the show, your professional condenser microphone, is elegantly nestled within the packaging, exuding a sense of craftsmanship and precision. Its sleek design and professional-grade build quality signal the promise of superior audio capture.
- The Microphone Stand: Accompanying the microphone, you’ll discover the microphone stand, a sturdy support system designed to securely hold the microphone in place during recordings. Its adjustable features allow for versatile positioning to suit your recording environment.
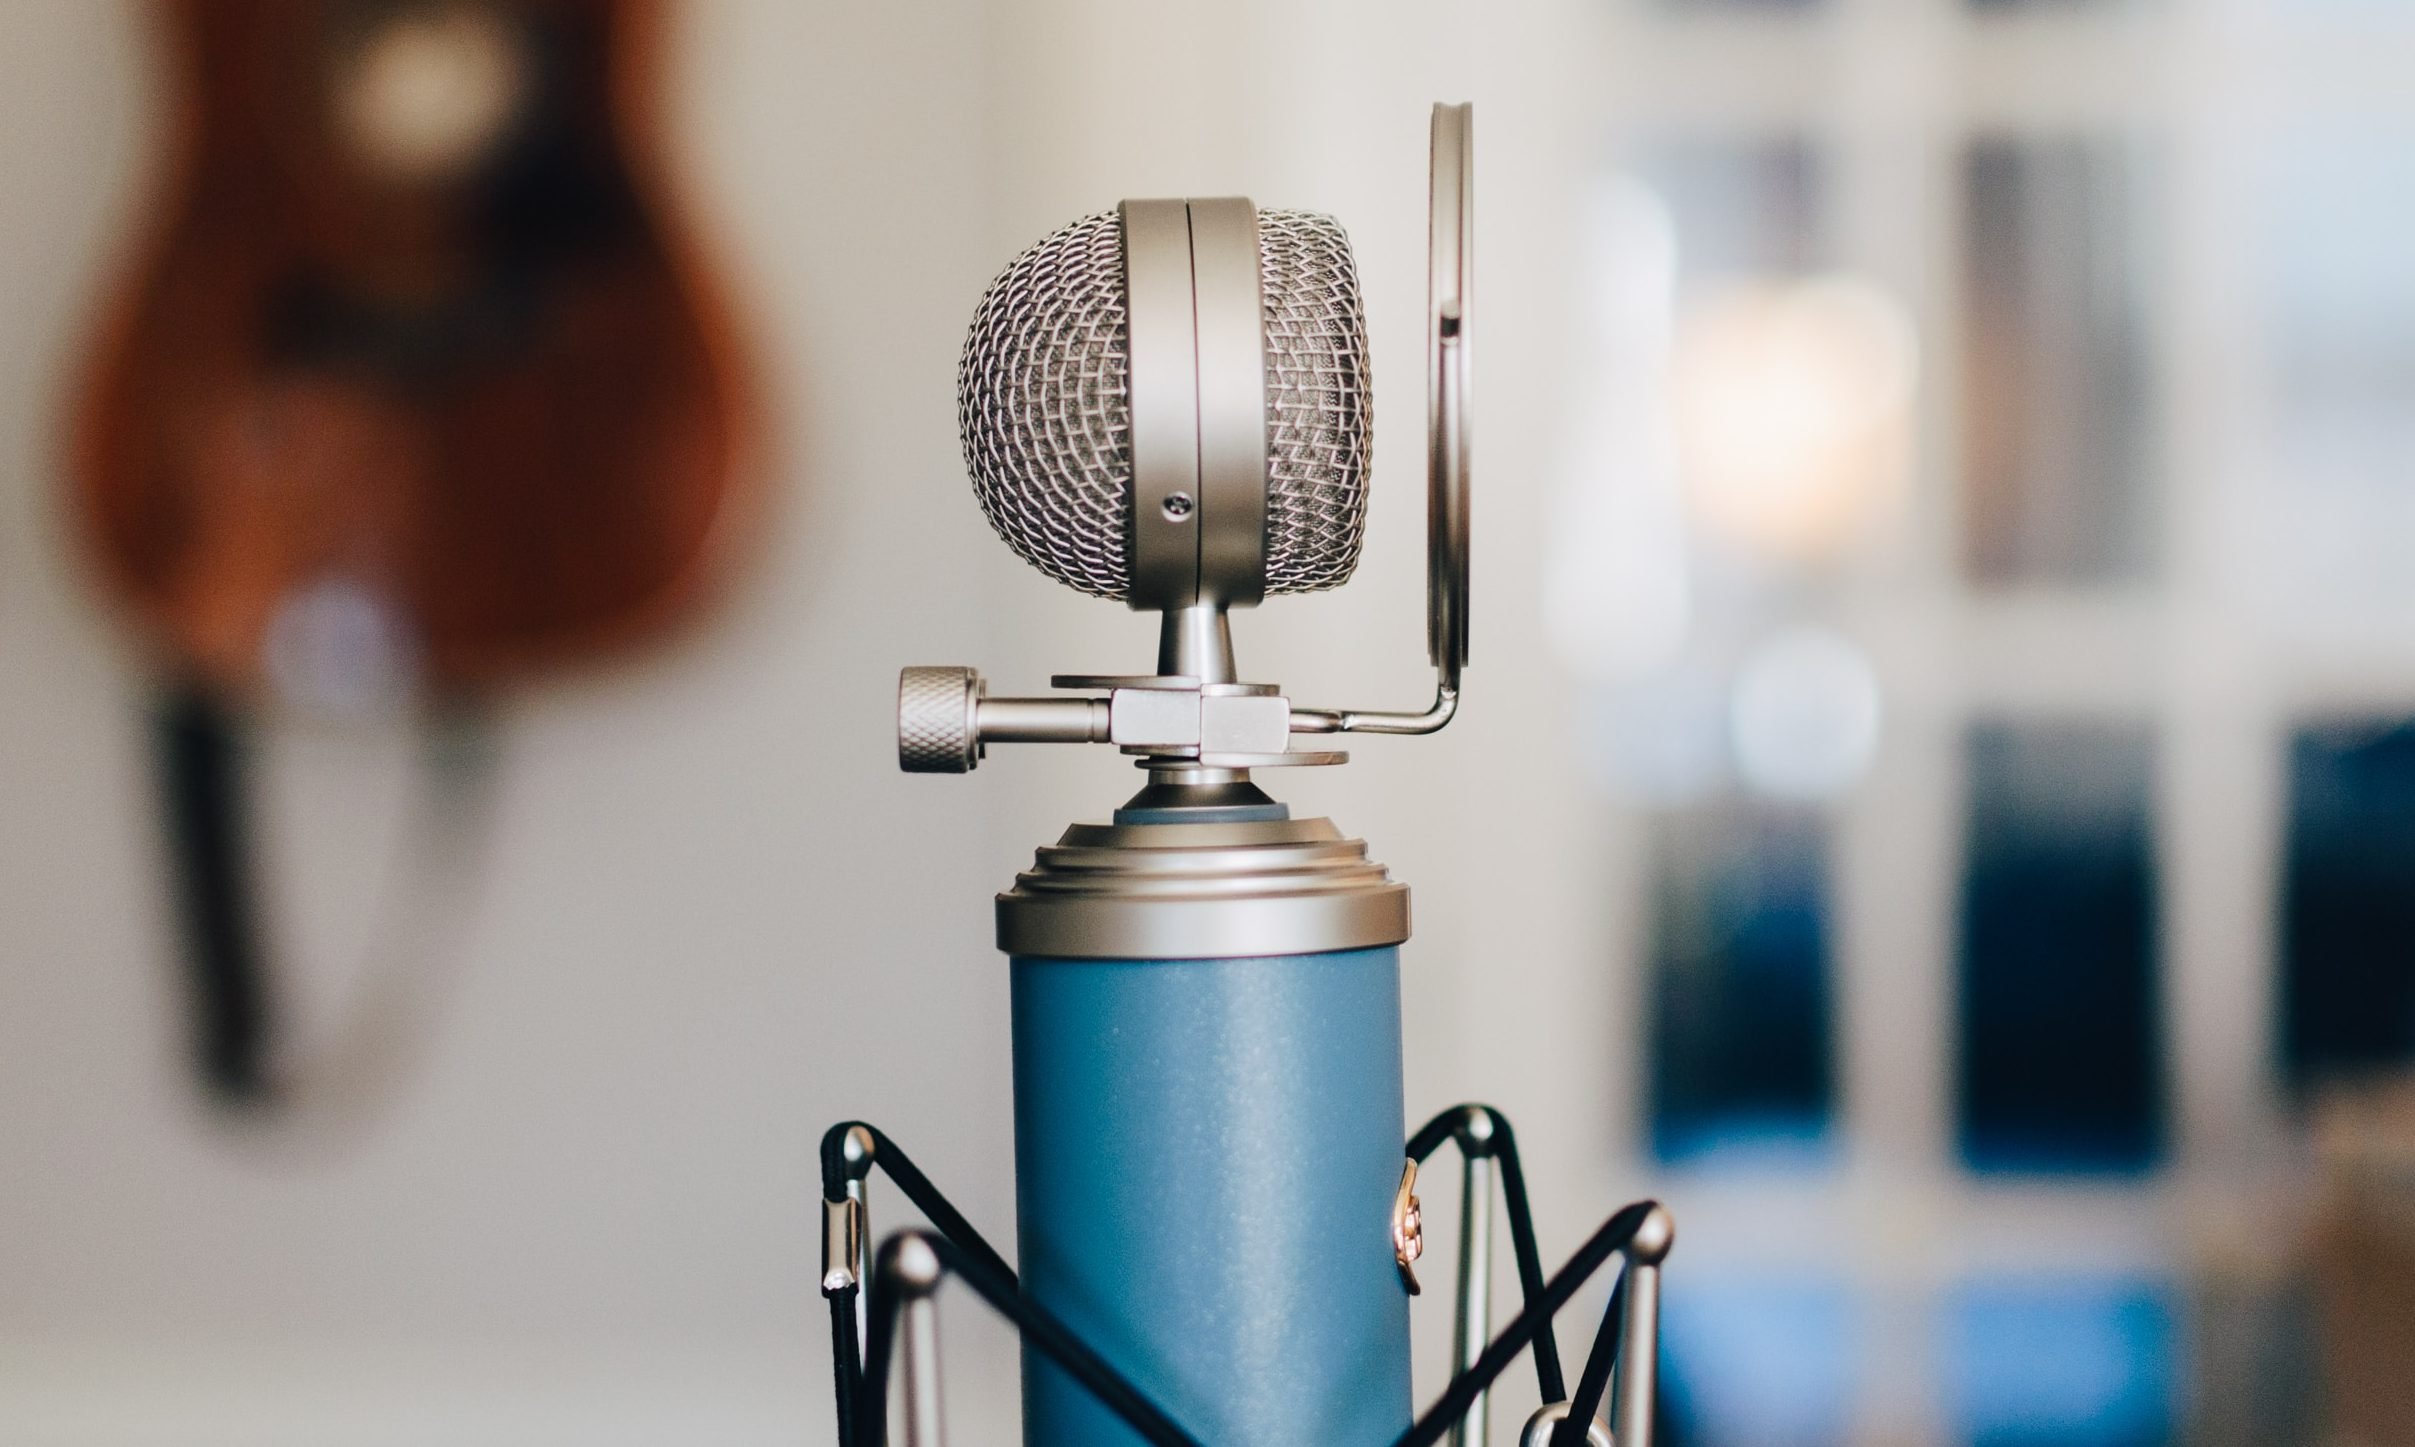
- The Shock Mount: Nestled alongside the microphone, the shock mount serves as a crucial accessory, protecting the microphone from vibrations and handling noise. Its specialized design ensures that unwanted disturbances do not compromise the audio quality.
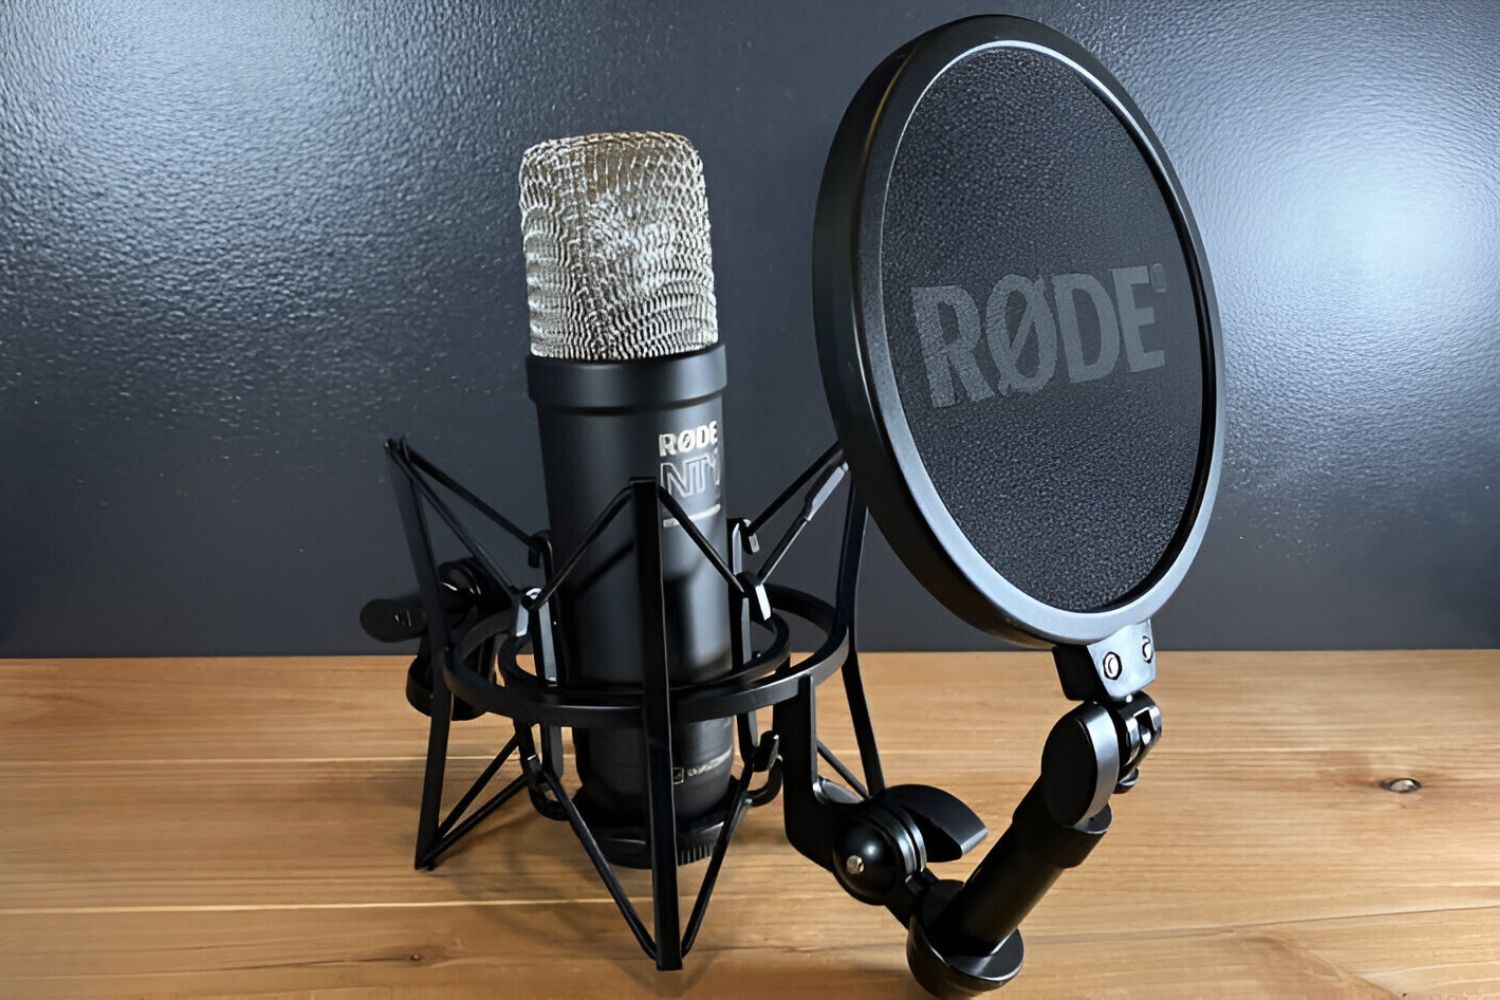
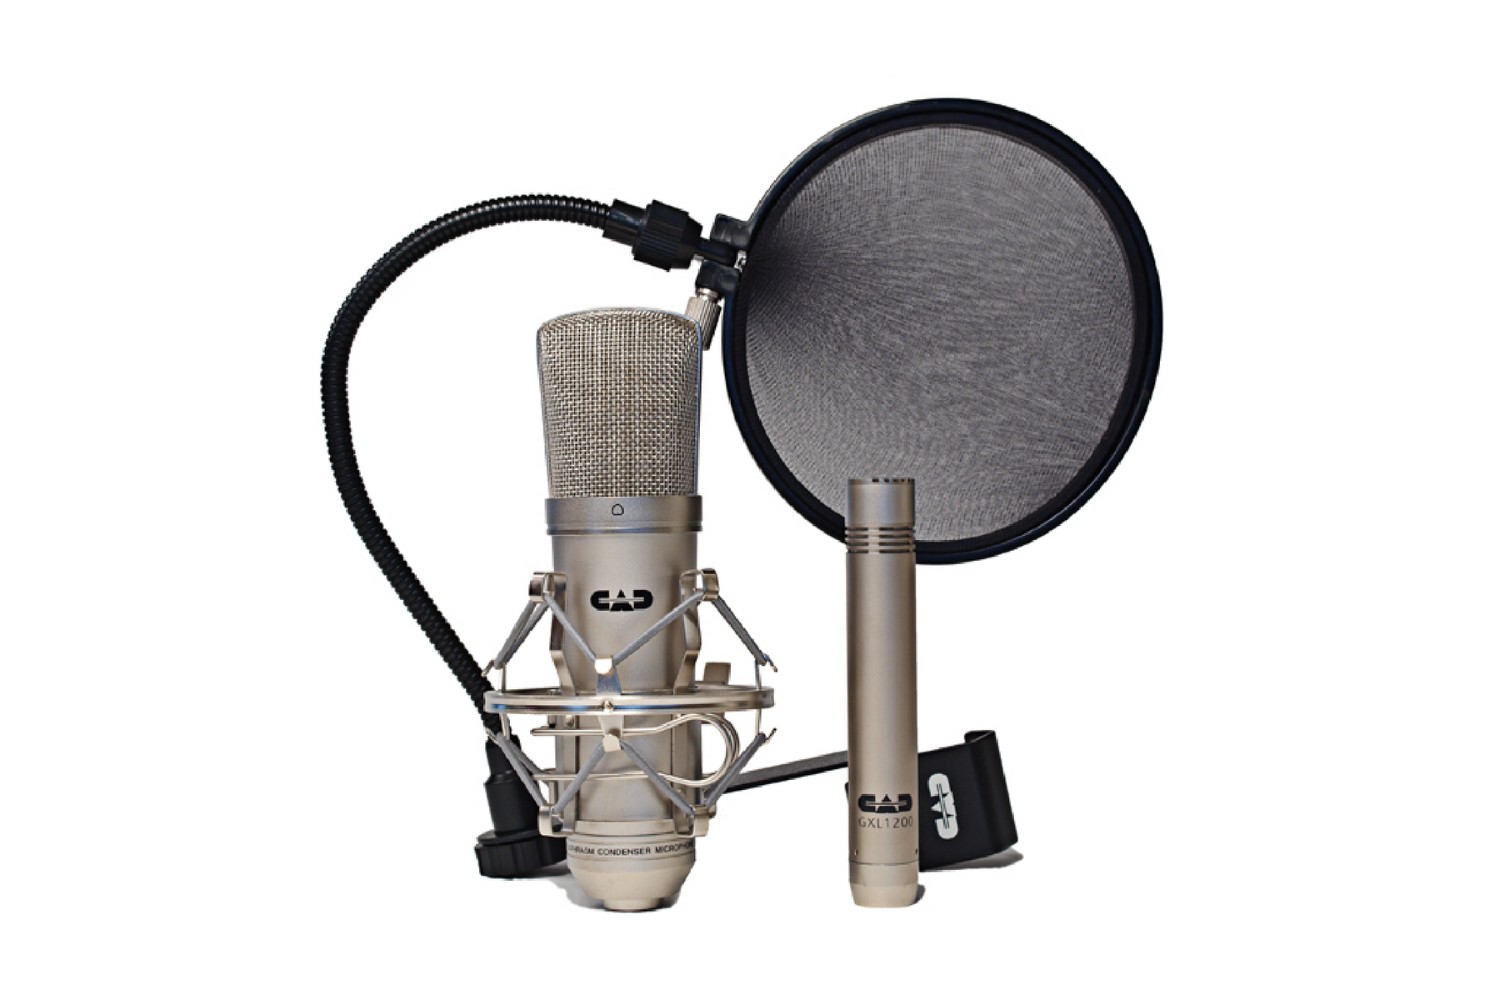
- The Pop Filter: A key component for achieving pristine vocal recordings, the pop filter minimizes plosive sounds and effectively filters out unwanted breath and wind noise, contributing to clear and professional audio output.
- Documentation and Accessories: Within the packaging, you’ll also find essential documentation, such as user manuals and warranty information, ensuring that you have access to valuable guidance and support. Additionally, any necessary cables or connectors required for the setup will be included, streamlining the process.
As you carefully unpack each component, take a moment to appreciate the craftsmanship and attention to detail that has gone into the creation of your professional condenser microphone and its accompanying accessories. This initial step sets the stage for the meticulous assembly and setup process that will soon follow, laying the foundation for exceptional audio recording experiences.
Step 2: Assembling the Microphone Stand
With the components of your professional condenser microphone laid out before you, it’s time to embark on the assembly of the microphone stand. This pivotal step lays the groundwork for securely positioning your microphone, ensuring stability and optimal performance during recording sessions. Here’s a detailed guide to assembling the microphone stand:
- Base Assembly: Begin by unpacking the base of the microphone stand. Depending on the model, the base may consist of tripod legs or a circular weighted base for stability. Carefully extend the legs or position the weighted base on a flat surface, ensuring that it remains steady and level.
- Connecting the Shaft: Next, locate the shaft of the microphone stand. This elongated component serves as the vertical support for the microphone. Align the shaft with the base, ensuring that any locking mechanisms or height adjustments are accessible and functional.
- Securing the Shaft: Once the shaft is aligned with the base, secure it in place using the provided fastening mechanisms. This may involve tightening screws or levers to ensure that the shaft remains firmly connected to the base, providing a stable foundation for the microphone.
- Attaching the Boom Arm (If Applicable): If your microphone stand includes a boom arm for extended reach and positioning flexibility, carefully attach it to the designated mount on the shaft. Ensure that the boom arm is securely fastened and that any adjustable joints are tightened to prevent unwanted movement during use.
- Testing Stability: Once the assembly is complete, gently test the stability of the microphone stand by applying slight pressure and ensuring that it remains steady and balanced. This step is crucial in verifying that the stand can support the weight of the microphone and accommodate any adjustments without compromising its stability.
As you complete the assembly of the microphone stand, take a moment to appreciate the robustness and functionality of this essential component. The carefully constructed stand serves as the reliable support system for your professional condenser microphone, offering the flexibility and stability needed to achieve optimal positioning for your recording endeavors.
Step 3: Connecting the Microphone to the Stand
With the microphone stand assembled and ready, the next crucial step in setting up your professional condenser microphone involves securely attaching the microphone to the stand. This process ensures that the microphone is firmly positioned and ready to capture pristine audio with precision. Here’s a detailed guide to connecting the microphone to the stand:
- Locating the Mounting Point: Begin by identifying the designated mounting point on the microphone stand where the microphone will be attached. This may involve a threaded connector or a specialized mount, depending on the design of the stand.
- Preparing the Microphone: Carefully hold the microphone and locate the threaded insert or mounting adapter located at the base of the microphone. This is the point where the microphone will be connected to the stand.
- Aligning the Connection: With precision, align the threaded insert of the microphone with the mounting point on the stand. Ensure that the connection is straight and that the threads align seamlessly, preparing for a secure attachment.
- Securing the Microphone: Gently begin threading the microphone onto the stand, taking care not to cross-thread the connection. Use a steady, even pressure to tighten the microphone onto the stand, ensuring a secure and stable attachment.
- Verifying Stability: Once the microphone is attached, gently test its stability by carefully adjusting its position and ensuring that it remains securely fastened to the stand. This step is crucial in confirming that the microphone is firmly connected and ready for use.
As you complete the process of connecting the microphone to the stand, take a moment to appreciate the seamless integration of these components. The secure attachment ensures that your professional condenser microphone is poised for exceptional audio capture, ready to translate your vocal performances or instrument recordings into captivating soundscapes with unparalleled clarity.
Step 4: Attaching the Shock Mount
As you progress in setting up your professional condenser microphone, the inclusion of a shock mount significantly enhances the microphone’s performance by isolating it from vibrations and handling noise. Attaching the shock mount to the microphone is a crucial step that ensures the microphone’s delicate components are protected, allowing for pristine audio capture. Here’s a detailed guide to attaching the shock mount:
- Understanding the Shock Mount: Take a moment to familiarize yourself with the shock mount and its components. Typically, a shock mount consists of an outer frame with elastic bands or suspension cords that cradle the microphone, effectively isolating it from external vibrations.
- Preparing the Microphone: If the shock mount requires assembly, carefully follow the manufacturer’s instructions to ensure that it is configured to accommodate your specific microphone model. Ensure that the shock mount’s interior dimensions align with the microphone’s size and form factor.
- Positioning the Microphone: With precision, place the microphone into the shock mount, ensuring that it is centered and securely nestled within the suspension system. The shock mount should snugly accommodate the microphone, providing a stable and protective environment.
- Attaching the Shock Mount to the Stand: Once the microphone is positioned within the shock mount, carefully attach the shock mount to the microphone stand. Depending on the design, this may involve a threaded connector or a quick-release mechanism that securely fastens the shock mount to the stand.
- Verifying Stability: Gently test the stability of the shock mount by applying slight pressure and ensuring that the microphone remains isolated from any external movements. This step confirms that the shock mount is effectively protecting the microphone from vibrations and handling noise.
As you complete the process of attaching the shock mount to your professional condenser microphone, take a moment to appreciate the added layer of protection and performance enhancement it offers. The shock mount’s role in isolating the microphone from unwanted disturbances ensures that your recordings maintain a high standard of clarity and fidelity, allowing your creative expressions to shine through with uncompromised quality.
Step 5: Connecting the Microphone to an Audio Interface
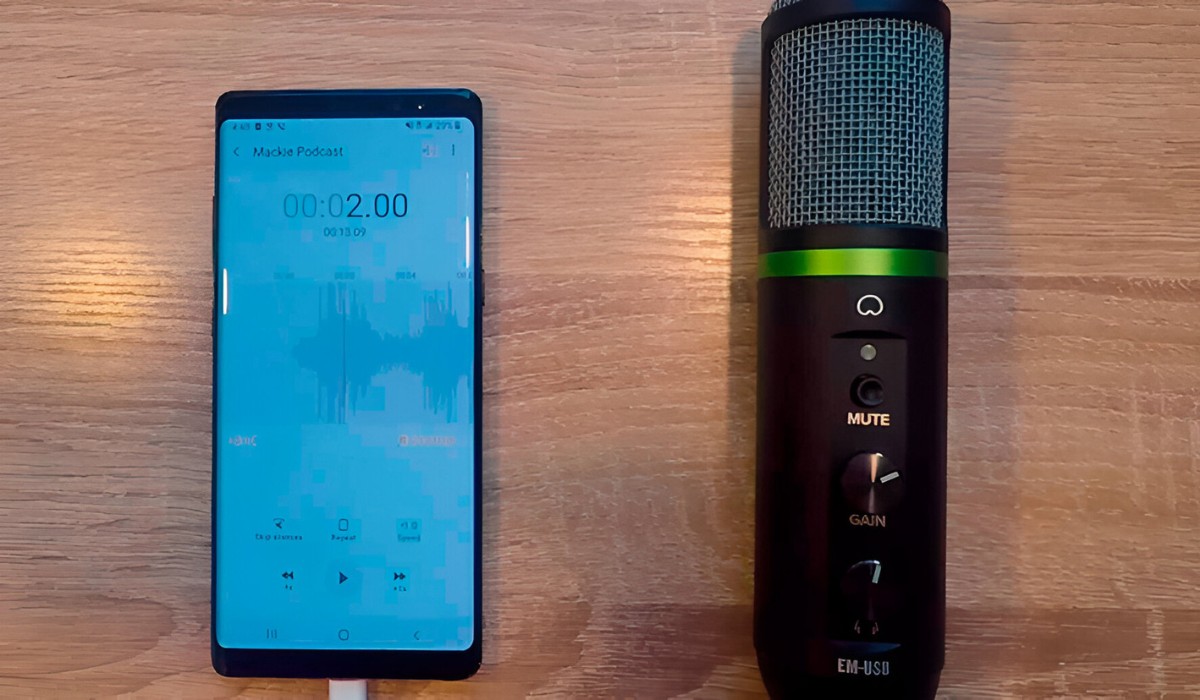
Connecting your professional condenser microphone to an audio interface is a pivotal step that bridges the gap between your microphone and the digital realm, enabling seamless audio capture and processing. The audio interface serves as the intermediary device that converts analog signals from the microphone into digital data, allowing for high-fidelity recordings and real-time monitoring. Here’s a detailed guide to connecting the microphone to an audio interface:
- Selecting the Audio Interface: If you haven’t already chosen an audio interface, now is the time to select one that aligns with your recording needs and technical requirements. Consider factors such as the number of microphone preamps, connectivity options, and sample rate capabilities.
- Locating the Microphone Input: Identify the microphone input or preamp on the audio interface. This input is specifically designed to accommodate the low-level signals produced by condenser microphones, providing the necessary gain and impedance matching for optimal performance.
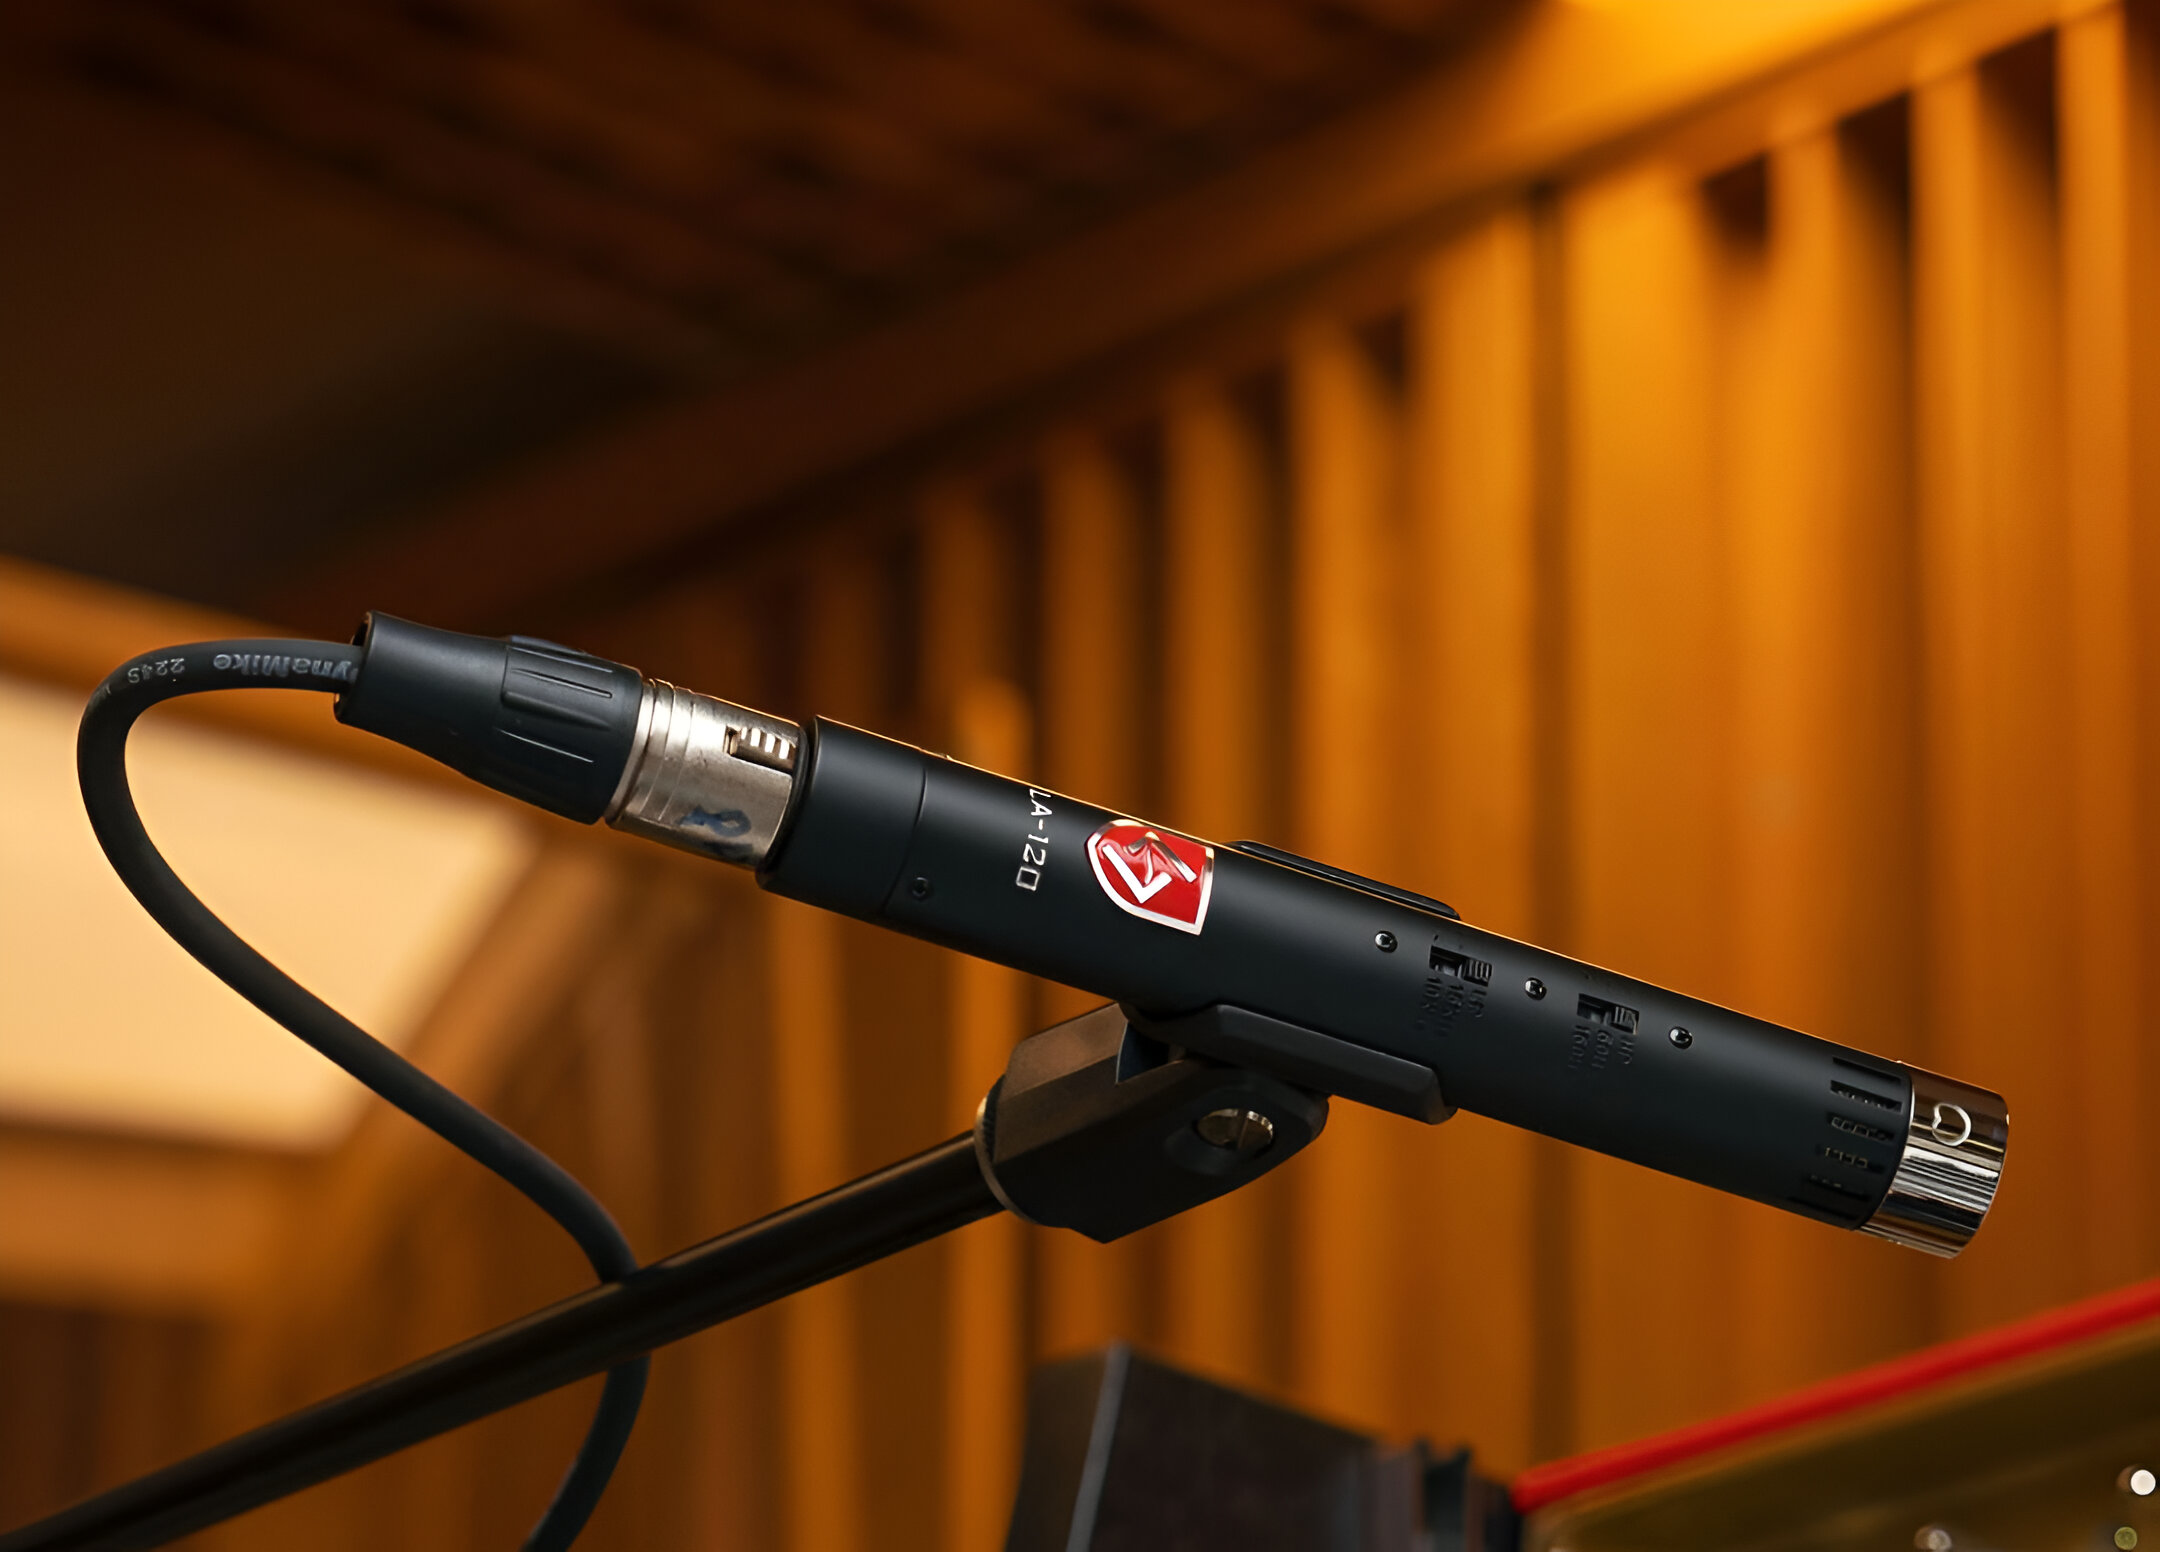
- Connecting the Microphone: Using an XLR cable, connect the output of your professional condenser microphone to the designated microphone input on the audio interface. Ensure that the connections are secure and that the cable routing allows for a clear and unobstructed path.
- Setting Input Levels: Once the microphone is connected, adjust the input gain on the audio interface to set an appropriate level for your recording. Carefully monitor the input levels to prevent clipping or distortion, ensuring a clean and balanced signal from the microphone.
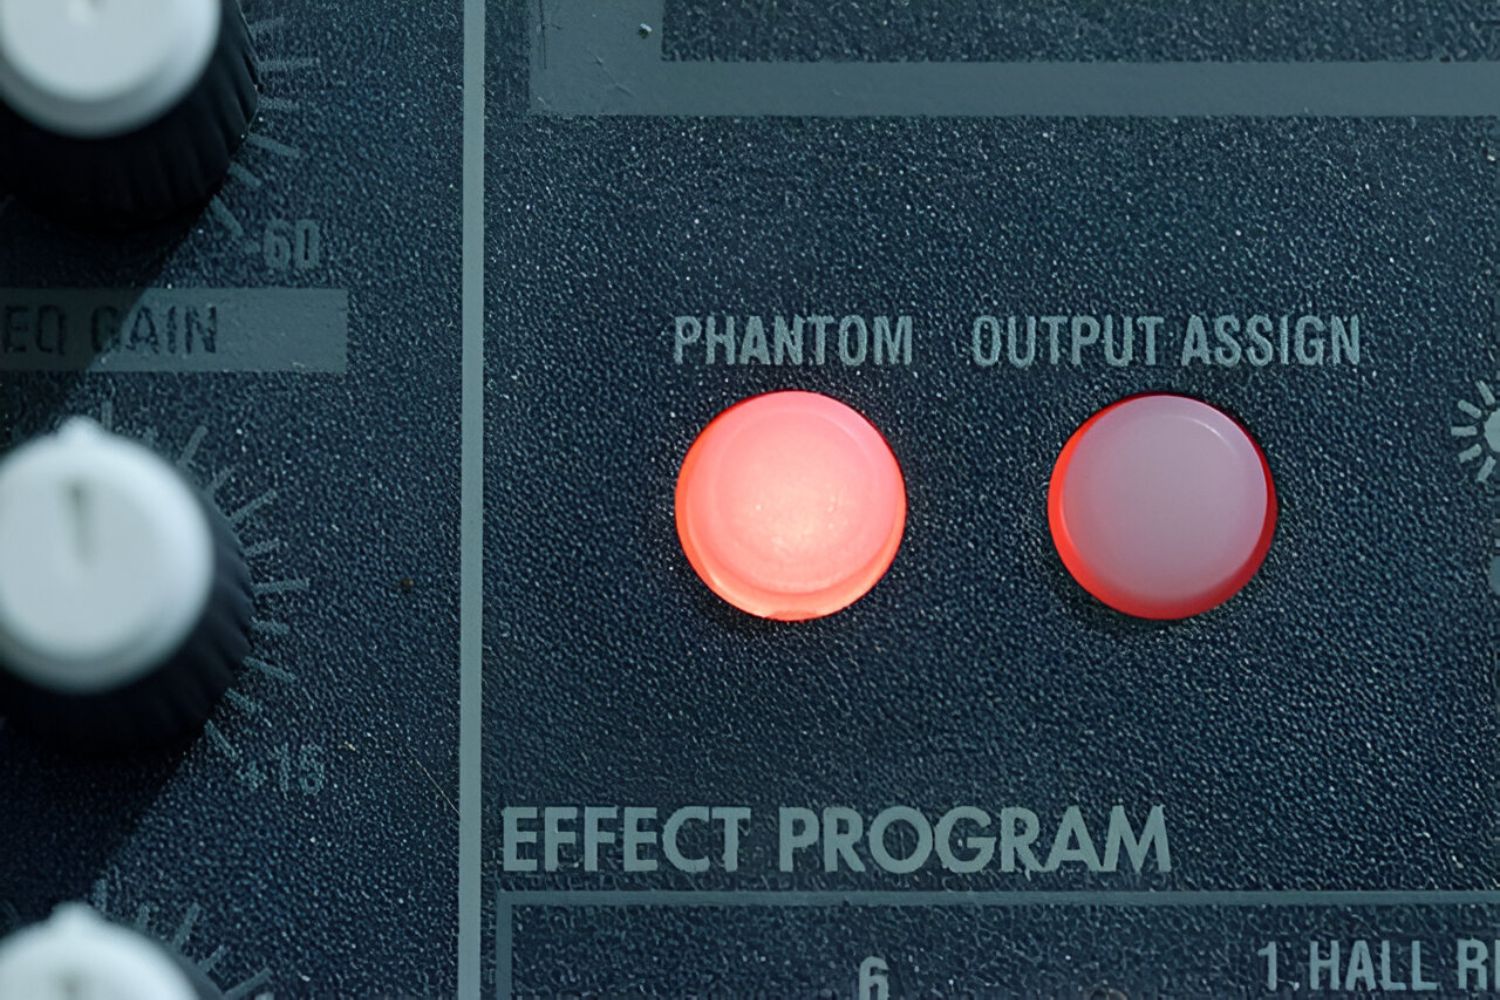
- Enabling Phantom Power: If your condenser microphone requires phantom power to operate, activate this feature on the audio interface. Phantom power provides the necessary voltage for the microphone’s internal circuitry, enabling it to function and capture audio effectively.
As you complete the process of connecting your professional condenser microphone to an audio interface, take a moment to appreciate the seamless integration of these essential components. The audio interface serves as the gateway to professional-grade audio recording, providing the necessary tools and signal processing capabilities to elevate your recordings to new heights of clarity and precision.
Step 6: Setting Up the Pop Filter
As you venture further into the setup of your professional condenser microphone, the inclusion of a pop filter becomes essential for achieving pristine vocal recordings and minimizing unwanted artifacts such as plosive sounds and breath noise. The pop filter serves as a barrier between the microphone and the vocalist, effectively diffusing bursts of air and maintaining a consistent distance for optimal sound capture. Here’s a detailed guide to setting up the pop filter:
- Positioning the Pop Filter: Begin by attaching the pop filter to the microphone stand, positioning it between the microphone and the vocalist. The flexible gooseneck or adjustable arm of the pop filter allows for precise placement, ensuring that it effectively intercepts plosive sounds without obstructing the microphone’s capsule.
- Creating a Stable Configuration: Once the pop filter is positioned, secure it in place using the provided clamps or mounting mechanisms. Verify that the pop filter maintains a stable and consistent distance from the microphone, allowing for unimpeded vocal performances while mitigating plosive impacts.
- Aligning the Vocalist’s Position: If you’re the vocalist, take a moment to align yourself with the pop filter, ensuring that your vocals pass through the filter at an optimal angle. This alignment minimizes the impact of plosive sounds and ensures that your vocal recordings maintain a balanced and natural tonal quality.
- Testing the Configuration: Before proceeding with recording sessions, conduct a brief test to ensure that the pop filter effectively diffuses plosive sounds and breath noise. Perform vocal exercises and pronounce words with strong plosive sounds to gauge the filter’s effectiveness in mitigating these artifacts.
As you complete the process of setting up the pop filter, take a moment to appreciate the enhanced vocal clarity and precision it brings to your recordings. The pop filter’s role in minimizing plosive impacts and breath noise ensures that your vocal performances are captured with exceptional fidelity, allowing your creative expressions to shine through with pristine articulation and warmth.
Step 7: Adjusting the Microphone Position
As you near the completion of setting up your professional condenser microphone, the crucial step of adjusting the microphone’s position ensures that it is optimally configured to capture the desired audio with precision and clarity. The microphone’s placement plays a pivotal role in shaping the tonal characteristics and spatial qualities of the recordings, making it essential to fine-tune its position for optimal performance. Here’s a detailed guide to adjusting the microphone position:
- Consider the Recording Environment: Take into account the acoustic properties and ambient noise levels of the recording environment. If possible, position the microphone in an acoustically treated space or utilize sound-absorbing materials to minimize unwanted reflections and reverberations.
- Utilize the Three-to-One Rule: For vocal recordings, adhere to the three-to-one rule, which recommends positioning the microphone approximately three times the distance from the sound source as it is from any reflective surfaces. This minimizes the impact of early reflections and enhances the direct sound captured by the microphone.
- Experiment with Microphone Orientation: Depending on the recording scenario, experiment with the microphone’s orientation to achieve the desired tonal characteristics. For instance, angling the microphone slightly off-axis can attenuate sibilance and high-frequency harshness, while a more direct orientation captures a fuller and more immediate sound.
- Optimize the Proximity Effect: If capturing vocals or instruments with pronounced low-frequency content, leverage the proximity effect by adjusting the microphone’s distance from the sound source. Closer proximity accentuates low frequencies, adding warmth and depth to the recordings, while greater distance yields a more balanced tonal representation.
- Monitor and Adjust: Throughout the adjustment process, monitor the microphone’s output using headphones or studio monitors. Listen for tonal balance, dynamic range, and spatial imaging, making incremental adjustments to the microphone’s position to achieve the desired sonic characteristics.
As you fine-tune the position of your professional condenser microphone, take a moment to appreciate the art and science of capturing sound with precision and artistry. The meticulous adjustment of the microphone’s position empowers you to shape the sonic landscape of your recordings, ensuring that each performance is faithfully and evocatively captured with uncompromised fidelity and expression.
Conclusion
Congratulations on successfully setting up your professional condenser microphone! By following this comprehensive guide, you’ve embarked on a journey to unlock the full potential of your audio recording endeavors. Each step in the setup process, from unboxing the microphone to fine-tuning its position, has contributed to ensuring that your microphone is poised to deliver exceptional audio quality and capture your creative expressions with precision and fidelity.
As you reflect on the meticulous process of assembling and configuring your microphone setup, you’ve gained valuable insights into the intricate art of capturing sound. The careful placement of the microphone, the integration of essential accessories such as the shock mount and pop filter, and the seamless connection to an audio interface have collectively paved the way for immersive and captivating recordings.
With your professional condenser microphone now primed for action, you’re poised to embark on a journey of sonic exploration, whether it involves capturing soul-stirring vocal performances, intricate instrumental arrangements, or engaging podcast dialogues. The setup you’ve meticulously crafted serves as the conduit through which your creative visions will be translated into captivating audio experiences, resonating with depth and clarity.
As you venture into the realm of audio recording, remember that the setup process is just the beginning of an ongoing pursuit of sonic excellence. Embrace the nuances of microphone placement, experiment with different configurations, and allow your creativity to guide the evolution of your recordings. Each adjustment and refinement contributes to the cultivation of a sonic signature uniquely reflective of your artistic vision.
Armed with a meticulously set up professional condenser microphone, you’re now equipped to embark on a journey of sonic storytelling, capturing moments, emotions, and expressions with unparalleled fidelity and artistry. Your recordings are poised to resonate with authenticity and immersive detail, inviting listeners into a world of sonic richness and evocative resonance.
So, as you prepare to embark on your recording endeavors, may your professional condenser microphone be the faithful companion that faithfully translates your creative expressions into captivating audio experiences, enriching the sonic landscape with your unique voice and musicality.