Introduction
So, you've got a high-quality condenser microphone and a smartphone, and you're eager to harness the power of professional audio recording on your mobile device. Whether you're a podcaster, musician, or content creator, the ability to connect your condenser microphone to your cellphone opens up a world of possibilities for on-the-go recording and content creation. While this may seem like a daunting task at first, fear not! With the right tools and techniques, you can easily connect your condenser microphone to your cellphone and achieve studio-quality sound without breaking the bank.
In this guide, we'll walk you through the process of connecting your condenser microphone to your cellphone, covering various methods and tips to help you achieve the best results. From understanding the basics of condenser microphones to exploring different adapter options, we've got you covered. By the end of this guide, you'll have a clear understanding of how to seamlessly integrate your condenser microphone with your cellphone, allowing you to unleash your creativity and produce professional-grade audio content anytime, anywhere.
Let's dive into the world of condenser microphones and cellphone connectivity, and discover the exciting possibilities that await you!
Understanding Your Condenser Microphone
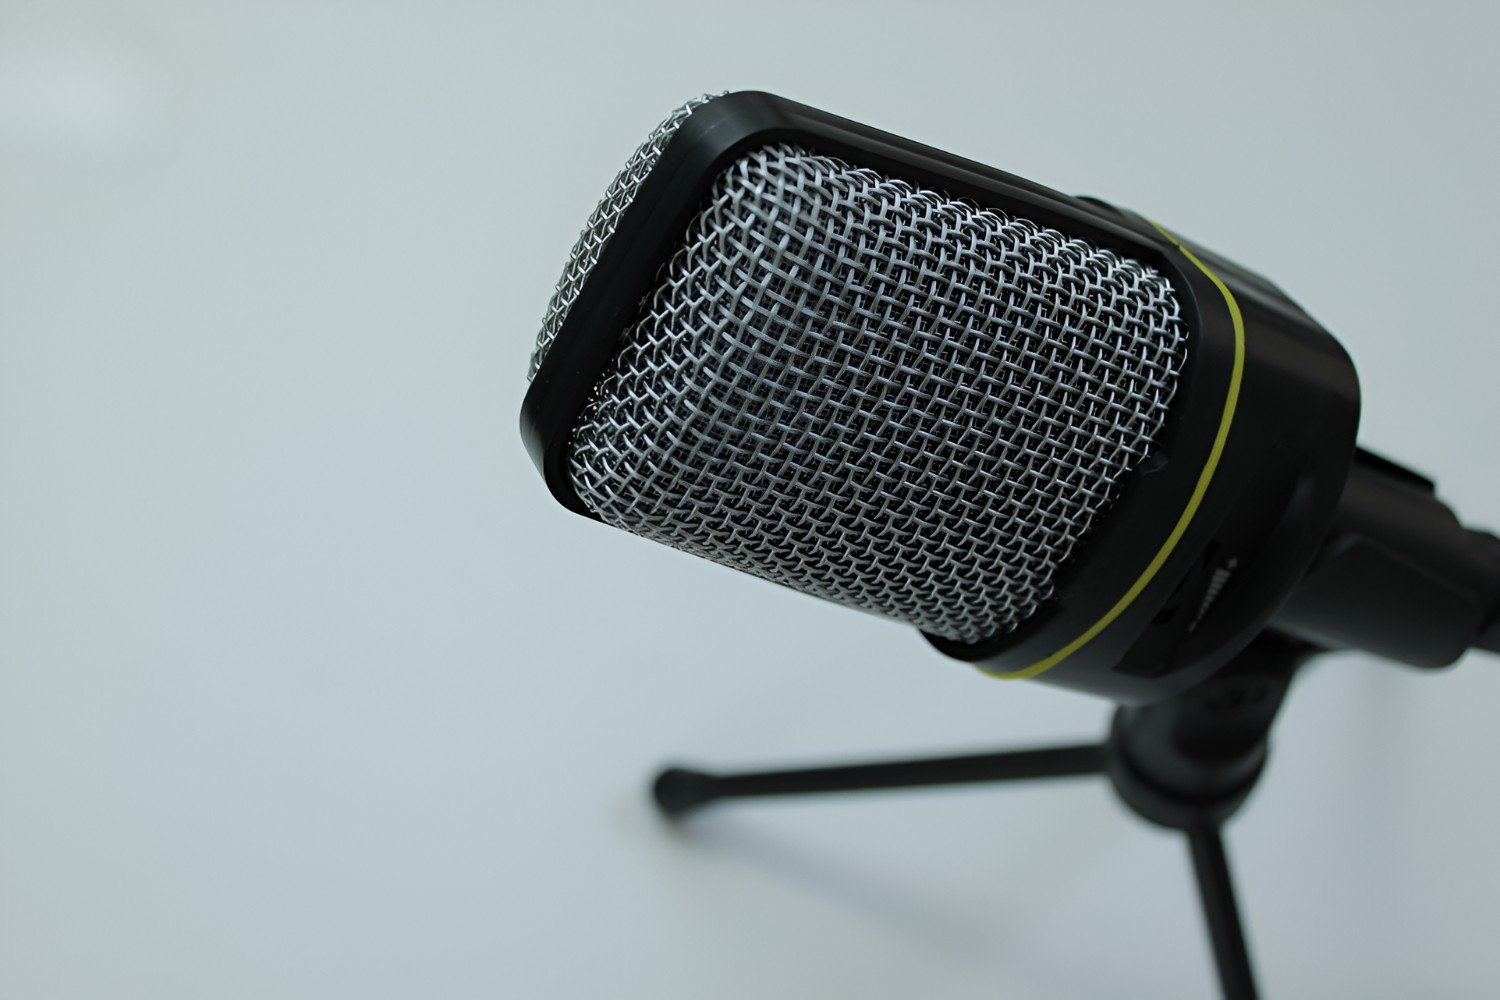
Before delving into the process of connecting your condenser microphone to your cellphone, it's essential to grasp the fundamentals of this sophisticated audio device. Unlike dynamic microphones, condenser microphones are renowned for their exceptional sensitivity and ability to capture a wide frequency range with remarkable clarity. These microphones are commonly used in professional studio settings and are favored for their ability to reproduce vocals and instruments with unparalleled fidelity.
Condenser microphones operate on the principle of capacitance, where sound waves cause changes in the distance between two charged plates within the microphone, resulting in variations in the electrical signal. This mechanism allows condenser microphones to capture subtle nuances in sound, making them ideal for recording vocals, acoustic instruments, and intricate soundscapes.
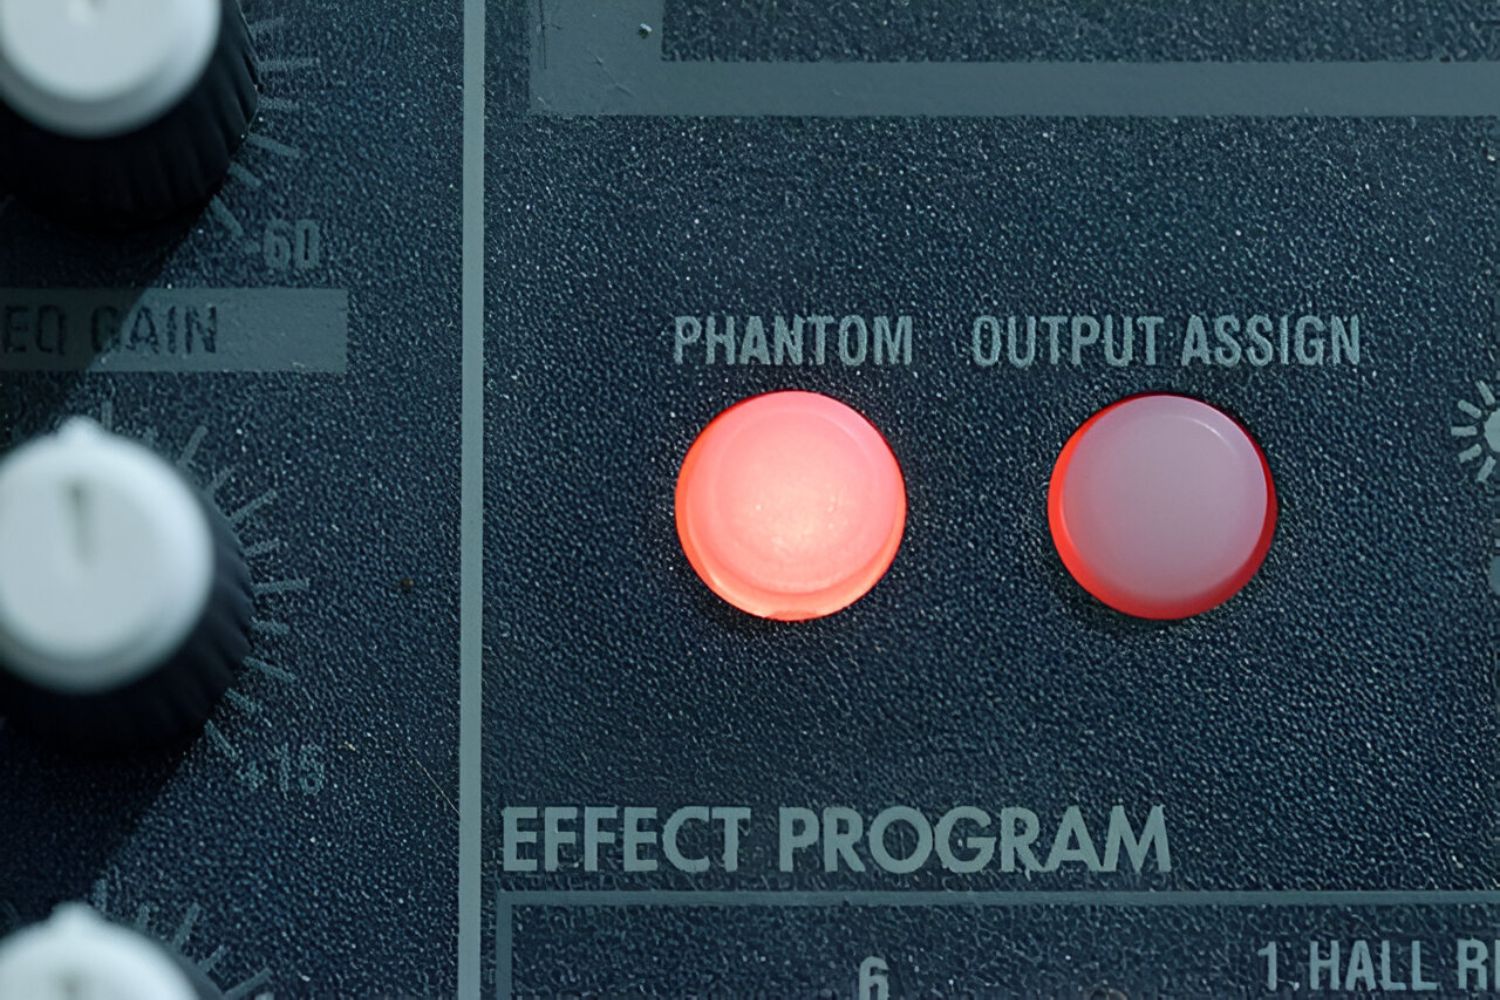
It’s important to note that condenser microphones require power to operate, typically in the form of phantom power supplied by an audio interface or mixer. Some condenser microphones feature built-in batteries or USB connectivity for power, offering greater flexibility in various recording scenarios.
Additionally, condenser microphones come in various polar patterns, such as cardioid, omnidirectional, and figure-8, each suited for different recording applications. Understanding the polar pattern of your condenser microphone is crucial for optimizing sound capture and minimizing unwanted ambient noise.
As you prepare to connect your condenser microphone to your cellphone, familiarizing yourself with its unique characteristics and requirements will empower you to make informed decisions regarding adapter selection and sound quality optimization. With a solid understanding of your condenser microphone’s capabilities, you’re ready to explore the methods for seamlessly integrating it with your cellphone for professional-grade audio recording.
Connecting Your Condenser Microphone to Your Cellphone
Now that you have a solid grasp of your condenser microphone’s intricacies, it’s time to explore the various methods for connecting it to your cellphone. While smartphones are not inherently designed to accommodate condenser microphones due to their differing audio input requirements, several workarounds can effectively bridge the gap, enabling you to leverage the superior audio quality of your microphone for mobile recording and content creation.
Here are three primary methods for connecting your condenser microphone to your cellphone:
Using an Audio Interface
An audio interface serves as a bridge between your condenser microphone and cellphone, converting the microphone’s analog signal into a digital format compatible with your device. By connecting the microphone to the audio interface and then linking the interface to your cellphone via a compatible adapter, such as a USB-C to USB or Lightning adapter, you can achieve high-quality audio recording directly on your smartphone. This method offers the advantage of utilizing professional-grade preamps and converters present in the audio interface, resulting in superior sound quality.
Using a TRRS to TRS Adapter
For condenser microphones with XLR or 1/4-inch outputs, a TRRS to TRS adapter can facilitate direct connection to your cellphone’s headphone jack. This adapter converts the microphone’s signal to a format compatible with the smartphone’s TRRS (tip-ring-ring-sleeve) input, allowing you to record audio using various mobile apps. While this method is straightforward and cost-effective, it may not deliver the same level of audio fidelity as an audio interface due to potential impedance matching issues.
Using a USB-C to 3.5mm Adapter
If your condenser microphone features a USB output, you can utilize a USB-C to 3.5mm adapter to connect it directly to your smartphone’s USB-C port. This method leverages the digital-to-analog conversion capabilities of the microphone, bypassing the need for an audio interface. While convenient, the audio quality may vary depending on the microphone’s built-in converters and the compatibility of the USB-C adapter.
Each of these methods presents unique advantages and considerations, and the most suitable approach depends on your specific microphone, smartphone model, and recording requirements. By selecting the appropriate method and accessories, you can seamlessly integrate your condenser microphone with your cellphone, unlocking a world of creative possibilities for mobile audio production.
Using an Audio Interface
When it comes to achieving professional-grade audio recording with your condenser microphone and cellphone, utilizing an audio interface offers a robust and versatile solution. An audio interface serves as the linchpin in connecting your condenser microphone to your smartphone, providing essential signal processing and conversion capabilities to elevate the quality of your recordings.
Here’s a step-by-step guide to using an audio interface to connect your condenser microphone to your cellphone:
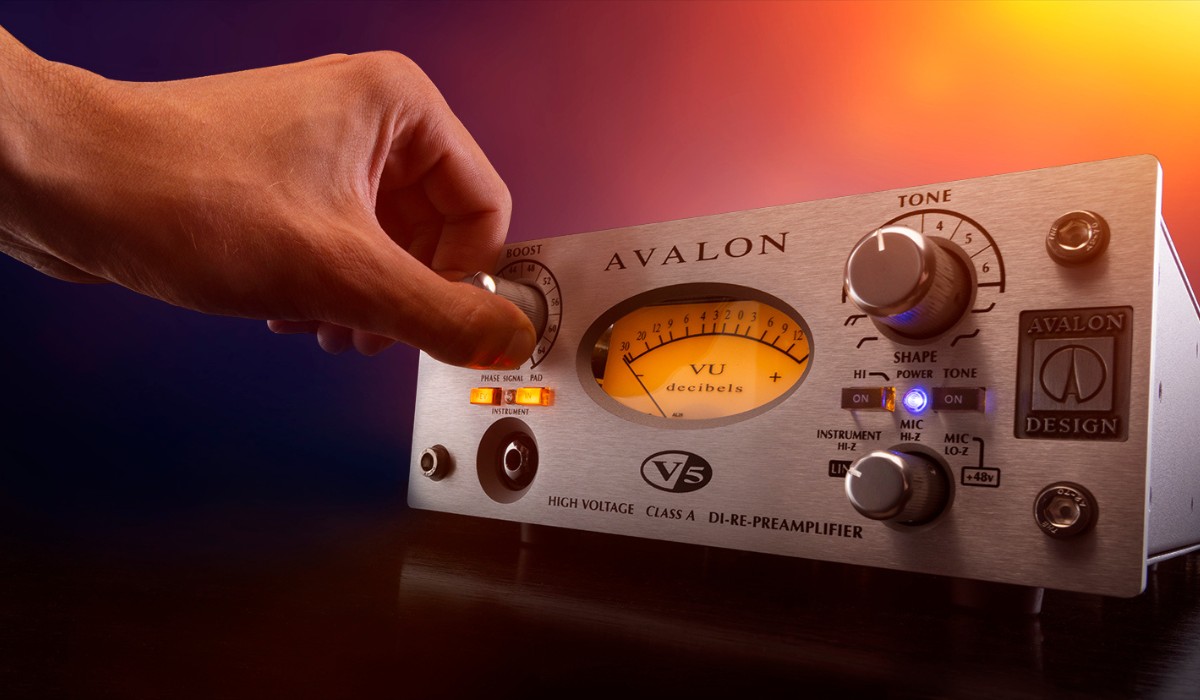
Step 1: Selecting the Right Audio Interface
Choose an audio interface that aligns with your recording needs and smartphone compatibility. Look for interfaces equipped with microphone preamps, phantom power, and digital connectivity options suitable for your cellphone, such as USB-C, Lightning, or traditional USB connections. Consider compact, portable interfaces designed for mobile recording to ensure convenience and mobility.
Step 2: Connecting Your Condenser Microphone
Plug your condenser microphone into the designated XLR or 1/4-inch input on the audio interface. Ensure that phantom power is activated if your microphone requires it for operation. The interface’s preamps and converters will process the microphone’s analog signal and prepare it for digital transmission to your cellphone.
Step 3: Linking the Audio Interface to Your Cellphone
Depending on your smartphone’s port configuration, use the appropriate adapter to connect the audio interface to your device. For example, if your cellphone features a USB-C port, use a USB-C to USB or USB-C to XLR adapter to establish the connection. Similarly, for iPhones or iPads with Lightning ports, use compatible adapters to bridge the interface and smartphone.
Step 4: Configuring Recording Apps and Software
Install and configure recording apps or software on your cellphone that support external audio interfaces. Ensure that the interface is recognized and selected as the input device within the recording app’s settings. Adjust input gain levels and monitor the audio signal to avoid clipping and optimize sound quality.
Step 5: Recording and Monitoring
Once everything is set up, you’re ready to start recording professional-quality audio using your condenser microphone and cellphone. Monitor the recording levels and quality through the interface’s headphone output or your smartphone’s audio output. Experiment with different recording environments and techniques to unleash the full potential of your setup.
By leveraging the capabilities of an audio interface, you can harness the full sonic prowess of your condenser microphone and seamlessly integrate it with your cellphone for on-the-go audio production. Whether you’re capturing vocals, instruments, or immersive soundscapes, the combination of a high-quality condenser microphone and a reliable audio interface empowers you to create captivating audio content with unparalleled clarity and fidelity.
Using a TRRS to TRS Adapter
When it comes to connecting a condenser microphone to a cellphone with a headphone jack, utilizing a TRRS to TRS adapter offers a straightforward and cost-effective solution. This method allows you to bridge the connectivity gap between your microphone’s XLR or 1/4-inch output and your smartphone’s TRRS (tip-ring-ring-sleeve) input, enabling you to capture high-quality audio directly on your mobile device.
Understanding the Adapter
A TRRS to TRS adapter is designed to convert the audio signal from a condenser microphone with an XLR or 1/4-inch output to a format compatible with the TRRS input commonly found on smartphones and tablets. The TRRS connector, distinguished by its three black rings, accommodates both audio input and output, making it suitable for microphone connectivity.
Connecting the Microphone
Begin by plugging the XLR or 1/4-inch output of your condenser microphone into the corresponding input on the TRRS to TRS adapter. Ensure a secure connection to minimize signal interference and maintain audio fidelity. The adapter serves as the intermediary link between your microphone and the smartphone, facilitating the transmission of the microphone’s signal to the mobile device.
Linking to the Cellphone
Once the microphone is connected to the adapter, insert the TRS end of the adapter into the headphone jack of your cellphone. The adapter’s TRS (tip-ring-sleeve) connector is designed to fit into the smartphone’s headphone jack, allowing the microphone’s signal to be received by the device for recording purposes. Ensure that the connection is secure and free from any obstructions that may hinder proper signal transmission.
Configuring Recording Apps
Before recording, launch a compatible audio recording app on your smartphone and configure the input settings to recognize the external microphone connected via the TRRS to TRS adapter. Adjust input gain levels within the app to optimize the microphone’s signal and prevent distortion. Familiarize yourself with the app’s recording features and settings to maximize the potential of your setup.
Recording Quality Audio
With the microphone successfully connected to your cellphone using the TRRS to TRS adapter, you can now begin capturing high-quality audio for various applications, including podcasting, voiceovers, music recording, and field recording. Experiment with different microphone placement and recording techniques to achieve optimal results, and monitor the recording levels to ensure a clean and distortion-free audio signal.
By employing a TRRS to TRS adapter, you can seamlessly integrate your condenser microphone with your cellphone, transforming your mobile device into a versatile audio recording tool. Whether you’re conducting interviews, capturing live performances, or recording spontaneous ideas, this method empowers you to harness the full potential of your condenser microphone for on-the-go audio production.
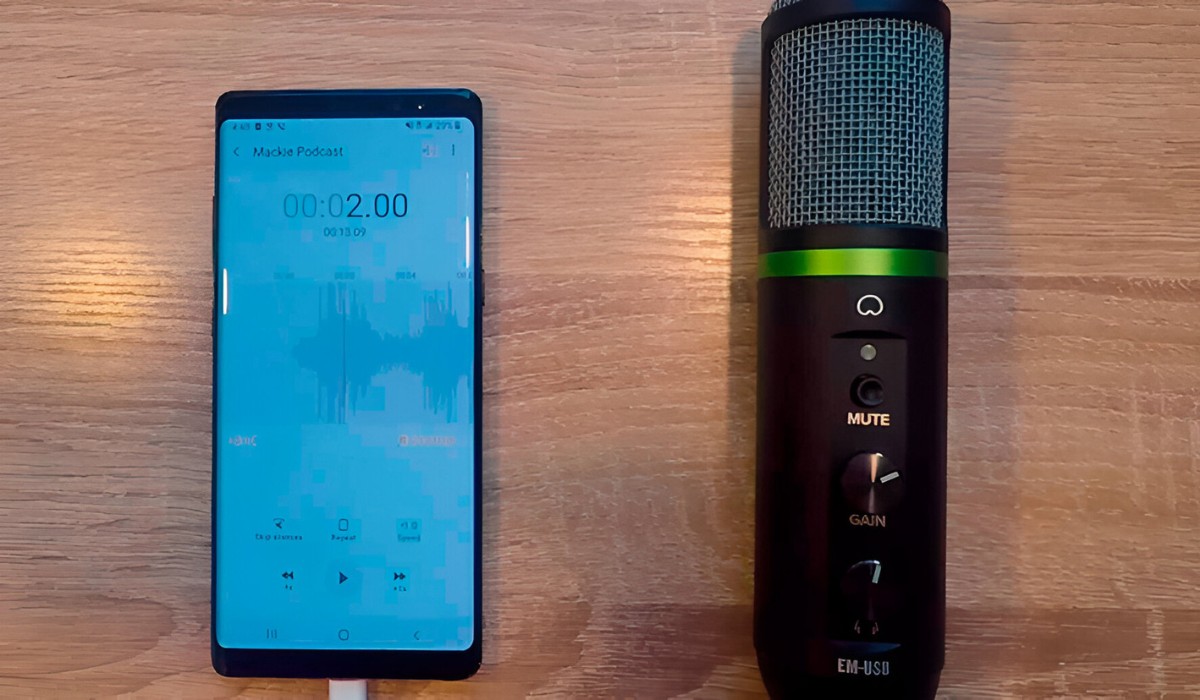
Using a USB-C to 3.5mm Adapter
When seeking to connect a condenser microphone with a USB output to a smartphone lacking a dedicated USB input, employing a USB-C to 3.5mm adapter presents a viable solution. This method enables you to leverage the digital-to-analog conversion capabilities of the microphone, allowing you to record high-quality audio directly on your mobile device without the need for an additional audio interface.
Understanding the Adapter
A USB-C to 3.5mm adapter serves as an interface between your condenser microphone’s USB output and your smartphone’s 3.5mm audio jack, facilitating the transmission of the microphone’s digital audio signal to the mobile device. The adapter is equipped with a USB-C connector to accommodate the microphone’s USB output and a 3.5mm audio jack compatible with the smartphone’s TRRS (tip-ring-ring-sleeve) input.
Connecting the Microphone
Begin by plugging the USB output of your condenser microphone into the USB-C port of the adapter. Ensure a secure and snug connection to maintain signal integrity and prevent any potential signal loss during recording. The adapter effectively bridges the digital audio signal from the microphone to the analog input of the smartphone, allowing for seamless audio transmission.
Linking to the Cellphone
Once the microphone is connected to the USB-C to 3.5mm adapter, insert the 3.5mm end of the adapter into the headphone jack of your smartphone. The adapter’s 3.5mm audio jack is designed to fit into the TRRS input of the device, enabling the microphone’s digital audio signal to be converted to analog and received by the smartphone for recording purposes. Ensure a secure connection to prevent signal interruptions.
Configuring Recording Apps
Prior to recording, launch a compatible audio recording app on your smartphone and configure the input settings to recognize the external microphone connected via the USB-C to 3.5mm adapter. Adjust input gain levels within the app to optimize the microphone’s signal and ensure optimal recording quality. Familiarize yourself with the app’s recording features and settings for a seamless recording experience.
Recording High-Quality Audio
With the microphone successfully connected to your smartphone using the USB-C to 3.5mm adapter, you can now begin capturing high-quality audio for a wide range of applications, including vocal recordings, instrument performances, and field recordings. Experiment with different recording environments and microphone techniques to explore the full potential of your setup, and monitor the recording levels to ensure optimal audio quality.
By utilizing a USB-C to 3.5mm adapter, you can seamlessly integrate your condenser microphone with your smartphone, transforming your mobile device into a versatile audio recording tool. Whether you’re recording music, podcasts, or interviews, this method empowers you to leverage the full capabilities of your condenser microphone for on-the-go audio production.
Tips for Better Sound Quality
When connecting a condenser microphone to a cellphone for audio recording, implementing certain tips and techniques can significantly enhance the overall sound quality of your recordings. By paying attention to microphone placement, environmental factors, and signal optimization, you can elevate the sonic fidelity of your mobile recordings, achieving professional-grade results even in non-studio settings.
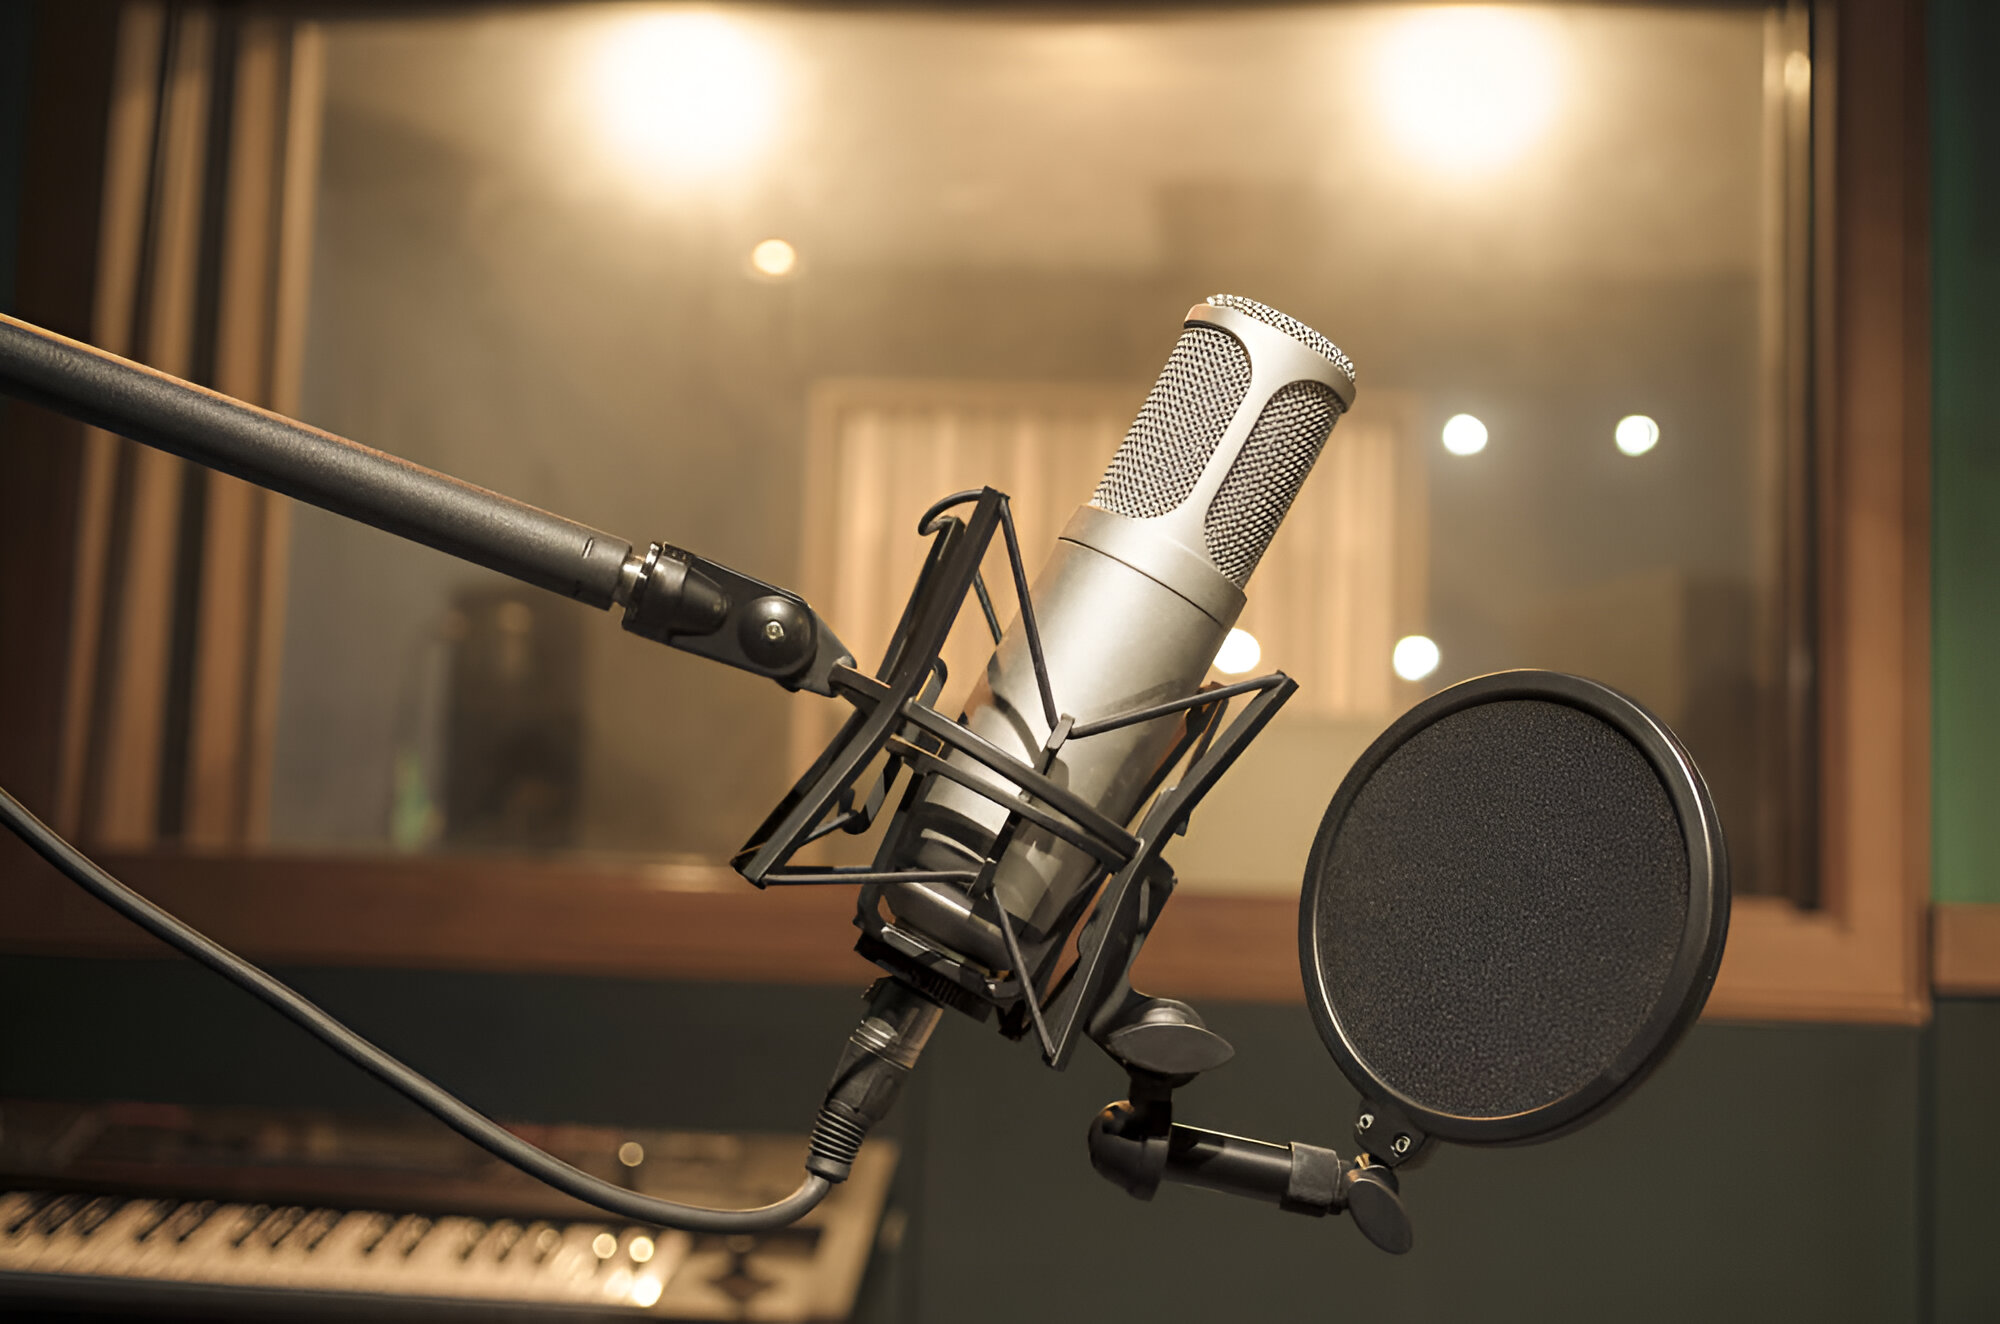
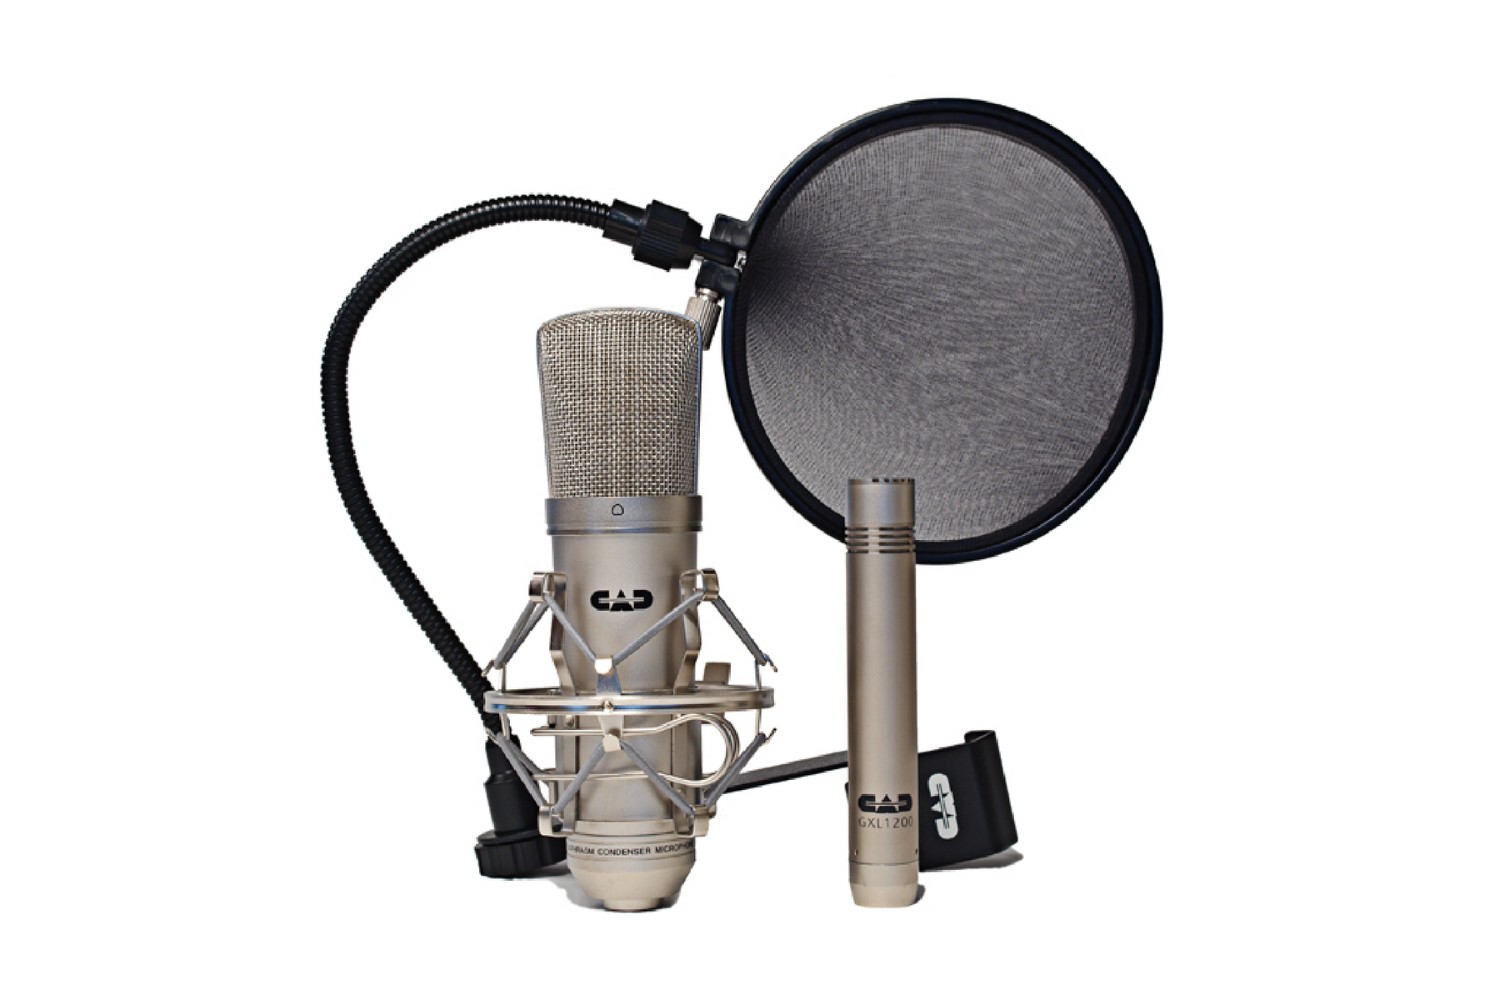
Optimal Microphone Placement
Position the condenser microphone appropriately to capture the desired sound source effectively. For vocal recordings, place the microphone at a suitable distance from the performer to achieve a balanced and clear vocal tone. When recording instruments, experiment with microphone placement to capture the instrument’s natural resonance and tonal characteristics. Additionally, consider using pop filters and shock mounts to minimize plosives and unwanted vibrations, ensuring clean and undistorted recordings.
Environmental Considerations
Choose a conducive recording environment to minimize ambient noise and reverberations. Select quiet spaces with minimal background noise to maintain the clarity of your recordings. If recording in untreated spaces, consider using acoustic panels or portable isolation shields to mitigate undesirable room reflections and enhance the focus of the recorded sound source.
Signal Optimization
Monitor and adjust input gain levels to prevent signal clipping while maximizing the microphone’s signal-to-noise ratio. Avoid overloading the microphone with excessive input levels, which can lead to distortion and compromised audio quality. Additionally, familiarize yourself with the features and settings of your recording app or software to optimize signal processing and achieve a balanced and natural sound representation.
Utilize Headphones for Monitoring
When recording with a condenser microphone connected to a cellphone, use headphones to monitor the audio signal in real time. This allows you to assess the recording levels, identify potential issues, and make necessary adjustments during the recording process. Monitoring the audio signal ensures that you capture clean and well-balanced recordings, minimizing the need for extensive post-production corrections.
Experiment with Recording Techniques
Explore different recording techniques and microphone placements to discover the most flattering and sonically engaging approach for your specific recording needs. Try experimenting with stereo recording techniques for spatial soundscapes, close-miking for intimate vocal performances, and room miking for ambient and immersive recordings. Embrace creativity and adapt recording techniques to suit the unique characteristics of each sound source.
By implementing these tips, you can optimize the sound quality of your condenser microphone recordings on a cellphone, elevating the sonic fidelity and capturing captivating audio with remarkable clarity and depth. Whether you’re recording music, podcasts, or field recordings, these techniques empower you to achieve professional-grade results, transcending the limitations of mobile recording environments.
Conclusion
Connecting a condenser microphone to a cellphone opens up a world of possibilities for creators, musicians, podcasters, and audio enthusiasts. By understanding the intricacies of condenser microphones and leveraging the appropriate connection methods, you can harness the full potential of your microphone for high-quality audio recording on the go.
Whether you opt for an audio interface, a TRRS to TRS adapter, or a USB-C to 3.5mm adapter, each method offers a unique approach to integrating your condenser microphone with your cellphone. The versatility and convenience of these connection options empower you to capture professional-grade audio content anytime, anywhere, without the need for elaborate studio setups.
Furthermore, by implementing tips for optimal microphone placement, environmental considerations, signal optimization, and monitoring, you can elevate the sound quality of your recordings, ensuring that your audio content resonates with clarity and depth.
As technology continues to evolve, the seamless integration of condenser microphones with cellphones represents a paradigm shift in mobile audio production, democratizing access to professional-grade recording capabilities. Whether you’re a musician capturing spontaneous song ideas, a podcaster conducting interviews on the go, or a content creator seeking to elevate the production value of your mobile recordings, the ability to connect a condenser microphone to a cellphone empowers you to unleash your creativity without limitations.
Embrace the versatility and portability of your condenser microphone-cellphone setup, and explore the endless possibilities for creating captivating audio content in diverse recording environments. With the right tools, techniques, and a dash of creativity, you can embark on a transformative audio production journey, bringing your unique sonic vision to life with unparalleled clarity and fidelity.