Introduction
Understanding the Versatility of Condenser Microphones
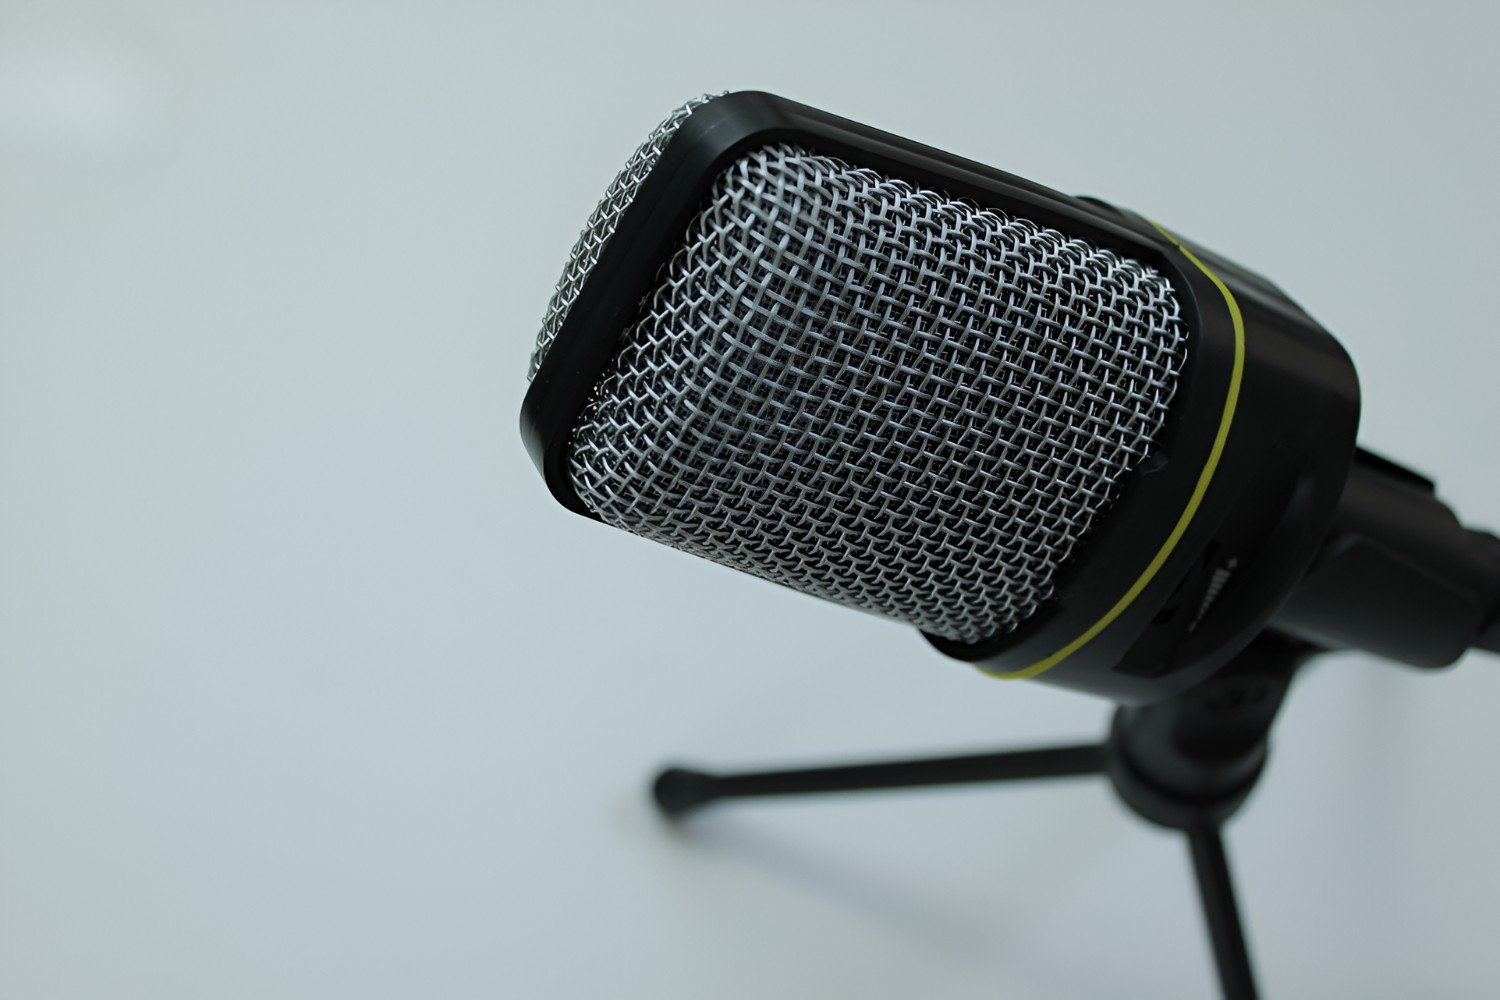
When it comes to capturing high-quality audio, a condenser microphone stands out as a powerful tool in the arsenal of any recording enthusiast or professional. Whether you're a musician, podcaster, voice-over artist, or content creator, a condenser microphone can elevate the quality of your recordings to new heights. This versatile piece of audio equipment is renowned for its ability to capture subtle nuances and deliver crisp, detailed sound reproduction.
Condenser microphones are revered for their sensitivity and wide frequency response, making them ideal for capturing vocals, acoustic instruments, and ambient sounds. Unlike dynamic microphones, which are commonly used for live performances due to their ruggedness and ability to handle high sound pressure levels, condenser microphones excel in capturing the delicate timbres and textures of sound. This makes them a popular choice for studio recordings, podcasts, ASMR content, and more.
In this guide, we'll delve into the world of condenser microphones, exploring how to set them up, position them for optimal performance, and connect them to recording devices. Additionally, we'll provide valuable tips to help you maximize the potential of your condenser microphone and achieve professional-grade audio recordings. Whether you're a seasoned audio engineer or a newcomer to the world of recording, this guide will equip you with the knowledge and techniques to make the most of your condenser microphone. Let's embark on this sonic journey and unlock the full potential of this remarkable audio capture device.
Understanding the Condenser Microphone
Before delving into the practical aspects of using a condenser microphone, it’s essential to grasp the fundamental principles that underpin its operation. Unlike dynamic microphones, which rely on electromagnetic induction to generate an electrical signal, condenser microphones operate on a different principle altogether.
At the heart of a condenser microphone lies a diaphragm, typically made of a thin material such as gold-sputtered Mylar. This diaphragm is positioned in close proximity to a backplate, forming a capacitor. When sound waves reach the diaphragm, it vibrates in response to the incoming acoustic pressure, causing the distance between the diaphragm and the backplate to vary. This variation in distance results in a fluctuation of the capacitance, thereby generating an electrical signal proportional to the sound waves.
One of the defining characteristics of condenser microphones is their sensitivity. Due to the low mass and high compliance of the diaphragm, condenser microphones are capable of capturing subtle details and transients with exceptional clarity. This makes them well-suited for capturing vocals, acoustic instruments, and atmospheric sounds with remarkable fidelity.
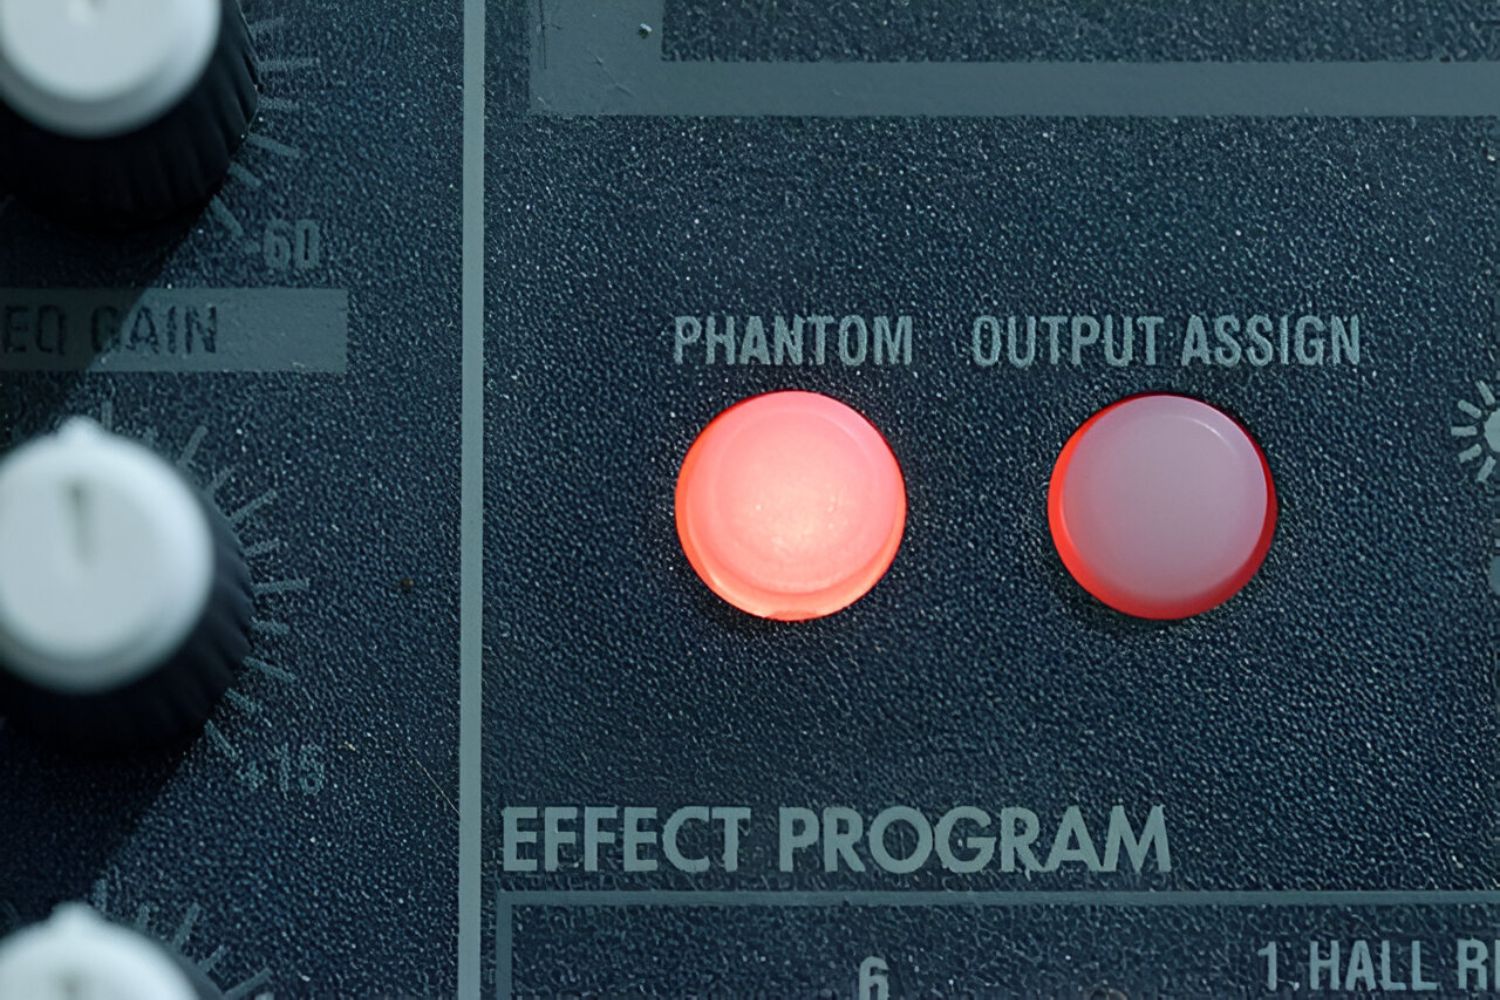
It’s important to note that condenser microphones require power to operate. This power, known as phantom power, is typically supplied through the microphone cable from a mixing console, audio interface, or dedicated power supply. Some condenser microphones feature internal batteries or external power supplies to facilitate their operation.
Additionally, condenser microphones come in two primary variants: large-diaphragm and small-diaphragm. Large-diaphragm condenser microphones are revered for their warm, rich sound and are often favored for vocal recordings and studio applications. On the other hand, small-diaphragm condenser microphones excel in capturing transient details and are commonly used for recording acoustic instruments, drum overheads, and intricate sound sources.
By understanding the inner workings and unique characteristics of condenser microphones, you can harness their capabilities to capture stunning audio with precision and finesse. Now that we’ve laid the groundwork for comprehending condenser microphones, let’s move on to the practical aspects of setting up and using these remarkable audio capture devices.
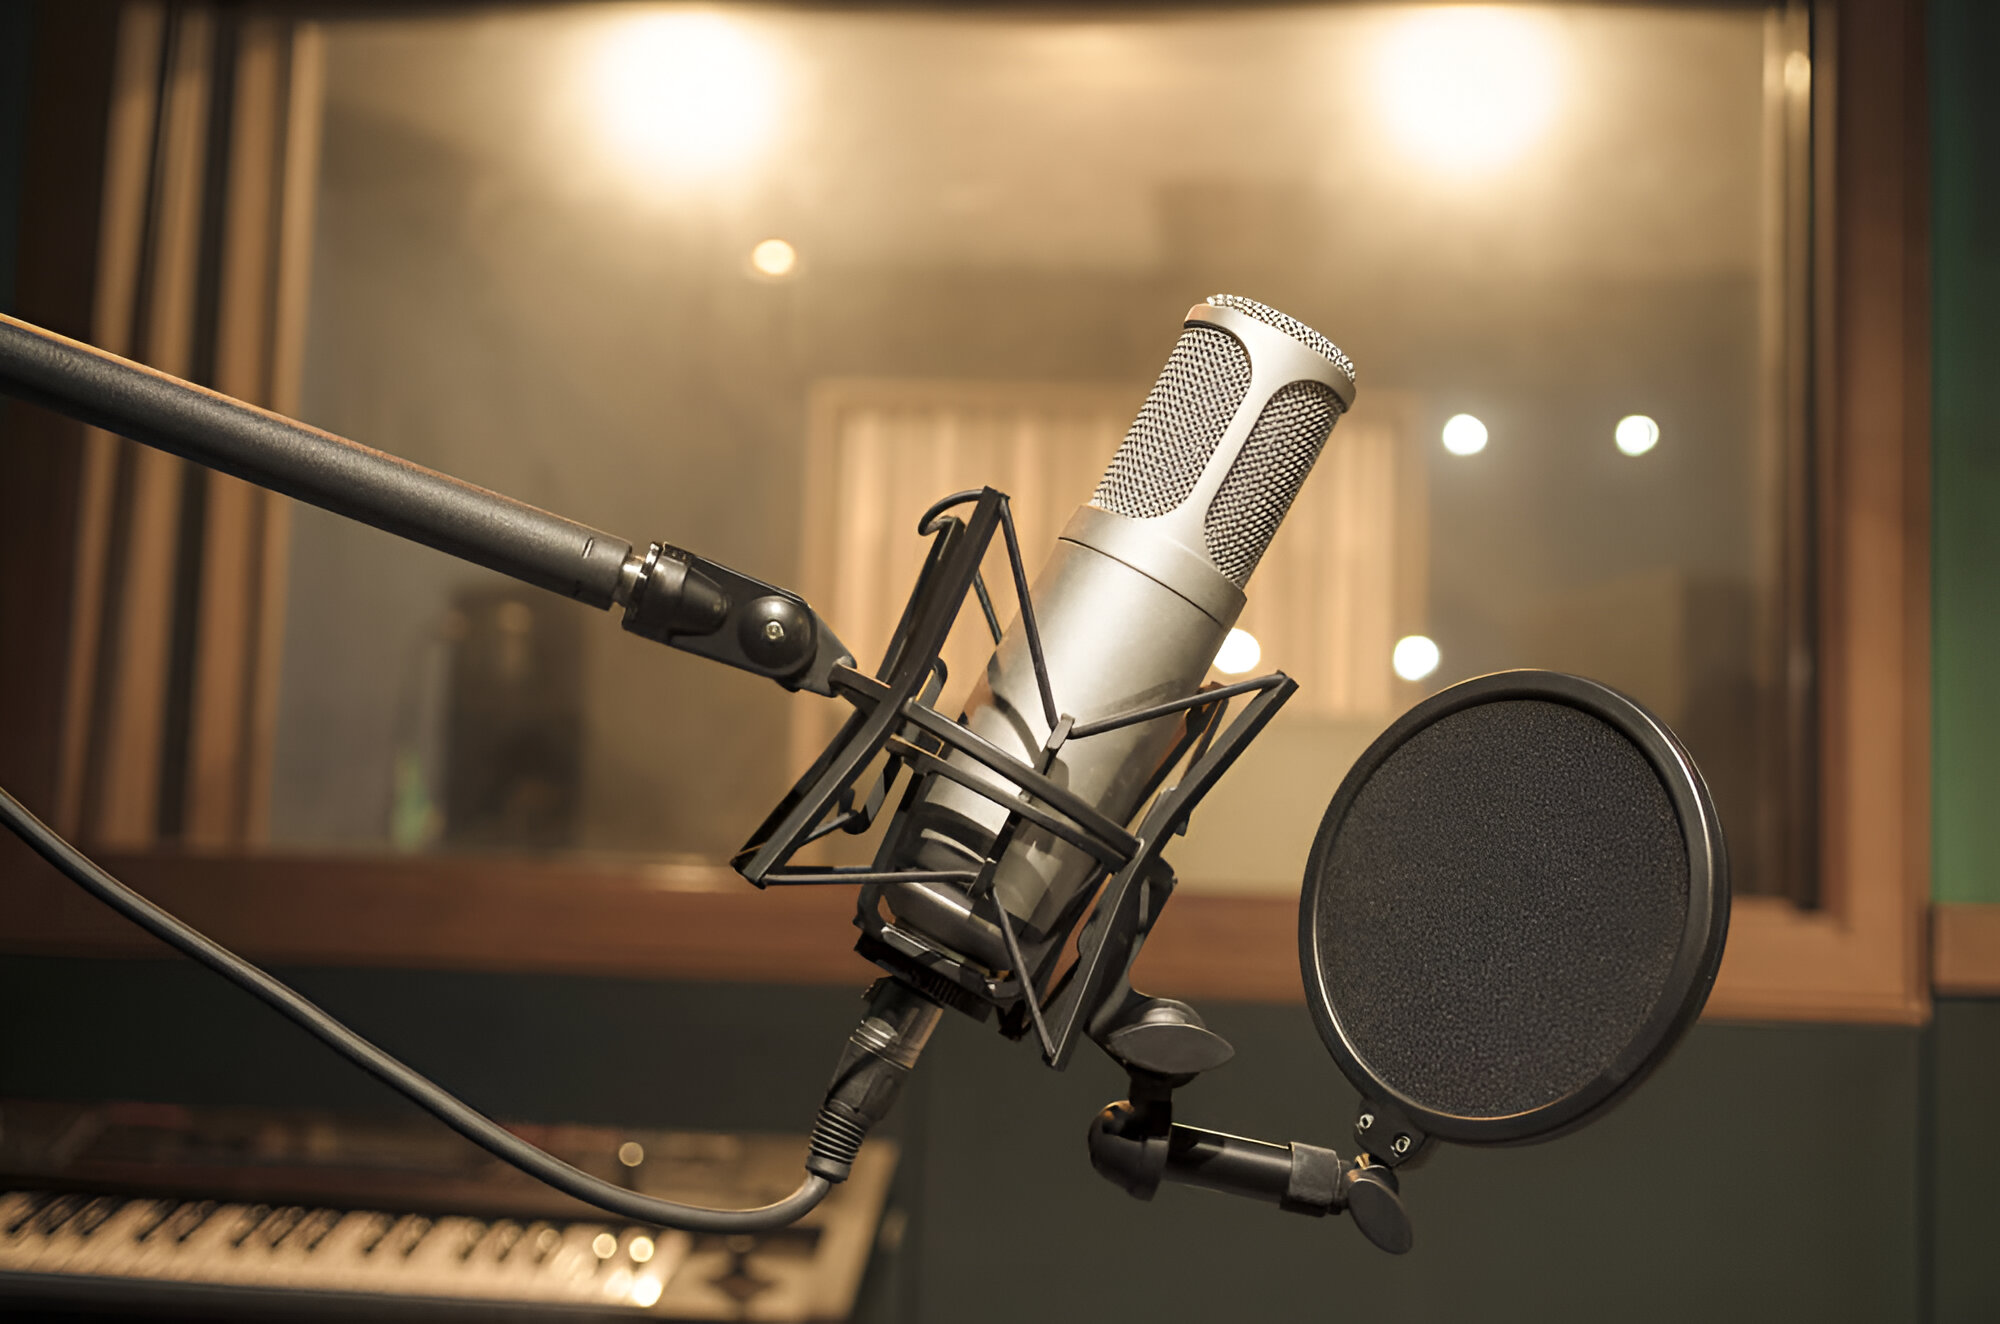
Setting Up the Condenser Microphone
Properly setting up a condenser microphone is crucial to achieving optimal audio quality and ensuring reliable performance. Whether you’re preparing for a vocal recording, podcasting session, or instrumental capture, following the correct setup procedures will lay the foundation for exceptional sound reproduction.
First and foremost, it’s essential to choose an appropriate location for your recording setup. Select a quiet environment with minimal background noise and acoustic reflections to ensure clean and clear recordings. If possible, consider using acoustic treatment such as sound-absorbing panels or portable isolation shields to minimize unwanted room reflections and reverberations.
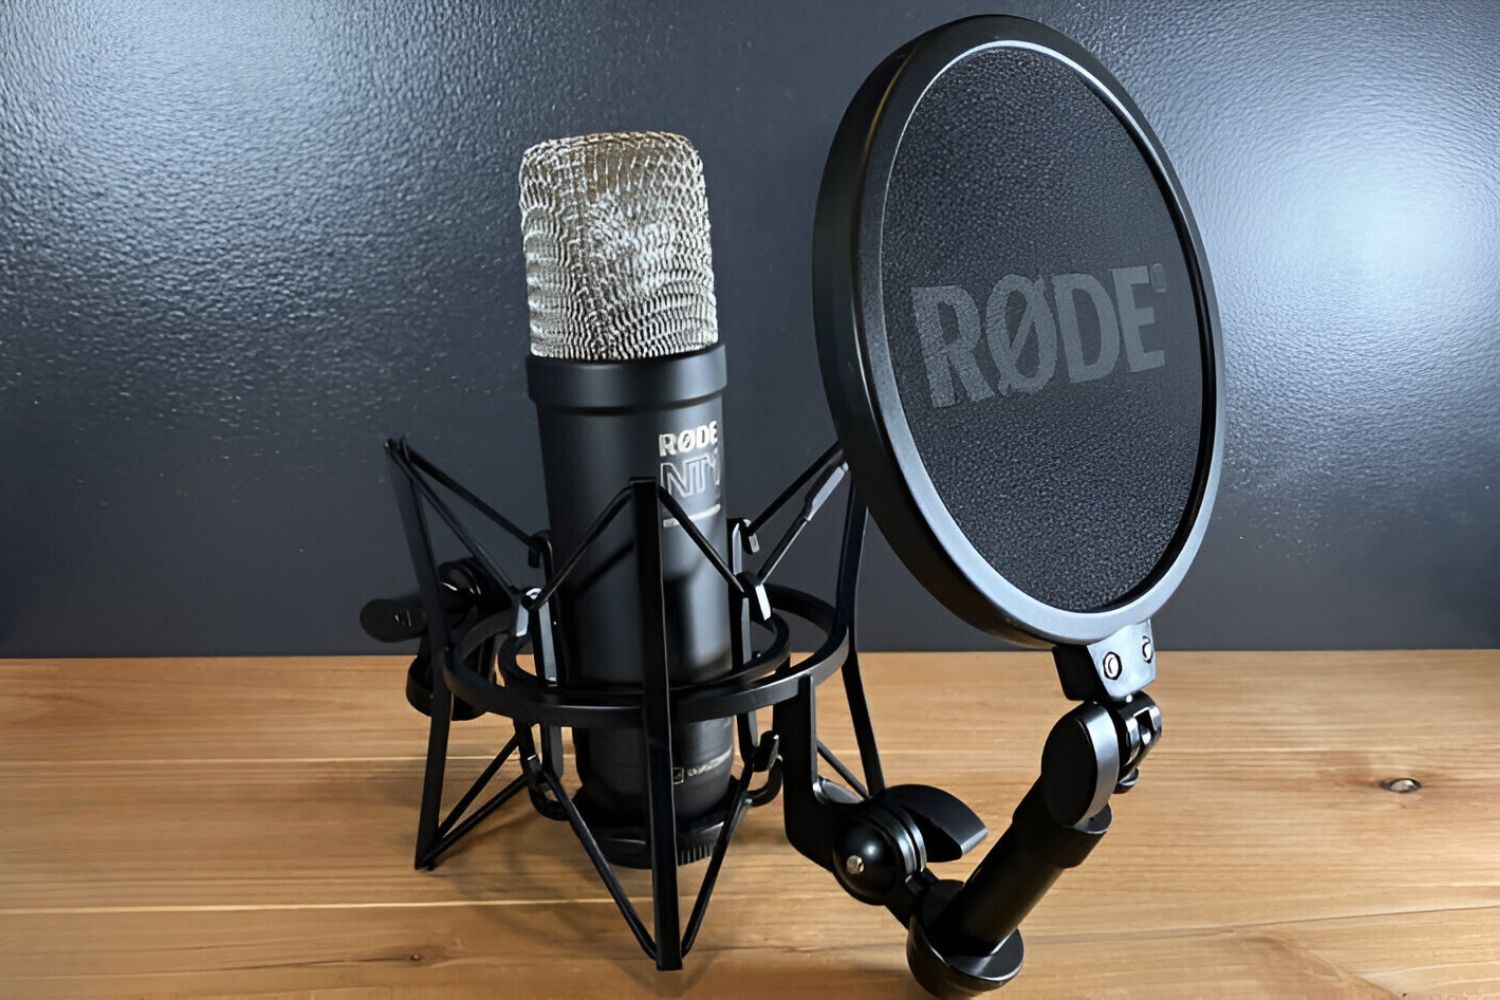
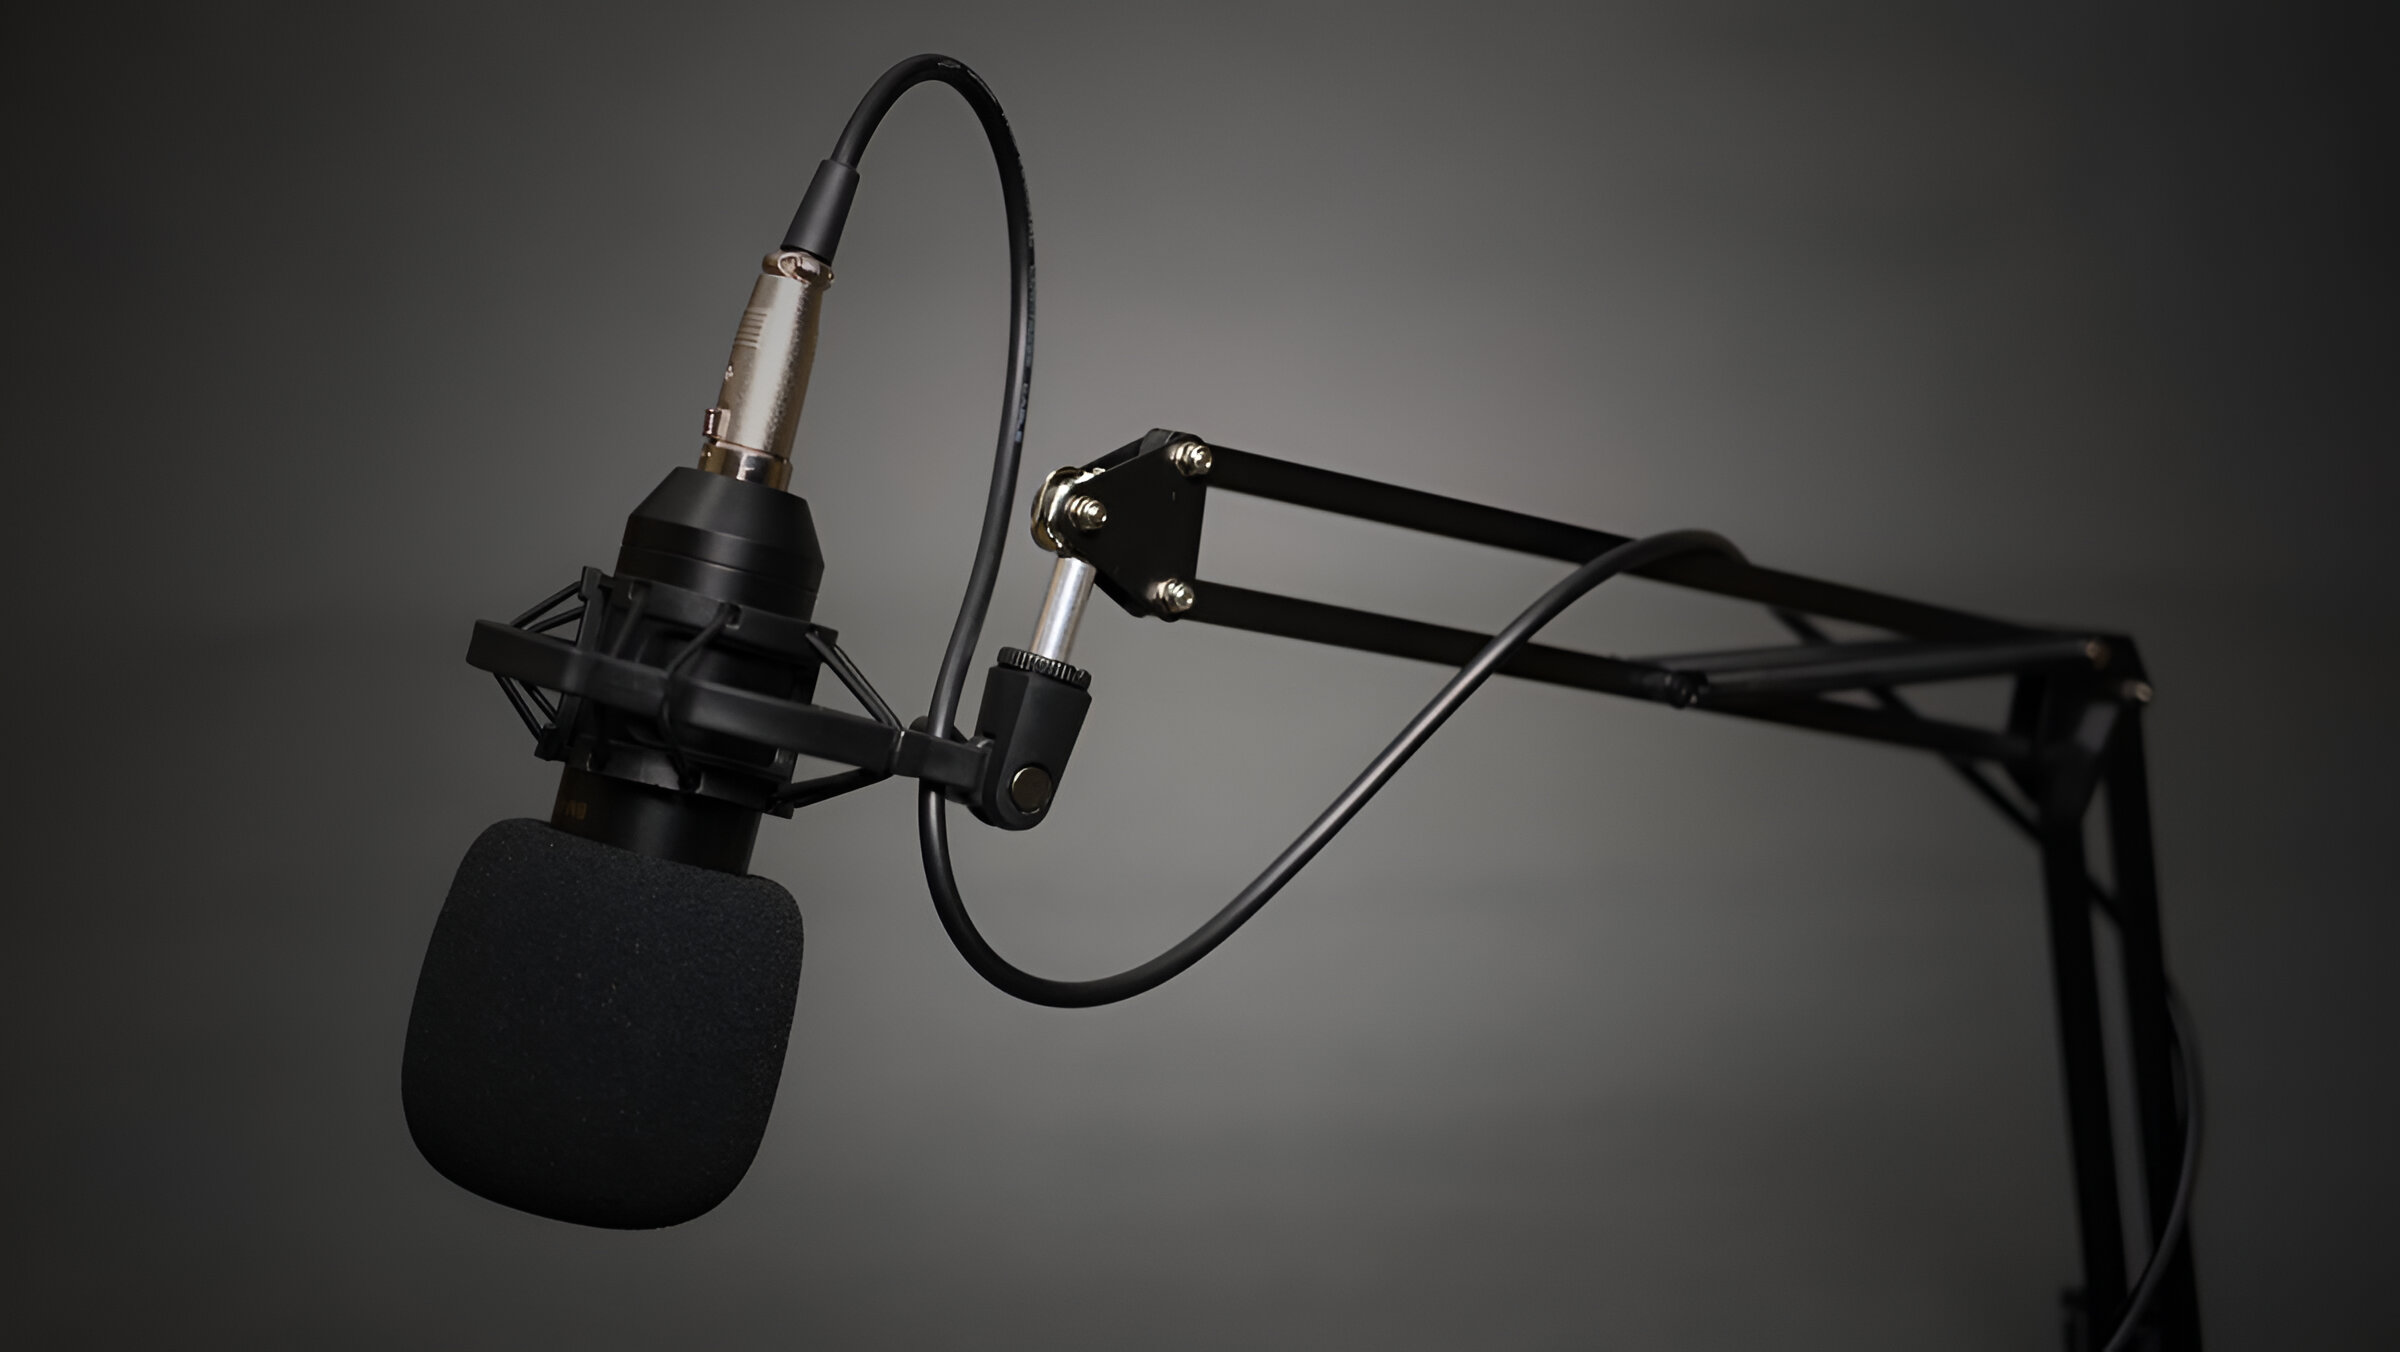
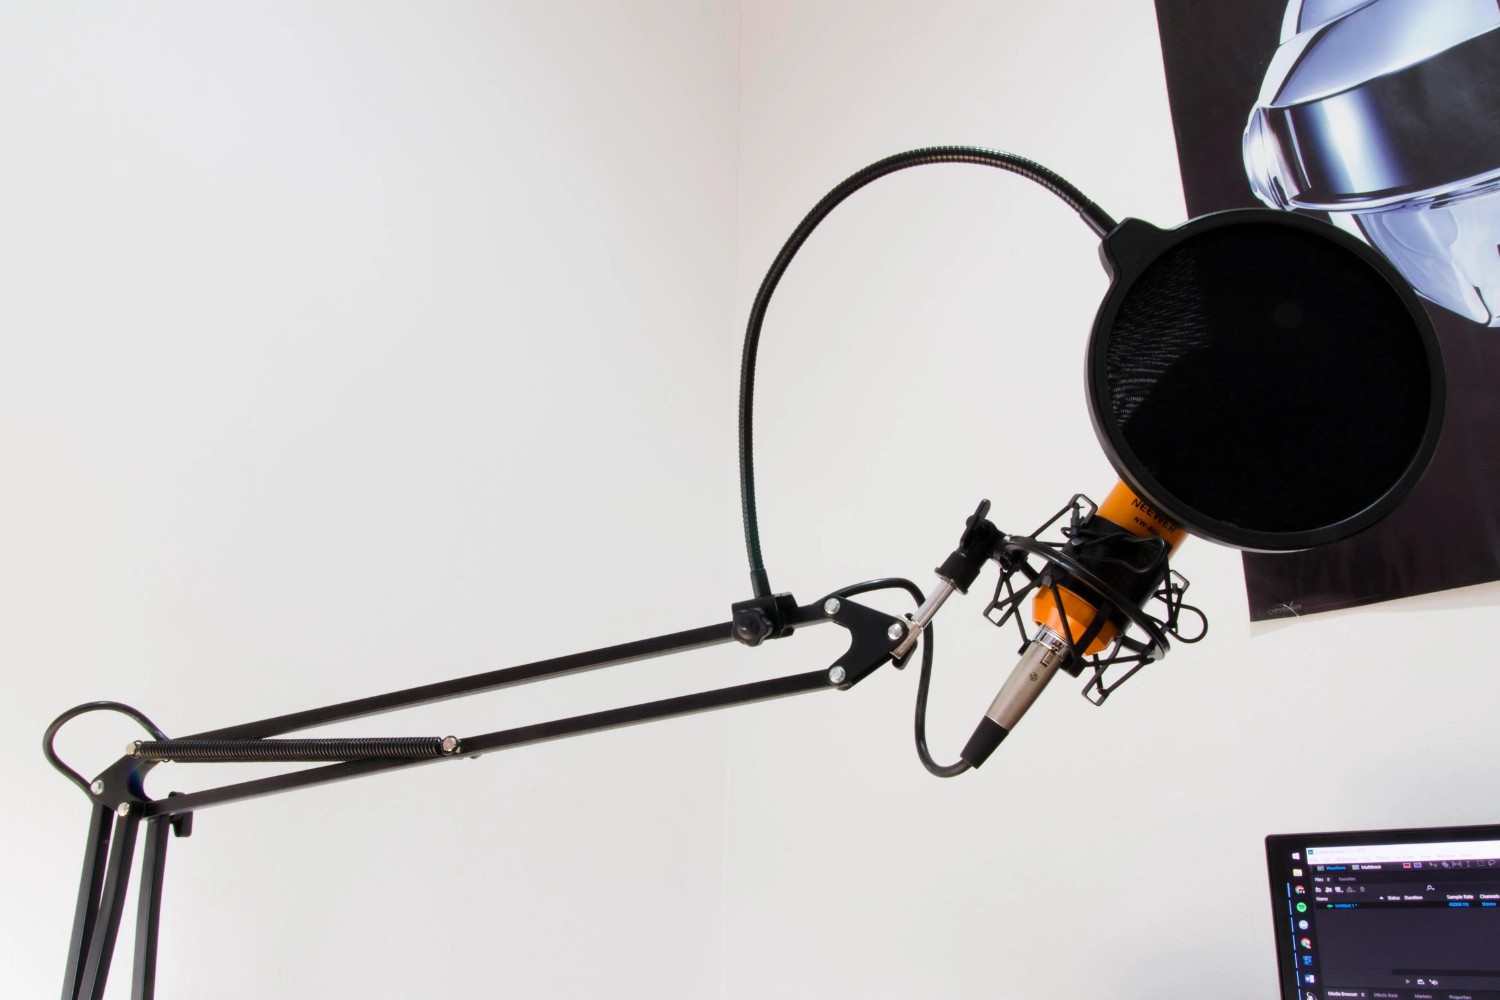
Next, mount the condenser microphone on a stable and adjustable microphone stand. Position the microphone at an appropriate height and angle to suit the recording scenario. For vocal recordings, the microphone should be placed at a comfortable distance from the performer, typically around 6 to 12 inches, and angled slightly off-axis to minimize plosives and sibilance.
When setting up a large-diaphragm condenser microphone for vocal recording, positioning the microphone slightly below the performer’s mouth and angling it upwards toward the chin can help capture a balanced and natural vocal tone. For small-diaphragm condenser microphones used for instrument recording, such as acoustic guitars or pianos, experimentation with placement and orientation can yield optimal results.
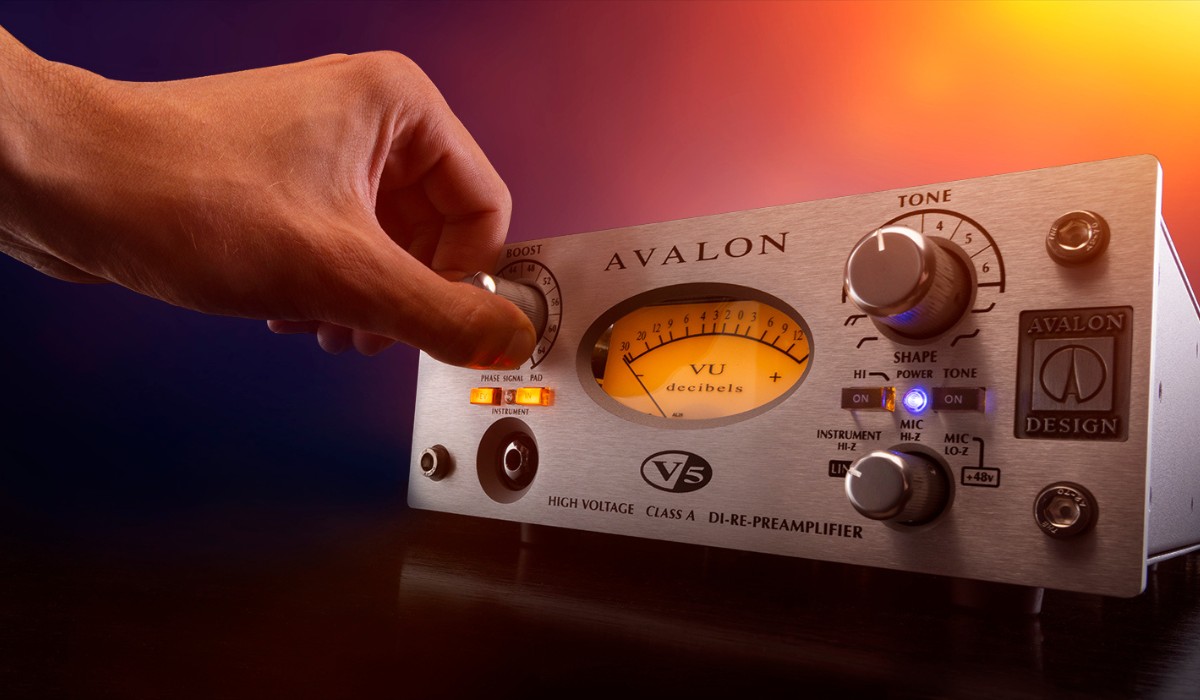
Once the microphone is securely positioned, connect it to a reliable microphone preamplifier or audio interface using a high-quality XLR cable. Ensure that the phantom power feature, if required by the microphone, is activated on the preamplifier or audio interface. Phantom power is essential for energizing the condenser microphone’s internal circuitry and enabling it to function properly.
After the physical setup is complete, it’s advisable to perform a sound check to verify the microphone’s functionality and assess the audio levels. Use headphones connected to the audio interface or monitoring system to listen to the microphone’s output and make any necessary adjustments to the input gain and monitoring levels.
By meticulously setting up your condenser microphone and paying attention to crucial details such as environmental factors, microphone positioning, and equipment connectivity, you can create an optimal recording environment that paves the way for exceptional audio capture. With the microphone now poised for action, the next step is to explore the art of positioning the condenser microphone to capture sound with finesse and precision.
Positioning the Condenser Microphone
Effective microphone positioning is a critical aspect of capturing high-quality audio with a condenser microphone. The placement of the microphone relative to the sound source significantly influences the tonal characteristics, presence, and spatial imaging of the recorded sound. Whether you’re recording vocals, acoustic instruments, or ambient sounds, mastering the art of microphone positioning is essential for achieving professional-grade audio recordings.
When positioning a condenser microphone for vocal recordings, it’s essential to consider the proximity effect, which refers to the increase in bass response when the microphone is placed close to the sound source. This phenomenon can be leveraged to add warmth and depth to vocal recordings. By positioning the microphone closer to the performer, you can enhance the low-frequency presence and impart a sense of intimacy to the vocal performance. However, it’s crucial to monitor and adjust the proximity effect to maintain a balanced and natural tonal character.
For instrumental recordings, such as acoustic guitars, pianos, or percussion instruments, the microphone’s positioning plays a pivotal role in capturing the nuances and timbral richness of the sound source. When recording acoustic guitars, placing a small-diaphragm condenser microphone near the 12th fret or around the sound hole can yield a balanced tonal representation with clarity and articulation. Experimenting with different microphone placements and orientations can help you discover the optimal positioning for capturing the desired sonic qualities.
When recording ensembles or capturing ambient sounds, employing stereo microphone techniques, such as the spaced pair or coincident pair configuration, can create a sense of spaciousness and depth in the recordings. These techniques involve using two condenser microphones positioned strategically to capture the stereo image of the sound source, resulting in immersive and lifelike recordings that convey a sense of dimension and realism.
It’s important to note that room acoustics and ambient sound characteristics also influence microphone positioning. In environments with pronounced reverberation or ambient noise, adjusting the microphone placement and employing acoustic treatment can help mitigate unwanted sonic artifacts and enhance the clarity of the recordings.
By mastering the art of microphone positioning and leveraging the inherent characteristics of condenser microphones, you can elevate the sonic quality of your recordings and imbue them with depth, clarity, and expressive detail. With the microphone expertly positioned to capture the essence of the sound source, the next step is to seamlessly connect the condenser microphone to a recording device to unleash its full potential.
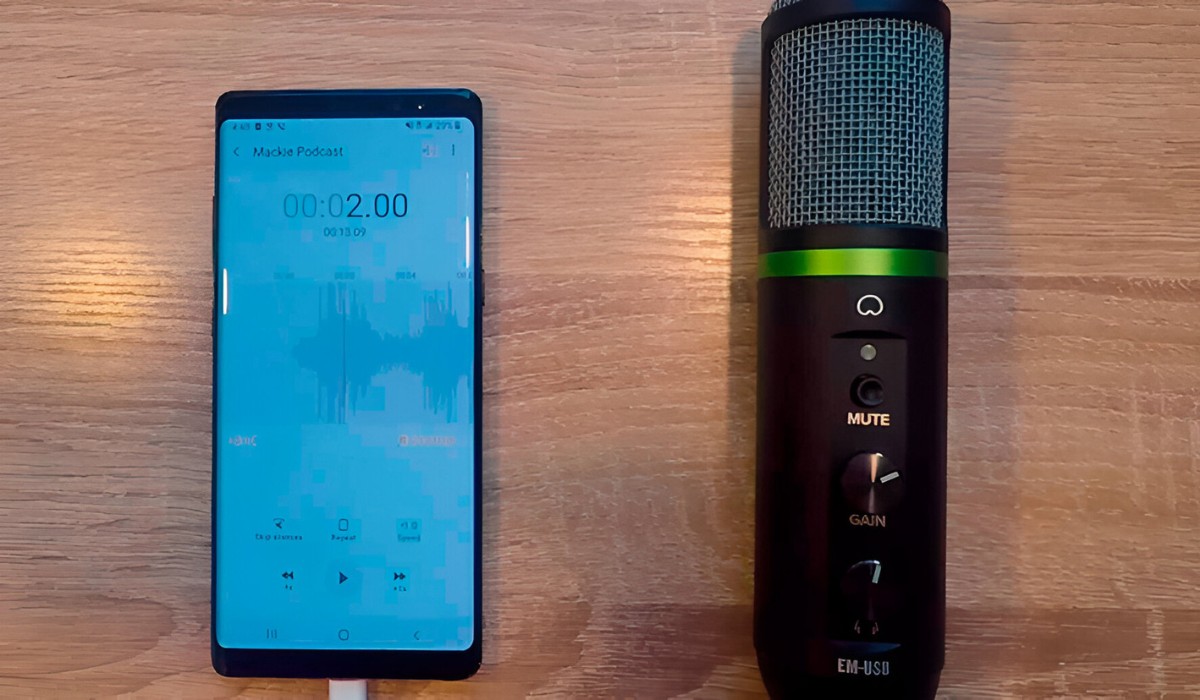
Connecting the Condenser Microphone to a Recording Device
Once the condenser microphone is meticulously positioned and ready to capture pristine audio, the next crucial step is to establish a seamless connection between the microphone and a recording device. Whether you’re using a dedicated audio interface, a mixing console, or a portable recorder, ensuring a reliable and high-fidelity connection is essential for preserving the integrity of the captured audio and facilitating a smooth recording process.
The most common method of connecting a condenser microphone to a recording device involves using an XLR cable. XLR cables are renowned for their balanced connectivity, which minimizes electromagnetic interference and ensures a clean and robust signal transmission. When connecting the microphone to an audio interface or mixing console, locate the XLR input designated for the microphone and securely plug in the XLR cable, ensuring a snug and stable connection.
It’s important to note that condenser microphones, particularly those with large diaphragms, often require phantom power to operate. Phantom power, typically supplied at +48 volts, energizes the microphone’s internal circuitry and enables it to function optimally. Ensure that the recording device, whether it’s an audio interface or a mixing console, is equipped with phantom power capabilities and that the feature is activated before connecting the condenser microphone.
When using a portable recorder or handheld device to capture audio, check if the device provides the necessary phantom power for the condenser microphone. Some portable recorders feature built-in phantom power, while others may require an external phantom power supply or battery-powered preamplifier to accommodate condenser microphones.
Before initiating the recording process, it’s advisable to perform a quick sound check to verify the connectivity and functionality of the microphone. Monitor the microphone’s output through headphones connected to the recording device and ensure that the audio levels are optimal, with no distortion or excessive noise. Adjust the input gain on the recording device to achieve a healthy signal level without overloading the input stage.
Additionally, if you’re using an audio interface or mixing console with multiple input channels, label the input corresponding to the condenser microphone to maintain organization and streamline the recording workflow. This simple yet effective practice can prevent confusion and ensure that the microphone’s signal is routed to the intended recording channel.
By establishing a secure and properly configured connection between the condenser microphone and the recording device, you can embark on a recording session with confidence, knowing that your audio capture chain is optimized for exceptional sound quality and reliability. With the microphone seamlessly integrated into the recording setup, it’s time to explore valuable tips for harnessing the full potential of the condenser microphone and refining your recording techniques.
Tips for Using a Condenser Microphone
Mastering the art of using a condenser microphone entails more than just technical proficiency—it involves leveraging creative techniques and best practices to extract the full potential of this versatile audio capture device. Whether you’re embarking on vocal recordings, acoustic instrument captures, or ambient soundscapes, the following tips will empower you to elevate your recordings and achieve professional-grade audio quality.
- Experiment with Microphone Placement: Don’t hesitate to explore different microphone placements and orientations to discover the optimal positioning for capturing the desired tonal qualities. Small adjustments in microphone placement can yield significant sonic improvements, so take the time to experiment and fine-tune the microphone’s position.
- Utilize Pop Filters and Windscreens: When recording vocals or close-miked instruments, employing a pop filter or windscreen can effectively mitigate plosives and sibilance, resulting in cleaner and more intelligible recordings. These accessories help minimize the impact of strong plosive sounds and high-frequency bursts, enhancing the overall clarity of the captured audio.
- Monitor Room Acoustics: Be mindful of the acoustic characteristics of the recording environment. If the room exhibits excessive reverberation or unwanted reflections, consider implementing acoustic treatment such as sound-absorbing panels or portable baffles to create a more controlled and acoustically neutral recording space.
- Employ Stereo Microphone Techniques: For capturing immersive stereo recordings, explore stereo microphone techniques such as the XY configuration or mid-side (M-S) setup. These techniques enable you to capture a sense of spatial depth and dimension, making them ideal for recording ensembles, live performances, and environmental sounds.
- Optimize Input Gain: Pay close attention to the input gain settings on your recording device to ensure that the microphone signal is robust and free from distortion. Adjust the input gain to achieve an optimal signal level without overloading the input stage, allowing for a clean and dynamic audio capture.
- Warm Up the Microphone: Prior to critical recording sessions, allow the condenser microphone to warm up for a few minutes. This practice can stabilize the microphone’s internal components and ensure consistent performance, particularly in environments with fluctuating temperature and humidity.
- Monitor Signal Levels: Continuously monitor the microphone’s output levels during recording to detect any anomalies or irregularities. Keep an eye on the signal indicators on your recording device and make adjustments as needed to maintain a healthy signal level without clipping or distortion.
- Engage in Active Listening: While recording, actively listen to the microphone’s output through headphones or studio monitors. Focus on capturing nuanced details, expressive dynamics, and tonal richness, allowing for adjustments in real time to achieve the desired sonic character.
By incorporating these tips into your recording practices, you can harness the full potential of the condenser microphone and unlock a world of sonic possibilities. Whether you’re pursuing artistic expression or striving for sonic precision, these techniques will empower you to achieve remarkable audio recordings that captivate and inspire listeners.
Conclusion
As we conclude our exploration of using condenser microphones, it’s evident that these remarkable audio capture devices offer a wealth of creative potential and technical versatility. From their sensitivity and wide frequency response to their ability to capture intricate sonic details, condenser microphones stand as indispensable tools for recording vocals, acoustic instruments, and ambient soundscapes with exceptional fidelity and nuance.
By understanding the fundamental principles that govern condenser microphone operation and mastering the art of setting up, positioning, and connecting these microphones, recording enthusiasts and professionals alike can create an optimal environment for capturing pristine audio. The meticulous attention to detail in microphone placement, environmental considerations, and signal chain configuration paves the way for exceptional sound quality and expressive recordings that resonate with depth and clarity.
Furthermore, the tips and techniques shared for utilizing condenser microphones provide valuable insights into harnessing the full potential of these devices. From experimenting with microphone placement to employing stereo recording techniques and optimizing input gain, these practices empower recording enthusiasts to refine their craft and achieve professional-grade audio results.
As you embark on your journey of using condenser microphones, remember that each recording session presents an opportunity for artistic expression and sonic exploration. Embrace the creative possibilities that condenser microphones offer, and allow their precision and sensitivity to elevate your recordings to new heights.
Whether you’re capturing the intimate nuances of a vocal performance, the resonant tones of an acoustic instrument, or the immersive ambiance of a natural environment, the condenser microphone serves as a steadfast companion in your quest for sonic excellence. With dedication, creativity, and a deep appreciation for the art of audio capture, you can harness the full potential of condenser microphones and craft recordings that captivate and inspire audiences.