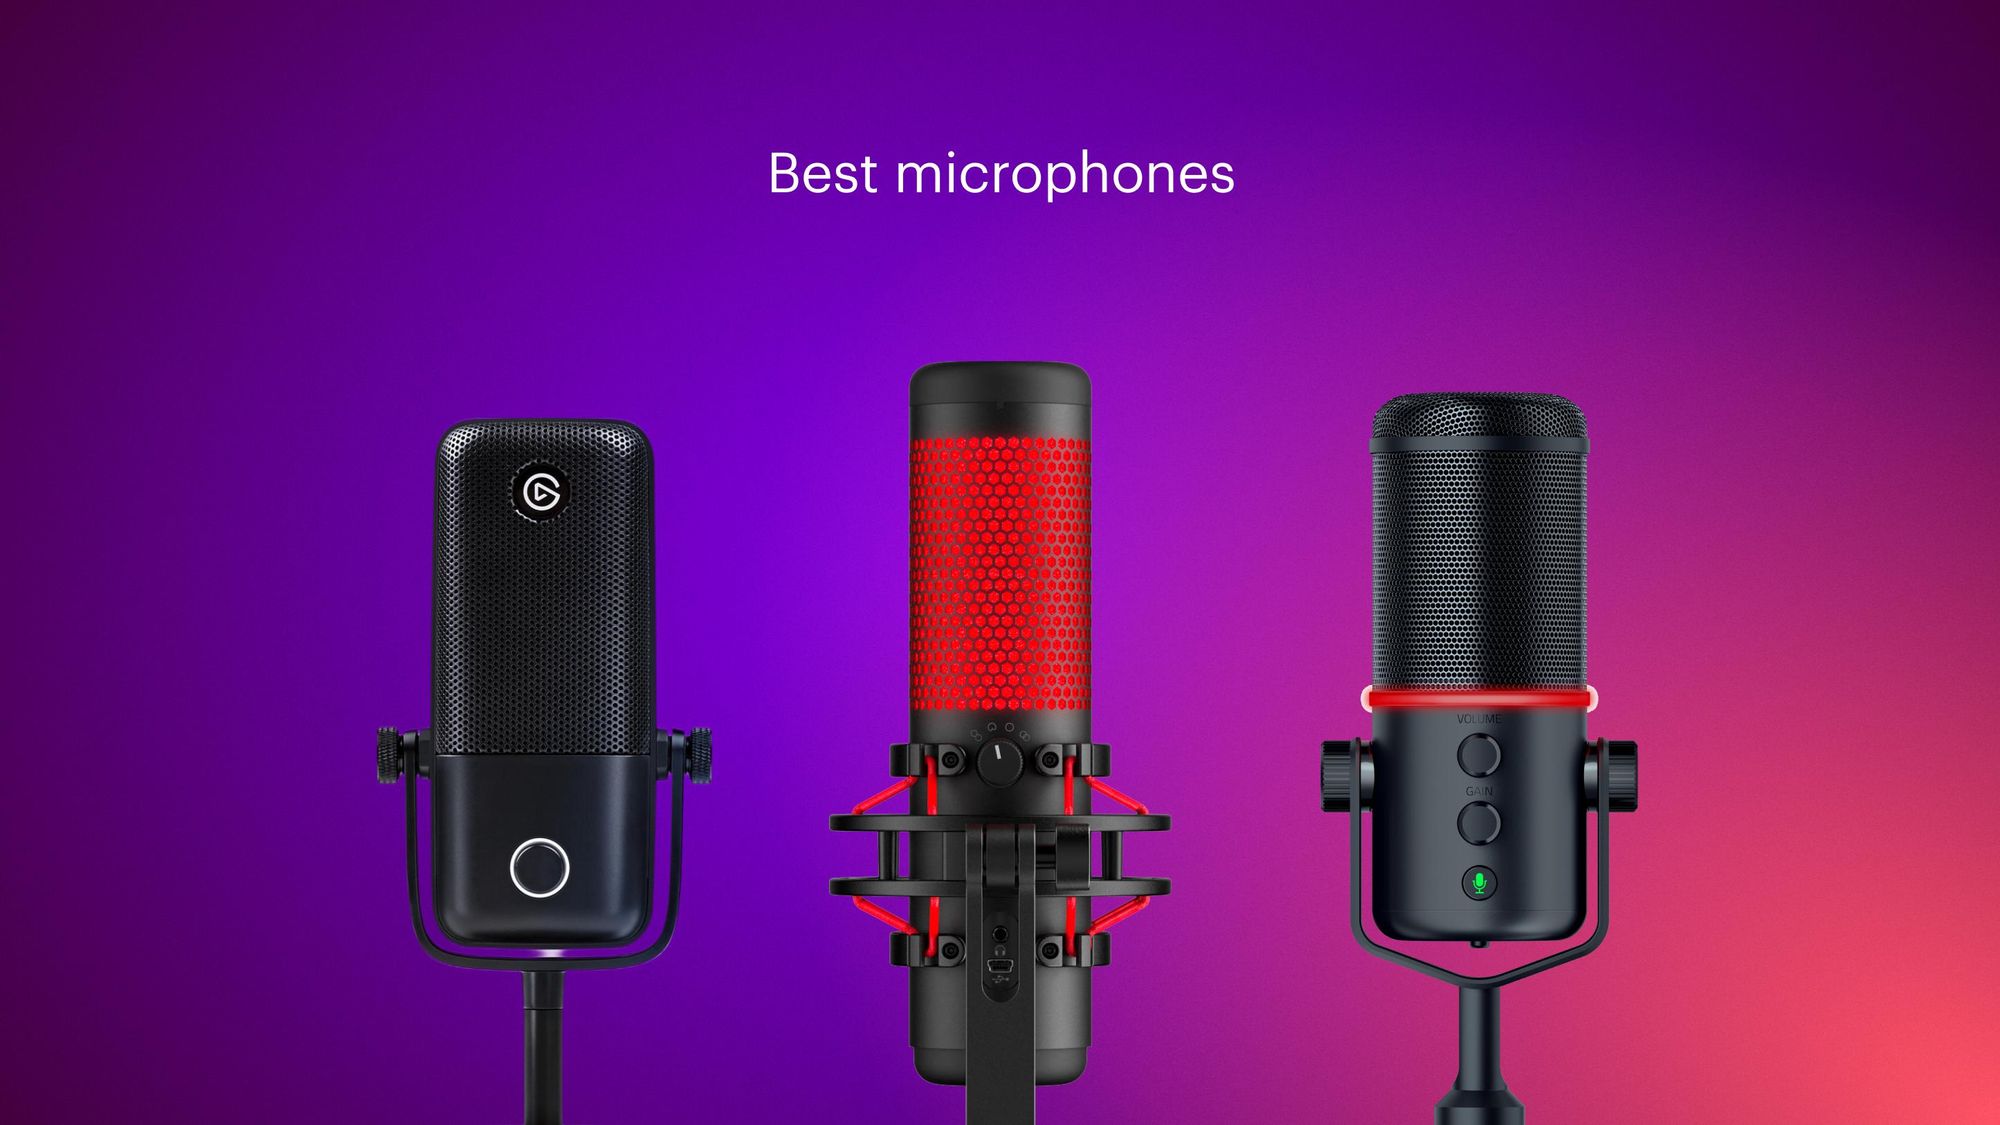
Introduction
So, you've decided to take the plunge and build your own condenser microphone. Congratulations! This endeavor will not only provide you with a deeper understanding of audio technology but also allow you to customize your microphone to suit your unique preferences. Building a condenser microphone from scratch can be a rewarding and enlightening experience, as it entails understanding the intricate components that contribute to capturing high-quality sound.
In this guide, we will walk you through the step-by-step process of building a condenser microphone, from understanding the essential components to testing and troubleshooting the final product. By the end of this journey, you will have a fully functional condenser microphone that you can proudly call your own.
Building a condenser microphone is a blend of art and science. It involves understanding the principles of acoustics, electronics, and craftsmanship. This project will not only provide you with a functional tool for capturing audio but also deepen your appreciation for the complexities involved in creating professional-grade recording equipment.
Whether you're a hobbyist, a musician, a content creator, or simply an audio enthusiast, the knowledge and skills gained from this endeavor will undoubtedly enrich your understanding of sound capture and reproduction. So, roll up your sleeves, gather your tools, and let's embark on this exciting journey of building your very own condenser microphone.
Understanding the Components
Before delving into the construction process, it’s crucial to comprehend the fundamental components that constitute a condenser microphone. These components work in harmony to capture sound waves and convert them into electrical signals. Understanding each part’s role will provide you with the necessary insight to assemble a functional microphone.
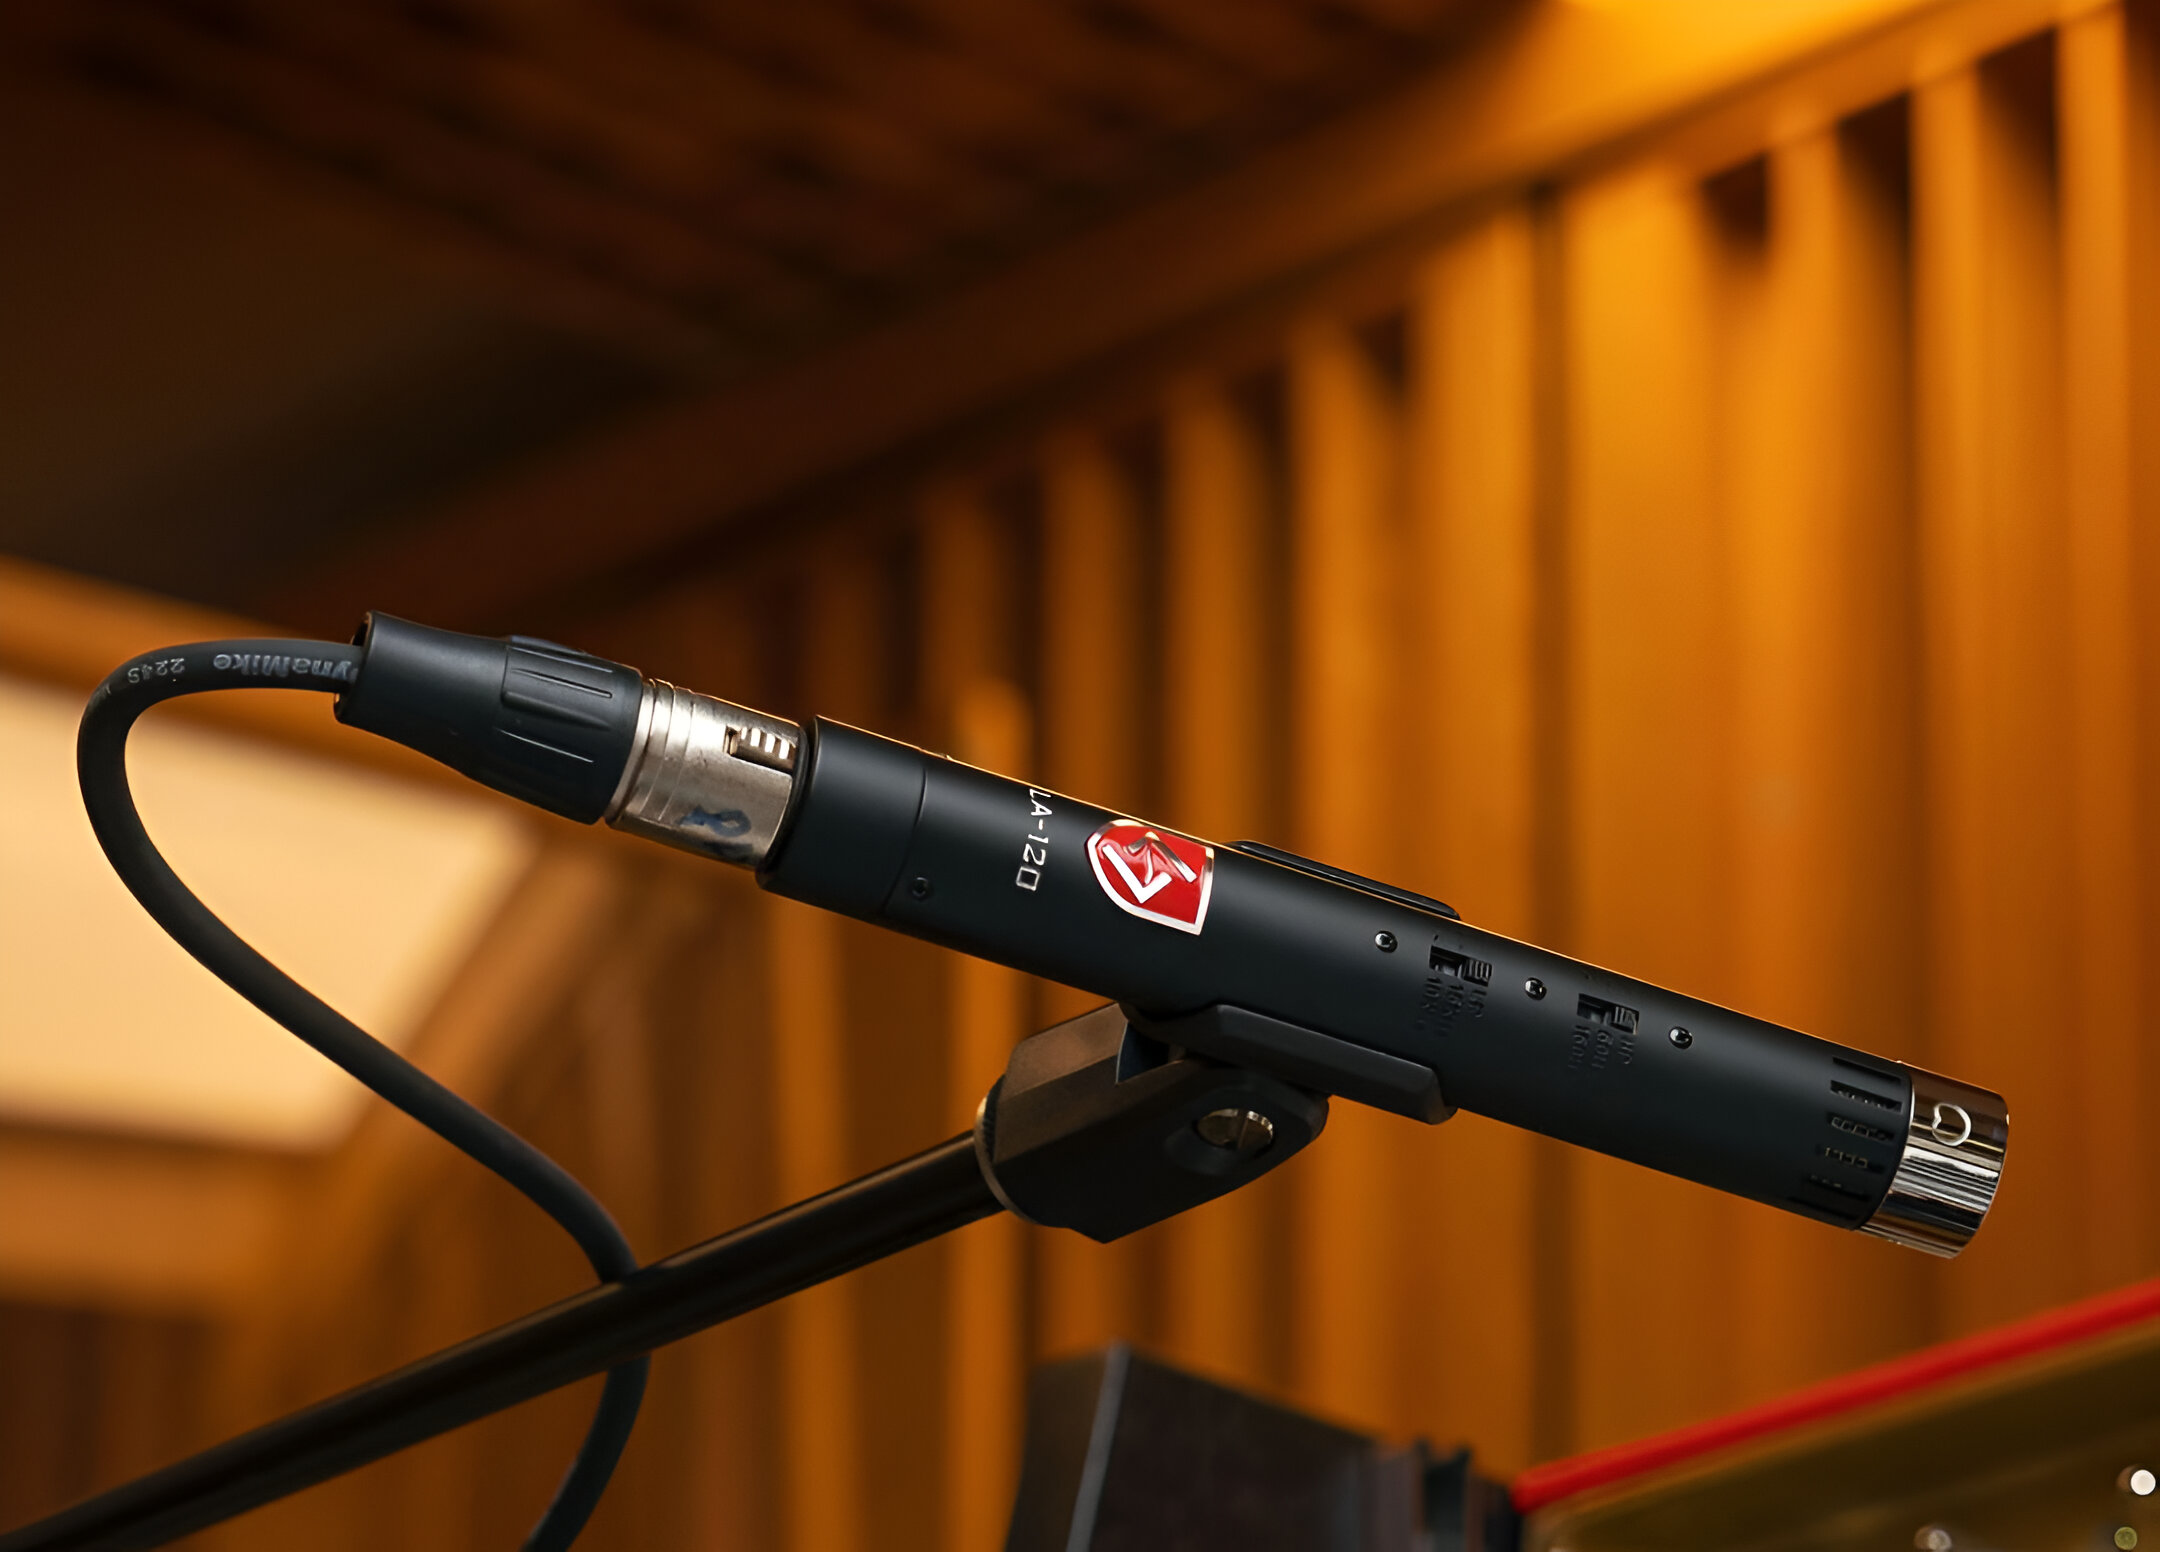
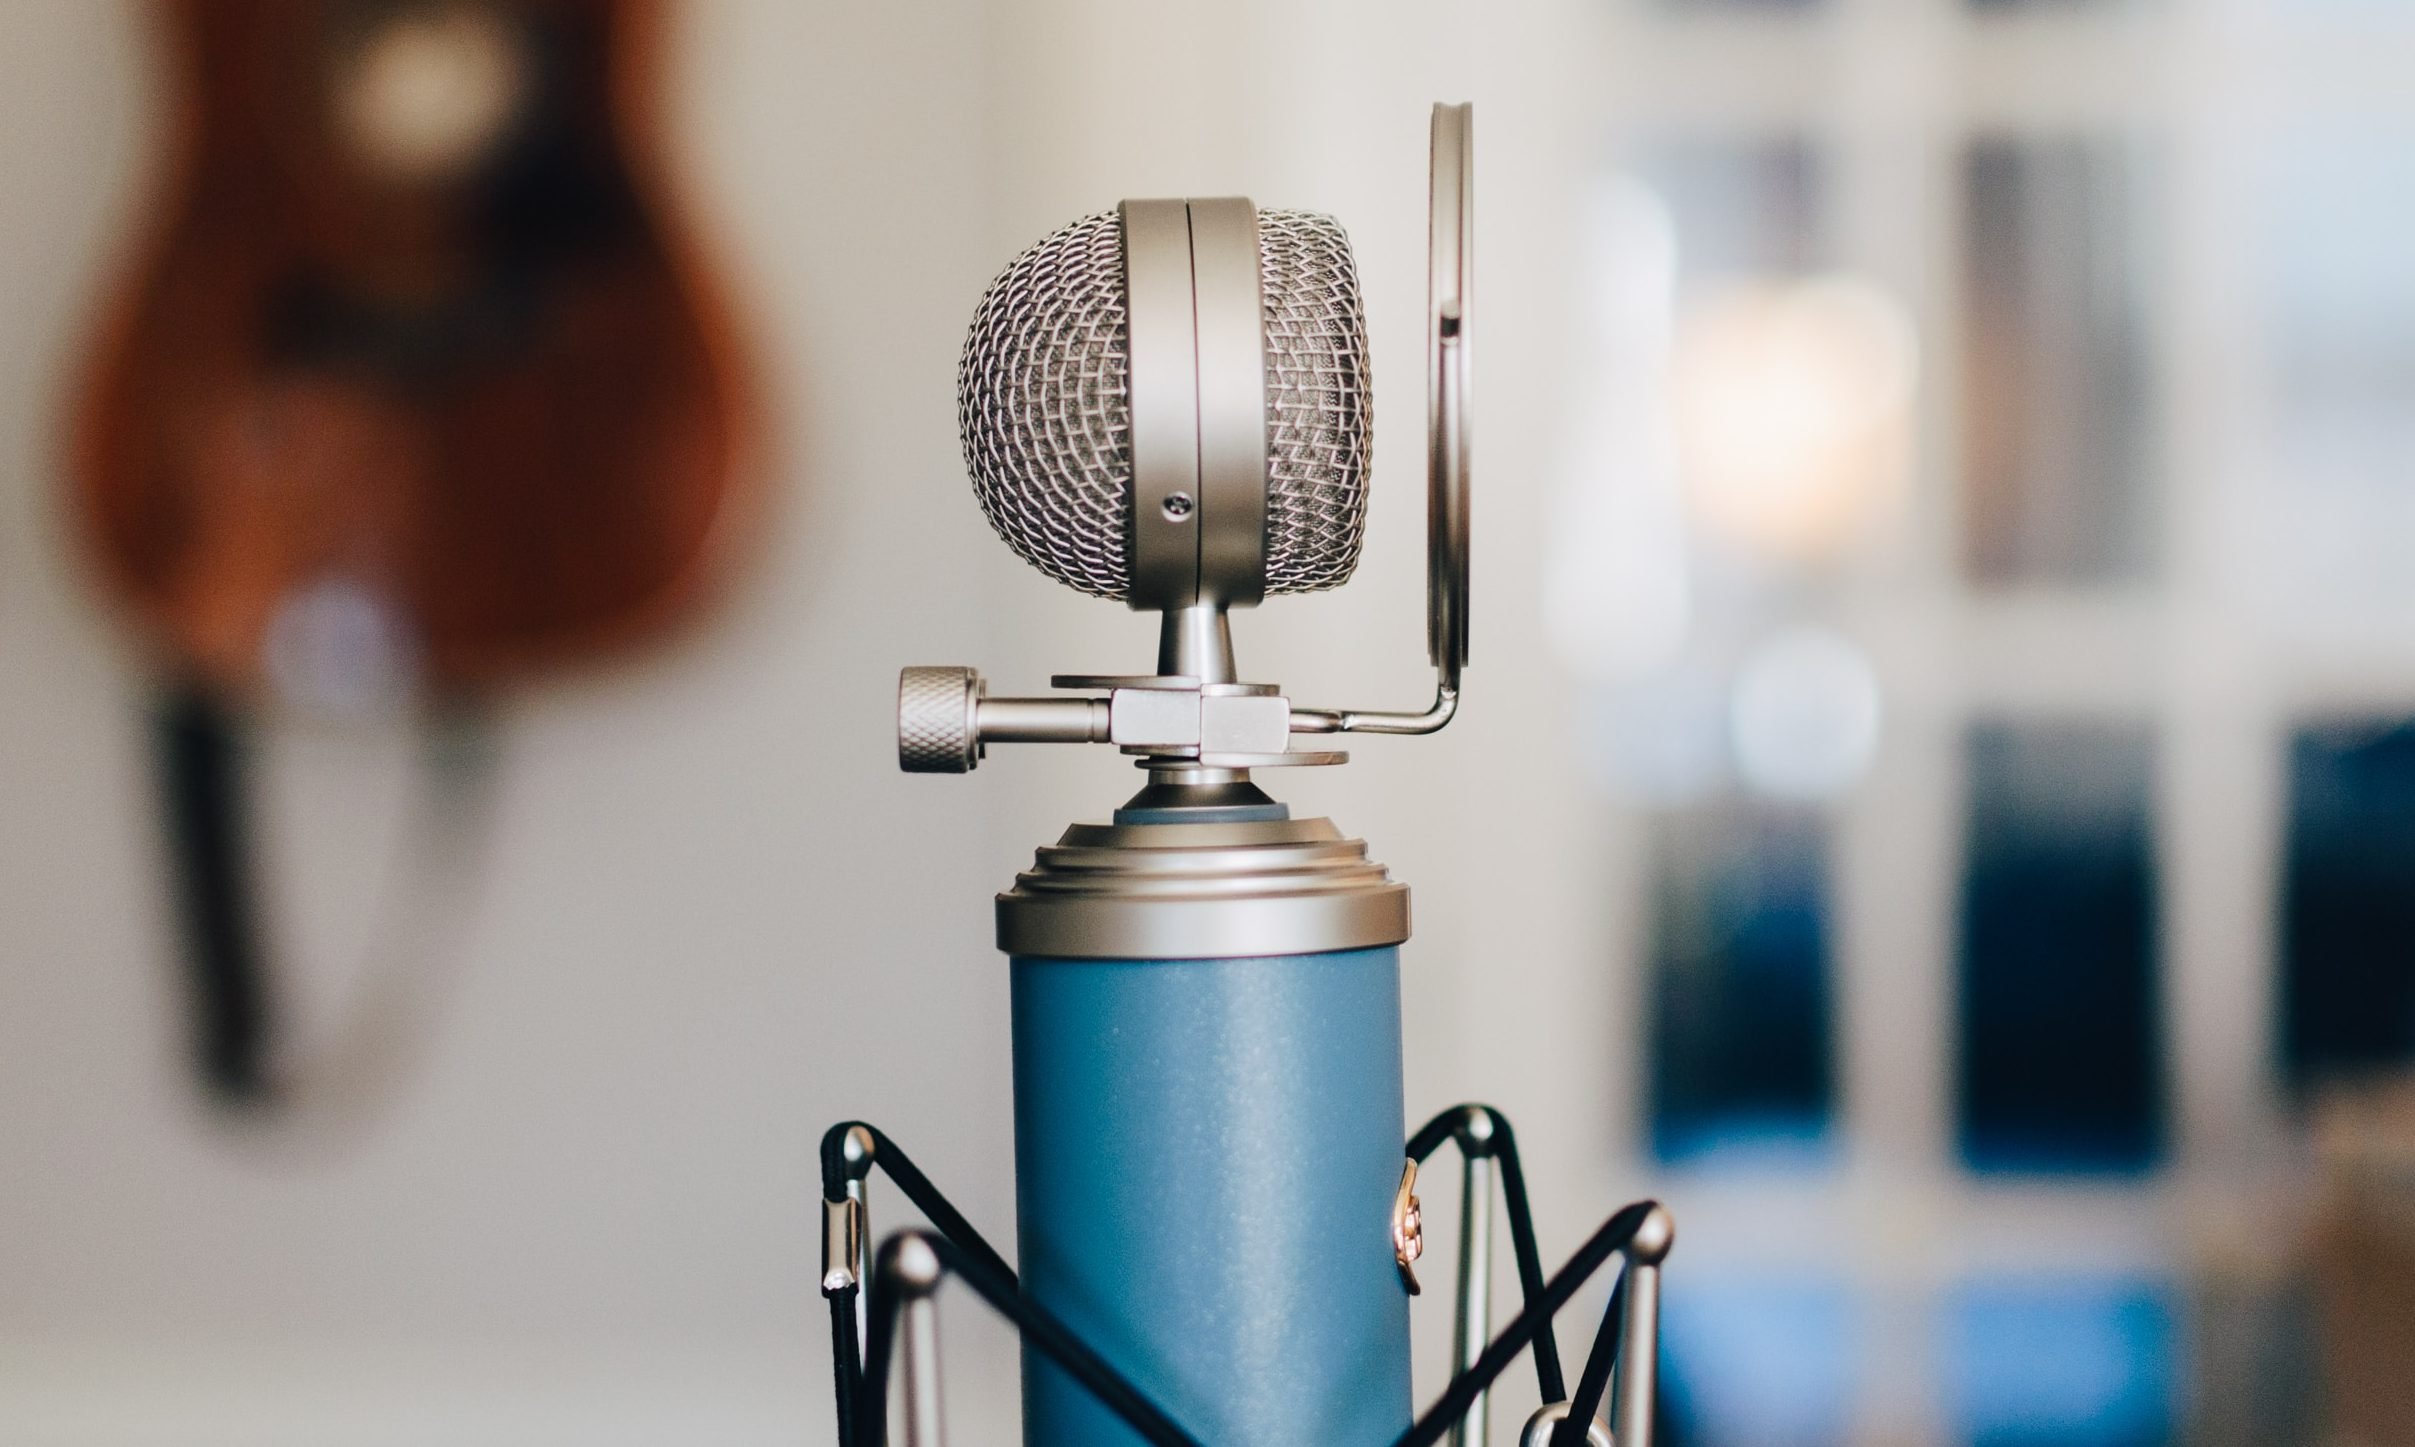
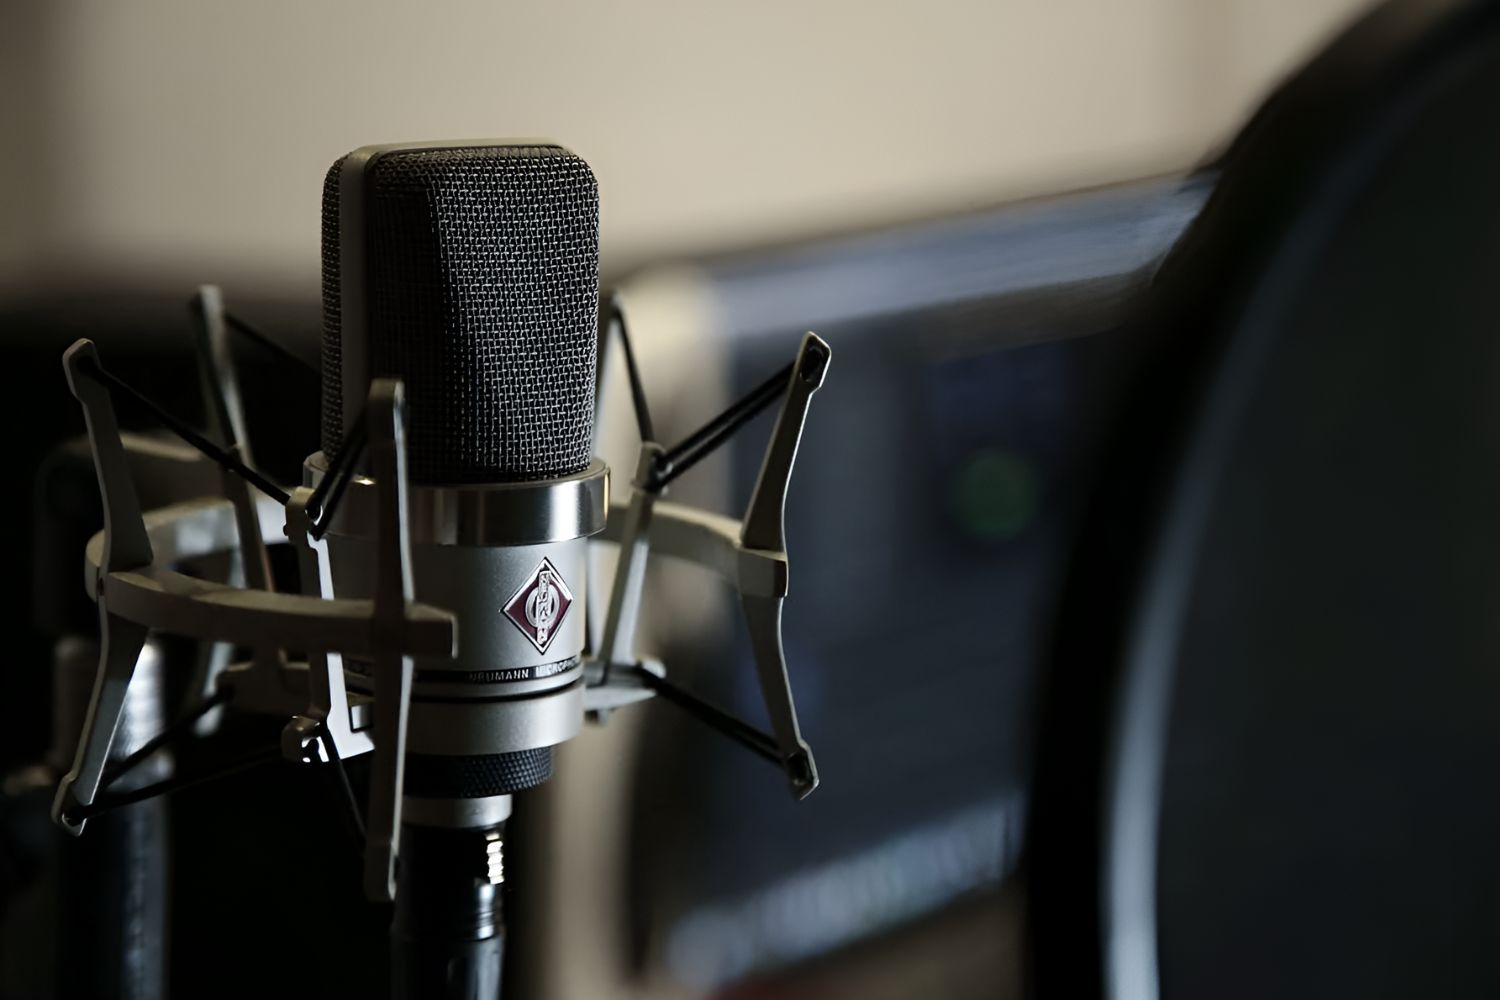
1. Diaphragm: The diaphragm is a thin, conductive membrane that vibrates in response to sound waves. Its movement induces changes in capacitance, which is crucial for converting acoustic signals into electrical signals.
2. Backplate: Positioned in close proximity to the diaphragm, the backplate forms a capacitor with the diaphragm. As the diaphragm moves, the distance between it and the backplate changes, resulting in variations in capacitance that mirror the sound waves’ characteristics.
3. Phantom Power: Condenser microphones require phantom power to polarize the diaphragm and backplate, enabling them to function as a capacitor. This power source typically provides a voltage of 48 volts, essential for the microphone’s operation.
4. FET or Tube Amplifier: The electrical signals generated by the diaphragm-backplate interaction are extremely low in amplitude. Therefore, a FET (Field-Effect Transistor) or tube amplifier is employed to boost these signals to a usable level.
5. Output Transformer: Some condenser microphones incorporate an output transformer to balance the signal and provide impedance matching for optimal connectivity with audio interfaces or preamplifiers.
Understanding these components is pivotal to the construction process. Each element plays a crucial role in capturing and processing sound, and a comprehensive understanding of their functions will empower you to make informed decisions when selecting and assembling the components for your condenser microphone.
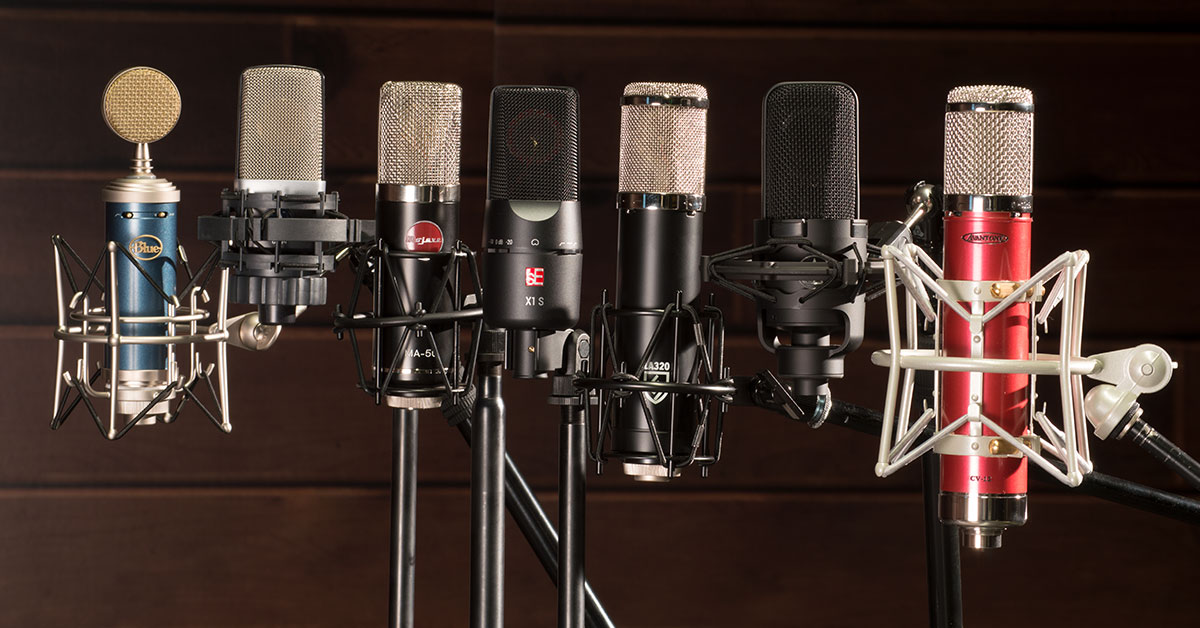
Choosing the Right Parts
When embarking on the journey of building a condenser microphone, selecting the right parts is a critical step that significantly impacts the microphone’s performance and sonic characteristics. Here are the key components to consider:
- Diaphragm Material: The diaphragm material profoundly influences the microphone’s sound. Common options include mylar, gold-sputtered mylar, and aluminum. Each material imparts distinct tonal qualities and sensitivity, allowing you to tailor the microphone’s response to your preferences.
- Backplate Design: The backplate’s design and material contribute to the microphone’s transient response and overall sound signature. Experimenting with different backplate configurations can yield nuanced variations in sound reproduction.
- Phantom Power Supply: Choosing a reliable phantom power supply is crucial for ensuring stable polarization of the condenser microphone’s components. Look for a clean, regulated power source to maintain consistent performance.
- Amplification Circuit: Whether opting for a FET-based or tube-based amplifier, selecting a high-quality amplification circuit is essential for achieving optimal signal amplification while preserving the microphone’s sonic integrity.
- Output Transformer: If your design incorporates an output transformer, selecting a transformer with suitable impedance matching and high-quality winding materials can significantly enhance the microphone’s output characteristics.
Additionally, consider the housing and mounting options for your microphone. The housing material and design can affect resonance and durability, while the mounting mechanism influences the microphone’s stability and positioning flexibility.
When choosing parts, it’s beneficial to research and, if possible, audition different components to discern their sonic attributes. This hands-on approach can provide valuable insights into how each part contributes to the microphone’s overall sound, enabling you to craft a microphone that aligns with your sonic preferences and recording needs.
Assembling the Microphone
Now that you have acquired the necessary components, it’s time to embark on the exciting process of assembling your condenser microphone. Follow these essential steps to bring your microphone to life:
- Prepare the Components: Carefully handle the delicate diaphragm and backplate to avoid damage. Ensure that the amplification circuit and output transformer, if applicable, are ready for integration into the microphone’s housing.
- Mount the Diaphragm: Secure the diaphragm in place, ensuring that it is properly tensioned to facilitate optimal responsiveness to sound waves. Precision and delicacy are crucial during this step to prevent any damage to the diaphragm.
- Integrate the Backplate: Position the backplate in close proximity to the diaphragm, establishing the capacitor configuration essential for capturing sound waves. Pay attention to the alignment and spacing between the diaphragm and backplate to maintain consistent performance.
- Connect the Amplification Circuit: If using a FET or tube amplifier, carefully integrate it into the microphone’s circuitry, ensuring secure connections and proper grounding to prevent signal interference or distortion.
- Implement Phantom Power: Ensure that the phantom power supply is connected as per the manufacturer’s specifications, providing the necessary voltage to polarize the diaphragm and backplate.
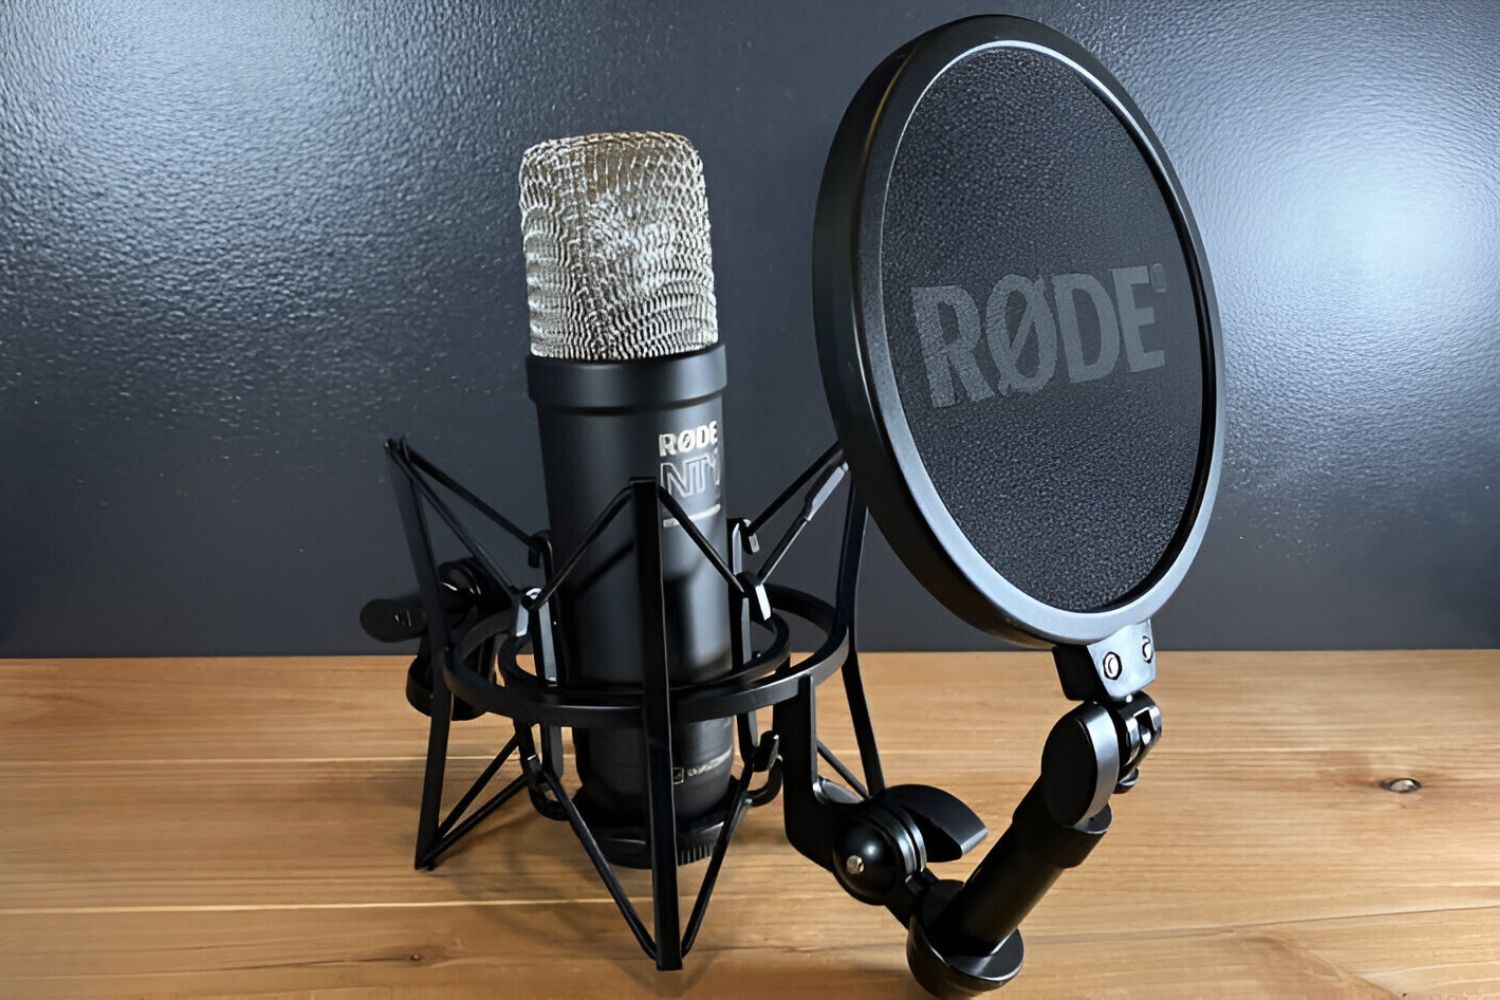
- Enclose the Components: Place the assembled components within the microphone’s housing, ensuring a snug fit while avoiding any mechanical stress on the delicate elements. The housing should provide adequate protection and acoustic isolation for the internal components.
Throughout the assembly process, meticulous attention to detail and adherence to the components’ specifications are paramount. Precision in mounting and connecting the components will contribute to the microphone’s optimal performance and longevity.
Once the microphone is fully assembled, conduct a thorough inspection to verify the integrity of the connections, the absence of any mechanical obstructions, and the overall functionality of the microphone’s components. With the assembly completed, you are one step closer to experiencing the fruits of your labor—a bespoke condenser microphone crafted with your hands and expertise.
Testing and Troubleshooting
After assembling your condenser microphone, it’s essential to subject it to comprehensive testing to ensure its functionality and performance. Here’s a step-by-step guide to testing and troubleshooting your newly constructed microphone:
- Initial Power-Up: Connect the microphone to a reliable audio interface or preamplifier, ensuring that the phantom power supply is activated. Verify that the microphone receives the necessary power without any issues.
- Signal Verification: Speak or produce sound near the microphone while monitoring the audio interface’s input levels. Verify that the microphone is capturing sound and producing an electrical signal. If no signal is detected, recheck the connections and the integrity of the internal components.
- Frequency Response Test: Use a signal generator or a variety of sound sources to assess the microphone’s frequency response across the audible spectrum. Pay attention to any irregularities or anomalies in the microphone’s response, which may indicate issues with the diaphragm, backplate, or amplification circuit.
- Noise and Distortion Evaluation: Test the microphone in various recording scenarios to assess its noise floor and distortion characteristics. Listen for any unwanted noise, hum, or distortion that may indicate grounding issues, component malfunction, or improper polarization.
- Physical Inspection: Carefully examine the microphone for any loose connections, mechanical vibrations, or anomalies in its physical structure. Ensure that all components are securely mounted and that there are no signs of physical damage or irregularities.
If any issues are identified during the testing phase, it’s crucial to troubleshoot the specific areas of concern. This may involve rechecking the connections, inspecting the internal circuitry, and, if necessary, seeking guidance from experienced professionals or resources within the DIY audio community.
Remember that troubleshooting is an integral part of the DIY process, and encountering challenges provides valuable learning opportunities. Patience, persistence, and a methodical approach to problem-solving will aid in identifying and resolving any issues that may arise during the testing phase.
Conclusion
Congratulations on successfully navigating the intricate process of building your own condenser microphone. This endeavor has not only equipped you with a deeper understanding of the fundamental components and assembly techniques but has also empowered you to tailor a microphone to your unique sonic preferences and recording requirements.
By comprehending the roles of the diaphragm, backplate, amplification circuit, and other essential components, you have gained valuable insights into the inner workings of condenser microphones. The meticulous process of choosing high-quality parts and assembling them with precision has honed your craftsmanship and attention to detail, laying the foundation for future DIY audio projects.
As you ventured through the testing and troubleshooting phase, you embraced the challenges inherent in DIY endeavors, refining your problem-solving skills and resourcefulness. Whether you encountered minor hiccups or sailed through the testing process seamlessly, each step contributed to your growth as a DIY enthusiast and audio aficionado.
Building a condenser microphone is not merely a technical pursuit; it’s a journey that intertwines artistry, engineering, and a passion for sonic excellence. The microphone you’ve crafted embodies your dedication, creativity, and commitment to achieving exceptional sound quality.
As you embark on future audio projects or delve deeper into the realm of DIY audio equipment, the knowledge and experience gained from this endeavor will serve as a solid foundation. Whether you’re a musician, content creator, or audio enthusiast, your custom-built condenser microphone stands as a testament to your ingenuity and determination to shape your sonic world.
Embrace the knowledge you’ve acquired, share your experiences with fellow enthusiasts, and continue exploring the boundless possibilities of DIY audio craftsmanship. Your journey has only just begun, and the world of custom audio equipment eagerly awaits your innovative contributions.