Introduction
So, you've decided to take your audio recordings to the next level, and you've got your hands on an Ohuhu Studio Condenser Microphone. Congratulations! This sleek and professional-grade microphone is a fantastic choice for anyone looking to capture high-quality sound, whether it's for podcasts, music recordings, voice-overs, or video chats. In this guide, we'll walk you through the process of setting up and using your new Ohuhu Studio Condenser Microphone, ensuring that you get the best possible results from this impressive piece of equipment.
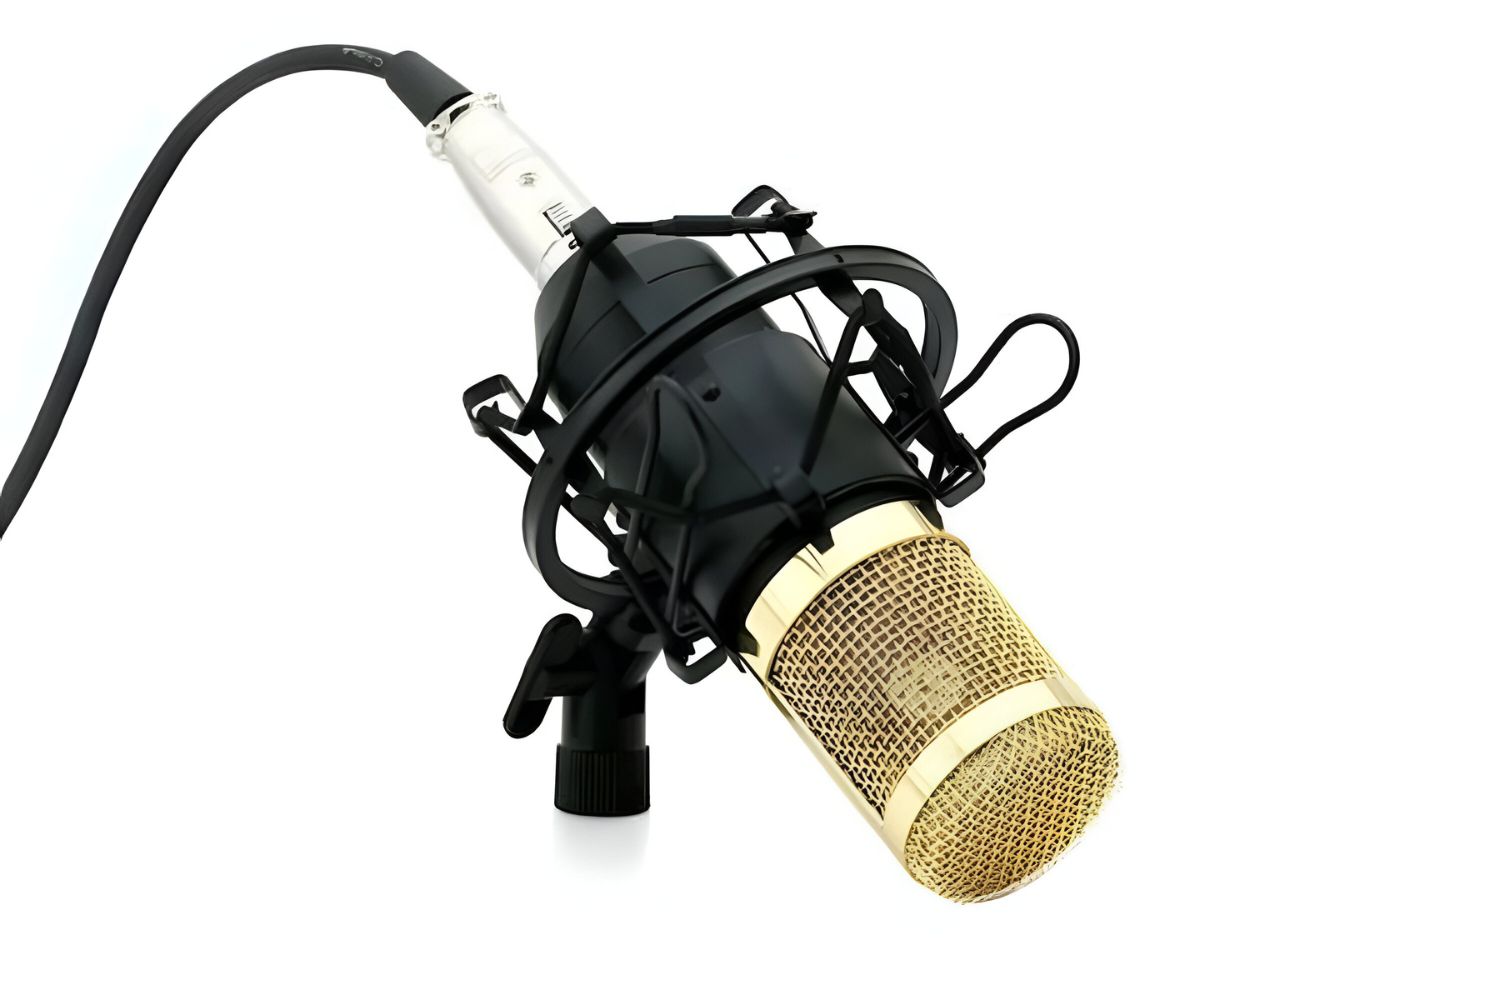
But first, let's take a moment to appreciate the beauty of the Ohuhu Studio Condenser Microphone. With its elegant design and durable build, this microphone exudes a sense of professionalism that is sure to elevate your recording setup. From its sturdy metal construction to its sleek black finish, every aspect of this microphone has been carefully crafted to deliver both exceptional performance and aesthetic appeal.
As we delve into the setup process, you'll discover just how user-friendly the Ohuhu Studio Condenser Microphone truly is. Whether you're a seasoned audio professional or a complete novice, you'll find that getting started with this microphone is a breeze. By the end of this guide, you'll be ready to unleash the full potential of your Ohuhu Studio Condenser Microphone and embark on a journey of creating stunning audio content.
Now, without further ado, let's dive into the unboxing process and get ready to assemble and set up your Ohuhu Studio Condenser Microphone. Get ready to elevate your audio recording experience to new heights!
Unboxing the Ohuhu Studio Condenser Microphone
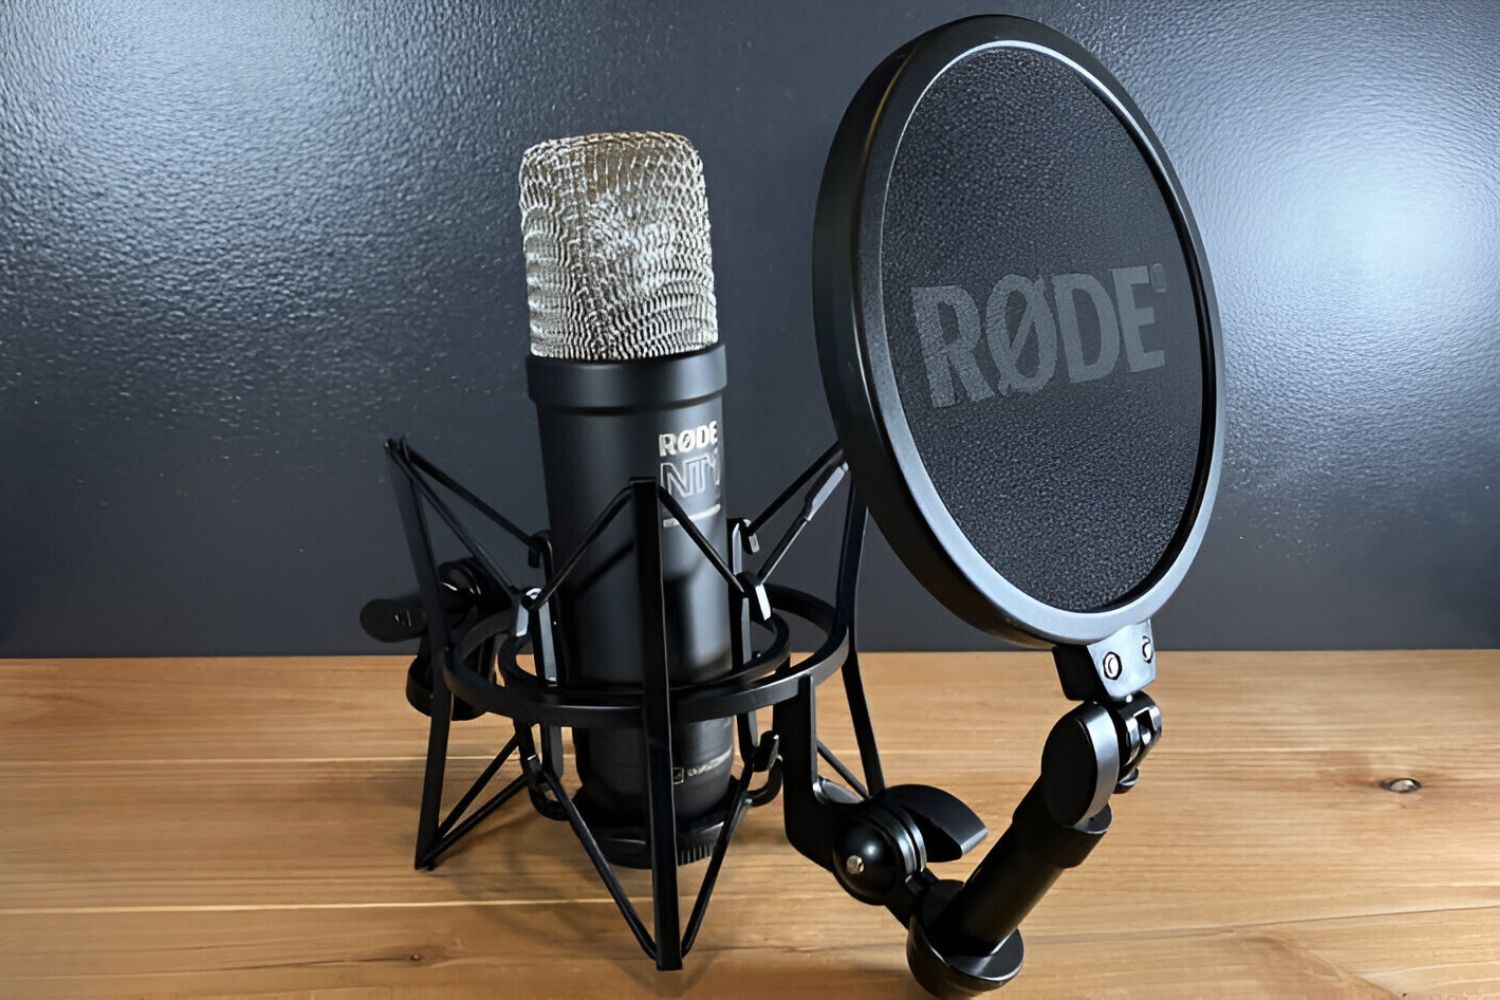
As you eagerly unbox your Ohuhu Studio Condenser Microphone, you’ll be greeted by a carefully packaged set of components that exude quality and attention to detail. The contents of the box include the Ohuhu Studio Condenser Microphone itself, a sturdy and adjustable microphone stand, a shock mount to minimize vibrations and handling noise, a foam windscreen to reduce unwanted plosives and wind noise, and a user manual to guide you through the setup process.
The Ohuhu Studio Condenser Microphone stands out as the centerpiece of the package, boasting a sleek and professional design that immediately captures your attention. Its robust construction and premium feel signal the promise of exceptional audio performance. The microphone stand, designed to provide stability and flexibility, complements the microphone perfectly, offering a solid foundation for your recording endeavors.
Upon inspecting the shock mount, you’ll appreciate its robust build and thoughtful design, which effectively isolates the microphone from vibrations and shocks, ensuring that your recordings remain free from unwanted disturbances. The foam windscreen, with its soft and dense material, promises to effectively reduce unwanted noise caused by plosives and breath sounds, allowing for clear and pristine audio capture.
Throughout the unboxing process, the meticulous attention to detail in the packaging and presentation of the Ohuhu Studio Condenser Microphone and its accessories becomes evident. Each component reflects the brand’s commitment to delivering a comprehensive and user-friendly recording solution that caters to the needs of both aspiring and professional audio enthusiasts.
With the unboxing complete, you’re now ready to move on to the next exciting phase: assembling the microphone stand and preparing to connect the Ohuhu Studio Condenser Microphone to your recording setup. The journey to unlocking the full potential of your new microphone has only just begun, and the possibilities for creating exceptional audio content are now closer than ever.
Assembling the Microphone Stand
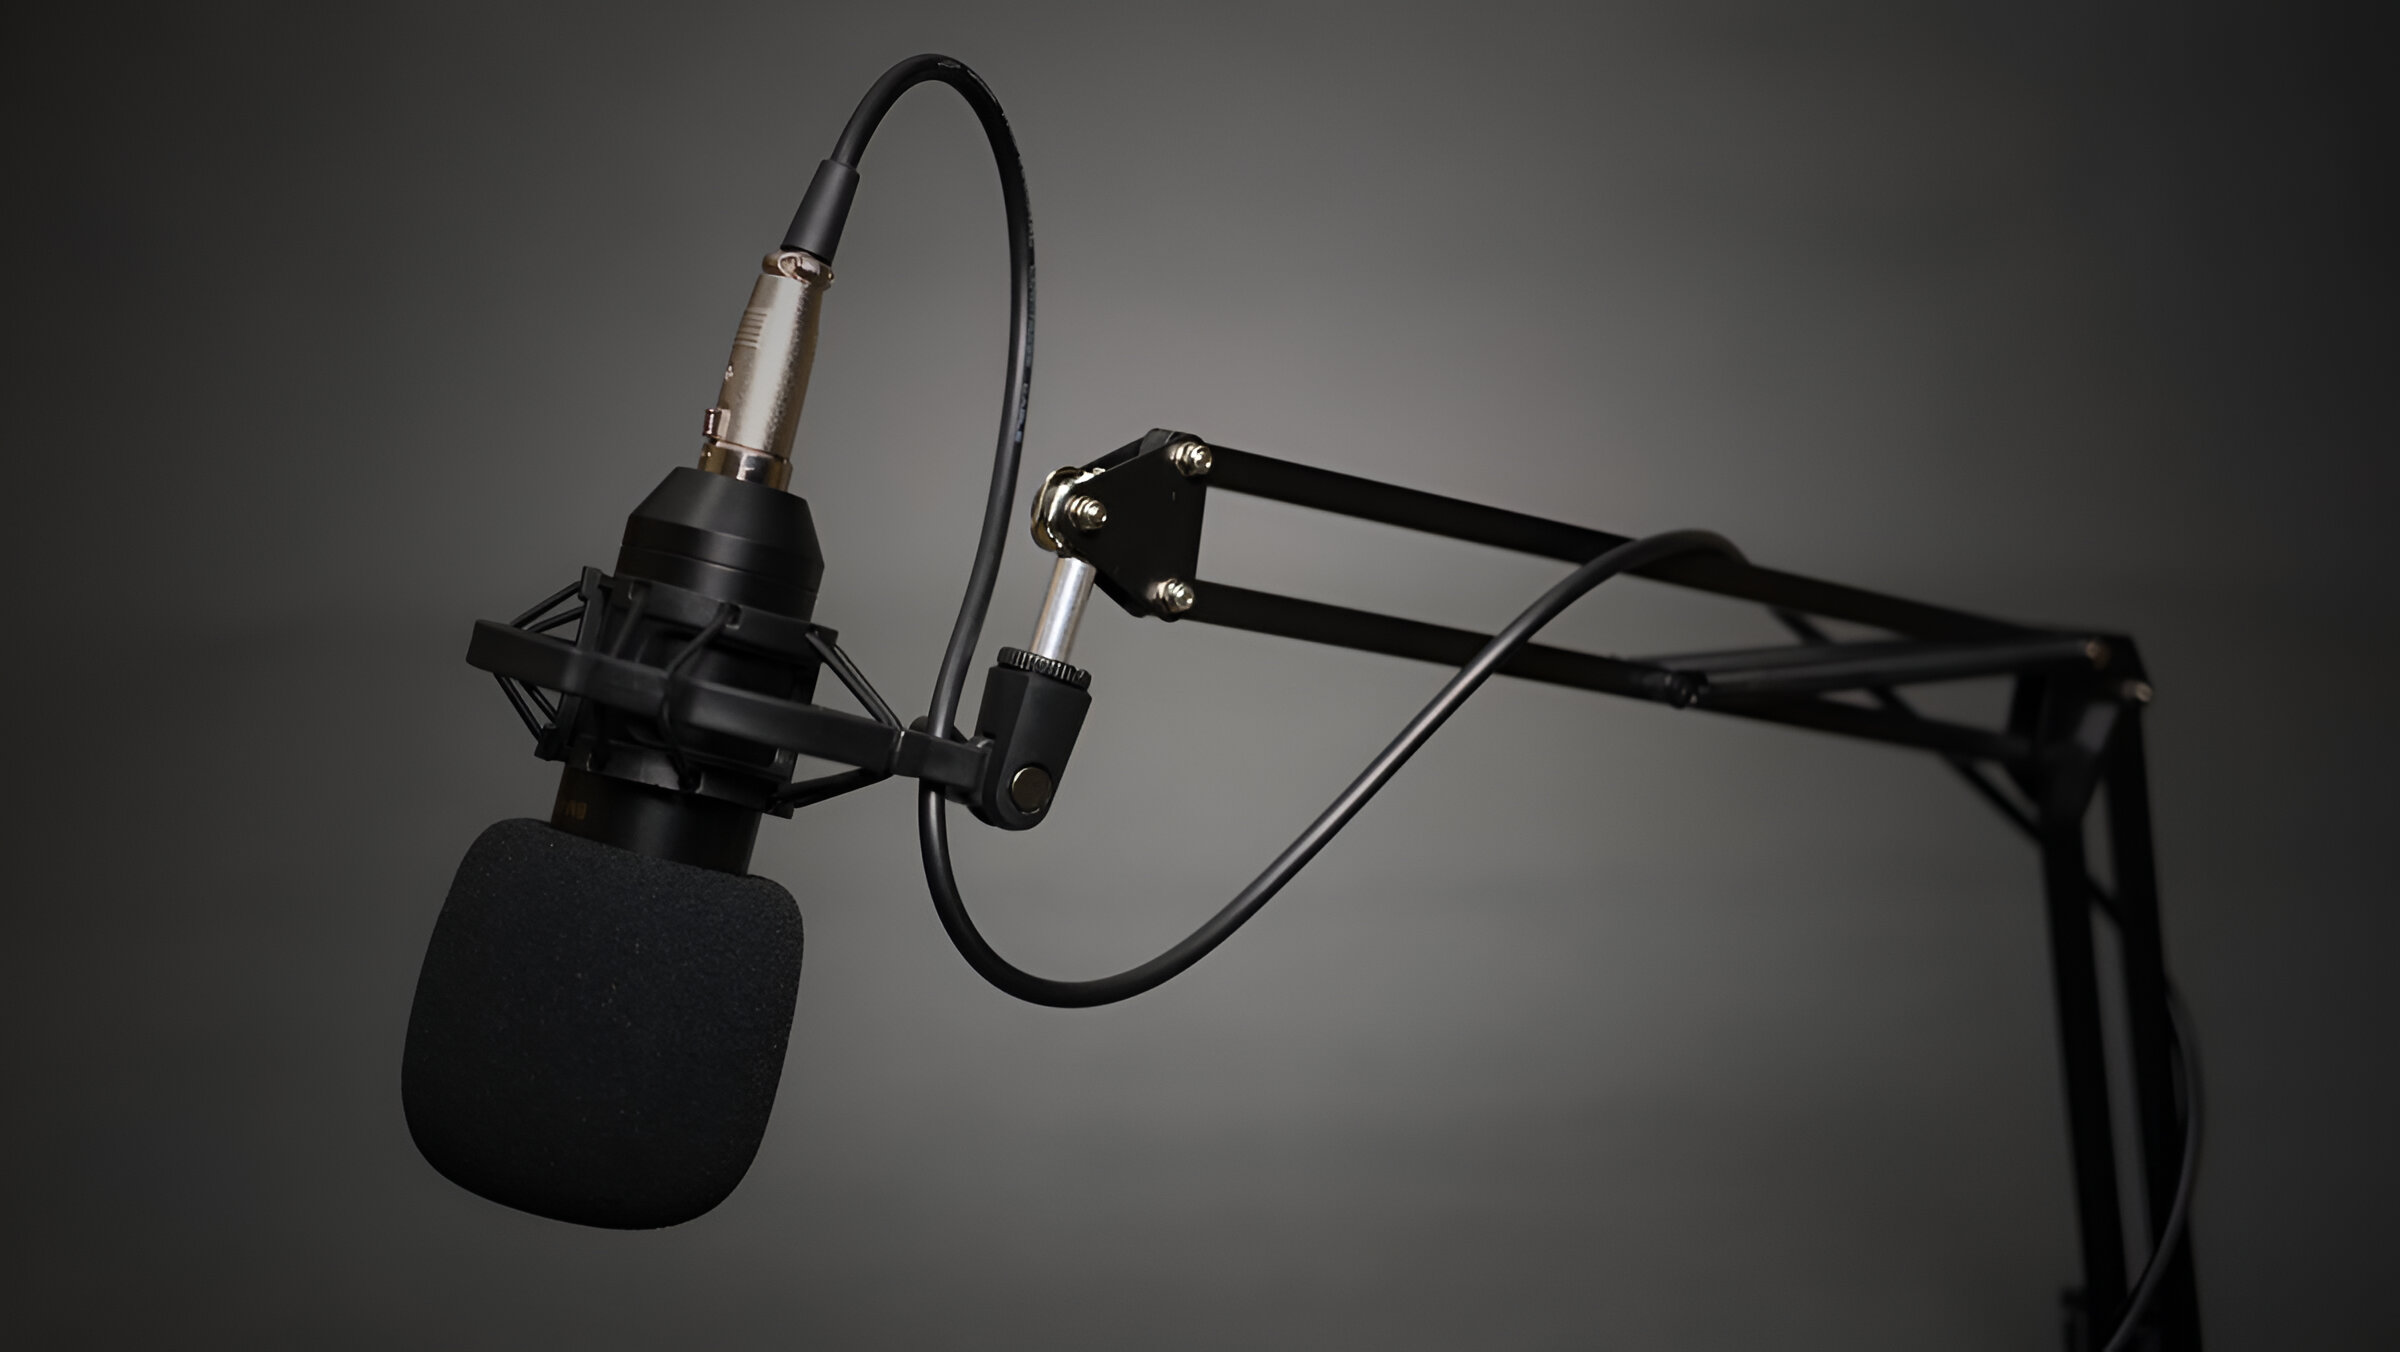
With the components of the Ohuhu Studio Condenser Microphone unboxed and ready, it’s time to assemble the microphone stand to provide a stable and versatile support for your microphone. The microphone stand included in the package is designed to offer flexibility and convenience, allowing you to position the microphone according to your specific recording needs.
The assembly process is straightforward and requires no specialized tools, making it accessible to users of all experience levels. Begin by unpacking the individual parts of the microphone stand, taking note of the base, the adjustable arm, and the microphone holder. The base, typically weighted to ensure stability, serves as the foundation of the stand, providing a solid platform to support the microphone.
Next, attach the adjustable arm to the base, ensuring a secure connection that allows for smooth and precise adjustments. The adjustable arm is a key feature of the microphone stand, enabling you to position the microphone at the optimal angle and distance for your recordings. Its flexibility empowers you to adapt to various recording setups, whether you’re recording vocals, instruments, podcasts, or voice-overs.
Once the adjustable arm is securely in place, affix the microphone holder to the end of the arm, ensuring that it is firmly attached and ready to accommodate the Ohuhu Studio Condenser Microphone. The microphone holder is designed to provide a snug and secure fit for the microphone, minimizing the risk of slippage or instability during recording sessions.
As you complete the assembly of the microphone stand, take a moment to appreciate the robustness and versatility it offers. The ability to adjust the height, angle, and orientation of the microphone ensures that you have full control over your recording setup, allowing you to capture the best possible audio with ease.
With the microphone stand fully assembled and ready for action, you’re now prepared to move on to the next step: connecting the Ohuhu Studio Condenser Microphone to your computer or recording interface. The seamless integration of the microphone stand with the microphone itself sets the stage for a hassle-free and enjoyable recording experience, empowering you to unleash your creativity and capture stunning audio content.
Connecting the Microphone to a Computer
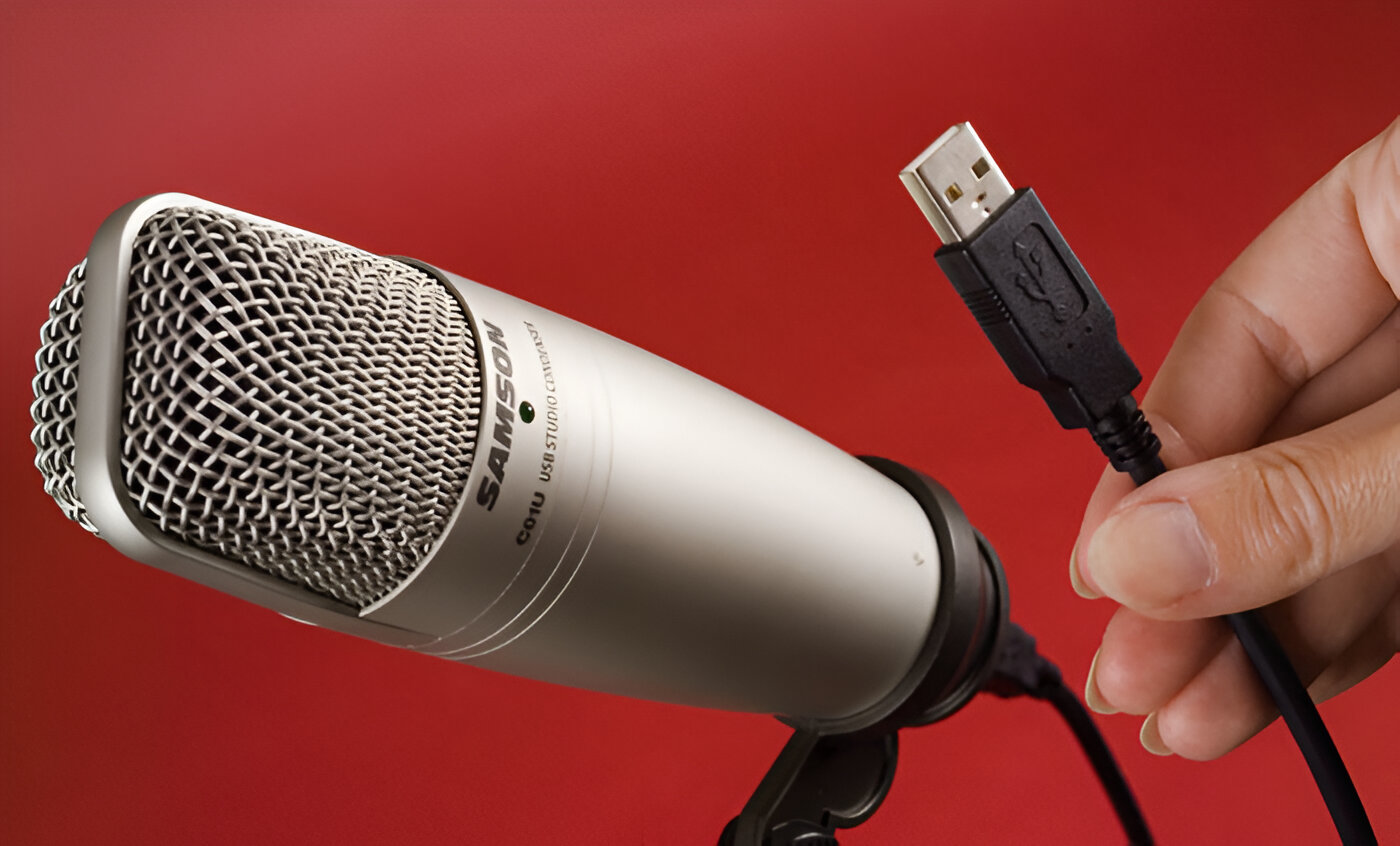
With the Ohuhu Studio Condenser Microphone and its stand assembled, the next crucial step is to connect the microphone to your computer, enabling you to harness its exceptional recording capabilities. Whether you’re using a Mac, PC, or any other compatible device, the process of connecting the microphone is designed to be straightforward and hassle-free, ensuring that you can start capturing pristine audio in no time.
To begin, identify the type of connection required for your specific setup. The Ohuhu Studio Condenser Microphone typically utilizes a standard USB interface, allowing for seamless compatibility with a wide range of devices. Locate the USB cable included with the microphone, ensuring that it is free from any tangles or obstructions that could impede the connection process.
Once the USB cable is ready, locate an available USB port on your computer and gently insert the USB connector from the microphone. The snug fit ensures a secure connection, allowing for reliable data transfer and power supply to the microphone. The plug-and-play nature of the USB interface means that no additional drivers or software installations are typically required, streamlining the setup process.
As the USB connection is established, take a moment to confirm that the microphone is recognized by your computer. Depending on your operating system, you may see a notification indicating that a new audio device has been detected. This confirmation signals that the microphone is ready to be utilized for recording, and you’re one step closer to capturing stunning audio with the Ohuhu Studio Condenser Microphone.
For users who prefer to utilize recording software for enhanced control and customization, the Ohuhu Studio Condenser Microphone seamlessly integrates with popular digital audio workstations (DAWs) and communication applications. Whether you’re recording vocals, instruments, podcasts, or engaging in video conferencing, the microphone’s versatile compatibility ensures that you can achieve outstanding results across various audio applications.
With the Ohuhu Studio Condenser Microphone successfully connected to your computer, you’re now poised to explore the microphone’s settings and tailor its performance to suit your specific recording requirements. The seamless integration of the microphone with your computer sets the stage for a seamless and productive recording experience, allowing you to focus on creating exceptional audio content without any technical distractions.
Adjusting the Microphone Settings
With the Ohuhu Studio Condenser Microphone successfully connected to your computer, it’s time to delve into the process of adjusting the microphone settings to optimize its performance for your specific recording needs. Whether you’re aiming to capture crystal-clear vocals, rich instrumentals, or articulate speech, fine-tuning the microphone settings is crucial for achieving exceptional audio quality.
Begin by accessing the sound settings on your computer, typically found within the system preferences or control panel. Locate the audio input settings and identify the Ohuhu Studio Condenser Microphone as the designated input device. Ensure that the microphone is selected and set as the default input, allowing your computer to recognize and prioritize it for audio capture.
Once the microphone is designated as the primary input, proceed to adjust its input level to achieve an optimal recording volume. Depending on your operating system, you may find a slider or numerical input level control that allows you to set the microphone’s sensitivity. Aim to strike a balance that prevents audio distortion while ensuring that the microphone adequately captures the nuances of your recordings.
For users seeking to fine-tune the microphone’s performance further, consider exploring any additional settings or controls offered by your recording software or digital audio workstation (DAW). These settings may include equalization (EQ) options, gain adjustments, and noise reduction features that enable you to tailor the microphone’s output to suit specific recording scenarios.
As you adjust the microphone settings, consider the nature of your recording environment and the type of audio you intend to capture. For vocal recordings, optimizing the microphone’s settings to accentuate clarity and warmth can enhance the overall quality of the recordings. Similarly, instrument recordings may benefit from adjustments that emphasize tonal accuracy and dynamic range.
With the microphone settings finely tuned to your preferences, take a moment to test the microphone’s performance by conducting a brief recording. This test allows you to gauge the impact of your adjustments and make any necessary refinements to achieve the desired audio quality. By actively listening to the test recording, you can identify areas for improvement and make informed adjustments accordingly.
By meticulously adjusting the microphone settings, you’re actively shaping the sonic characteristics of your recordings, ensuring that the Ohuhu Studio Condenser Microphone delivers exceptional audio fidelity across a diverse range of recording applications. The ability to customize the microphone’s settings empowers you to unleash your creativity and capture stunning audio content with confidence and precision.
Testing the Microphone
With the Ohuhu Studio Condenser Microphone set up and its settings adjusted to your preferences, it’s time to put this exceptional piece of audio equipment to the test. Testing the microphone allows you to evaluate its performance across various recording scenarios, ensuring that it meets and exceeds your expectations in capturing pristine audio with clarity and precision.
Begin by selecting a suitable recording environment that aligns with your intended use of the microphone. Whether you’re recording vocals, musical instruments, podcasts, or engaging in online communication, the choice of environment can significantly impact the quality of your recordings. A quiet and acoustically controlled space is ideal for capturing clean and detailed audio with minimal background noise.
As you prepare to test the microphone, consider the positioning of the microphone and the distance from the sound source. For vocal recordings, positioning the microphone at an optimal distance from the vocalist’s mouth ensures that the nuances of the voice are captured faithfully. Similarly, when recording instruments, experimenting with microphone placement can yield diverse tonal characteristics and sonic textures.
With the microphone positioned and the recording environment conducive to high-quality audio capture, initiate a test recording using your preferred recording software or digital audio workstation (DAW). This recording should encompass a variety of vocalizations, instrument playbacks, or spoken dialogue, allowing you to assess the microphone’s performance across different audio sources.
During the test recording, pay close attention to the clarity, fidelity, and dynamic range of the captured audio. Evaluate the microphone’s ability to faithfully reproduce the nuances of the sound source, whether it’s the subtle inflections of a voice, the rich harmonics of musical instruments, or the articulation of spoken words. Assess the microphone’s performance in capturing both delicate details and powerful transients within the audio signal.
After completing the test recording, take the time to critically listen to the playback, focusing on the tonal balance, presence, and overall sonic character of the recorded audio. Consider how the microphone captures the essence of the sound source and whether it delivers the level of fidelity and articulation required for your specific recording endeavors.
By rigorously testing the Ohuhu Studio Condenser Microphone across diverse recording scenarios, you gain valuable insights into its capabilities and suitability for various audio applications. The test results empower you to make informed decisions regarding microphone placement, settings adjustments, and the overall integration of the microphone into your recording workflow.
With the microphone’s performance validated through rigorous testing, you can confidently embark on your audio recording journey, secure in the knowledge that the Ohuhu Studio Condenser Microphone is poised to deliver outstanding results across a myriad of creative and professional endeavors.
Conclusion
As you conclude the setup and testing of the Ohuhu Studio Condenser Microphone, you’ve embarked on a journey that promises to elevate your audio recording experience to new heights. From the initial unboxing of the microphone to the meticulous adjustments of its settings and the comprehensive testing of its performance, you’ve gained valuable insights into the capabilities and potential of this exceptional audio capture device.
Throughout the setup process, the Ohuhu Studio Condenser Microphone has proven to be a testament to user-friendly design and exceptional performance. Its sleek and professional appearance is matched only by its robust construction and versatile features, making it a valuable addition to any recording setup, whether for music production, podcasting, voice-overs, or online communication.
The seamless integration of the microphone with your computer, coupled with its compatibility with a wide range of recording software and digital audio workstations, ensures that you have the flexibility and convenience to pursue your creative endeavors without technical limitations. The ability to fine-tune the microphone’s settings empowers you to tailor its performance to suit specific recording scenarios, guaranteeing outstanding audio quality across diverse applications.
By meticulously testing the microphone across various recording scenarios, you’ve gained a deep understanding of its capabilities and sonic characteristics, allowing you to make informed decisions about its placement and usage in your recording environment. The microphone’s ability to faithfully capture the nuances of vocals, instruments, and spoken dialogue ensures that your recordings will exhibit a level of clarity and fidelity that meets professional standards.
As you reflect on the setup and testing process, you’re now equipped with the knowledge and confidence to unleash the full potential of the Ohuhu Studio Condenser Microphone in your creative and professional pursuits. Whether you’re a seasoned audio professional, a content creator, or an aspiring musician, this microphone stands ready to be your trusted companion in capturing stunning audio content that resonates with clarity and emotion.
With the Ohuhu Studio Condenser Microphone at your disposal, the possibilities for creating exceptional audio content are boundless. Its seamless integration, intuitive setup, and outstanding performance ensure that you can focus on what truly matters – expressing your creativity and capturing moments of inspiration with uncompromising audio fidelity.
As you venture forth with your newly set up Ohuhu Studio Condenser Microphone, may it serve as a conduit for your artistic vision, a faithful companion in your recording endeavors, and a catalyst for realizing the full potential of your audio creations. The journey of sonic exploration and creative expression awaits, and the Ohuhu Studio Condenser Microphone is your steadfast ally in this exhilarating pursuit.