Introduction
Welcome to the world of audio recording and production! If you're looking to amplify a condenser microphone on Ableton, you're in the right place. Whether you're a podcaster, musician, or content creator, getting the best sound quality from your condenser microphone is essential for capturing clear, crisp audio. In this guide, we'll explore the process of amplifying a condenser microphone using Ableton Live, a powerful digital audio workstation (DAW) known for its versatility and robust features.
Amplifying a condenser microphone involves more than simply turning up the volume. It's about optimizing the gain control, leveraging audio effects, and fine-tuning the settings to achieve professional-grade sound. With Ableton Live, you have a wide array of tools at your disposal to enhance and amplify the output of your condenser microphone, allowing you to unleash your creativity and capture stunning audio recordings.
Throughout this guide, we'll delve into the essential steps for setting up your condenser microphone, manipulating the gain control for optimal input levels, utilizing audio effects to amplify the microphone signal, and providing tips for achieving the best sound quality. By the end of this journey, you'll have a solid understanding of how to amplify your condenser microphone on Ableton and elevate the quality of your audio recordings.
So, let's embark on this sonic adventure and unlock the full potential of your condenser microphone with Ableton Live!
Setting Up the Condenser Microphone
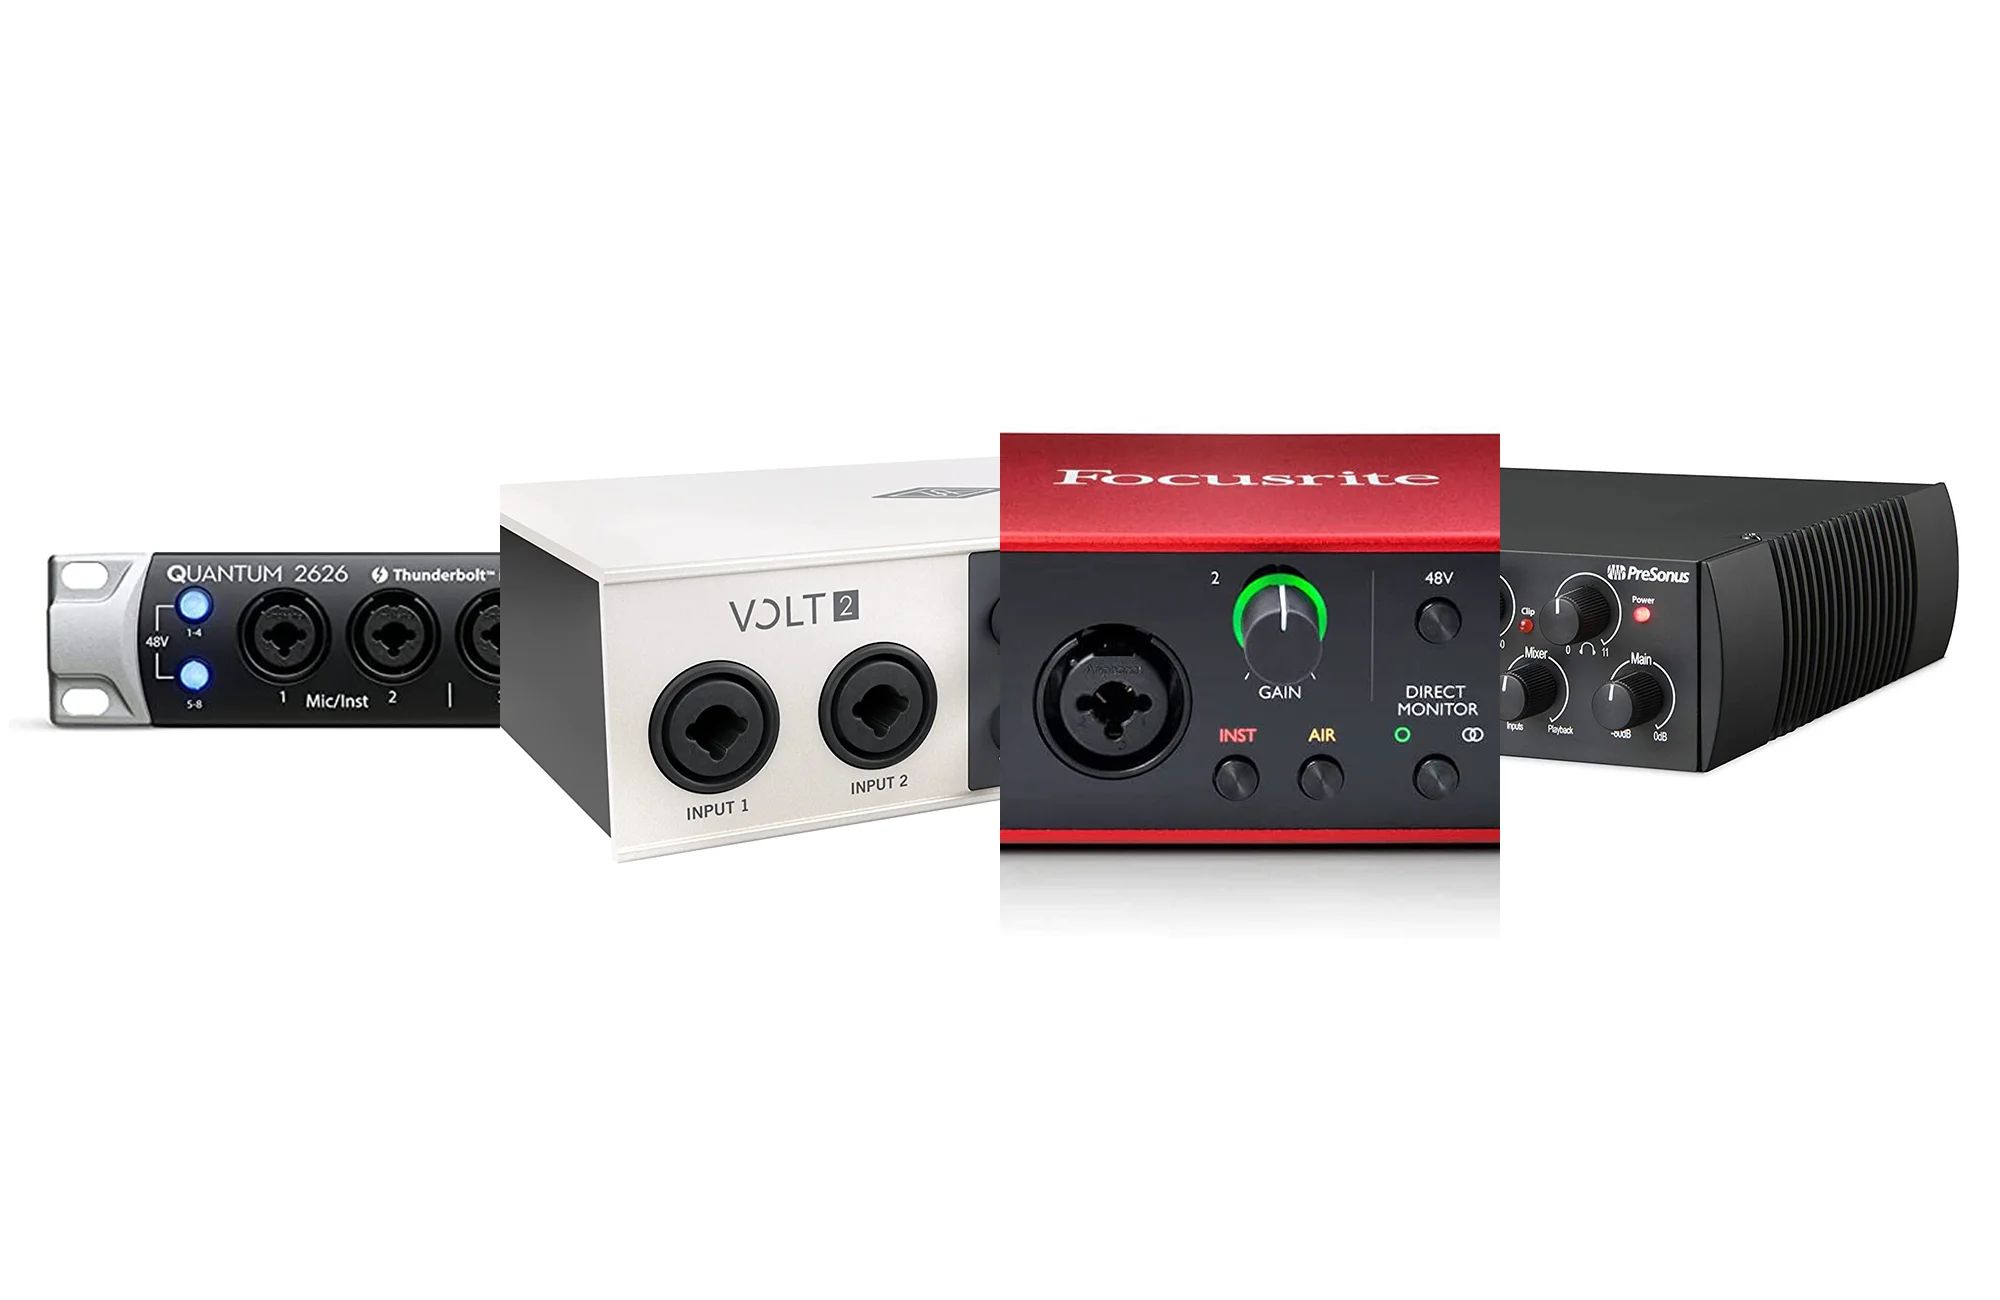
Before diving into the amplification process, it’s crucial to set up your condenser microphone properly to ensure optimal performance. Start by connecting your condenser microphone to your audio interface using an XLR cable. The audio interface serves as the bridge between your microphone and your computer, converting the analog signal from the microphone into a digital signal that can be processed by Ableton Live.
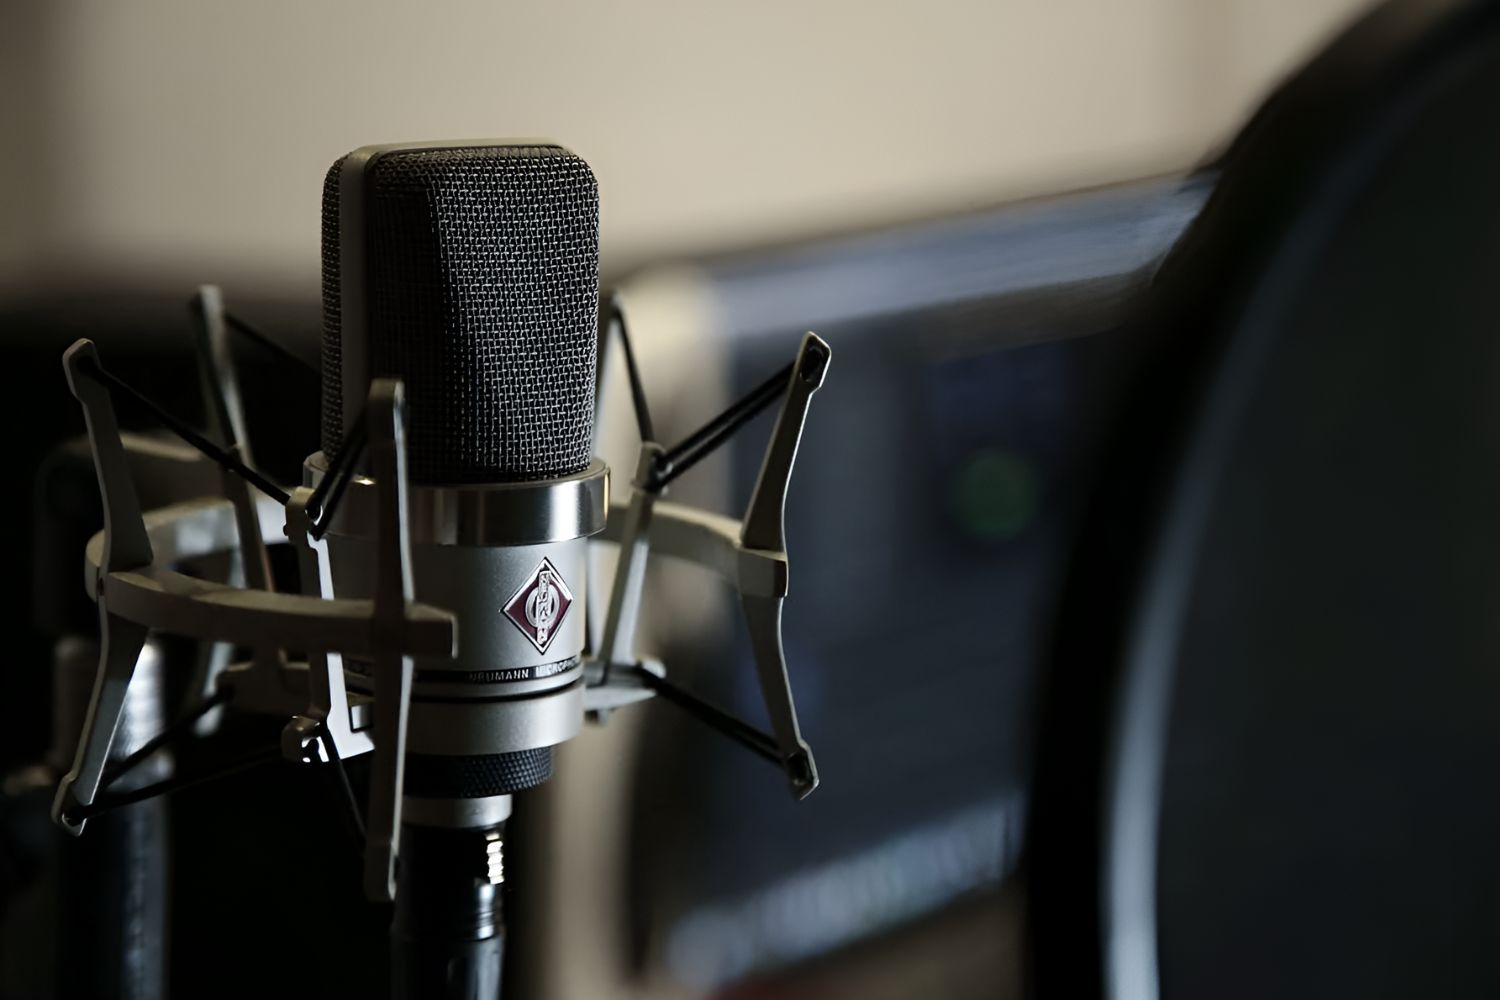
Once your condenser microphone is connected to the audio interface, it’s time to consider the physical setup. Position the microphone in a location that best captures the sound you want to record. Whether you’re recording vocals, instruments, or ambient sounds, the microphone placement plays a significant role in capturing the desired audio. Experiment with different placements to find the sweet spot that yields the best sound quality.
Additionally, take into account the room acoustics and consider using acoustic treatment to minimize unwanted reflections and reverberations. This can involve using acoustic panels, bass traps, or even simple adjustments to the room layout to create a more acoustically controlled environment for recording.
Furthermore, ensuring proper power is supplied to the condenser microphone is essential. Many condenser microphones require phantom power to operate. Make sure that your audio interface provides phantom power and activate it as needed to enable the microphone to function.
Finally, it’s important to check the connections and settings on your audio interface to ensure that the microphone is properly recognized by your computer. Once the physical setup is complete, you’re ready to move on to the next step in the process of amplifying your condenser microphone on Ableton Live.
Using the Gain Control
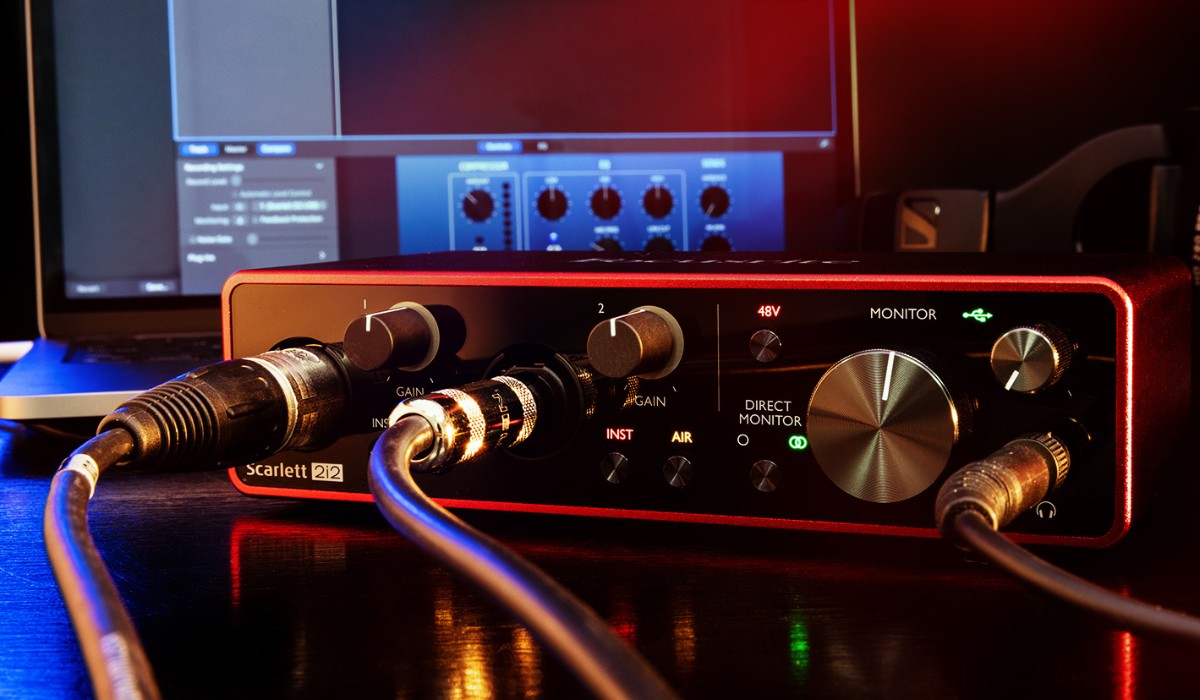
The gain control is a fundamental tool for adjusting the input level of your condenser microphone. In Ableton Live, the gain control is typically found on your audio interface or within the software itself, depending on your setup. Properly setting the gain ensures that the microphone’s signal is strong enough to capture the desired audio without introducing unwanted noise or distortion.
When adjusting the gain, it’s important to find the right balance. Setting the gain too low may result in a weak signal, requiring additional amplification that can introduce noise. On the other hand, setting the gain too high can lead to clipping, where the audio signal exceeds the maximum level, causing distortion. To avoid these issues, follow these steps to optimize the gain control:
- Initial Gain Setting: Start by setting the gain to a neutral position. This ensures that you begin with a clean signal without any unnecessary amplification or attenuation.
- Input Level Monitoring: Use the input level meters in Ableton Live to monitor the microphone’s input level. Aim to keep the signal level within the optimal range, typically indicated by green or yellow on the meters, without entering the red zone, which signifies clipping.
- Adjustment and Testing: Gradually adjust the gain while monitoring the input level meters. Speak or perform into the microphone at the intended volume to gauge the appropriate gain level. It’s essential to test the gain settings with typical audio levels to ensure that the signal remains clear and free from distortion.
- Revisiting the Setting: After setting the gain, revisit the initial position to confirm that the signal remains within the desired range. This double-checking helps to ensure that the gain is optimized for the specific recording or performance.
By effectively utilizing the gain control, you can establish the ideal input level for your condenser microphone, setting the stage for further amplification and processing within Ableton Live.
Using Audio Effects to Amplify the Microphone
Once the condenser microphone’s input level is properly set using the gain control, you can further enhance and amplify the microphone’s signal by applying audio effects within Ableton Live. Audio effects offer a myriad of creative possibilities for shaping and enriching the sound captured by the microphone, allowing you to achieve a polished and professional audio output.
One of the primary audio effects used for amplifying a microphone signal is compression. Compression helps to control the dynamic range of the audio, ensuring that louder and softer sounds are balanced, resulting in a more consistent and impactful audio signal. When applying compression to a microphone input, consider using a gentle ratio and adjusting the threshold to subtly smooth out the audio without overly altering its natural dynamics.
Equalization (EQ) is another essential audio effect for amplifying a microphone. With EQ, you can sculpt the frequency response of the microphone signal, emphasizing or attenuating specific frequency ranges to enhance clarity and tonal balance. For vocals, for example, you might boost the presence frequencies to add clarity, or roll off the low frequencies to reduce rumble and muddiness. Experimenting with EQ settings can help tailor the microphone’s sound to suit the intended purpose of the recording.
Additionally, consider incorporating reverb and delay effects to add depth and spaciousness to the microphone signal. These effects can create a sense of ambiance and dimension, making the audio more immersive and engaging. When using reverb and delay, adjust the parameters to complement the characteristics of the recorded sound, whether it’s vocals, instruments, or environmental sounds.
Furthermore, Ableton Live offers a wide range of creative audio effects, such as modulation, saturation, and spatial processing, that can be employed to amplify and enrich the microphone signal. Experimenting with these effects allows you to infuse character and personality into the recorded audio, elevating it beyond a simple amplification process to a creative sonic exploration.
By judiciously applying audio effects within Ableton Live, you can amplify the condenser microphone’s signal while imbuing it with depth, clarity, and character, resulting in a captivating and professional-quality audio recording.
Tips for Getting the Best Sound Quality
Obtaining the best sound quality from your condenser microphone on Ableton involves attention to detail and a keen understanding of the recording and production process. Here are some valuable tips to help you achieve exceptional sound quality:
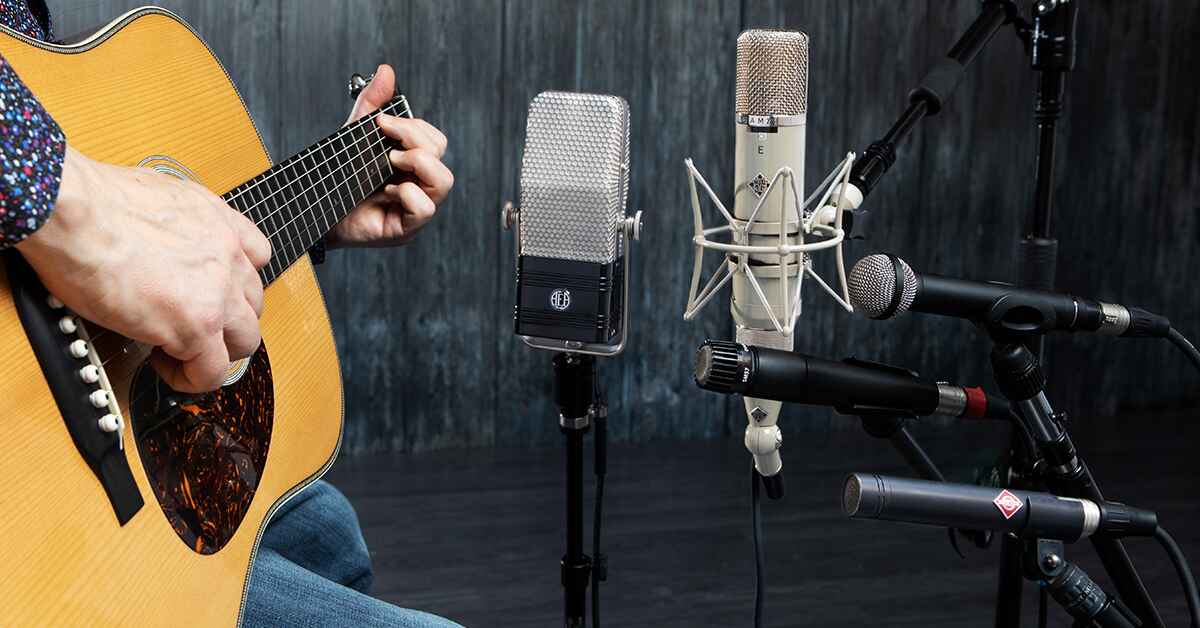
- Microphone Selection: Choose the right condenser microphone for the specific recording task. Different microphones have unique sonic characteristics, and selecting the most suitable one can significantly impact the sound quality.
- Room Acoustics: Pay attention to the acoustic environment in which you are recording. Consider using acoustic treatment to minimize reflections and reverberations, ultimately improving the clarity and fidelity of the recorded audio.
- Proper Gain Staging: Maintain proper gain staging throughout the signal chain, ensuring that the microphone’s input level, audio interface, and software settings are optimized to prevent noise and distortion while maximizing the signal-to-noise ratio.
- Monitoring: Use high-quality studio monitors or headphones to accurately monitor the microphone signal and the processed audio. Clear, accurate monitoring is essential for making informed decisions during the recording and amplification process.
- Positioning and Technique: Experiment with microphone placement and performance techniques to capture the best possible sound. The position and orientation of the microphone relative to the sound source, as well as the performer’s technique, can significantly impact the recorded audio.
- Software Processing: Leverage the powerful audio processing capabilities of Ableton Live to refine and enhance the microphone signal. Experiment with EQ, compression, and other effects to shape the sound and achieve the desired sonic characteristics.
- Gain Control Precision: Fine-tune the gain control with precision, ensuring that the microphone’s input level is optimized for the specific recording, allowing for ample headroom while avoiding clipping and distortion.
- Experimentation: Don’t be afraid to experiment with different settings, microphone placements, and processing techniques. Embrace creativity and exploration to discover unique sonic possibilities and unlock the full potential of your condenser microphone.
By incorporating these tips into your recording and amplification process, you can elevate the sound quality of your condenser microphone recordings, resulting in professional-grade audio that captivates listeners and fulfills your creative vision.