Introduction
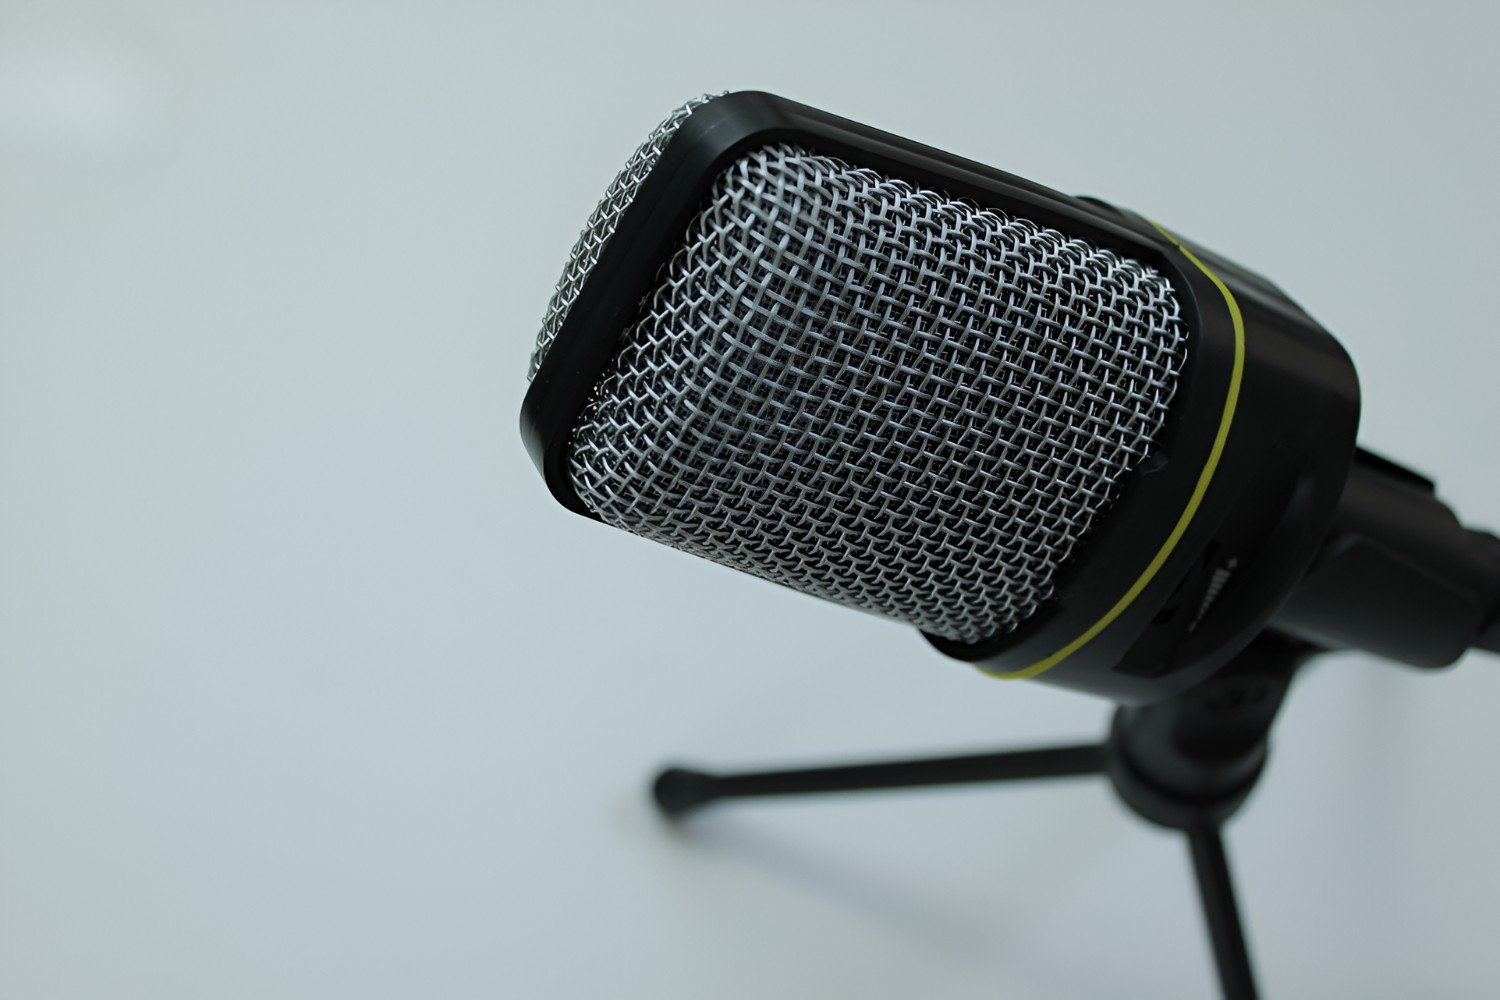
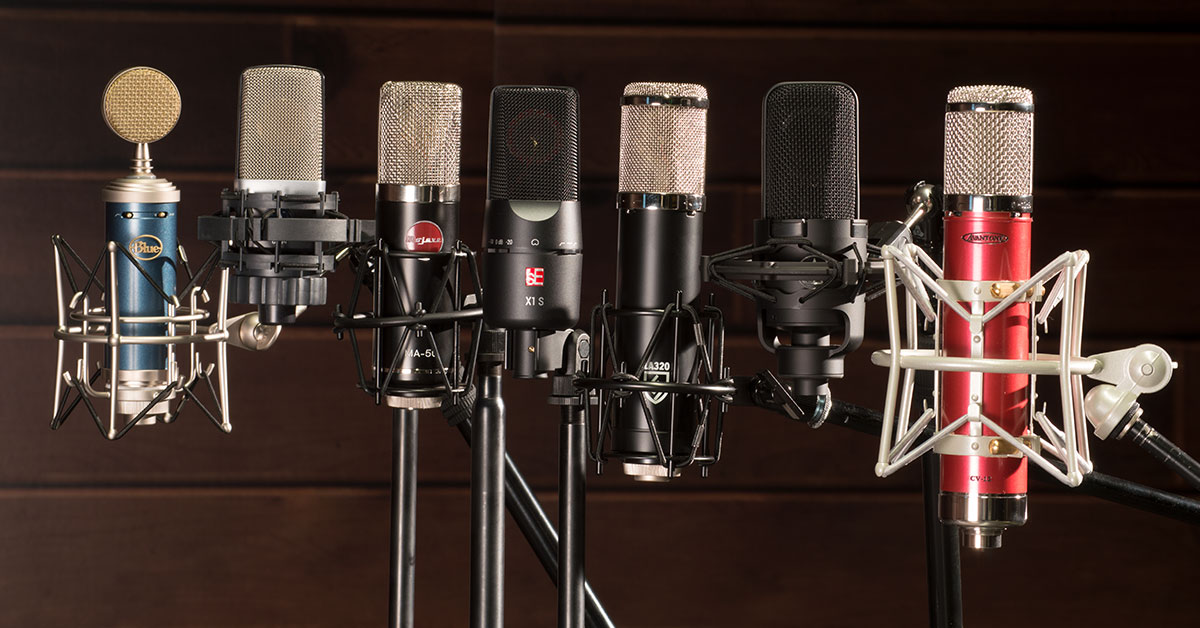
So, you've got your hands on a condenser microphone, and you're ready to take your audio recording to the next level. Whether you're a podcaster, musician, or content creator, a condenser microphone can significantly enhance the quality of your recordings. However, simply owning a condenser microphone isn't enough to guarantee top-notch audio. To truly maximize its potential, you need to know how to optimize its performance.
In this guide, we'll explore various techniques and tips to help you improve the performance of your condenser microphone. From cleaning and maintenance to optimizing its positioning and using essential accessories, we'll cover everything you need to know to elevate your audio recording game.
So, grab your condenser microphone, and let's dive into the world of audio excellence. Whether you're a seasoned pro or just starting out, there's something valuable here for everyone looking to make the most of their condenser microphone. Let's ensure that your recordings are crystal clear, professional, and truly stand out from the crowd.
Clean the Microphone
Keeping your condenser microphone clean is essential for maintaining its performance and longevity. Dust, dirt, and grime can not only affect the audio quality but also potentially damage the delicate components of the microphone. Here are some steps to ensure your microphone stays in top shape:
- Regular Dusting: Use a soft, dry brush or a microfiber cloth to gently remove any dust or debris from the microphone’s exterior. Be gentle to avoid damaging the sensitive components.
- Cleaning the Grille: The grille of the microphone can accumulate dust and particles over time, affecting the sound quality. Use a small brush or a vacuum cleaner with a soft brush attachment to carefully clean the grille.
- Disinfecting: If the microphone is used by multiple people or in a shared space, consider using a mild disinfectant spray or wipes to sanitize the exterior surfaces. Make sure to use products that are safe for electronic devices.
- Avoiding Liquids: Never spray cleaning solutions directly onto the microphone. Instead, dampen a cloth with a small amount of water or electronic-safe cleaning solution and gently wipe the surfaces. Ensure that no moisture seeps into the internal components.
By incorporating these simple cleaning practices into your microphone maintenance routine, you can ensure that your condenser microphone remains free from debris and continues to deliver pristine audio quality for years to come.
Check the Cables and Connections
Ensuring that the cables and connections of your condenser microphone are in optimal condition is crucial for achieving high-quality audio recordings. Faulty cables or poor connections can introduce unwanted noise, signal loss, or intermittent audio issues. Here’s how you can effectively inspect and maintain the cables and connections:
- Visual Inspection: Regularly examine the cables for any signs of fraying, kinks, or exposed wires. If you notice any damage, it’s important to replace the cable to prevent potential audio disruptions.
- Secure Connections: Check that the cables are securely plugged into the microphone, audio interface, or preamp. Loose connections can result in intermittent audio or signal loss, impacting the overall recording quality.
- Testing for Continuity: Use a cable tester or a multimeter to verify the continuity of the cables. This helps identify any breaks or short circuits within the cable that may affect the audio signal.
- Shielding Integrity: Ensure that the cables are adequately shielded to minimize electromagnetic interference. Shielded cables help prevent external electrical noise from degrading the audio signal.
- Connector Maintenance: Periodically clean the connectors using a contact cleaner or isopropyl alcohol to remove any dirt or oxidation that may impede the electrical connection.
By regularly inspecting and maintaining the cables and connections of your condenser microphone setup, you can mitigate potential audio issues and enjoy consistent, high-fidelity recordings without any unwanted disruptions.
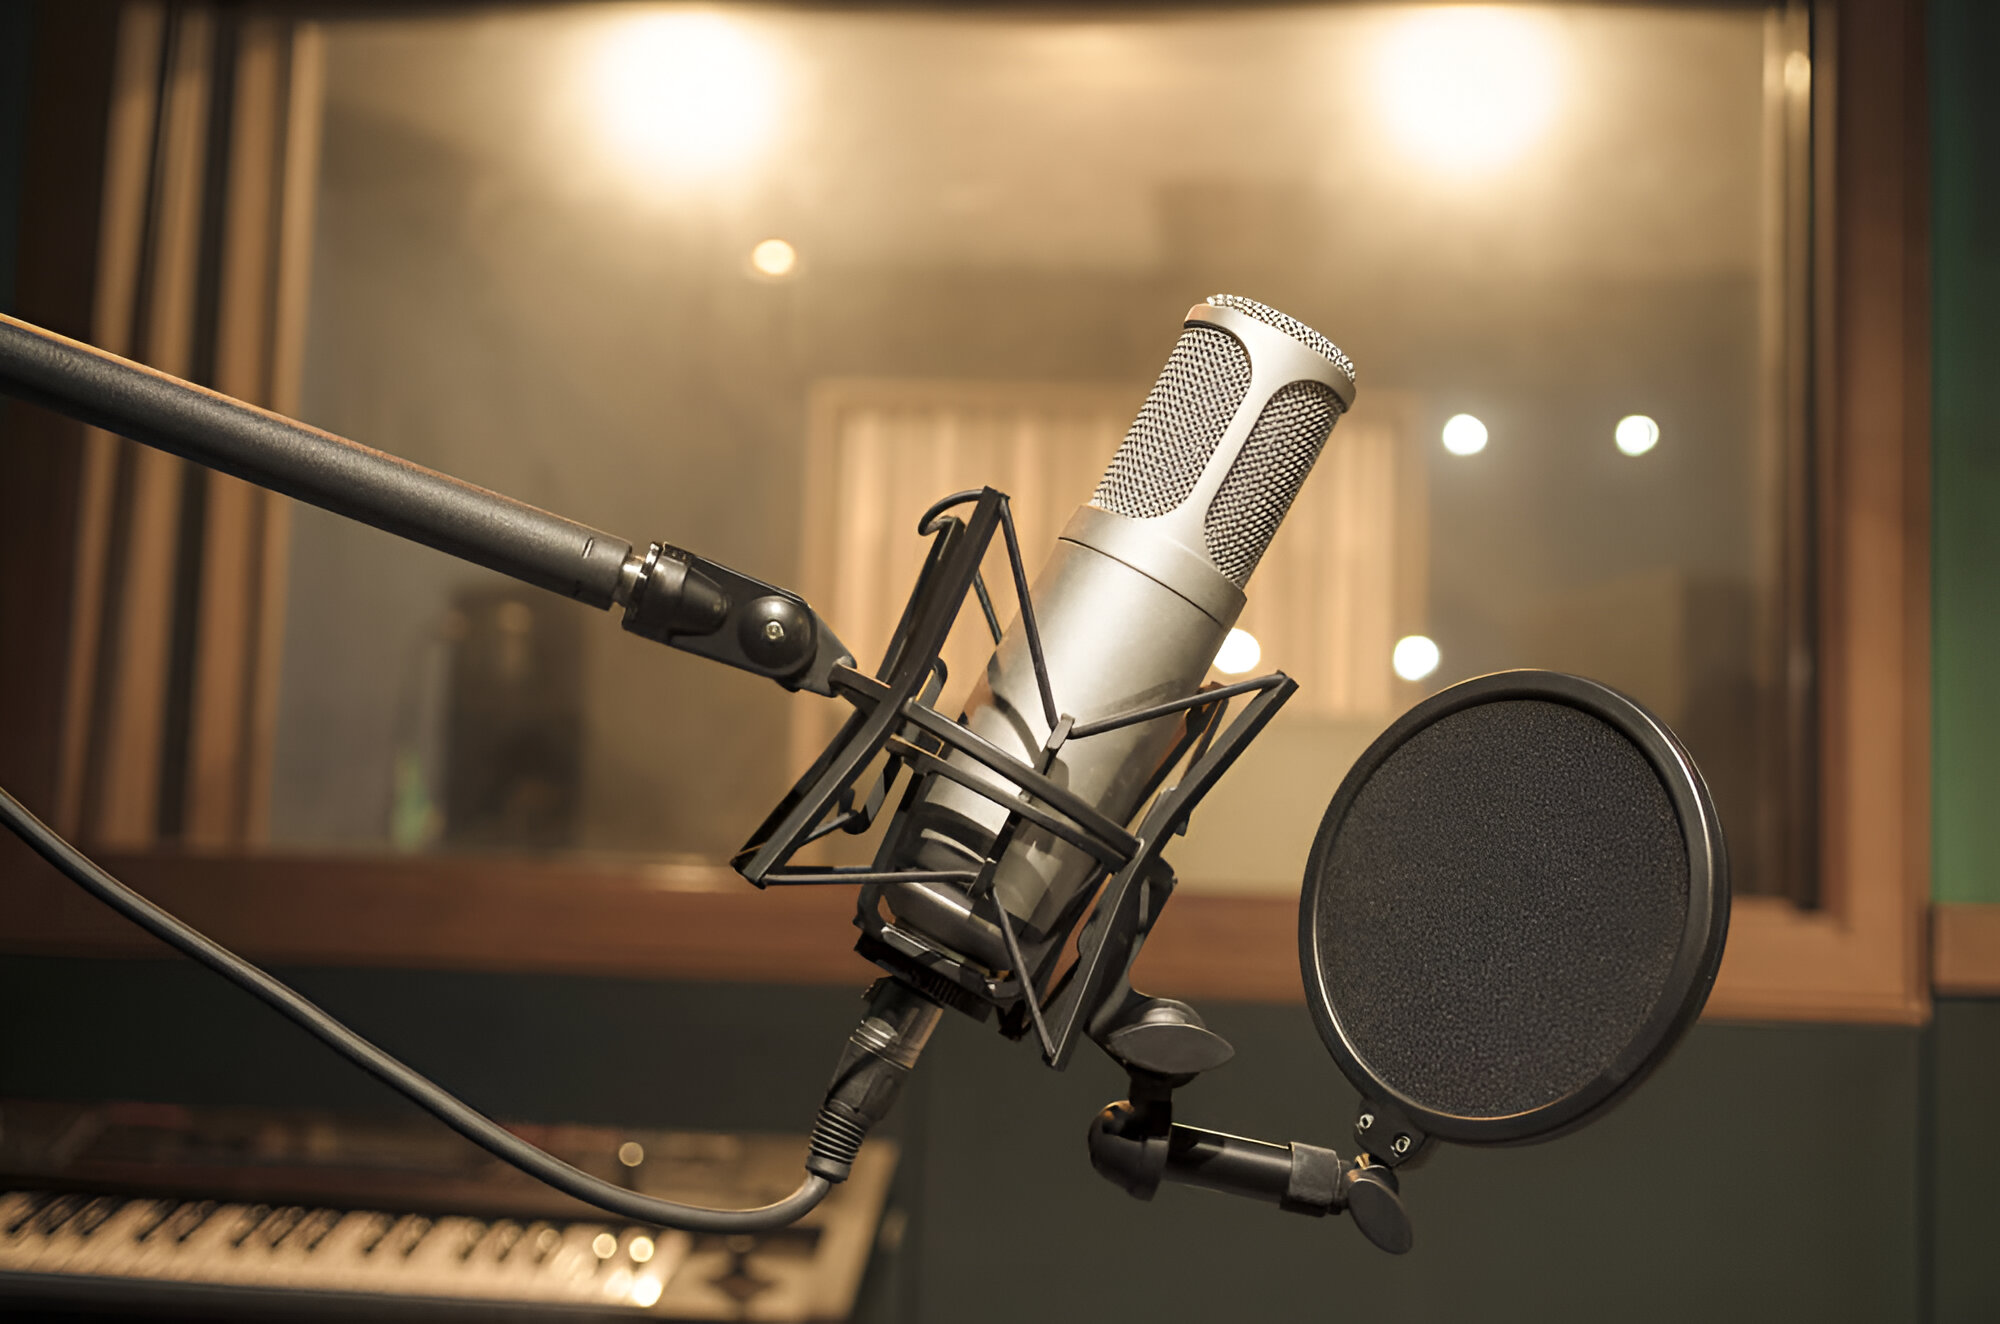
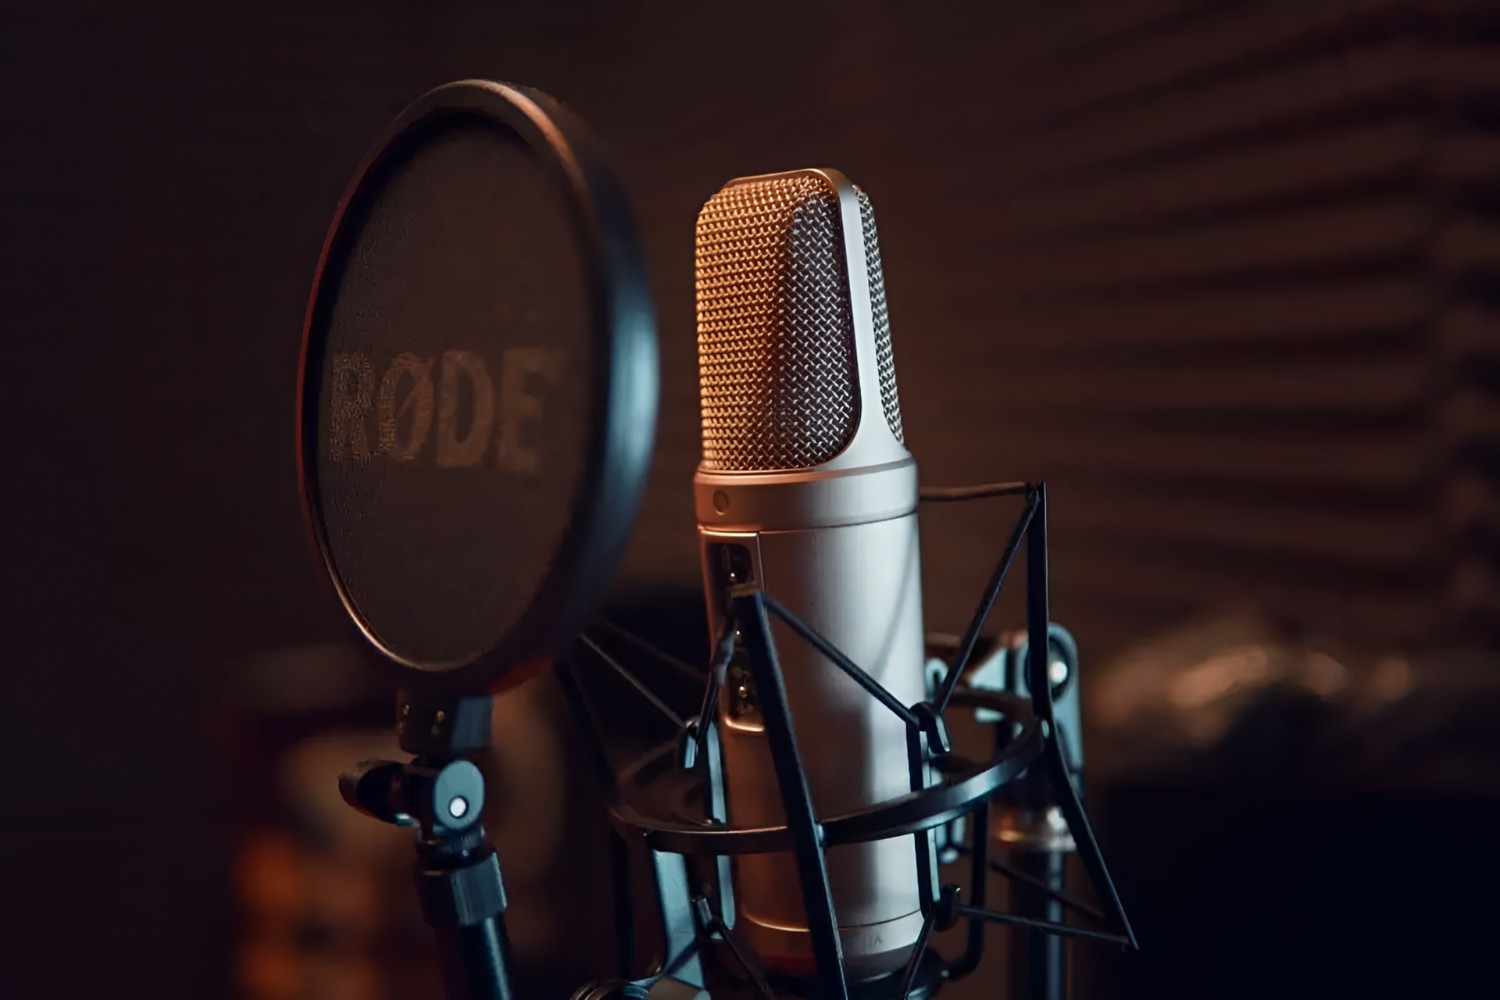
Use a Pop Filter
When it comes to achieving professional-grade audio recordings with a condenser microphone, the use of a pop filter is indispensable. A pop filter, also known as a pop shield or windscreen, serves to minimize the impact of plosive sounds and excessive air blasts on the microphone, resulting in cleaner and more intelligible vocal recordings. Here’s why and how to effectively utilize a pop filter:
- Reduction of Plosive Sounds: Plosive sounds, such as “p” and “b,” can create unwanted bursts of air that hit the microphone diaphragm, causing disruptive low-frequency pops. A pop filter acts as a barrier, diffusing these bursts and preventing them from reaching the microphone.
- Improved Clarity: By reducing plosive sounds, a pop filter helps maintain the clarity and natural tonality of vocals, ensuring that the recorded audio is free from distracting artifacts.
- Proper Placement: Position the pop filter a few inches away from the microphone, ensuring that it intercepts the airflow from the speaker’s mouth without obstructing the microphone’s diaphragm. This placement effectively mitigates plosive impacts while preserving the microphone’s sensitivity to capture vocals accurately.
- Compatibility with Various Microphones: Pop filters are designed to be compatible with a wide range of condenser microphones, featuring adjustable and flexible mounting mechanisms that allow for easy attachment and positioning.
- Maintenance and Cleaning: Regularly clean the pop filter to remove any accumulated saliva, dust, or debris that may affect its performance. Gently wiping the filter with a damp cloth or using a mild soap solution can help maintain its effectiveness.
By incorporating a pop filter into your condenser microphone setup, you can effectively mitigate plosive sounds and enhance the overall quality of vocal recordings, ensuring that your audio projects maintain a professional and polished sound.
Position the Microphone Properly
The positioning of a condenser microphone plays a pivotal role in capturing high-quality audio with optimal clarity and tonal balance. Whether you’re recording vocals, instruments, or various sound sources, understanding how to position the microphone correctly can significantly impact the overall sound quality of your recordings. Here are essential guidelines for positioning your condenser microphone:
- Distance and Angle: When recording vocals, position the microphone at a distance of approximately 6 to 8 inches from the speaker’s mouth. Adjust the angle to capture the sound accurately while minimizing off-axis coloration and reflections.
- Off-Axis Rejection: Orient the microphone to maximize its off-axis rejection, minimizing the pickup of unwanted room reflections, background noise, and other sources of interference.
- Instrument Placement: When recording instruments, experiment with the microphone placement to capture the instrument’s unique tonal characteristics. For example, positioning the microphone closer to the sound hole of an acoustic guitar can result in a different tonal quality compared to placing it near the fretboard.
- Room Acoustics: Consider the acoustic properties of the recording environment and adjust the microphone position to leverage favorable acoustics while mitigating undesirable reverberations and reflections.
- Shock Mount Usage: If available, use a shock mount to isolate the microphone from vibrations and handling noise, ensuring that the recorded audio remains free from unwanted mechanical disturbances.
By mastering the art of positioning your condenser microphone, you can capture audio with exceptional fidelity, ensuring that each recording reflects the true sonic characteristics of the source while minimizing environmental and technical artifacts.
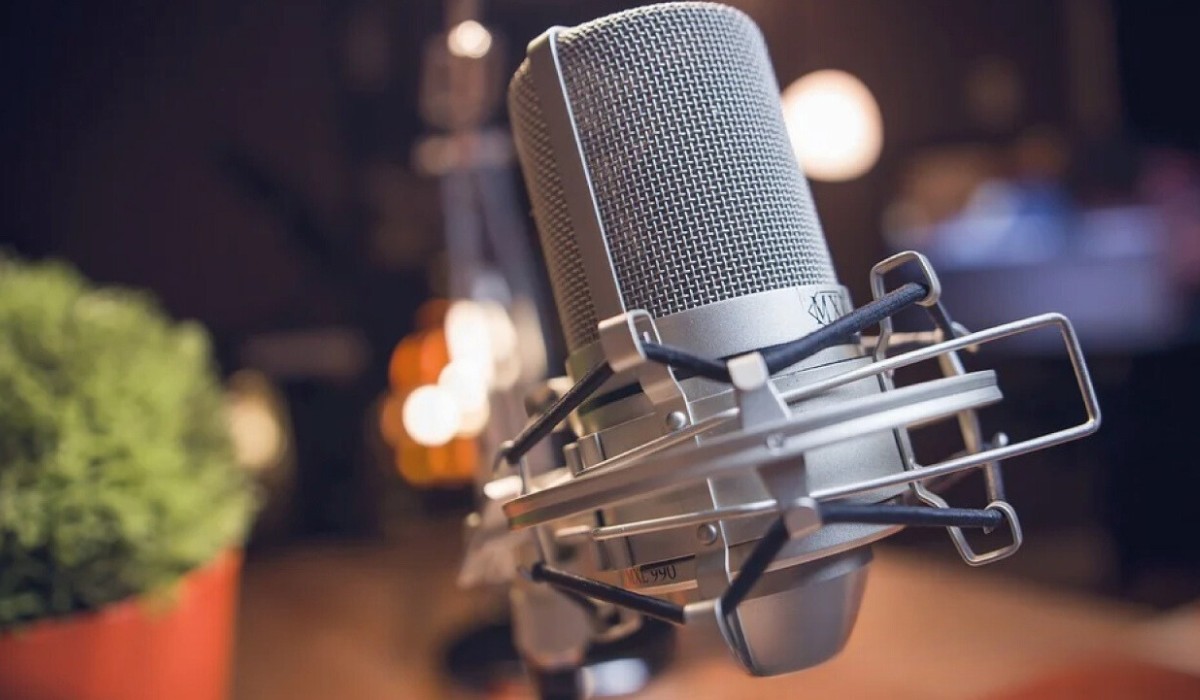
Use a Shock Mount
When it comes to capturing pristine audio with a condenser microphone, mitigating vibrations and handling noise is essential for achieving professional-quality recordings. A shock mount serves as a crucial accessory that isolates the microphone from mechanical disturbances, ensuring that the captured audio remains free from unwanted rumbles and vibrations. Here’s why and how to effectively utilize a shock mount:
- Vibration Isolation: A shock mount suspends the microphone in a cradle using elastic bands or other isolating materials, effectively decoupling it from the microphone stand or boom arm. This isolation minimizes the transfer of vibrations and shocks, preserving the purity of the recorded audio.
- Handling Noise Reduction: When the microphone is handled or repositioned during recording sessions, a shock mount reduces the transmission of handling noise, ensuring that the resulting audio is devoid of unwanted mechanical disturbances.
- Compatibility and Adjustability: Shock mounts are designed to accommodate various condenser microphone models, featuring adjustable mounting mechanisms that allow for secure attachment and positioning. Ensure that the shock mount is compatible with your microphone’s form factor and dimensions.
- Studio and Live Performance Applications: Whether used in a studio setting or during live performances, a shock mount provides consistent protection against vibrations, making it an indispensable tool for capturing clean and undisturbed audio across different applications.
- Maintenance and Inspection: Periodically inspect the shock mount for any signs of wear, damage, or loss of elasticity in the suspension bands. Replace any worn or damaged components to maintain the shock mount’s effectiveness.
By incorporating a shock mount into your condenser microphone setup, you can ensure that your recordings are free from the detrimental effects of handling noise and vibrations, allowing you to capture audio with pristine clarity and professional-grade fidelity.
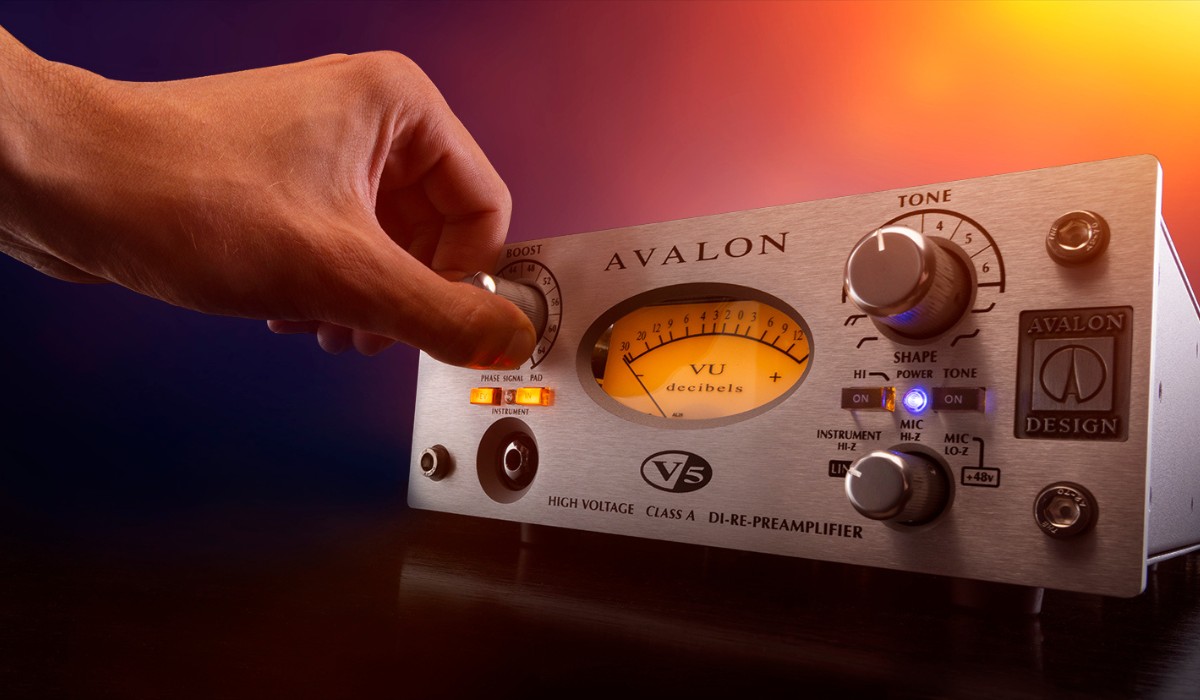
Adjust the Gain and Levels
Properly adjusting the gain and levels of your condenser microphone is essential for achieving optimal signal-to-noise ratio and preventing audio distortion. Whether you’re recording vocals, instruments, or any other sound source, mastering the art of gain staging and level control can significantly impact the overall quality of your recordings. Here are important considerations for adjusting the gain and levels of your condenser microphone:
- Initial Gain Setting: Set the microphone’s preamp or interface gain at an appropriate level to ensure that the recorded signal is robust enough to capture the desired audio without introducing excessive noise.
- Microphone Sensitivity: Be mindful of the microphone’s sensitivity and adjust the gain accordingly. High-sensitivity microphones may require lower gain settings to prevent overloading the input stage of the recording chain.
- Monitoring Levels: Use headphones or studio monitors to monitor the input levels while making adjustments. Aim for a healthy signal level that avoids clipping while maximizing the signal-to-noise ratio.
- Dynamic Range Consideration: When recording sources with varying dynamics, such as vocals with soft whispers and powerful belting, ensure that the gain setting accommodates the full dynamic range without clipping the loudest passages.
- Post-Processing Considerations: If the recorded signal will undergo additional processing, such as compression or equalization, leave ample headroom by setting the initial gain lower to prevent potential clipping after processing.
By mastering the art of adjusting the gain and levels of your condenser microphone, you can capture audio with optimal clarity, dynamic range, and fidelity, ensuring that your recordings maintain a professional and polished sound without succumbing to noise or distortion.
Use a Windscreen
When recording in outdoor or challenging indoor environments, a windscreen is an invaluable accessory for your condenser microphone, effectively mitigating the impact of wind noise and environmental disturbances. Whether you’re capturing field recordings, interviews, or live performances, a windscreen helps maintain the integrity of the recorded audio by minimizing unwanted artifacts caused by air movement. Here’s why and how to effectively utilize a windscreen:
- Wind Noise Reduction: In outdoor settings, wind can create disruptive low-frequency rumble and turbulence that adversely affect the microphone’s diaphragm. A windscreen acts as a barrier, diffusing and attenuating the impact of wind noise, ensuring that the recorded audio remains clear and free from unwanted artifacts.
- Protection from Plosive Sounds: In addition to reducing wind noise, a windscreen helps mitigate plosive sounds when recording vocals in outdoor or uncontrolled environments. It acts as a pop filter, intercepting bursts of air and preventing them from reaching the microphone diaphragm.
- Compatibility and Design: Windscreens are available in various designs and sizes to accommodate different condenser microphone models. Choose a windscreen that securely fits over your microphone, providing an effective barrier against wind and other environmental disturbances.
- Indoor Applications: Even in indoor settings, a windscreen can be beneficial for reducing breath noise, air conditioning hum, and other subtle environmental artifacts that may compromise the clarity of the recorded audio.
- Maintenance and Cleaning: Regularly inspect and clean the windscreen to remove any accumulated dust, moisture, or debris. Gently washing the windscreen with a mild soap solution and allowing it to air dry can help maintain its effectiveness.
By incorporating a windscreen into your condenser microphone setup, you can effectively mitigate the impact of wind noise and environmental disturbances, ensuring that your recordings maintain a professional and polished sound, regardless of the recording environment.
Conclusion
Mastering the art of optimizing and leveraging the capabilities of your condenser microphone is essential for achieving professional-quality audio recordings across various applications. By implementing the techniques and utilizing the essential accessories discussed in this guide, you can elevate the performance of your condenser microphone and capture audio with pristine clarity, fidelity, and professionalism.
From maintaining cleanliness and inspecting cables to utilizing accessories such as pop filters, shock mounts, and windscreens, each aspect contributes to the overall quality and integrity of your recordings. Proper positioning, gain adjustment, and the thoughtful use of wind protection further enhance the capabilities of your condenser microphone, ensuring that it excels in diverse recording scenarios.
Whether you’re a musician, podcaster, content creator, or audio enthusiast, the knowledge and application of these techniques empower you to unleash the full potential of your condenser microphone, allowing you to create captivating and immersive audio experiences for your audience.
As you continue to refine your recording techniques and explore the creative possibilities of your condenser microphone, remember that attention to detail, regular maintenance, and a keen understanding of your equipment are key elements in achieving exceptional audio quality.
Embrace the art and science of audio recording, and let your condenser microphone be the conduit through which your sonic visions are brought to life with unparalleled clarity and impact.