Introduction
Welcome to the world of condenser microphones! Whether you are a seasoned audio engineer or a budding musician, understanding how to make the most of your condenser microphone can significantly enhance the quality of your recordings. In this guide, we will delve into the intricacies of using a condenser microphone, from understanding its unique characteristics to optimizing its performance for various recording scenarios.
Condenser microphones are renowned for their exceptional sensitivity and ability to capture detailed sound nuances with remarkable clarity. Unlike dynamic microphones, which are commonly used for live performances and recording loud sound sources, condenser microphones excel in capturing the subtle nuances of vocals, acoustic instruments, and ambient sounds.
By exploring the fundamental principles of condenser microphones and learning how to set them up effectively, you can elevate the quality of your recordings and unleash your creative potential. Additionally, we will delve into various recording techniques specifically tailored to condenser microphones, equipping you with the knowledge to capture professional-grade audio in diverse settings.
Whether you are embarking on a podcasting venture, recording vocals for a music project, or capturing the intricate details of acoustic instruments, this guide will empower you to harness the full potential of your condenser microphone. Get ready to embark on a sonic journey as we unravel the art and science of recording with a condenser microphone.
Understanding Condenser Microphones
Condenser microphones, also known as capacitor microphones, are revered for their exceptional sensitivity and ability to capture a wide frequency range with unparalleled clarity. Unlike dynamic microphones, which employ a coil and magnet to generate an audio signal, condenser microphones utilize an electrically-charged diaphragm and a backplate to convert sound waves into electrical signals.
One of the defining characteristics of condenser microphones is their ability to capture subtle nuances and transient details with remarkable precision. This makes them ideal for recording vocals, acoustic instruments, and ambient sounds where fidelity and accuracy are paramount. Additionally, condenser microphones exhibit a flatter frequency response compared to dynamic microphones, allowing for a more faithful reproduction of the original sound source.
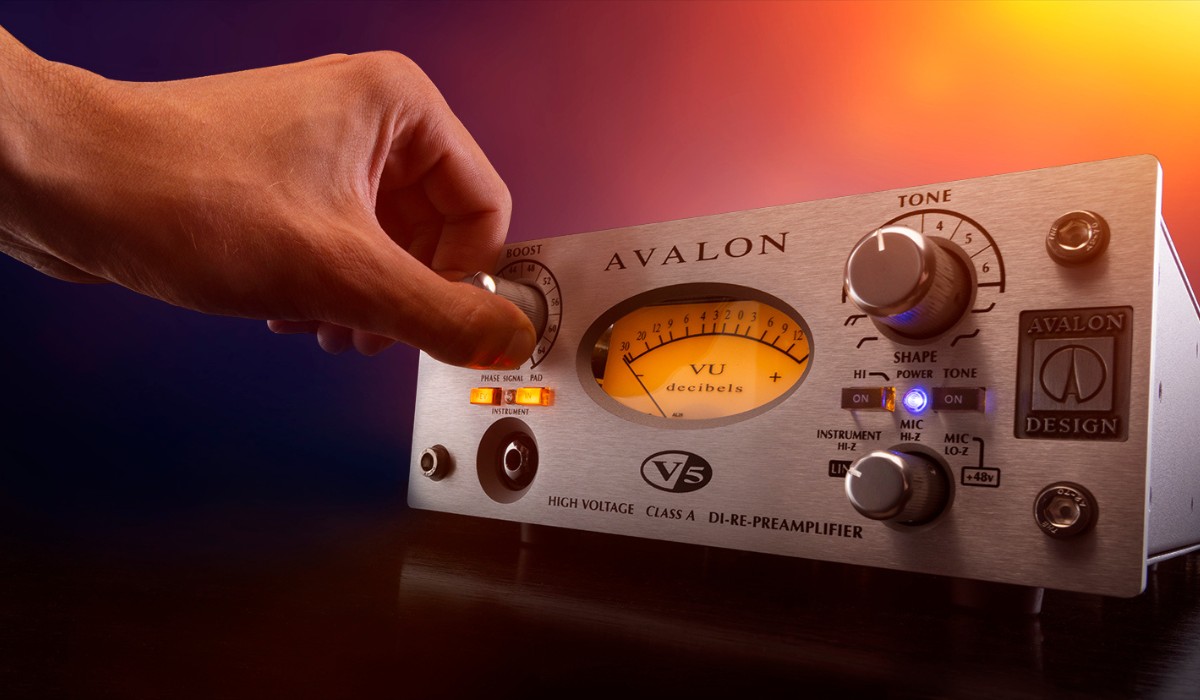
It’s important to note that condenser microphones require a power source to polarize the diaphragm and operate effectively. This power, known as phantom power, is typically supplied through the microphone preamplifier or audio interface. Some condenser microphones also feature internal batteries or external power supplies to facilitate their operation.
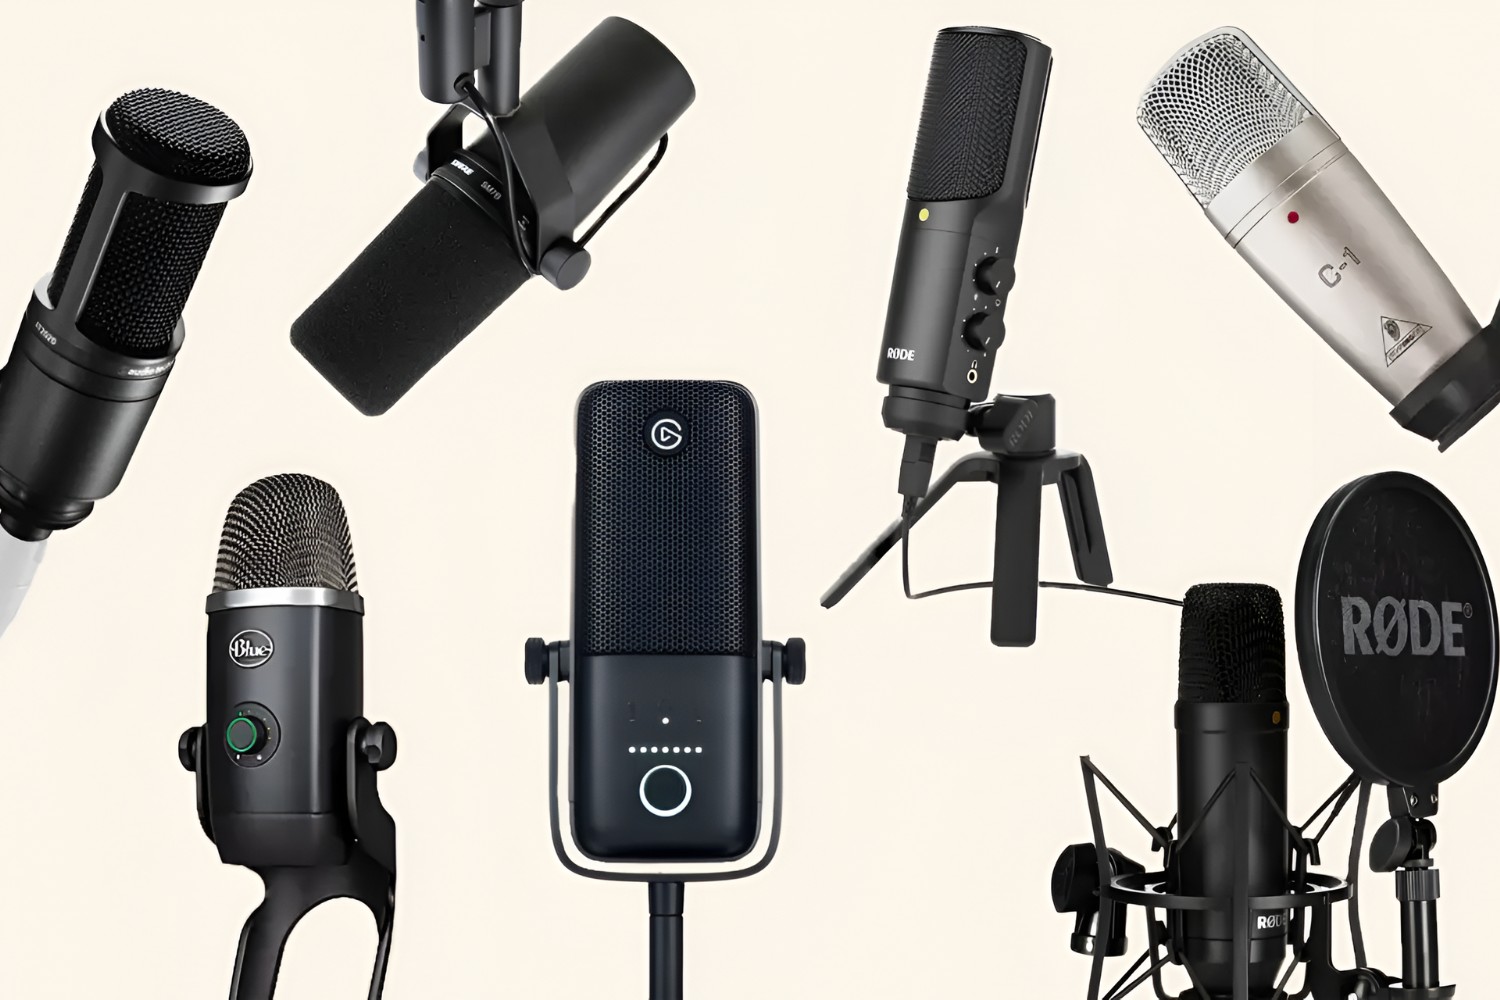
When it comes to polar patterns, condenser microphones offer a diverse range of options, including cardioid, omnidirectional, figure-8, and multipattern configurations. Each polar pattern has distinct characteristics that affect the microphone’s sensitivity to sound from different directions, making condenser microphones versatile tools for various recording applications.
Understanding the unique properties of condenser microphones is essential for harnessing their full potential in recording scenarios. By grasping the intricacies of their design, polar patterns, and power requirements, you can make informed decisions when selecting and utilizing condenser microphones to achieve professional-grade audio recordings.
Setting Up Your Condenser Microphone
Properly setting up your condenser microphone is crucial for obtaining optimal audio quality and ensuring a smooth recording process. Whether you are preparing for a vocal session, podcast recording, or instrumental performance, following these essential steps will help you harness the full potential of your condenser microphone.
1. Phantom Power: Before connecting your condenser microphone, ensure that your audio interface, mixer, or preamplifier provides phantom power. This power source is essential for energizing the microphone’s internal components and enabling it to capture sound accurately. Most condenser microphones require 48 volts of phantom power, so verify that your equipment meets this requirement.
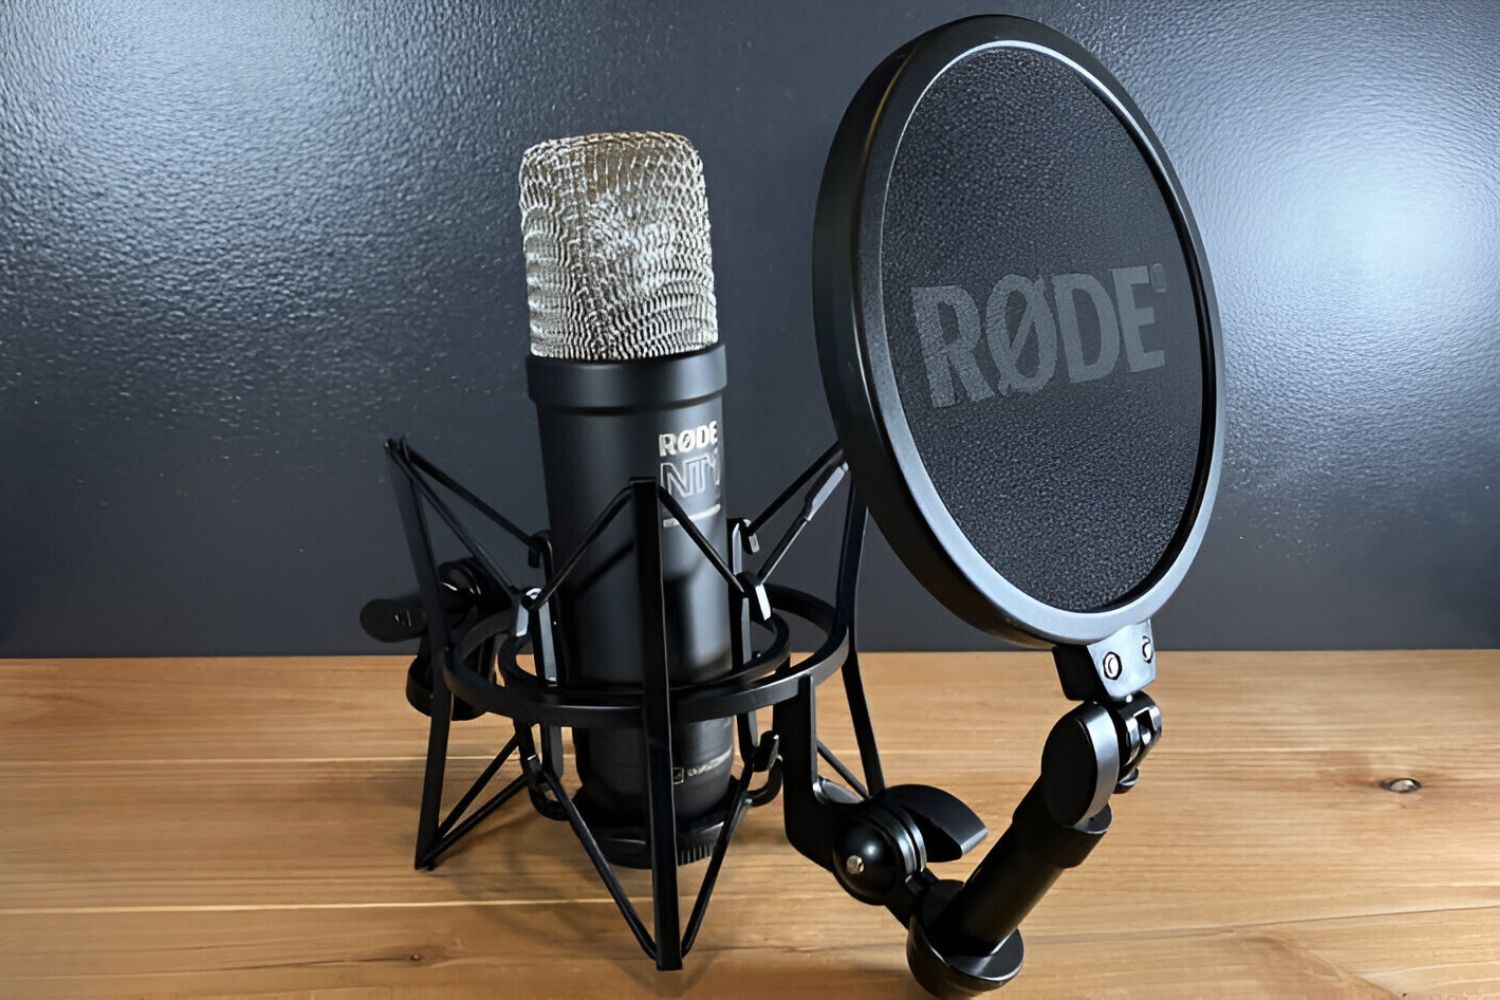
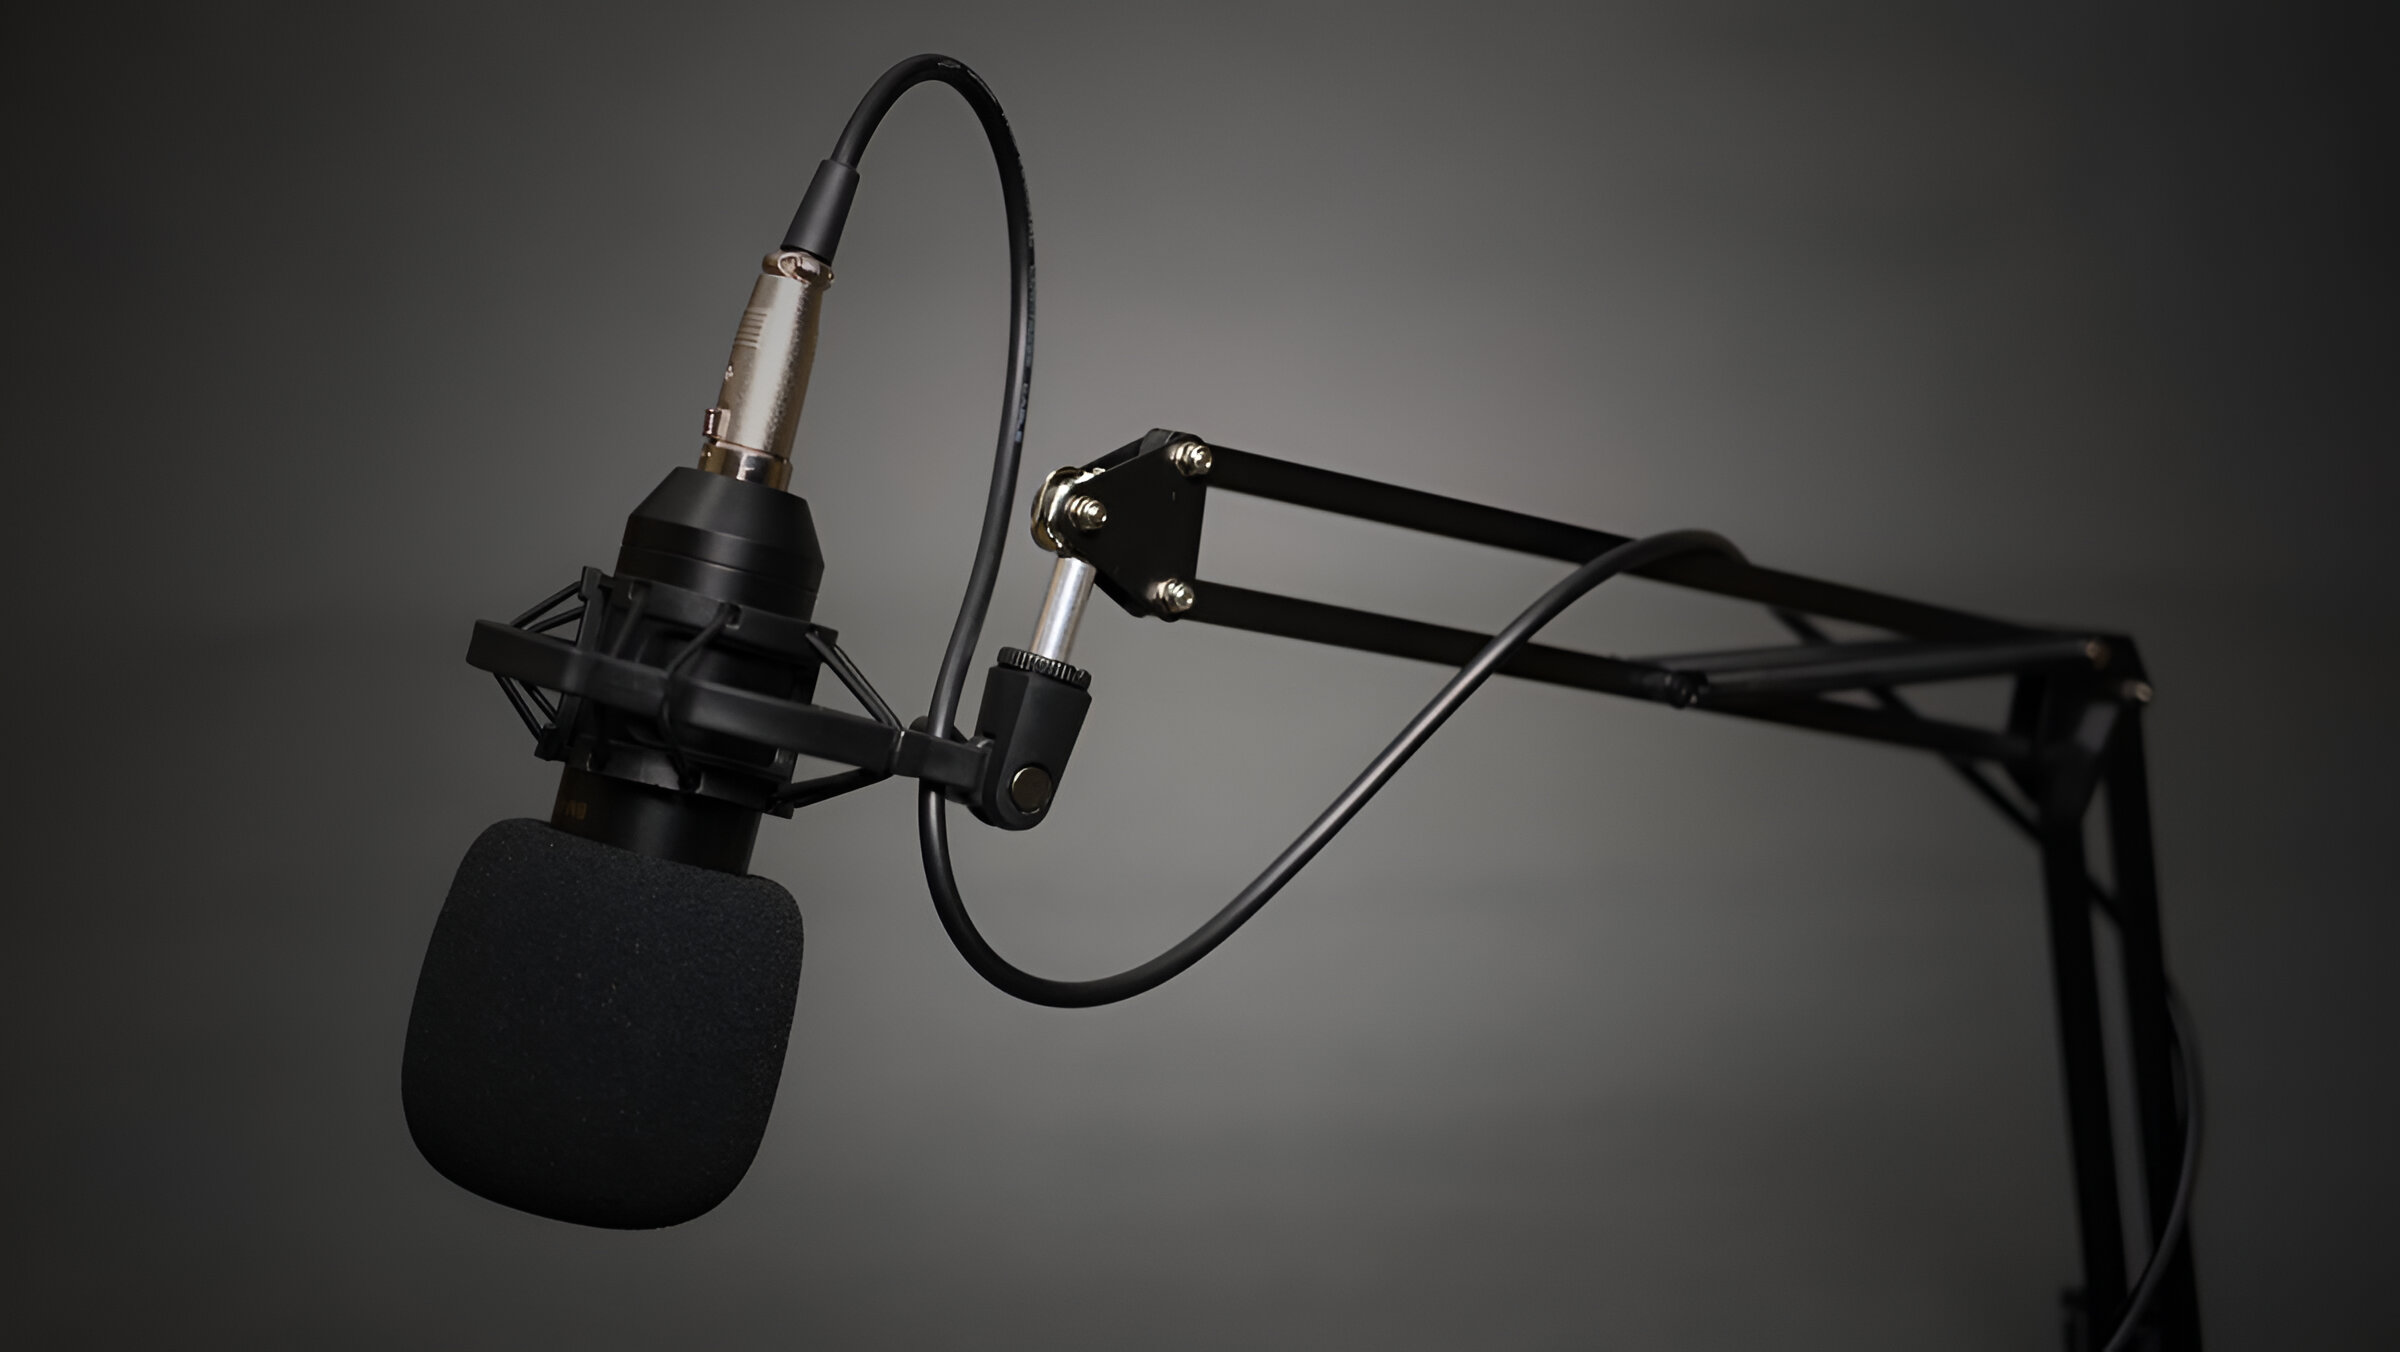
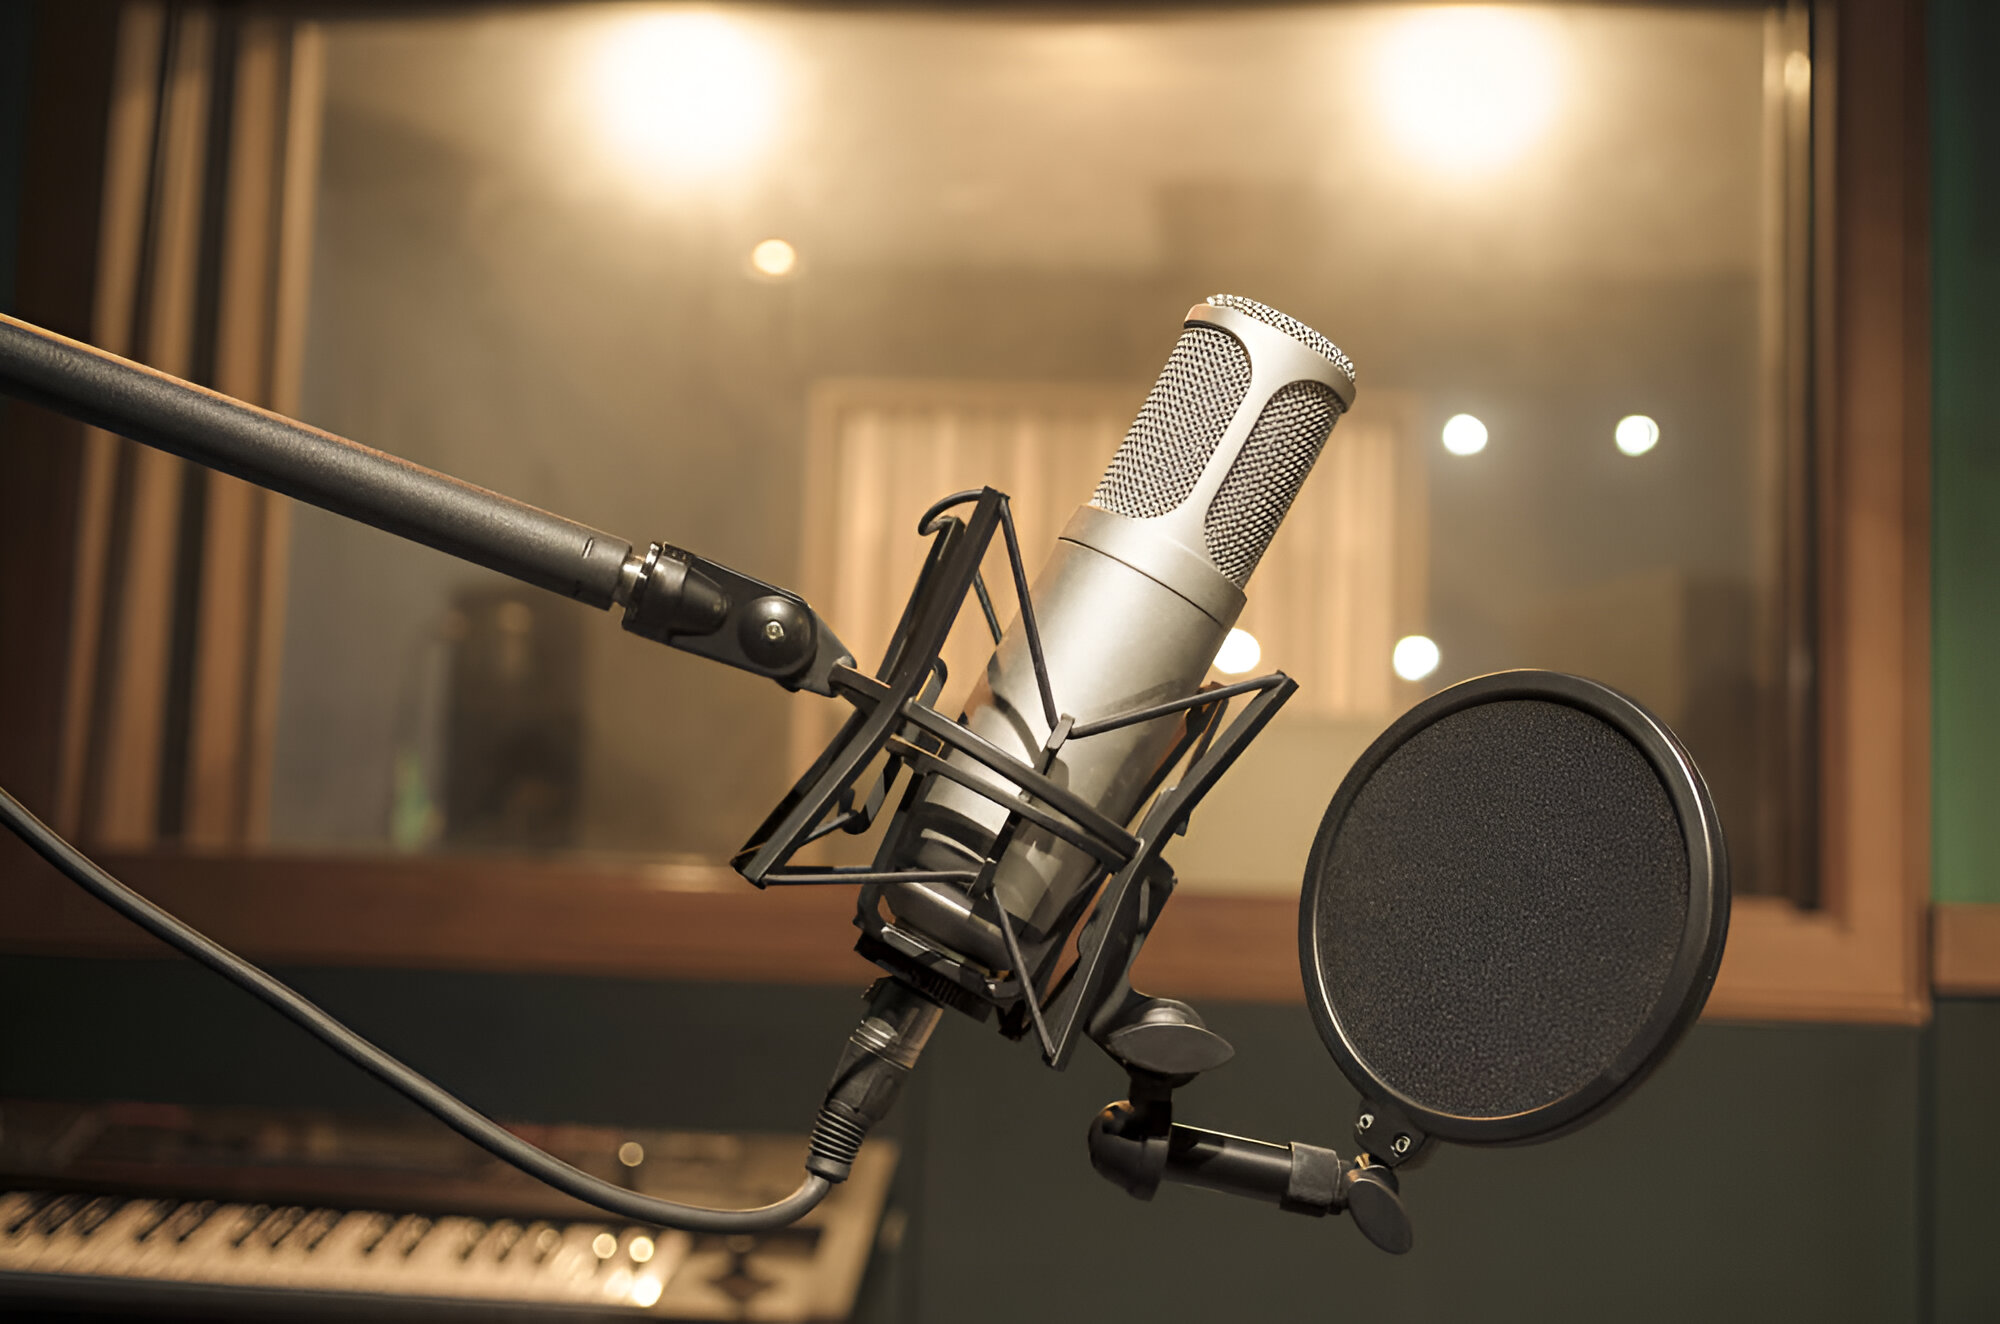
2. Connection: Use an XLR cable to connect your condenser microphone to the audio interface or preamplifier. Ensure that the connections are secure to prevent any signal interference or audio dropout during recording. Additionally, consider using a shock mount or microphone stand to minimize vibrations and ensure a stable setup.
3. Positioning: Experiment with microphone placement to achieve the desired sound. For vocals, position the microphone at a comfortable distance from the performer, typically around 6 to 12 inches, and adjust the angle to capture the best tonal characteristics. When recording instruments, such as acoustic guitar or piano, explore different placement options to capture the instrument’s unique timbre and resonance.
4. Pop Filter: Attaching a pop filter to the microphone can mitigate plosive sounds and sibilance, resulting in cleaner vocal recordings. The pop filter acts as a barrier between the performer and the microphone, reducing the impact of bursts of air that can cause unwanted sonic artifacts.
5. Monitor Levels: Use headphones or studio monitors to monitor the microphone’s input levels and ensure that the signal is neither too low, risking noise contamination, nor too high, risking distortion. Adjust the input gain on your audio interface or preamplifier to achieve an optimal recording level without clipping the signal.
By meticulously setting up your condenser microphone and paying attention to critical details such as phantom power, connection integrity, microphone positioning, and monitoring levels, you can create an ideal environment for capturing pristine audio recordings with exceptional clarity and fidelity.
Recording Techniques for Condenser Microphones
When it comes to capturing audio with condenser microphones, employing the right recording techniques can significantly impact the overall sound quality and character of the recordings. Whether you are recording vocals, acoustic instruments, or ambient sounds, understanding the nuances of various recording techniques is essential for achieving professional-grade results.
1. Vocal Recording: For vocal recordings, utilizing a cardioid condenser microphone is a popular choice due to its focused pickup pattern and ability to isolate the vocalist’s voice. Position the microphone slightly above the performer’s mouth to capture a balanced tonal quality while minimizing plosives and sibilance. Experiment with different distances and angles to find the optimal placement that complements the vocalist’s voice.
2. Instrumental Recording: When recording acoustic instruments, such as guitars, pianos, or string instruments, consider using a pair of condenser microphones in a stereo configuration to capture the instrument’s natural stereo image and spatial characteristics. Techniques such as XY, ORTF, and spaced pair can be employed to achieve immersive stereo recordings that convey the instrument’s depth and resonance.
3. Room Ambiance: Condenser microphones excel in capturing the ambience and spatial characteristics of a recording environment. To leverage this capability, experiment with room miking techniques by placing the microphone at a distance from the sound source to capture the reverberation and natural acoustics of the space. This approach is particularly effective for capturing the ambiance of live performances, ensemble recordings, and acoustic ensembles.
4. Close-Miking: In scenarios where intimate and detailed sound capture is desired, employing close-miking techniques with condenser microphones can yield exceptional results. By positioning the microphone in close proximity to the sound source, such as a guitar soundhole, drum kit component, or percussion instrument, you can capture the intricate details and nuances with precision, enhancing the overall sonic texture of the recordings.
5. Overhead Miking: For capturing the full scope of a sound source, such as a drum kit or ensemble, utilizing condenser microphones as overhead mics can provide a balanced and expansive representation of the entire sound field. By carefully positioning the microphones above the sound source, you can capture the instrument’s tonal balance, spatial imaging, and transient details, contributing to a cohesive and immersive audio capture.
By incorporating these recording techniques tailored to condenser microphones, you can unlock the full potential of these versatile audio capture tools and elevate the quality of your recordings across diverse musical and sonic landscapes.
Tips for Getting the Best Sound Quality
Obtaining the best sound quality from your condenser microphone involves a combination of technical know-how, creative exploration, and attention to detail. By implementing the following tips, you can enhance the sonic fidelity and capture stunning audio recordings that resonate with depth and clarity.
- Optimize Room Acoustics: Pay attention to the acoustic characteristics of your recording environment. Minimize reflective surfaces and consider acoustic treatment to reduce unwanted reverberations and ensure a controlled recording space. This can significantly enhance the clarity and focus of your recordings.
- Experiment with Microphone Placement: Don’t hesitate to experiment with different microphone placements to discover the optimal positioning for capturing the desired sound. Small adjustments in microphone placement can yield significant variations in tonal characteristics and spatial imaging, allowing you to tailor the sound to your preferences.
- Use High-Quality Cables and Connectors: Invest in high-quality XLR cables and connectors to maintain signal integrity and minimize signal degradation. Reliable cables and connectors contribute to a stable and noise-free signal flow, preserving the sonic nuances captured by the condenser microphone.
- Monitor Signal Levels: Continuously monitor the input levels to ensure that the signal remains within an optimal range. Avoid overloading the microphone preamplifier or audio interface, as this can lead to distortion, while excessively low levels may introduce unwanted noise during post-production.
- Employ Post-Processing Techniques Judiciously: While condenser microphones capture detailed sound with exceptional fidelity, subtle post-processing techniques such as EQ, compression, and reverb can further enhance the recordings. Exercise restraint and apply processing judiciously to preserve the natural character of the captured audio.
- Maintain Proper Mic Hygiene: Regularly clean the microphone diaphragm and grille to prevent the accumulation of dust, debris, and moisture, which can affect the microphone’s frequency response and overall performance. Proper maintenance ensures consistent and reliable operation of the condenser microphone.
- Consider Ambient Noise: Be mindful of ambient noise sources in your recording environment. Minimize background noise and distractions to maintain a pristine recording environment, allowing the condenser microphone to capture the intended sound sources with exceptional clarity and focus.
By embracing these tips and integrating them into your recording practices, you can elevate the sonic quality of your recordings, unleash the full potential of your condenser microphone, and embark on a captivating audio production journey filled with rich, immersive soundscapes.