Introduction
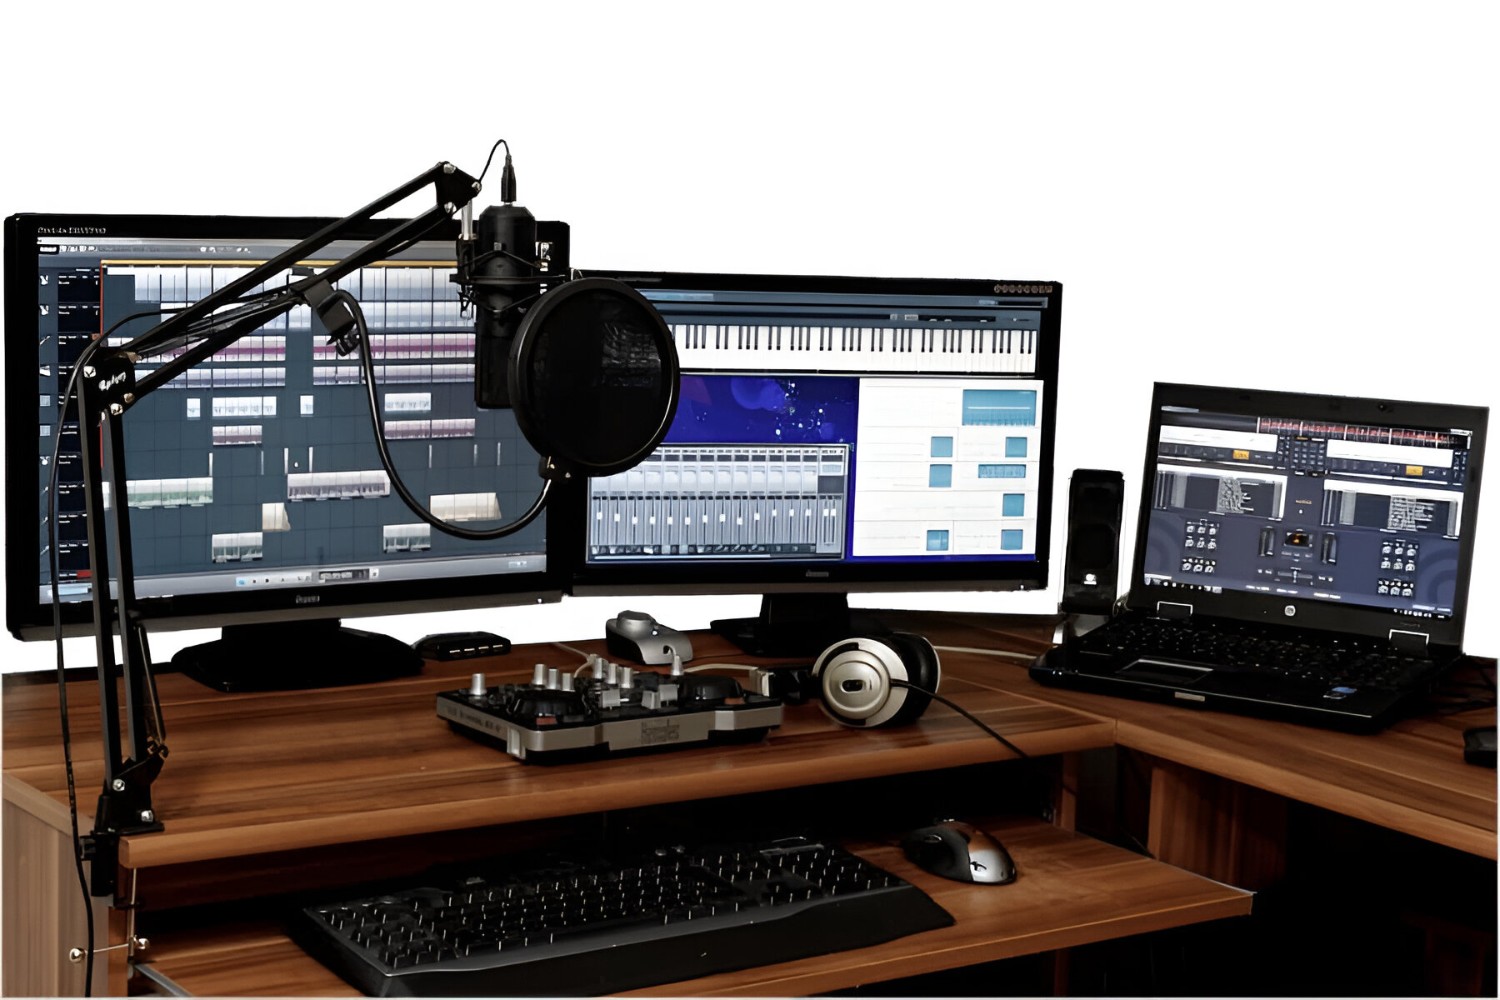
Are you a Mac user looking to step up your audio game for podcasting, voiceovers, music recording, or video conferencing? Connecting a condenser microphone to your Mac can significantly enhance the audio quality of your recordings and communications. However, the process of connecting a condenser microphone to a Mac may initially seem daunting, especially for those new to the world of audio equipment and technology. Fear not, as this guide will walk you through the steps to seamlessly connect your condenser microphone to your Mac, ensuring that you can start capturing high-quality audio in no time.
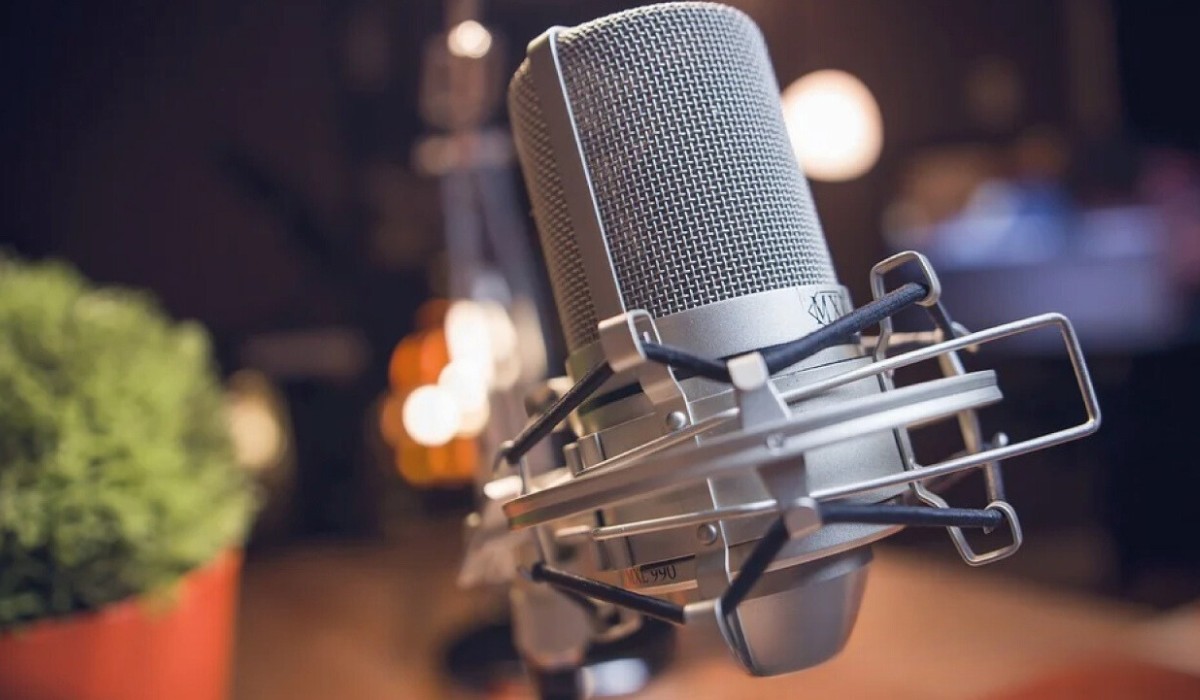
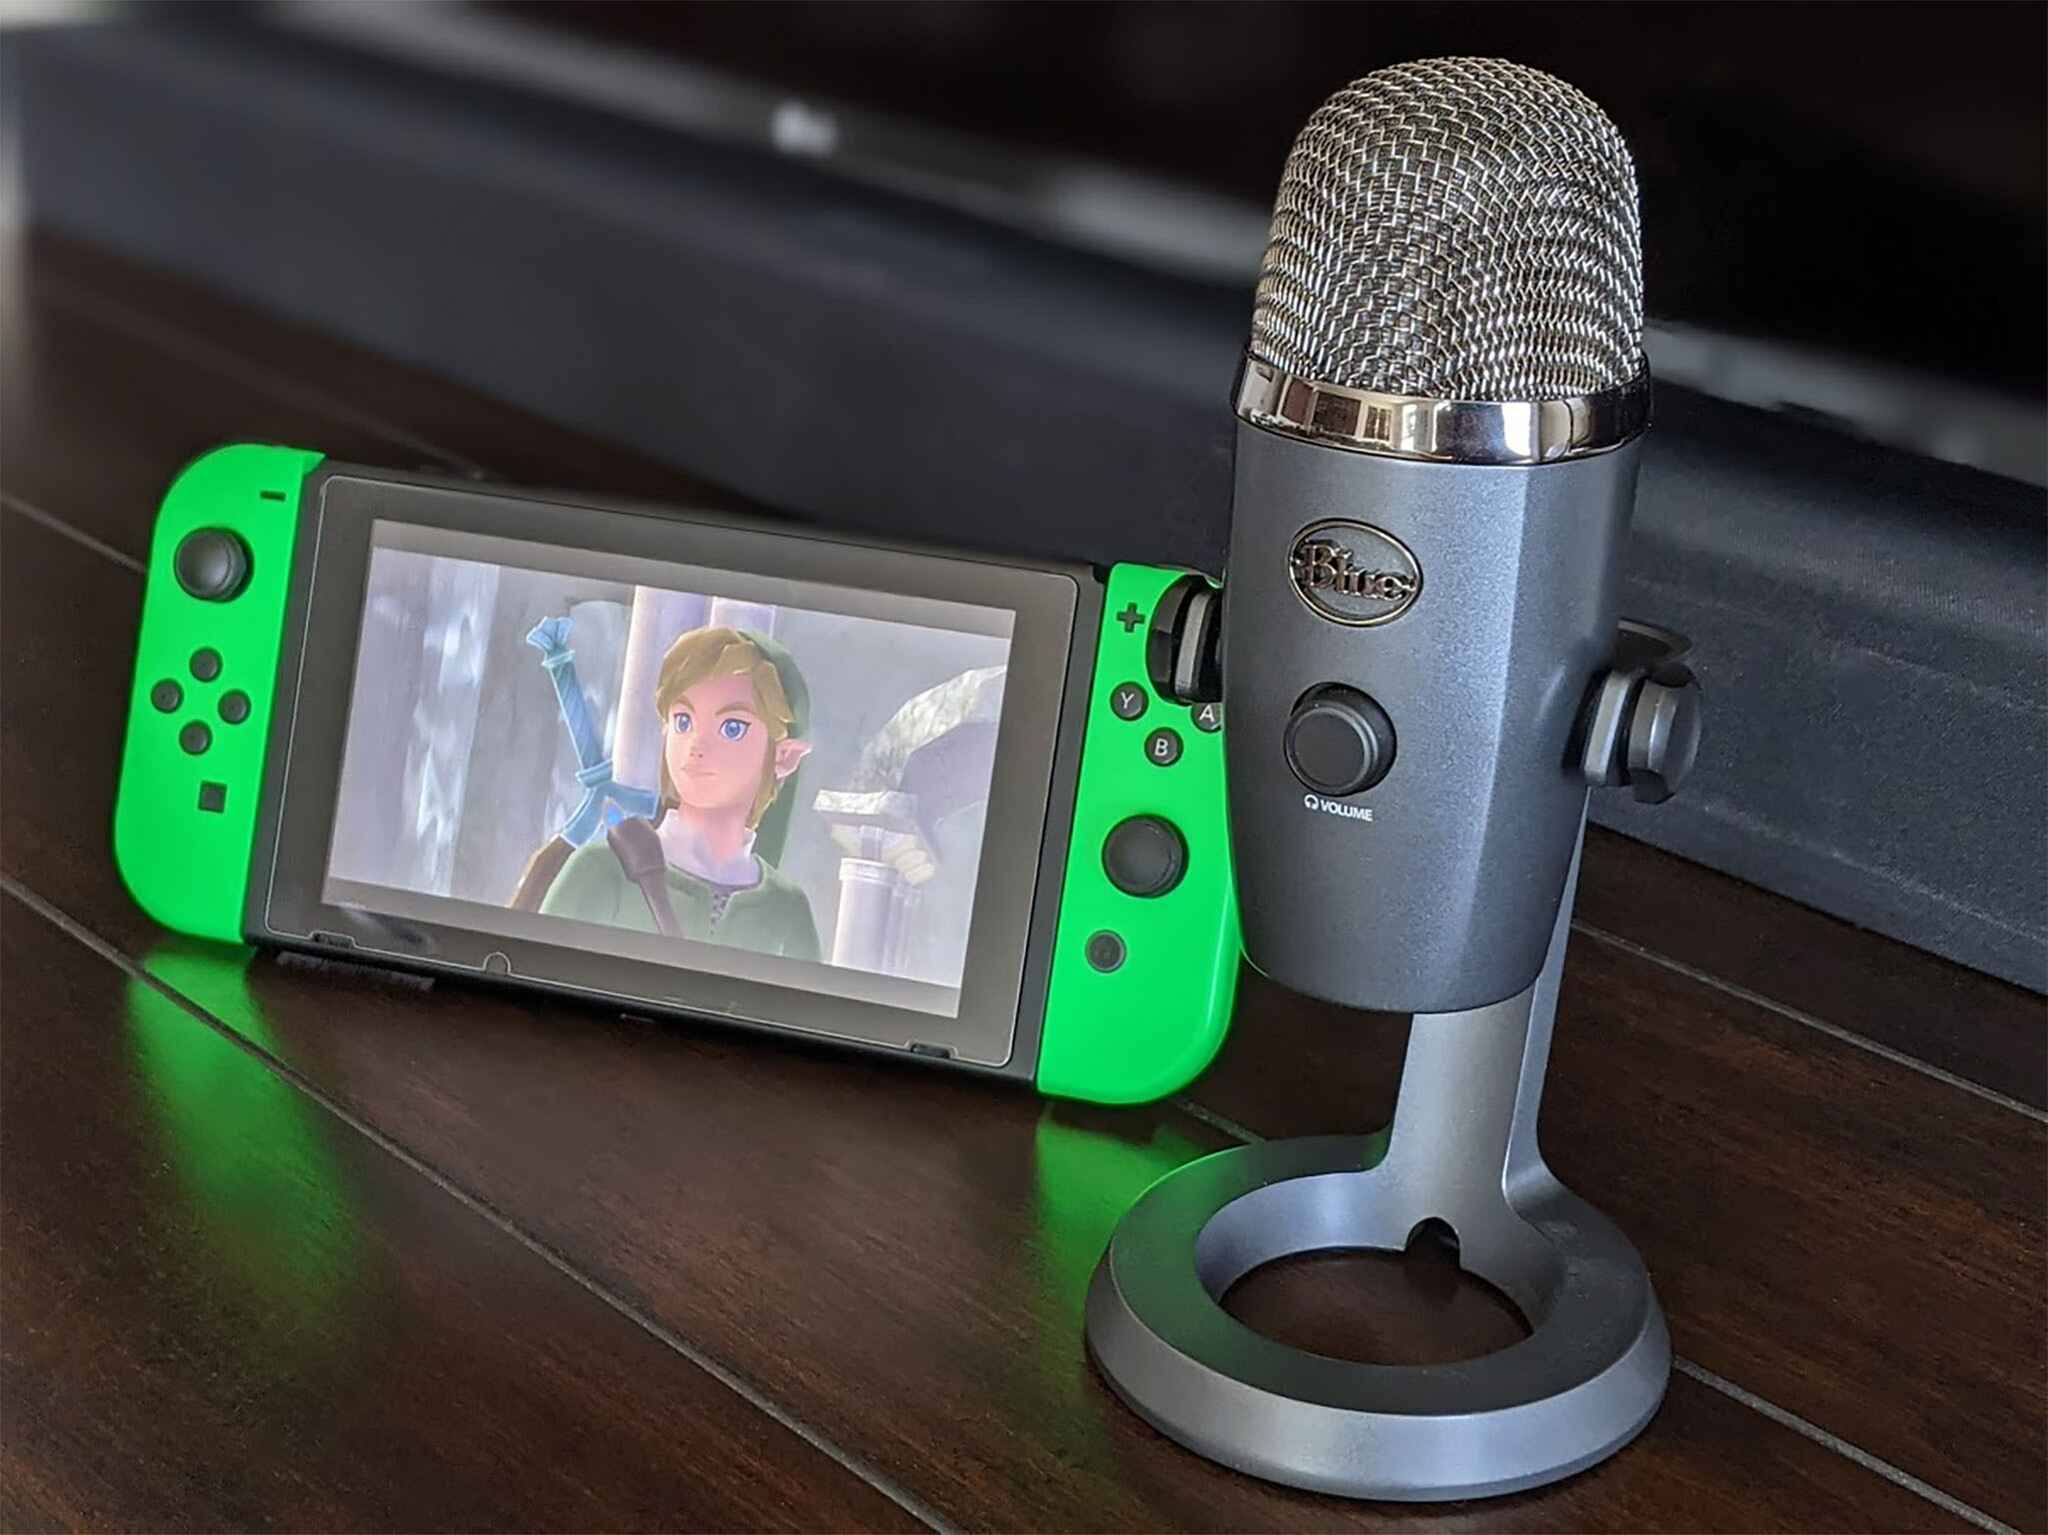
Condenser microphones are renowned for their exceptional sensitivity and ability to capture detailed sound, making them a popular choice for professional and amateur audio enthusiasts alike. Unlike dynamic microphones, condenser microphones require external power to operate, and they often produce clearer and more nuanced recordings. However, their power requirements and output connections differ from those of dynamic microphones, necessitating specific considerations when connecting them to a Mac.
In this comprehensive guide, we will delve into the intricacies of condenser microphones, explore the various connection methods available, and provide step-by-step instructions for setting up your condenser microphone on your Mac. Whether you are a content creator, musician, podcaster, or simply someone who values high-quality audio, this guide will empower you to harness the full potential of your condenser microphone with your Mac.
By the end of this guide, you will have the knowledge and confidence to connect your condenser microphone to your Mac using the most suitable method for your specific needs. With a few simple steps, you can elevate the audio quality of your recordings and unleash the full potential of your condenser microphone, opening up a world of creative possibilities and professional-grade sound reproduction. Let's embark on this exciting journey to seamlessly integrate your condenser microphone with your Mac and unlock the power of superior audio capture.
Understanding Condenser Microphones
Before delving into the technicalities of connecting a condenser microphone to your Mac, it’s essential to grasp the fundamental characteristics and operational principles of condenser microphones. Unlike dynamic microphones, which utilize electromagnetic induction to generate an electrical signal, condenser microphones operate on a different principle, relying on the variation in capacitance between two charged plates to convert sound waves into electrical signals.
Condenser microphones, also known as capacitor microphones, consist of a diaphragm, a backplate, and a charged capacitor (or condenser). When sound waves strike the diaphragm, it vibrates, causing the distance between the diaphragm and the backplate to change. This variation in distance alters the capacitance of the capacitor, resulting in the generation of an electrical signal proportional to the sound waves. This mechanism endows condenser microphones with exceptional sensitivity and the ability to capture subtle nuances in sound, making them ideal for recording vocals, acoustic instruments, and ambient sounds.
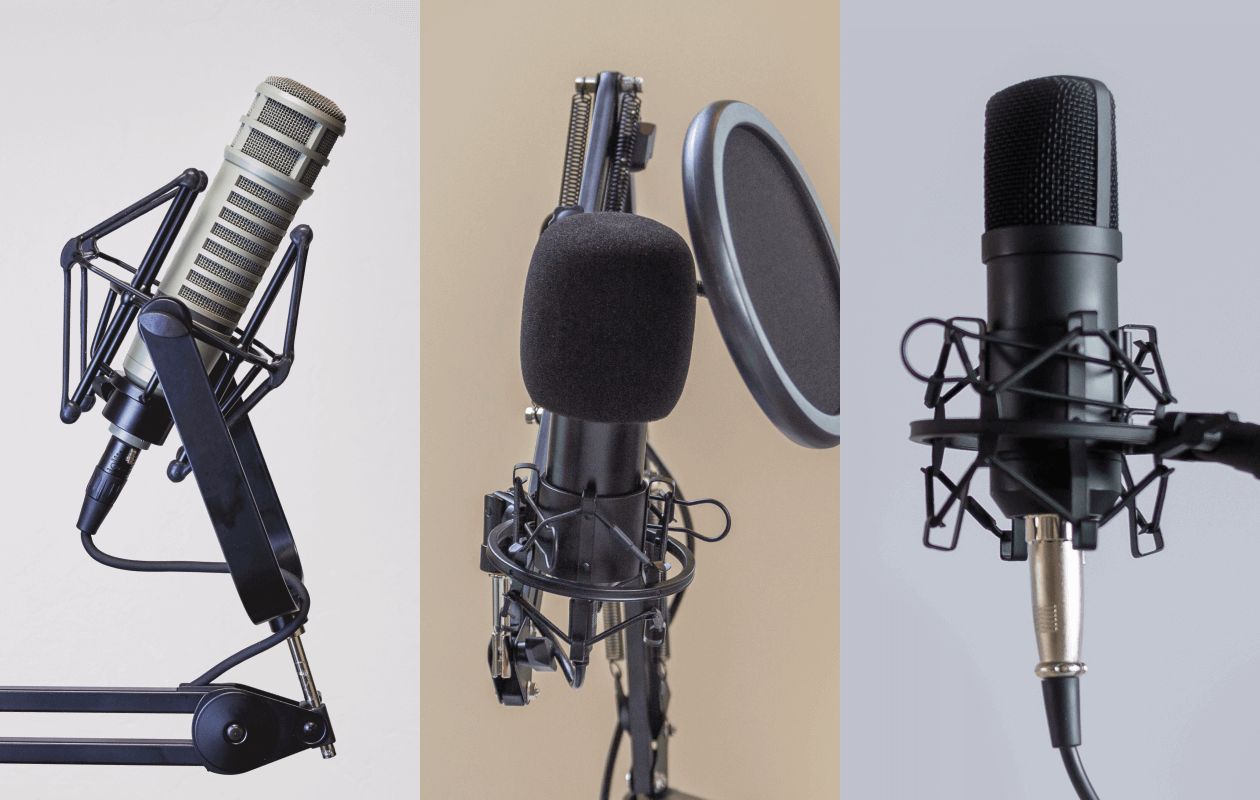
It’s important to note that condenser microphones require an external power source to polarize the charged capacitor and facilitate the conversion of sound waves into electrical signals. This power, often referred to as phantom power, is typically supplied through an audio interface, mixer, or dedicated power supply. Additionally, condenser microphones come in two main varieties: large-diaphragm and small-diaphragm. Large-diaphragm condenser microphones are renowned for their warm and rich sound, making them popular for vocal recording and studio applications, while small-diaphragm condenser microphones excel in capturing detailed transients and are commonly used for acoustic instruments and field recording.
Understanding the operational principles and unique characteristics of condenser microphones is crucial for selecting the right microphone and connection method for your specific recording needs. Whether you’re aiming to capture the subtle tonal nuances of a vocal performance or the intricate details of an acoustic instrument, the inherent sensitivity and precision of condenser microphones make them indispensable tools for audio professionals and enthusiasts alike.
Choosing the Right Connection Method
When it comes to connecting a condenser microphone to your Mac, selecting the appropriate connection method is pivotal in ensuring optimal audio quality and compatibility. The choice of connection method largely depends on the type of condenser microphone you have, the available input options on your Mac, and your specific recording or communication requirements. Two primary connection methods are commonly utilized: using a USB audio interface or employing an XLR to USB adapter.
Using a USB Audio Interface:
A USB audio interface serves as a bridge between your condenser microphone and your Mac, providing preamps, analog-to-digital conversion, and connectivity options. This method is ideal for condenser microphones with XLR outputs, as most USB audio interfaces feature XLR inputs with built-in preamps, enabling you to connect your microphone directly to the interface. Additionally, USB audio interfaces offer various input/output configurations, headphone monitoring capabilities, and adjustable gain settings, empowering you to achieve professional-grade recordings with low latency and high fidelity.
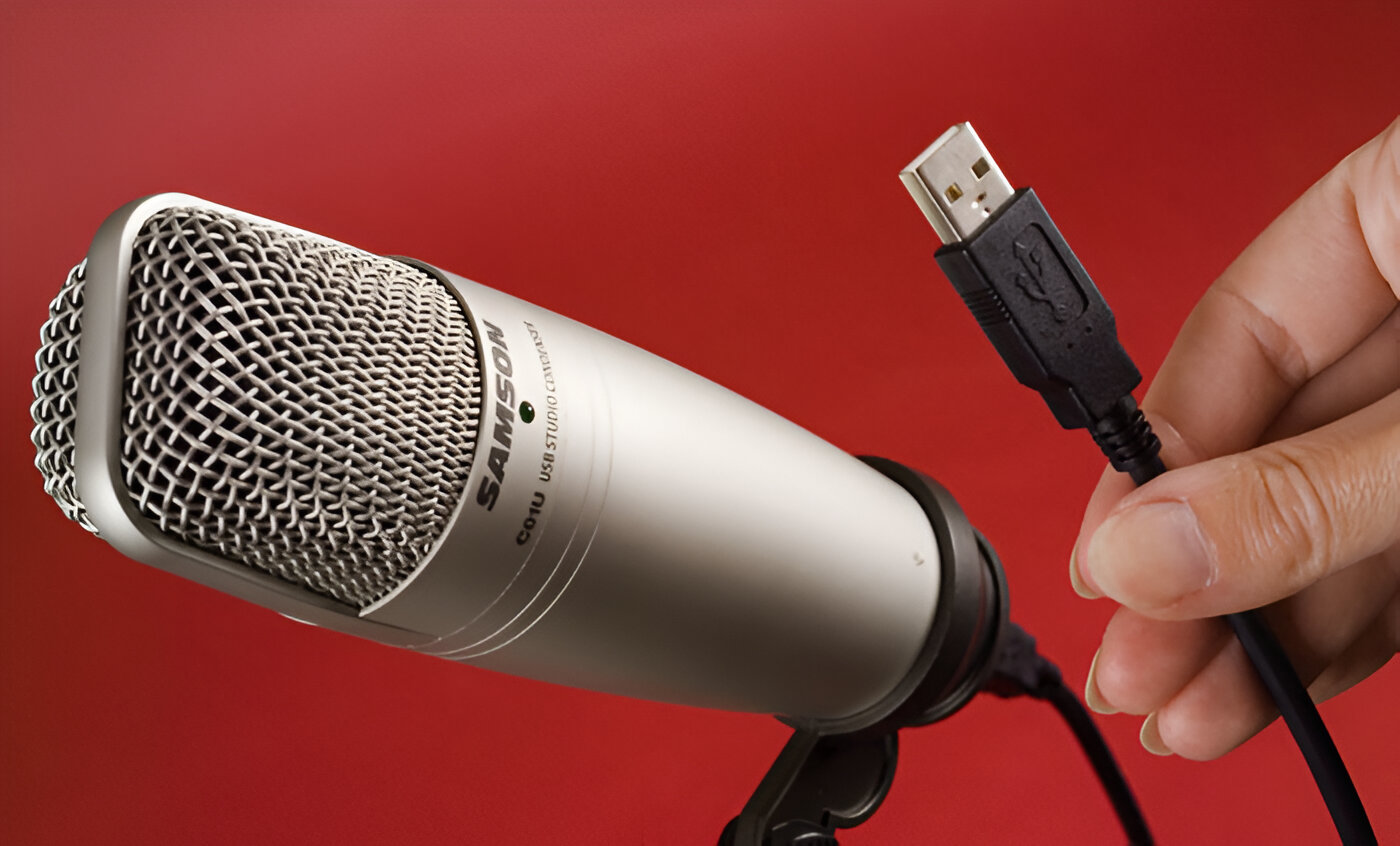
Using an XLR to USB Adapter:
If you possess a condenser microphone with an XLR output and your Mac lacks XLR inputs, an XLR to USB adapter presents a convenient solution. These adapters are designed to convert the analog signal from your microphone into a digital signal that can be directly connected to a USB port on your Mac. While XLR to USB adapters may not offer the same level of control and signal processing capabilities as USB audio interfaces, they provide a straightforward and cost-effective means of connecting your condenser microphone to your Mac, making them suitable for casual recording, podcasting, and voiceover applications.
When deciding on the most suitable connection method for your condenser microphone and Mac, it’s essential to consider factors such as input/output compatibility, desired recording quality, portability, and budget. By carefully evaluating these considerations and understanding the unique features and limitations of each connection method, you can make an informed decision that aligns with your specific audio production and recording objectives.
Using a USB Audio Interface
Utilizing a USB audio interface to connect your condenser microphone to your Mac offers a versatile and professional-grade solution for capturing high-quality audio. USB audio interfaces are equipped with essential components such as preamps, analog-to-digital converters, and connectivity options, making them indispensable tools for audio recording and production. When integrating a condenser microphone with a USB audio interface, several key steps should be followed to ensure seamless operation and optimal sound capture.
Connecting Your Condenser Microphone:
Begin by connecting your condenser microphone to the XLR input on the USB audio interface. Most USB audio interfaces feature XLR inputs with built-in preamps, allowing you to directly connect your microphone and benefit from the interface’s signal processing and gain control capabilities. Ensure that the microphone is securely connected and that the interface is powered on and recognized by your Mac.
Adjusting Input Gain and Monitoring:
Once the microphone is connected, adjust the input gain on the USB audio interface to achieve an optimal signal level without introducing distortion or noise. Most interfaces provide visual indicators or level meters to assist in setting the input gain accurately. Additionally, utilize the headphone monitoring output on the interface to listen to the microphone input in real time, enabling you to monitor the sound and make adjustments as necessary.
Configuring Input Settings on Your Mac:
Access the sound settings or audio preferences on your Mac to select the USB audio interface as the input device. This step ensures that your condenser microphone’s signal is routed through the interface and recognized by your recording or communication software. Depending on your specific recording application, you may need to adjust the input settings within the software to accommodate the microphone and interface configuration.
By harnessing the capabilities of a USB audio interface, you can leverage advanced signal processing, low-latency monitoring, and versatile connectivity options to elevate the audio quality of your recordings and productions. Whether you’re capturing vocals, instruments, or ambient sounds, the integration of a condenser microphone with a USB audio interface empowers you to achieve professional-grade results with precision and ease.
Using an XLR to USB Adapter
When connecting a condenser microphone with an XLR output to your Mac, employing an XLR to USB adapter offers a straightforward and efficient method for transforming the analog signal from your microphone into a digital format compatible with your computer. XLR to USB adapters are designed to bridge the gap between traditional XLR microphones and USB-equipped devices, providing a convenient solution for recording, podcasting, voiceovers, and other audio applications.
Connecting Your Condenser Microphone:
Begin by connecting the XLR output of your condenser microphone to the input of the XLR to USB adapter. Ensure that the connections are secure and that the adapter is powered, if required. Some XLR to USB adapters are equipped with built-in preamps and gain controls, allowing you to adjust the microphone signal level directly on the adapter.
Connecting to Your Mac:
Once your microphone is connected to the XLR to USB adapter, plug the USB end of the adapter into an available USB port on your Mac. The adapter will be recognized as an audio input device by your computer, enabling you to utilize the condenser microphone for recording, voice communication, or any other audio-related tasks. Depending on the adapter model, additional drivers or software may need to be installed to ensure seamless compatibility with your Mac.
Configuring Input Settings:
Access the sound settings or audio preferences on your Mac to select the XLR to USB adapter as the input device. This step ensures that your condenser microphone’s signal is routed through the adapter and recognized by your recording or communication software. Adjust the input gain and settings within the software as needed to optimize the microphone signal for your specific application.
By leveraging an XLR to USB adapter, you can effortlessly connect your condenser microphone to your Mac without the need for a dedicated audio interface, making it a convenient and cost-effective solution for casual recording and communication needs. Whether you’re conducting remote meetings, recording podcasts, or capturing vocals, the versatility and simplicity of an XLR to USB adapter empower you to harness the full potential of your condenser microphone with ease.
Setting Up the Microphone on Your Mac
Once you have chosen the appropriate connection method for your condenser microphone, the next step involves setting up the microphone on your Mac to ensure seamless integration and optimal performance. Whether you have opted for a USB audio interface or an XLR to USB adapter, configuring the microphone settings on your Mac is essential for achieving high-quality audio capture and ensuring compatibility with your recording or communication software.
Accessing System Preferences:
Begin by accessing the “System Preferences” on your Mac and navigating to the “Sound” or “Audio” settings. Here, you can select the input device that corresponds to your connected condenser microphone. If you are using a USB audio interface, it should appear as an available input device, while an XLR to USB adapter will similarly be recognized as an audio input device. Select the appropriate input device to designate your condenser microphone as the primary audio input for your Mac.
Adjusting Input Levels:
Once the condenser microphone is selected as the input device, you can adjust the input levels to optimize the signal strength and prevent distortion. Depending on your specific recording or communication requirements, you may need to fine-tune the input levels to achieve the desired balance between signal clarity and volume. Many USB audio interfaces and XLR to USB adapters feature gain controls or input level adjustments, allowing you to refine the microphone input directly from the device.
Monitoring and Testing:
Before proceeding with your recording or communication tasks, it’s advisable to monitor and test the microphone input to ensure that it is functioning as intended. Utilize the headphone monitoring output on your USB audio interface or XLR to USB adapter to listen to the microphone input in real time, enabling you to detect any issues or anomalies in the signal. Additionally, conduct a test recording or utilize the built-in audio input level meters on your Mac to verify the microphone’s functionality and signal quality.
By carefully setting up the condenser microphone on your Mac and adjusting the input settings to align with your specific needs, you can establish a reliable and efficient audio input configuration for your recording, podcasting, voiceover, or communication endeavors. With the microphone seamlessly integrated into your Mac’s audio system, you are poised to leverage the full potential of your condenser microphone and embark on a journey of capturing pristine and professional-grade audio with ease.
Adjusting Input Levels and Settings
After connecting your condenser microphone to your Mac and selecting the appropriate input device, it’s crucial to fine-tune the input levels and settings to optimize the audio signal and ensure an optimal recording or communication experience. Whether you are using a USB audio interface or an XLR to USB adapter, adjusting the input levels and settings is essential for achieving balanced, clear, and distortion-free audio capture.
Setting the Input Gain:
Begin by adjusting the input gain on your USB audio interface or XLR to USB adapter to achieve an appropriate signal level from your condenser microphone. The input gain controls allow you to amplify the microphone signal without introducing unwanted noise or distortion. While setting the input gain, it’s essential to monitor the level meters on the interface or adapter to ensure that the signal remains within an optimal range, avoiding both clipping and excessively low levels.
Utilizing Phantom Power:
If your condenser microphone requires phantom power to operate, ensure that the phantom power option is activated on your USB audio interface or XLR to USB adapter, if applicable. Phantom power is essential for polarizing the internal capacitor of the condenser microphone, enabling it to function and capture sound effectively. Most professional-grade USB audio interfaces provide phantom power, allowing you to power your condenser microphone directly from the interface without the need for an external power source.
Configuring Software Input Settings:
Access the input settings within your recording or communication software to fine-tune the microphone input and accommodate the specific characteristics of your condenser microphone. Depending on the software, you may have access to additional input gain controls, input monitoring options, and signal processing features that can further refine the microphone signal and optimize its performance for your intended application.
Monitoring the Input Signal:
As you adjust the input levels and settings, it’s essential to monitor the microphone input in real time to ensure that the signal remains clear, balanced, and free from distortion. Utilize the headphone monitoring output on your USB audio interface or XLR to USB adapter to listen to the microphone input directly, enabling you to make real-time adjustments and verify the quality of the signal before proceeding with your recording or communication tasks.
By meticulously adjusting the input levels and settings of your condenser microphone, you can tailor the microphone’s performance to suit your specific recording or communication requirements, ensuring that you capture pristine and professional-grade audio with precision and clarity.
Testing the Microphone
Once you have connected your condenser microphone to your Mac, adjusted the input levels, and configured the necessary settings, it’s essential to conduct thorough testing to ensure that the microphone is functioning optimally and delivering the desired audio quality. Testing the microphone involves verifying its performance across various recording or communication scenarios, identifying any potential issues, and fine-tuning the setup to achieve the best results.
Sound Check:
Begin by conducting a sound check to assess the microphone’s performance in capturing different types of audio sources. Speak into the microphone at varying distances and volumes to evaluate its sensitivity and response. If you are using the microphone for musical purposes, consider testing it with instruments or vocals to gauge its tonal accuracy and dynamic range. By listening to the microphone’s output in real time, you can identify any anomalies in the captured sound and make necessary adjustments to the setup.
Recording Test:
Initiate a test recording using your preferred recording software or app to evaluate the microphone’s performance in a practical recording scenario. Record a brief segment of speech, music, or any sound source relevant to your intended application. Upon playback, assess the recording for clarity, fidelity, and any potential issues such as background noise, distortion, or inconsistent levels. This test allows you to gauge the microphone’s performance in a real-world recording environment and make informed adjustments to enhance its output quality.
Communication Test:
If the microphone is intended for voice communication purposes, such as video conferencing or online meetings, conduct a communication test to ensure clear and intelligible speech transmission. Engage in a brief conversation or use a communication app to verify that the microphone effectively captures your voice and transmits it without artifacts or interference. Assess the sound quality from the perspective of the listener to confirm that the microphone delivers clear and natural-sounding speech during communication tasks.
Performance Evaluation:
After conducting the necessary tests, evaluate the microphone’s overall performance based on the results obtained. Identify any areas that require improvement, such as adjusting input levels, refining positioning, or implementing additional signal processing. By critically assessing the microphone’s performance across various tests, you can refine its setup and configuration to achieve optimal audio capture and ensure that it meets your specific recording or communication needs.
By diligently testing the condenser microphone and scrutinizing its performance in diverse scenarios, you can fine-tune its setup, address any potential issues, and leverage its capabilities to capture pristine and professional-grade audio with precision and clarity.
Conclusion
Connecting a condenser microphone to your Mac is a gateway to unlocking the full potential of your audio recordings and communications. By understanding the operational principles of condenser microphones, choosing the right connection method, and seamlessly integrating the microphone with your Mac, you can elevate the quality of your audio capture and unleash a world of creative possibilities.
Condenser microphones, renowned for their sensitivity and ability to capture nuanced sound, offer exceptional fidelity and clarity, making them indispensable tools for professionals and enthusiasts alike. Whether you are a musician, podcaster, content creator, or remote worker, the integration of a condenser microphone with your Mac empowers you to achieve professional-grade audio reproduction and communication with ease.
When selecting the connection method for your condenser microphone, whether it be a USB audio interface or an XLR to USB adapter, careful consideration of your specific recording needs, input/output compatibility, and budgetary constraints is essential. Each method offers unique advantages and capabilities, enabling you to tailor the setup to suit your preferences and technical requirements.
By meticulously setting up the microphone on your Mac, adjusting input levels and settings, and conducting comprehensive testing, you can fine-tune the microphone’s performance to deliver pristine and professional-grade audio. Whether you are capturing vocals, instruments, ambient sounds, or engaging in voice communication, the seamless integration of your condenser microphone with your Mac ensures that you can consistently achieve exceptional audio quality.
As you embark on your journey of connecting and utilizing a condenser microphone with your Mac, remember that the process is not only about technical configurations, but also about unlocking your creativity and expressing yourself through the power of high-quality audio. With the knowledge and confidence gained from this guide, you are well-equipped to harness the full potential of your condenser microphone and embark on a path of sonic excellence, where every recording and communication reflects the clarity and richness of your creative endeavors.