Introduction
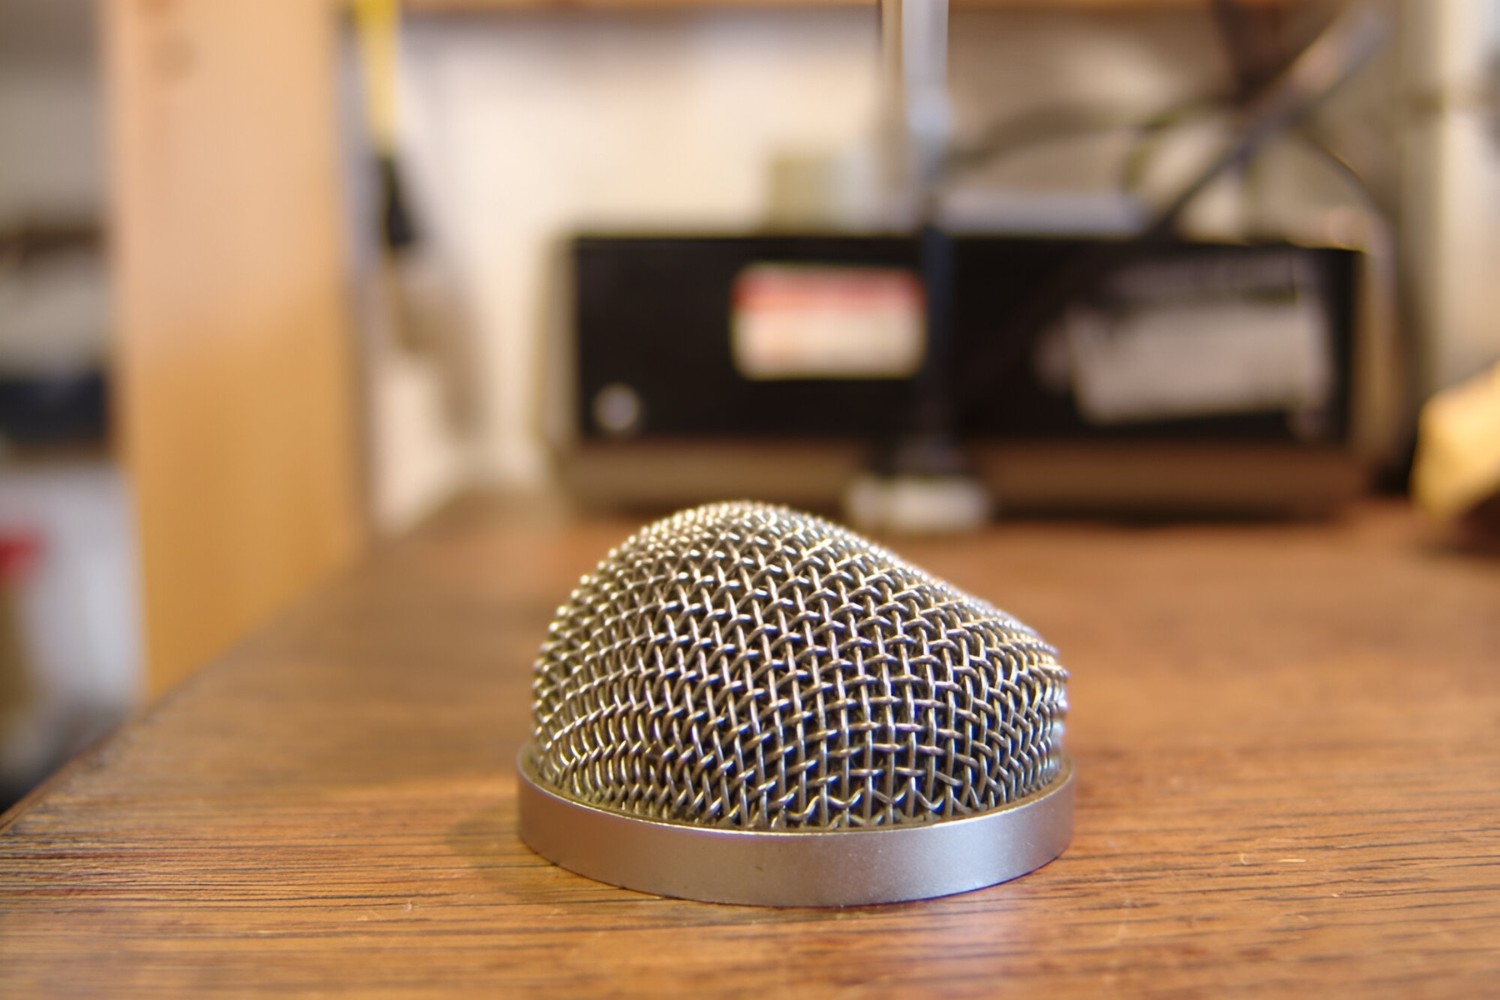
If you are a content creator, musician, or podcaster, you understand the importance of high-quality audio. Condenser microphones are popular for their sensitivity and pristine sound capture. However, they are susceptible to picking up static, which can be a frustrating nuisance. In this guide, we will explore effective methods to remove static from a condenser microphone, ensuring that your recordings are clear and professional.
Static interference can detract from the overall audio quality, leading to a subpar listening experience for your audience. Whether you are recording vocals, musical instruments, or podcasts, addressing static issues is crucial for achieving a polished and professional sound.
Fortunately, there are several techniques and maintenance practices that can significantly reduce or eliminate static in condenser microphones. From understanding the root causes of static to implementing preventive measures, we will delve into the most effective strategies to ensure optimal microphone performance.
By following the advice in this guide, you can enhance the quality of your recordings, minimize post-production editing, and ultimately deliver exceptional audio content. Let's explore the various methods to combat static in condenser microphones and elevate the overall audio production process.
Understanding Static in Condenser Microphones
Static in condenser microphones can be attributed to various factors, and understanding these underlying causes is essential for effectively addressing the issue. One common source of static is environmental interference, such as electrical or radio frequency (RF) interference. This can result from nearby electronic devices, power sources, or wireless signals disrupting the microphone’s signal transmission.
Furthermore, dust and debris accumulation on the microphone diaphragm or within the internal components can lead to static and unwanted noise. Additionally, poorly shielded cables and improper grounding can contribute to static issues, compromising the microphone’s performance.
It is important to note that condenser microphones are highly sensitive, making them more susceptible to static compared to dynamic microphones. The internal circuitry and diaphragm of condenser microphones are designed to capture subtle nuances in sound, but this sensitivity also makes them prone to picking up unwanted static and interference.
When troubleshooting static issues, it is crucial to consider the recording environment. High humidity levels or dry air can impact static buildup, affecting the microphone’s performance. By comprehensively understanding the potential sources of static, you can effectively implement targeted solutions to mitigate these issues.
By gaining insight into the nature of static interference in condenser microphones, you are better equipped to identify and address the specific factors contributing to the problem. This foundational understanding will serve as the basis for implementing the subsequent strategies and maintenance practices outlined in this guide.
Cleaning and Maintenance
Regular cleaning and maintenance are essential for preventing static buildup and preserving the optimal performance of condenser microphones. Begin by carefully inspecting the microphone for any visible dust, dirt, or debris on the diaphragm, grille, and body. Use a soft brush, such as a clean, dry paintbrush or a specialized microfiber brush, to gently remove any particles that may be contributing to static interference.
When cleaning the microphone diaphragm, exercise caution to avoid applying excessive pressure or using abrasive materials that could damage the sensitive components. If necessary, lightly dampen a microfiber cloth with distilled water and gently wipe the diaphragm to remove stubborn residue, ensuring that no moisture seeps into the internal circuitry.
Additionally, regularly inspect and clean the XLR connectors and cable contacts to prevent static caused by poor electrical connections. Ensure that the connectors are free from corrosion, dirt, or bent pins that could impede the flow of the audio signal. Using contact cleaner and a cotton swab, delicately clean the connectors to maintain optimal conductivity and reduce the risk of static and signal degradation.
Implementing proper storage practices is also crucial for minimizing static and preserving the microphone’s integrity. When not in use, store the condenser microphone in a protective case or pouch to shield it from dust and environmental contaminants. Avoid exposing the microphone to extreme temperatures or humidity levels, as these conditions can exacerbate static issues and potentially damage the internal components.
Lastly, consider investing in a dedicated microphone cleaning kit, which may include specialized brushes, cleaning solutions, and cloths designed specifically for delicate audio equipment. Following a routine maintenance schedule and adhering to proper cleaning techniques will contribute to a static-free and reliable condenser microphone, ensuring consistent high-quality audio capture.
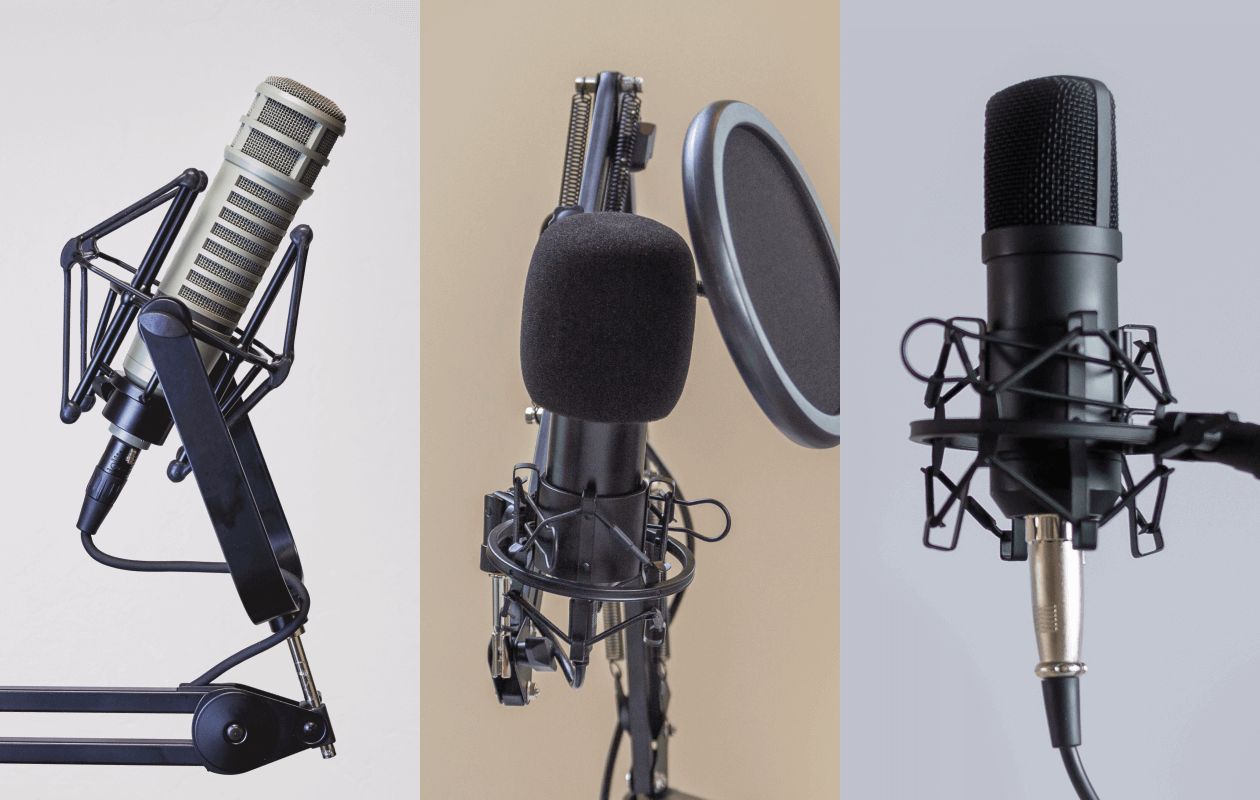
Using a Pop Filter
A pop filter is a valuable accessory that not only helps in reducing plosive sounds and sibilance but also serves as a barrier against static and unwanted noise. Plosive sounds, such as “p” and “b” sounds, can create bursts of air that may cause disruptive airflow around the microphone, leading to static and distortion in the audio signal. By positioning a pop filter between the sound source and the microphone, you can effectively mitigate these issues and achieve cleaner recordings.
When selecting a pop filter, opt for a model with a dual-layer mesh or a fine nylon screen, as these designs are effective in diffusing airflow and minimizing static buildup. The dense mesh material acts as a shield, intercepting and dispersing the airflow before it reaches the microphone diaphragm, thereby reducing the potential for static and unwanted noise.
Proper placement of the pop filter is crucial for maximizing its effectiveness in controlling static and maintaining clear audio capture. Position the pop filter approximately two to three inches away from the microphone, ensuring that it adequately covers the entire diaphragm area without obstructing the sound source. This setup creates a physical barrier that intercepts disruptive airflow and minimizes the impact of plosive sounds on the microphone’s sensitive components.
It is important to note that using a pop filter not only contributes to reducing static but also enhances the overall audio quality by attenuating harsh consonant sounds and preventing excessive air pressure from reaching the microphone. Whether recording vocals, acoustic instruments, or spoken dialogue, integrating a pop filter into your setup is a practical and effective solution for combating static and improving the clarity of your recordings.
Grounding and Shielding
Grounding and shielding are critical considerations for minimizing static and interference in condenser microphones. Proper grounding ensures that the microphone and associated audio equipment are effectively connected to a reliable electrical ground, reducing the risk of static buildup and electrical interference.
When setting up your recording environment, ensure that all audio components, including the condenser microphone, audio interface, and other connected devices, are grounded to a common electrical ground. This grounding configuration establishes a stable reference voltage and helps dissipate any static or electrical noise that may affect the microphone’s performance.
Moreover, employing shielded cables for connecting the microphone to the audio interface or preamp is essential for mitigating electromagnetic interference and static. Shielded cables feature an additional layer of insulation, typically composed of conductive material such as copper, that acts as a barrier against external electromagnetic fields and static-inducing sources. This shielding effectively prevents unwanted interference from compromising the audio signal and contributing to static in the microphone’s output.
When selecting shielded cables, prioritize those with high-quality connectors and robust shielding properties to ensure optimal signal integrity and minimal static interference. Additionally, inspect the cables regularly for any signs of wear, damage, or compromised shielding, as these factors can undermine the cable’s effectiveness in preventing static and interference.
In cases where ground loops, which can lead to audible static and hum, are present in the audio setup, employing ground loop isolators or using balanced audio connections can effectively mitigate these issues. Balancing audio signals helps reject common-mode interference, including static and hum, resulting in cleaner and more reliable audio transmission.
By prioritizing proper grounding and shielding practices, you can significantly reduce the risk of static and interference in condenser microphones, ensuring consistent and high-quality audio capture in your recording endeavors.
Using a Different Cable
When encountering persistent static issues with a condenser microphone, exploring alternative cable options can often yield significant improvements in audio quality and signal integrity. The cable connecting the microphone to the audio interface or preamp plays a crucial role in transmitting the audio signal while minimizing static and interference.
Firstly, assess the quality and condition of the existing cable. Over time, cables can experience wear and tear, leading to compromised shielding, damaged connectors, or internal wiring issues that contribute to static and unwanted noise. If the cable exhibits signs of damage or wear, such as exposed wiring, frayed insulation, or intermittent connectivity, replacing it with a new, high-quality cable is a practical step to address static issues.
When selecting a replacement cable, prioritize shielded designs with robust insulation and high-quality connectors, such as XLR or TRS connectors, to ensure reliable signal transmission and effective static mitigation. Shielded cables feature an additional layer of protection that acts as a barrier against electromagnetic interference and static-inducing sources, safeguarding the audio signal from potential disruptions.
Furthermore, consider the length of the cable and its proximity to potential sources of interference, such as power cables, electronic devices, or radio frequency-emitting equipment. Opting for a shorter cable length and carefully routing it away from potential interference sources can help minimize the risk of static and electromagnetic interference affecting the microphone’s signal.
It is also beneficial to explore alternative cable configurations, such as balanced audio connections, which are effective in rejecting common-mode interference and minimizing static and hum in the audio signal. Balanced cables feature three conductors—positive, negative, and ground—that work in tandem to cancel out interference, resulting in cleaner and more reliable audio transmission.
By proactively assessing and, if necessary, replacing the cable connecting the condenser microphone, you can address static issues and optimize the audio signal path, ultimately ensuring consistent, high-quality audio capture without the disruptive effects of static and interference.
Conclusion
Effectively addressing static in condenser microphones is essential for achieving pristine audio quality and ensuring a professional recording experience. By comprehensively understanding the potential sources of static and implementing targeted solutions, content creators, musicians, and podcasters can elevate the clarity and fidelity of their audio productions.
From regular cleaning and maintenance to the strategic use of pop filters, grounding and shielding practices, and the consideration of alternative cables, the methods outlined in this guide offer practical and effective approaches to combat static and interference in condenser microphones.
Furthermore, maintaining a clean and controlled recording environment, free from potential sources of interference, is integral to minimizing static and optimizing the microphone’s performance. By integrating these strategies into your recording setup and adhering to diligent maintenance practices, you can significantly reduce the impact of static and ensure consistent, high-quality audio capture.
Ultimately, the pursuit of static-free audio production involves a combination of proactive maintenance, thoughtful equipment selection, and an understanding of the underlying factors contributing to static interference. By implementing the guidance provided in this guide, you can mitigate static issues and elevate the overall audio production process, resulting in professional-grade recordings that captivate and engage your audience.