Introduction
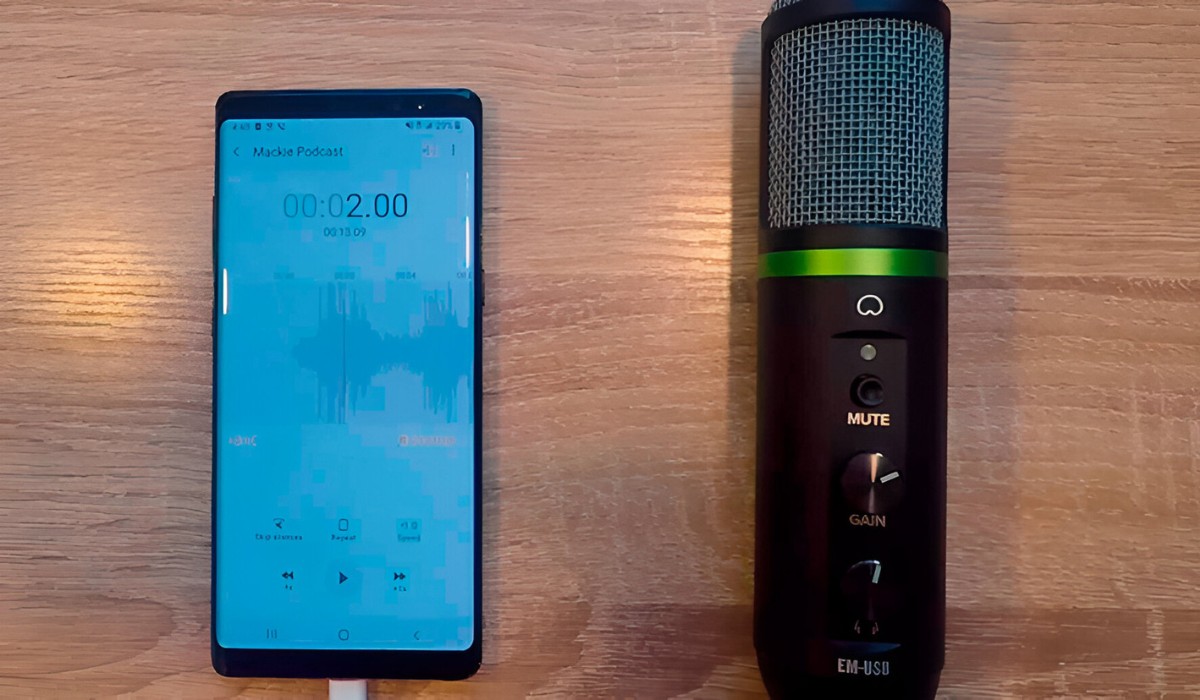
Cleaning a condenser microphone is an essential maintenance task that can significantly impact the quality of your audio recordings. Over time, dust, dirt, and other contaminants can accumulate on the microphone's components, leading to a decrease in performance and audio quality. By regularly cleaning your condenser microphone, you can ensure that it continues to deliver pristine sound reproduction.
Proper cleaning not only enhances the microphone's performance but also prolongs its lifespan, saving you from the cost of premature replacements. Whether you are a professional audio engineer, a musician, or a content creator, knowing how to clean a condenser microphone is a valuable skill that can elevate the quality of your recordings.
In this comprehensive guide, we will walk you through the step-by-step process of cleaning a condenser microphone. From gathering the necessary supplies to safely disassembling and cleaning the delicate components, you will learn the best practices for maintaining your microphone in top condition. By following these instructions, you can ensure that your condenser microphone continues to capture crystal-clear audio with precision and clarity.
Regular maintenance and cleaning of your condenser microphone can contribute to a consistent and professional sound output. Let's delve into the detailed steps to effectively clean your condenser microphone and maintain its optimal performance.
Step 1: Gather the Necessary Supplies
Before embarking on the cleaning process, it is crucial to gather the essential supplies to ensure a thorough and safe cleaning experience. Here’s a list of items you will need:
- Isopropyl Alcohol: This is a key component for cleaning the delicate parts of the microphone, such as the diaphragm and body. Isopropyl alcohol effectively dissolves grime and evaporates quickly, making it ideal for electronic components.
- Distilled Water: Distilled water is a gentle and effective solvent for removing stubborn dirt and residue from the microphone’s surfaces. It is important to use distilled water to prevent mineral deposits from affecting the microphone’s components.
- Microfiber Cloth: A soft, lint-free microfiber cloth is essential for wiping down the microphone’s exterior and delicate components without leaving behind lint or scratches.
- Cotton Swabs: These are useful for reaching tight spaces and crevices, allowing for precise cleaning of intricate parts such as the grille and windscreen.
- Compressed Air Canister: A canister of compressed air is handy for blowing away dust and debris from the microphone’s grille and other hard-to-reach areas.
- Mild Soap: In some cases, a mild soap solution may be required to remove stubborn stains or residue from the microphone’s exterior. It is important to use a gentle, non-abrasive soap to avoid damaging the microphone’s finish.
- Small Brush: A soft-bristled brush, such as a clean paintbrush or a specialized electronics cleaning brush, can be used to gently dislodge and remove debris from the microphone’s grille and other intricate areas.
By ensuring that you have all the necessary supplies on hand, you can proceed with confidence, knowing that you are fully equipped to clean your condenser microphone effectively and safely.
Step 2: Remove the Grille and Windscreen
Prior to cleaning the delicate components of your condenser microphone, it is essential to remove the grille and windscreen to gain access to the internal elements. Follow these steps to safely remove these components:
- Unplug the Microphone: Before beginning the disassembly process, ensure that the microphone is unplugged from any power source or audio interface to prevent accidental damage.
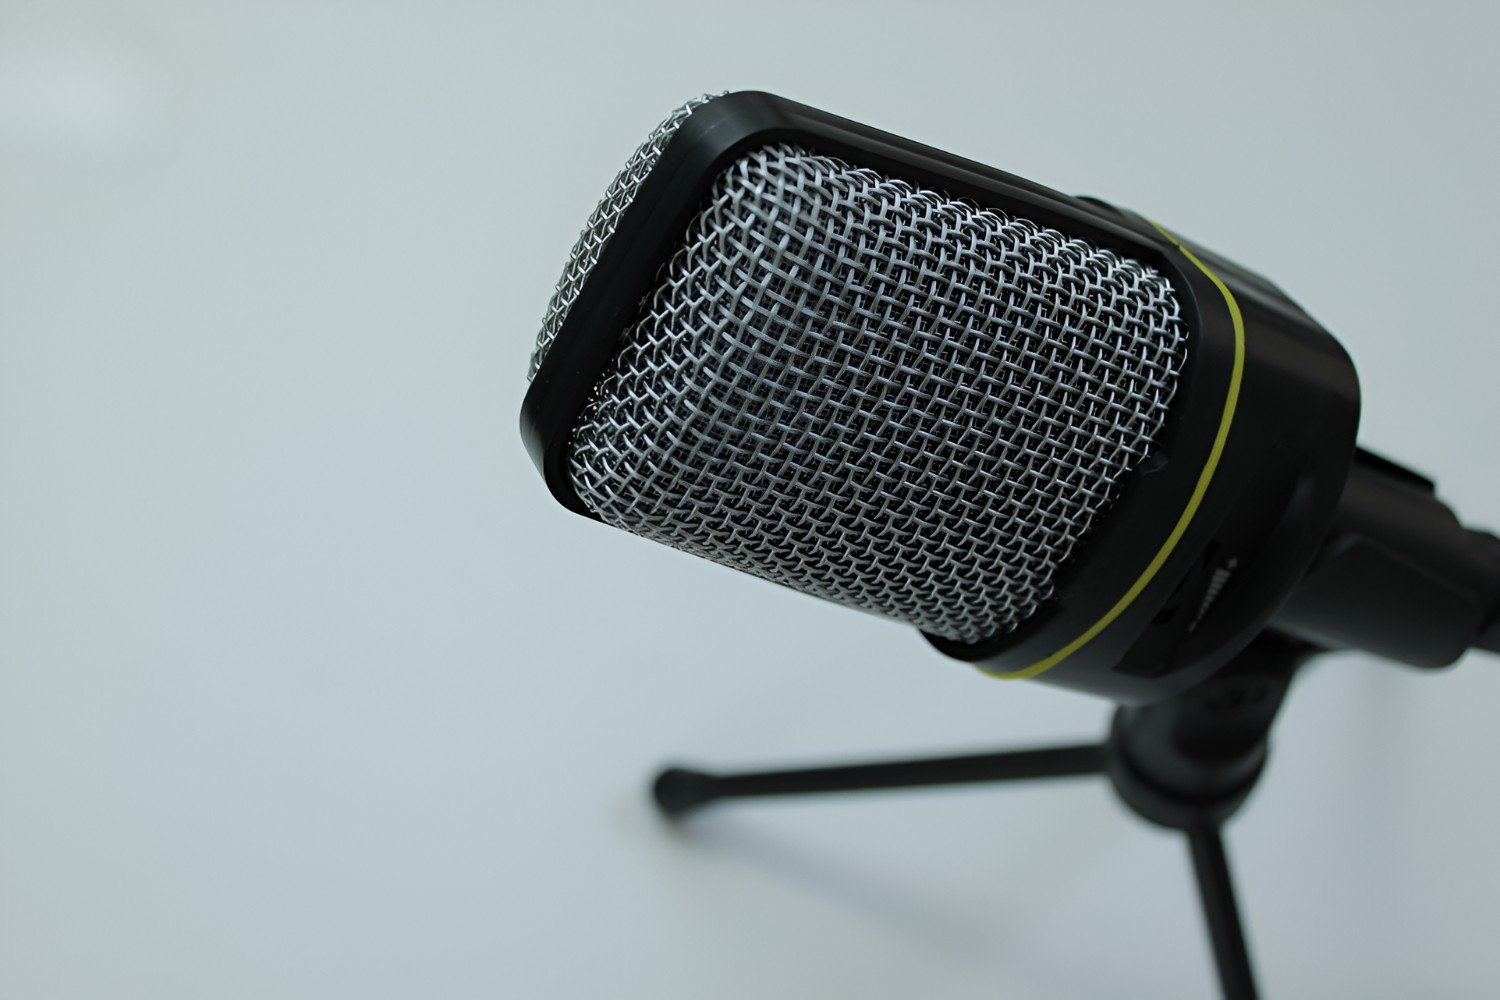
- Identify the Grille and Windscreen: The grille is the protective mesh covering the microphone’s diaphragm, while the windscreen is the foam cover that sits on top of the grille. Carefully identify these components before proceeding.
- Remove the Windscreen: Gently grasp the windscreen and carefully pull it away from the microphone. Take care not to apply excessive force, as the windscreen may be attached securely to the grille.
- Unscrew or Release the Grille: Depending on the microphone model, the grille may be secured with screws or clips. Use the appropriate tools, such as a screwdriver or a small prying tool, to carefully remove the grille without causing any damage to the microphone’s diaphragm.
- Handle with Care: Throughout the removal process, handle the grille and windscreen delicately to avoid bending or deforming the components. These parts are designed to protect the sensitive internal elements of the microphone and should be treated with caution.
Once the grille and windscreen have been safely removed, you will have clear access to the diaphragm and other internal areas that require cleaning. This step sets the stage for thorough maintenance and ensures that each component of the microphone can be cleaned with precision and care.
Step 3: Clean the Grille and Windscreen
Now that the grille and windscreen have been removed, it’s time to focus on cleaning these essential components of your condenser microphone. Proper maintenance of the grille and windscreen contributes to the overall performance and longevity of your microphone. Follow these steps to ensure thorough cleaning:
- Inspect for Debris: Carefully examine the removed grille and windscreen for any visible debris, dust, or dirt accumulation. This initial inspection will help you determine the extent of cleaning required.
- Use Compressed Air: If the grille and windscreen have accumulated loose dust and debris, gently blow them away using a canister of compressed air. Hold the components securely and direct the airflow to dislodge any particles without causing damage.
- Soak in Mild Soap Solution: If the grille and windscreen exhibit stubborn stains or residue, prepare a mild soap solution using distilled water and a small amount of gentle soap. Immerse the components in the solution and allow them to soak for a few minutes to loosen the grime.
- Gently Clean with a Microfiber Cloth: After soaking, use a soft, lint-free microfiber cloth to gently wipe the grille and windscreen, removing the loosened dirt and stains. Take care not to apply excessive pressure, as this can damage the delicate mesh of the grille or the foam material of the windscreen.
- Air Dry Thoroughly: Once cleaned, allow the grille and windscreen to air dry completely before reattaching them to the microphone. Avoid using heat sources or direct sunlight for drying, as excessive heat can cause deformation or damage to the components.
- Inspect for Residual Debris: After the components have dried, inspect them once again for any residual debris or stains. If necessary, repeat the cleaning process to ensure that the grille and windscreen are completely free of contaminants.
By meticulously cleaning the grille and windscreen, you can maintain the integrity of these protective components and ensure that they continue to safeguard the sensitive internal parts of your condenser microphone. With these components clean and ready for reassembly, you are one step closer to restoring your microphone to optimal performance.
Step 4: Clean the Diaphragm and Body of the Microphone
Now that the grille and windscreen are clean and ready for reassembly, it’s time to focus on the delicate diaphragm and the exterior body of the condenser microphone. Cleaning these components requires precision and care to avoid damaging the sensitive elements. Follow these steps to ensure a thorough cleaning process:
- Handle with Caution: When cleaning the diaphragm and body of the microphone, it is crucial to exercise extreme care and delicacy. These components are highly sensitive and can be easily damaged if mishandled.
- Use Isopropyl Alcohol and Cotton Swabs: Dampen a cotton swab with isopropyl alcohol and carefully swab the diaphragm, taking care to remove any accumulated dust or residue. Use gentle, circular motions to ensure thorough cleaning without exerting excessive pressure.
- Wipe Down the Body: Use a microfiber cloth lightly dampened with isopropyl alcohol to wipe down the exterior body of the microphone. Pay attention to any areas where dirt or grime may have accumulated, ensuring that the entire surface is clean and free of contaminants.
- Inspect for Residue: After cleaning, carefully inspect the diaphragm and body for any residual debris or stains. If necessary, repeat the cleaning process to achieve a pristine, spotless surface.
- Air Dry Thoroughly: Allow the diaphragm and body of the microphone to air dry completely before reassembling the grille and windscreen. Ensure that no moisture remains, as this can affect the microphone’s performance.
- Reassemble the Microphone: Once all components are thoroughly cleaned and dried, carefully reassemble the grille and windscreen, ensuring that they are securely attached without applying excessive force.
By meticulously cleaning the diaphragm and body of the microphone, you can maintain the integrity of these critical components and ensure that your condenser microphone continues to deliver exceptional audio quality. With the internal and external elements of the microphone clean and well-maintained, you are ready to resume capturing pristine sound for your recordings.
Step 5: Reassemble the Microphone
After completing the meticulous cleaning process, it’s time to reassemble your condenser microphone, ensuring that all components are securely and correctly positioned. Follow these steps to safely and effectively reassemble your microphone:
- Position the Grille and Windscreen: Carefully place the cleaned grille back onto the microphone, ensuring that it aligns properly with the body of the microphone. If the grille is secured with screws, use the appropriate tools to reattach it without over-tightening.
- Attach the Windscreen: Gently slide or press the cleaned windscreen back onto the grille, ensuring that it fits snugly without causing deformation to the foam material. Take care to align the windscreen properly to maintain its protective function.
- Secure the Components: Confirm that both the grille and windscreen are securely attached to the microphone, with no loose or misaligned sections. This ensures that the internal components are adequately protected from external contaminants.
- Test the Microphone: Before resuming regular use, perform a brief test of the microphone to ensure that it is functioning as expected. Check for any unusual sounds or performance issues that may have arisen during the cleaning and reassembly process.
- Store the Microphone Properly: Once the microphone has been reassembled and tested, store it in a clean, dry environment to prevent dust or debris from accumulating on the freshly cleaned components. Proper storage contributes to the longevity of the microphone’s cleanliness.
By meticulously reassembling your condenser microphone after the cleaning process, you can ensure that all components are correctly aligned and secured, allowing the microphone to continue delivering exceptional audio quality. With the microphone reassembled and ready for use, you can confidently resume capturing pristine sound for your recordings and performances.
Conclusion
Maintaining a clean condenser microphone is essential for preserving its audio quality and prolonging its lifespan. By following the step-by-step cleaning process outlined in this guide, you have learned the best practices for effectively cleaning and maintaining your microphone. Regular maintenance not only ensures optimal performance but also contributes to the longevity of your valuable audio equipment.
From gathering the necessary supplies to delicately cleaning the grille, windscreen, diaphragm, and body of the microphone, each step plays a crucial role in maintaining the integrity of your condenser microphone. By exercising care and precision throughout the cleaning process, you can safeguard the delicate components and ensure that your microphone continues to capture pristine sound with clarity and precision.
Remember that a clean microphone is a reliable microphone. By incorporating regular cleaning into your maintenance routine, you can enjoy consistent and professional sound output, whether you are recording vocals, instruments, podcasts, or any other audio content.
Now that you have completed the comprehensive cleaning process and reassembled your condenser microphone, you are well-equipped to continue producing high-quality audio recordings with confidence. By prioritizing the cleanliness and maintenance of your microphone, you are investing in the longevity and performance of this essential tool for capturing sound.
With your condenser microphone now in optimal condition, you can look forward to capturing crystal-clear audio for your projects and performances, knowing that your microphone is well-maintained and ready to deliver exceptional sound reproduction.


