Introduction
When it comes to music production, having the ability to split a MIDI keyboard can significantly enhance your creative possibilities. Whether you're a seasoned producer or a budding musician, understanding how to split a MIDI keyboard in Reaper can open up a world of musical opportunities. By dividing the keyboard into distinct sections, you can play different sounds, instruments, or notes simultaneously, allowing for greater versatility and depth in your compositions.
In this comprehensive guide, we will delve into the intricacies of setting up and splitting a MIDI keyboard in Reaper, a powerful digital audio workstation (DAW) known for its flexibility and robust feature set. We will explore the step-by-step process of configuring the keyboard, assigning different instruments to each split, and testing and adjusting the split points to ensure seamless performance. By the end of this tutorial, you will have the knowledge and confidence to harness the full potential of your MIDI keyboard within the Reaper environment.
Whether you're aiming to layer multiple sounds, emulate a duet, or simply explore new sonic landscapes, the ability to split a MIDI keyboard is an invaluable skill for any music enthusiast. So, without further ado, let's embark on this enlightening journey into the realm of MIDI keyboard splitting in Reaper.
Setting up the MIDI Keyboard in Reaper
Before delving into the intricacies of splitting a MIDI keyboard in Reaper, it is crucial to ensure that the keyboard is properly set up within the software. This initial step lays the foundation for the subsequent process of dividing the keyboard into distinct sections.
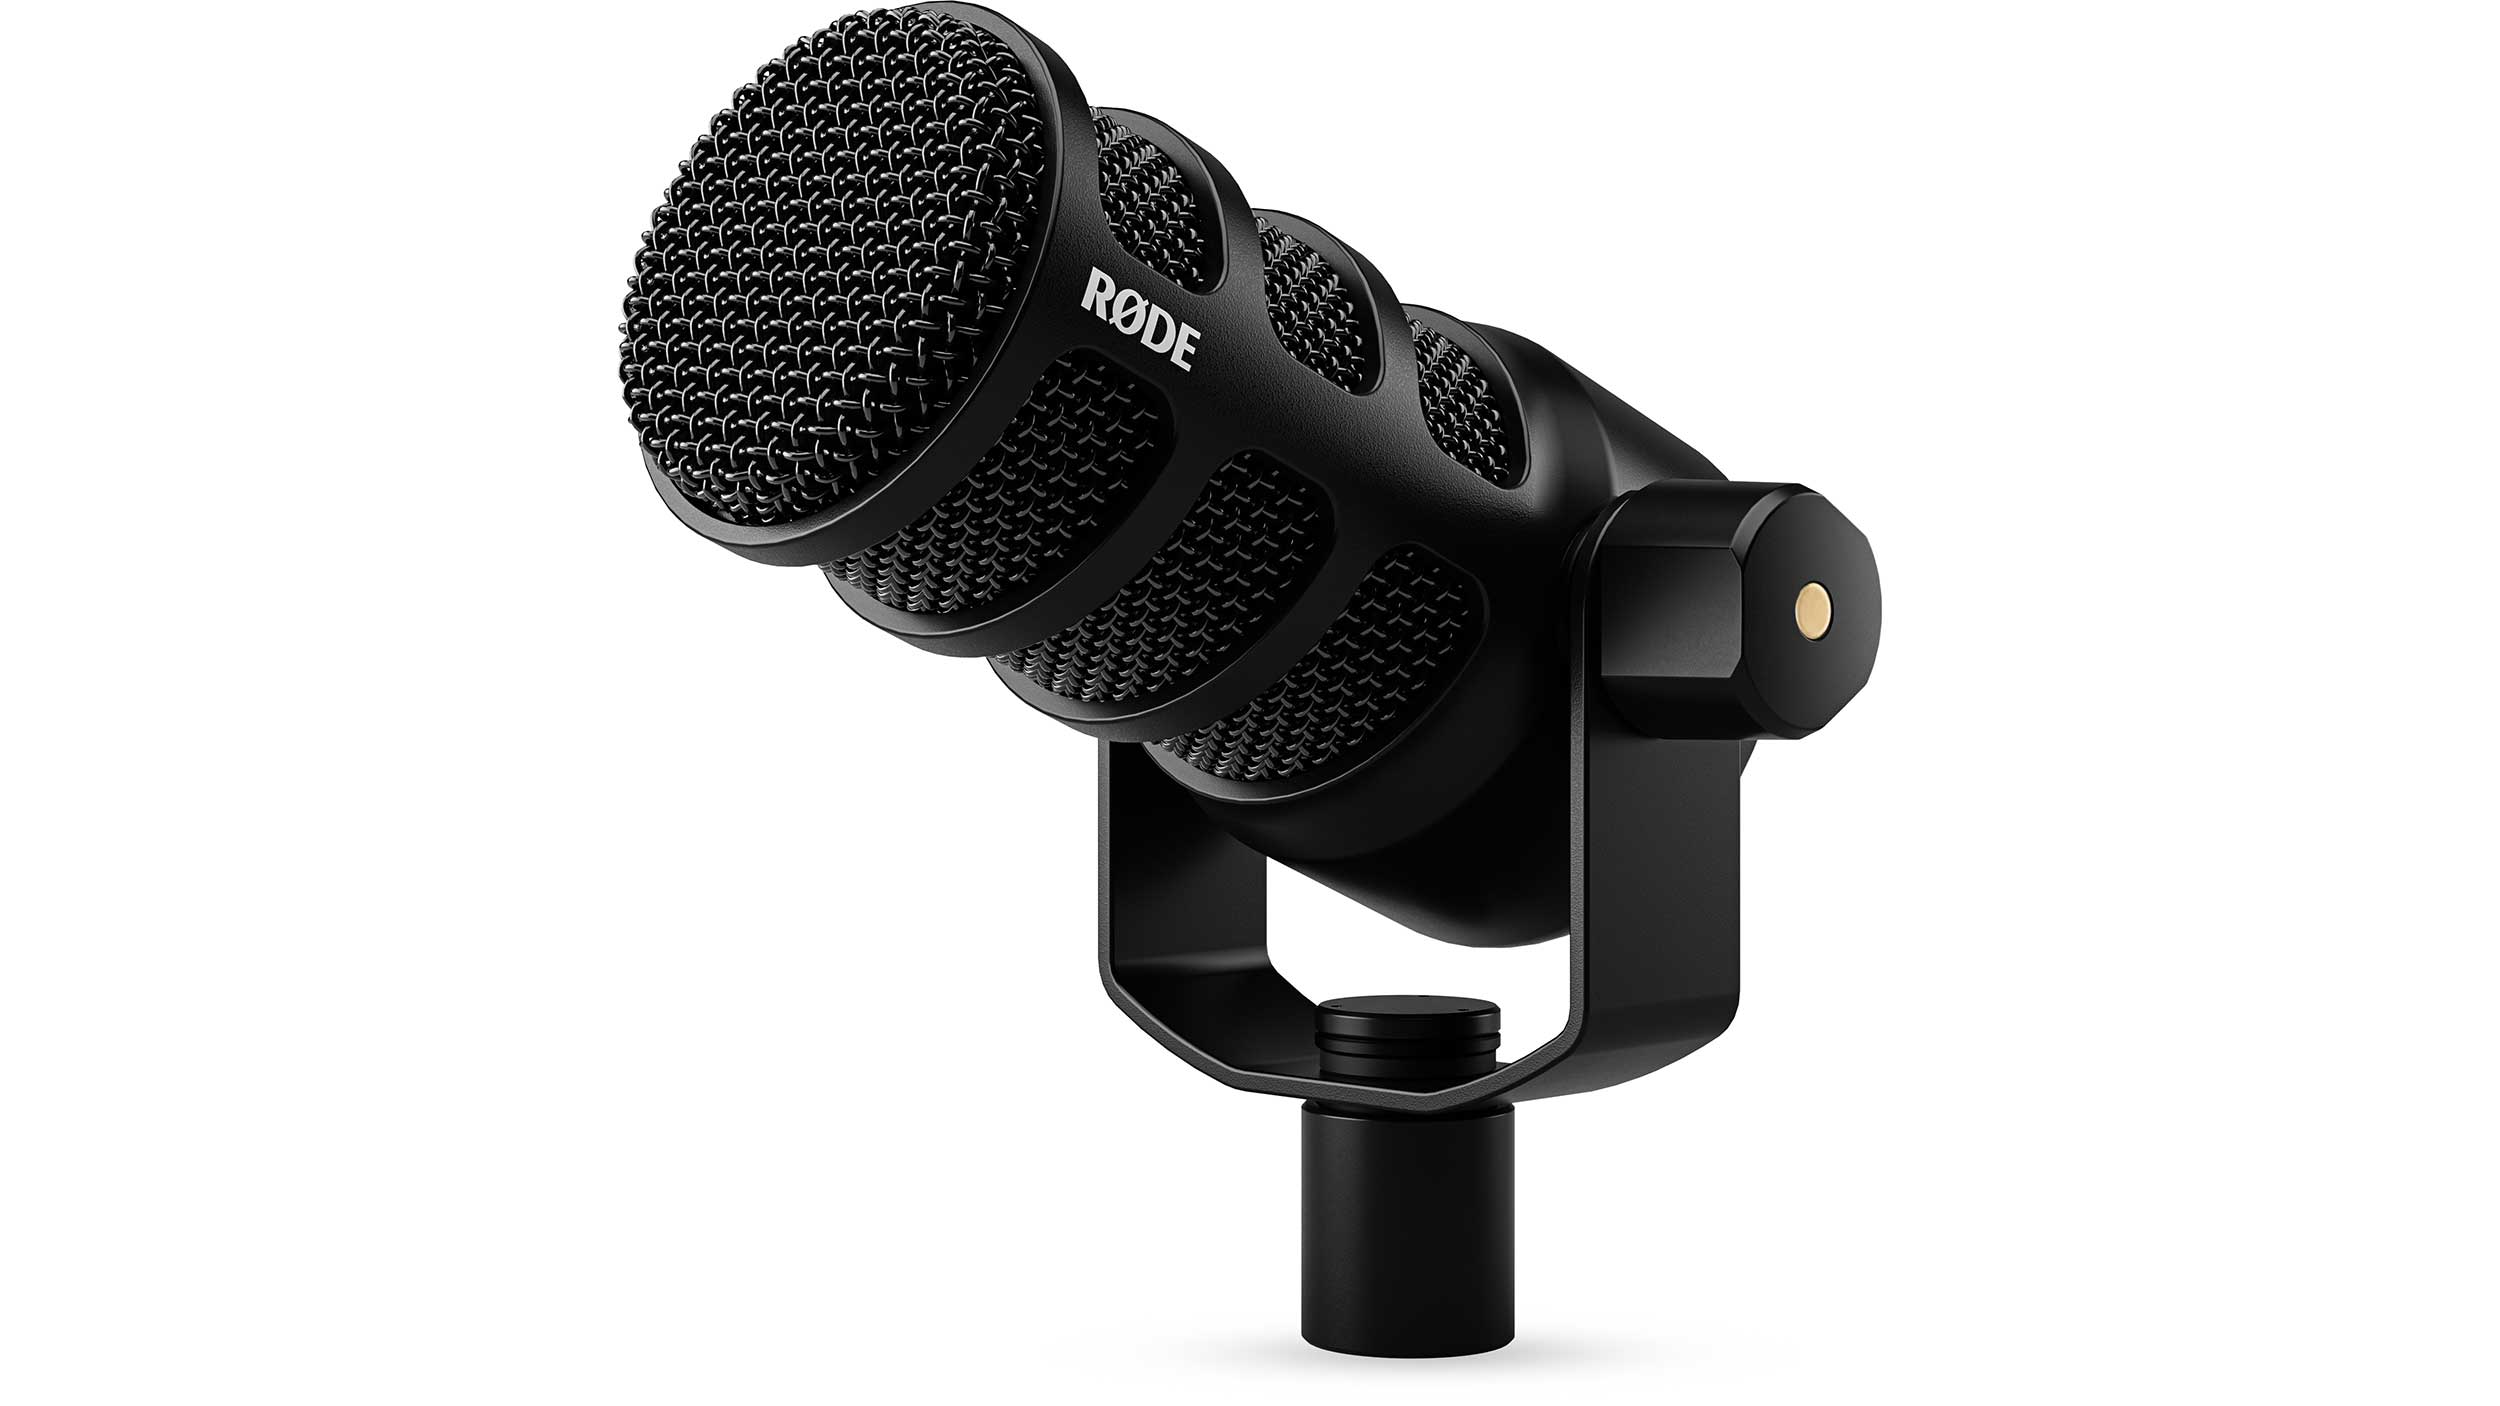
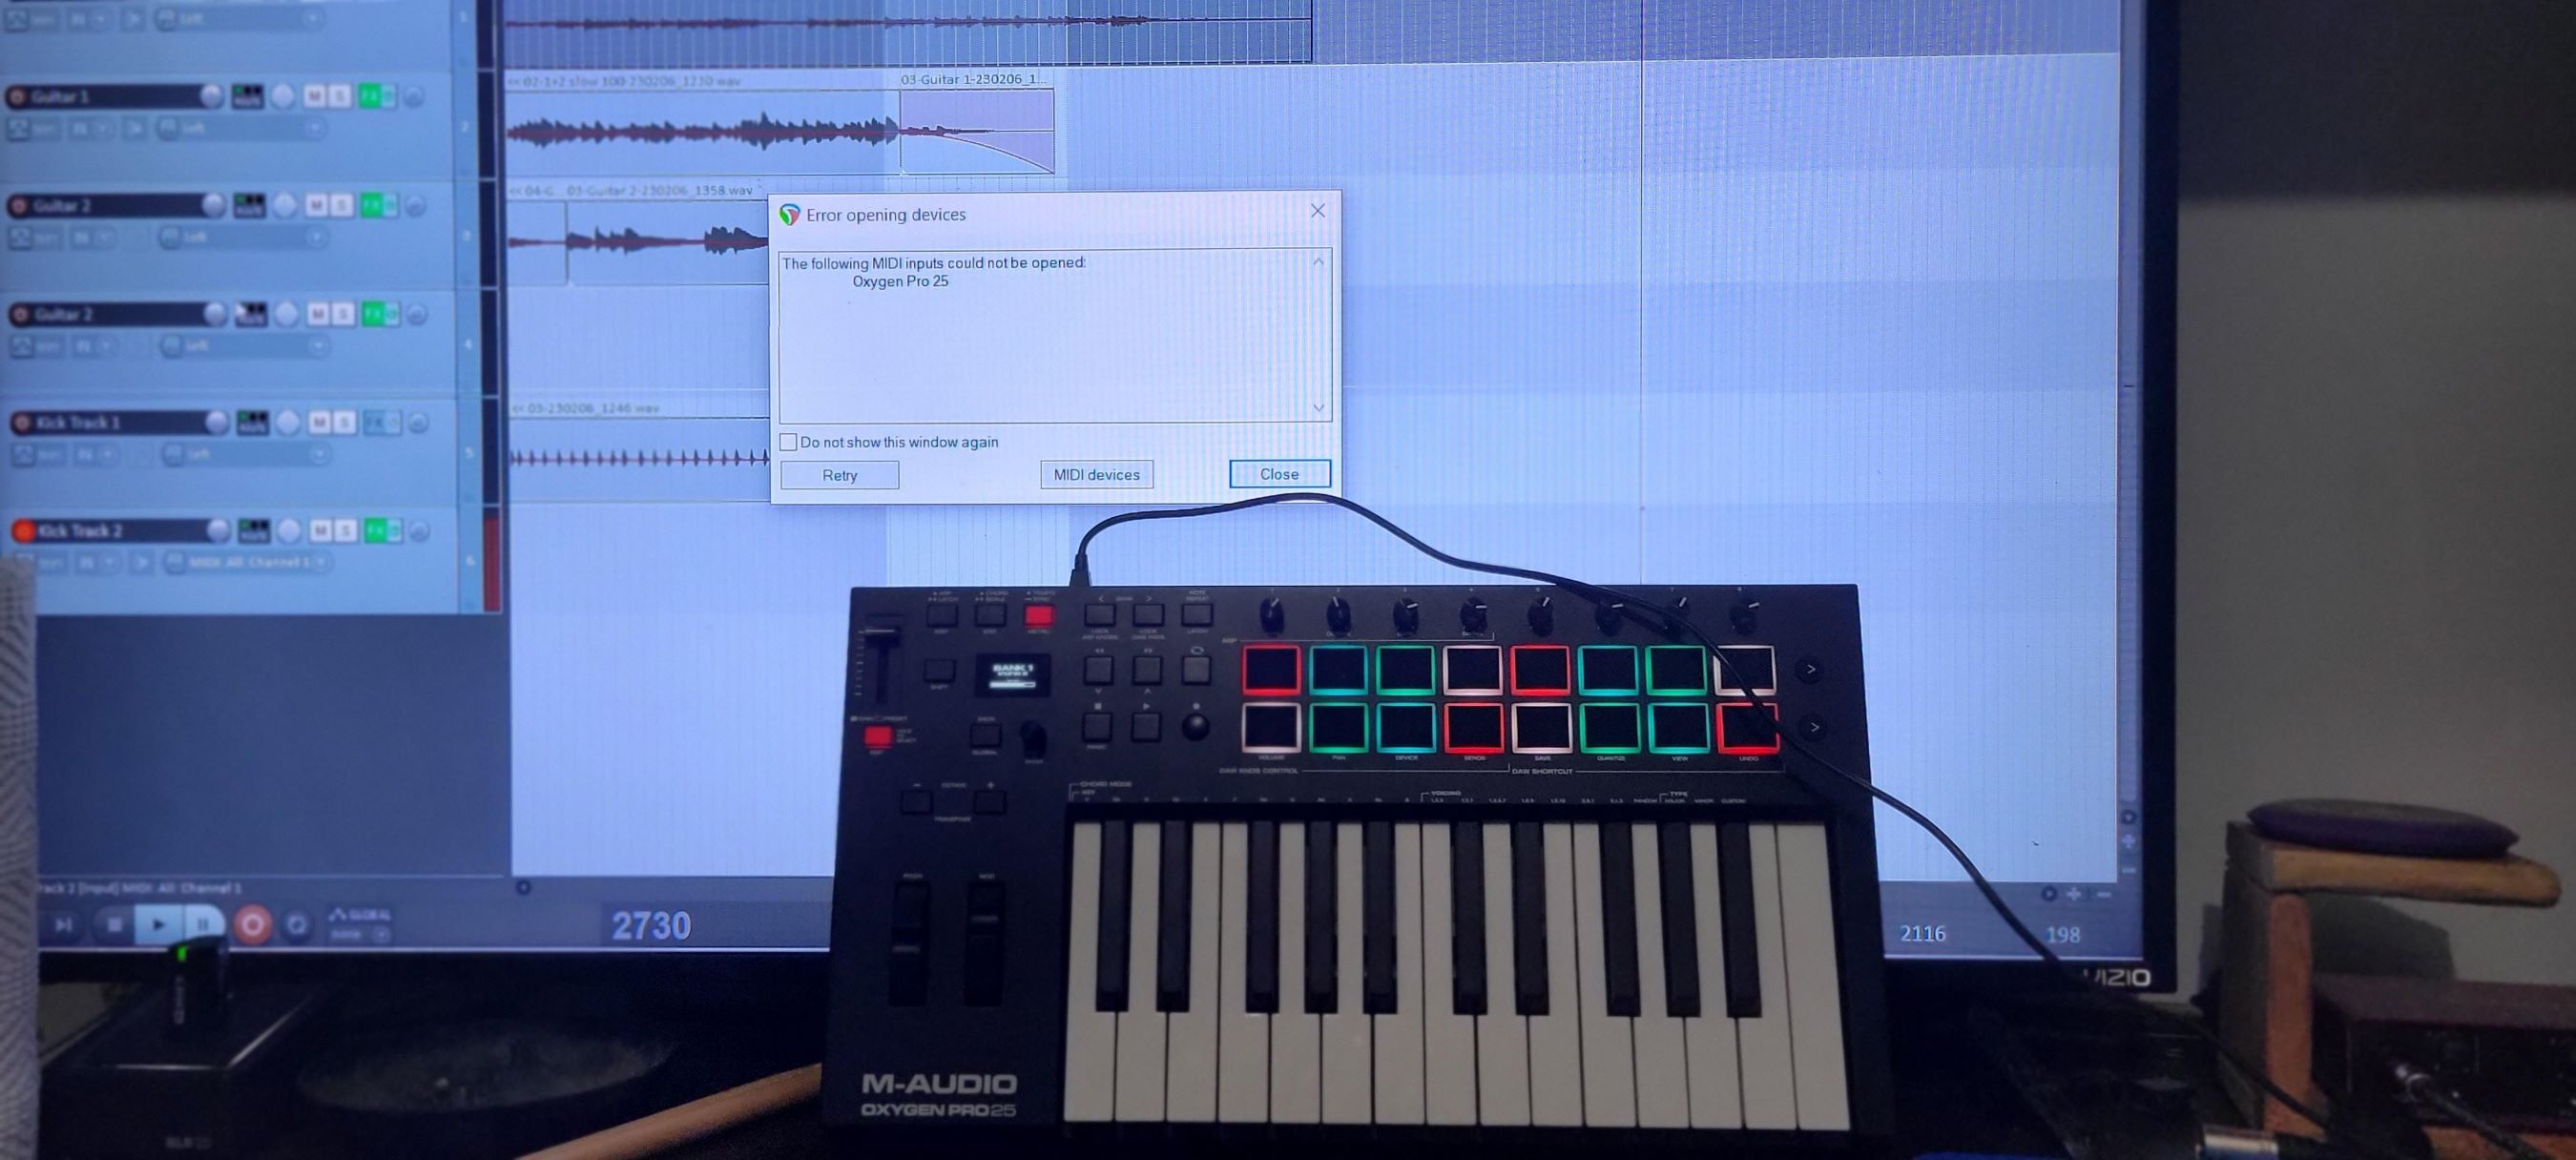
First, connect your MIDI keyboard to your computer using a USB cable or MIDI interface, depending on the type of connection supported by your keyboard. Once connected, launch Reaper and navigate to the “Options” menu at the top of the interface. From the dropdown menu, select “Preferences” and then click on “MIDI Devices” under the “Audio” section.
Within the MIDI Devices window, locate your MIDI keyboard in the list of input devices. Ensure that the box next to your keyboard’s name is checked, indicating that Reaper recognizes the device for MIDI input. If your keyboard supports multiple MIDI channels, you can specify the input channel to be used, although this is not necessary for the initial setup.
After confirming the MIDI input settings, click “Apply” and then “OK” to close the Preferences window. Your MIDI keyboard is now configured within Reaper, ready to be utilized for splitting and assigning different instruments to its sections.
It is important to note that the specific steps for setting up a MIDI keyboard in Reaper may vary slightly depending on the model of your keyboard and the version of Reaper you are using. Always refer to the user manual for your MIDI keyboard and the documentation for Reaper to ensure seamless integration.
With your MIDI keyboard successfully set up in Reaper, you are now poised to embark on the next phase of the process: splitting the keyboard to unlock its full potential for musical expression and creativity.
Splitting the Keyboard
Now that your MIDI keyboard is configured within Reaper, the next step is to split it into distinct sections, allowing for independent control and manipulation of different sounds or instruments. This process is particularly useful when you want to play multiple sounds simultaneously or switch between different instrument presets seamlessly.
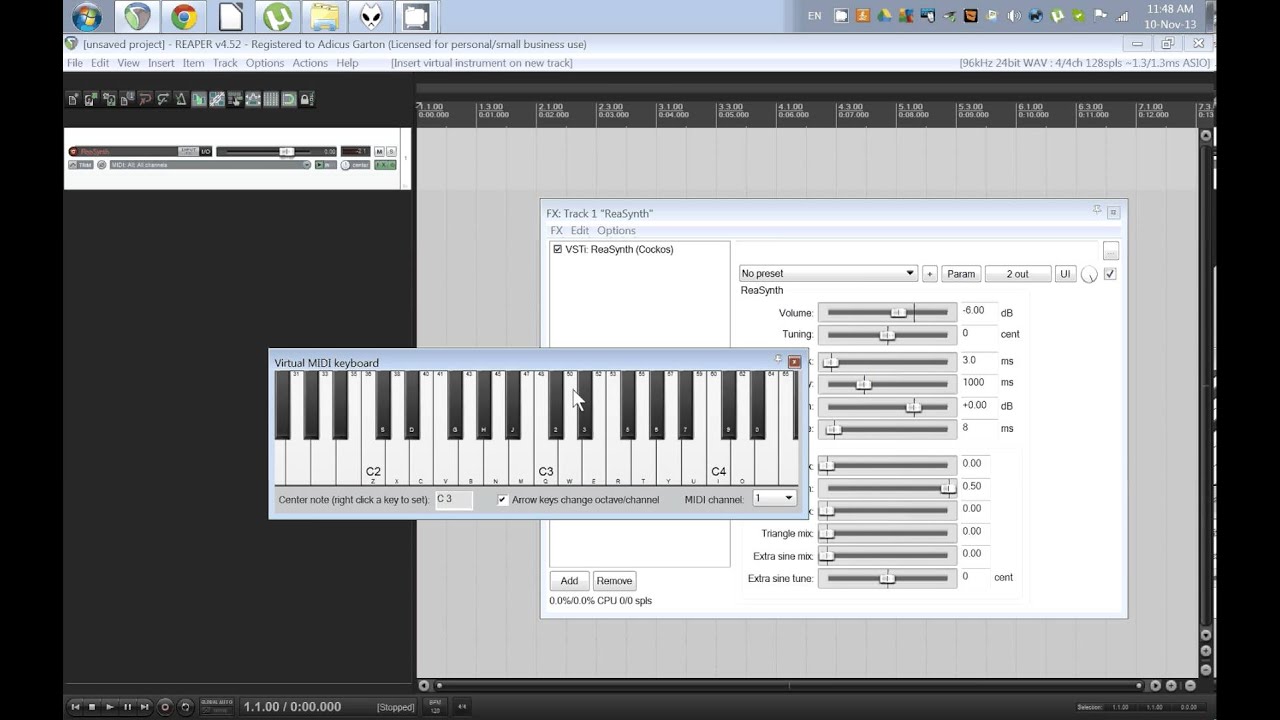
To begin splitting the keyboard in Reaper, navigate to the “View” menu at the top of the interface and select “Virtual MIDI Keyboard.” This will display a virtual representation of the keyboard on your screen, providing a visual reference for the upcoming split configuration.
Next, access the “Actions” menu and choose “Show Action List.” In the Action List window, you can search for and select the action titled “Insert virtual MIDI keyboard for input to current track.” By assigning a keyboard shortcut to this action, you can easily toggle the virtual MIDI keyboard on and off, simplifying the process of configuring the split points.
With the virtual MIDI keyboard visible, identify the specific note on the keyboard where you want the split to occur. This could be a particular key or a range of keys that will serve as the boundary between the different sections. Once the split point is determined, you can proceed to assign different instruments or sounds to each section, effectively creating distinct zones on the keyboard.
Reaper offers flexible options for splitting the keyboard, allowing you to define the split points with precision and customize the behavior of each section according to your creative requirements. Whether you aim to layer contrasting sounds, trigger diverse samples, or blend various timbres seamlessly, the ability to split the keyboard empowers you to craft intricate and dynamic musical arrangements with ease.
By mastering the art of splitting the keyboard in Reaper, you can unlock a wealth of creative possibilities, enabling you to explore new sonic territories and express your musical vision with unparalleled versatility. With the keyboard successfully split, the stage is set for the next crucial step: assigning different instruments to each split to bring your musical ideas to life.
Assigning Different Instruments to Each Split
Once you have split your MIDI keyboard into distinct sections in Reaper, the next pivotal task is to assign different instruments or sounds to each split. This step is instrumental in harnessing the full potential of the split keyboard, as it enables you to play and control diverse timbres and tones across the keyboard’s zones.
To assign different instruments to each split, you will leverage Reaper’s robust MIDI routing capabilities. Begin by creating a new track for each instrument or sound you intend to assign to a specific split on the keyboard. For example, if you want to assign a piano sound to the lower split and a string ensemble to the upper split, you will create individual tracks for each instrument.
Once the tracks are set up, ensure that the MIDI input for each track corresponds to the specific split on the keyboard. This can be achieved by configuring the MIDI input settings for each track to correspond to the range of notes associated with the respective split. By doing so, you establish a direct link between each split on the keyboard and the corresponding instrument track in Reaper.
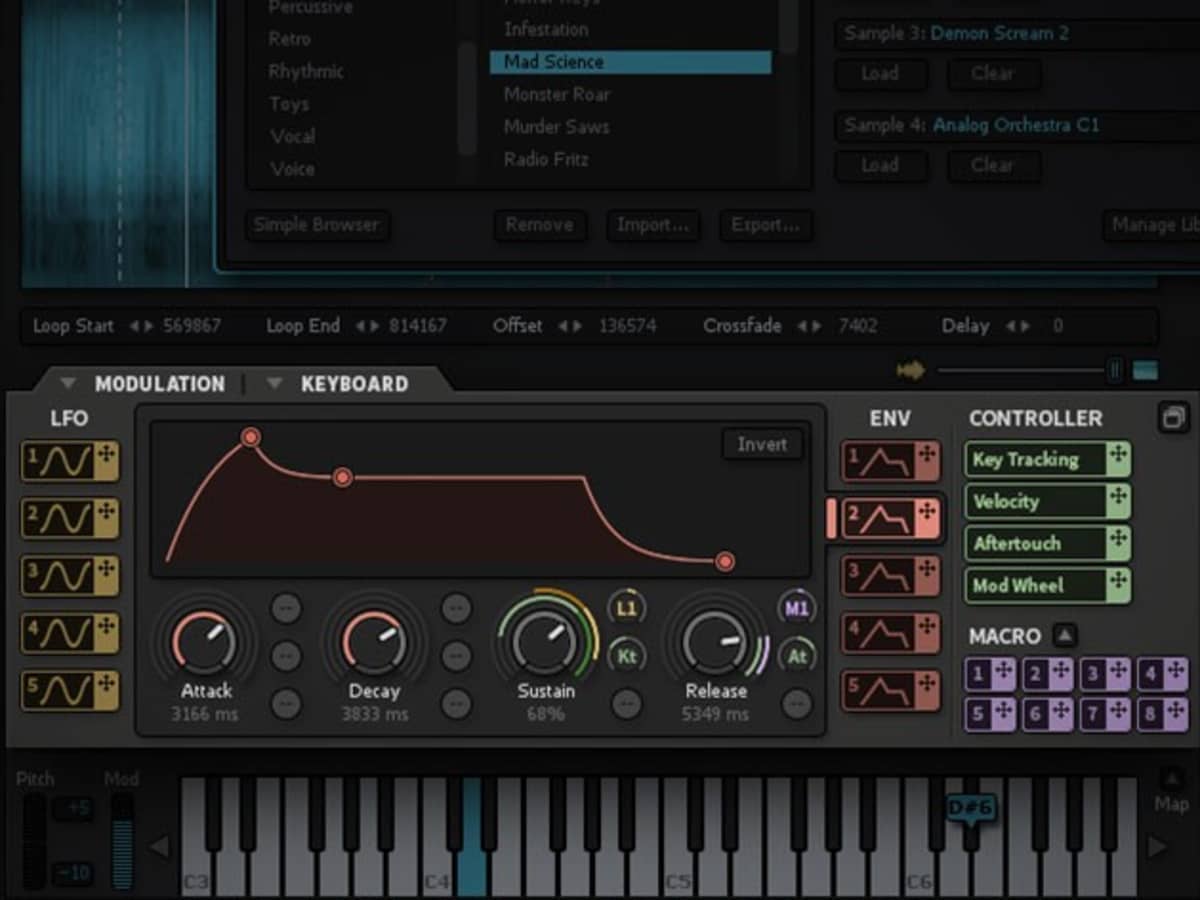
After configuring the MIDI input for each track, you can proceed to load and configure the instrument or sound generator plugin on each track. This involves selecting the desired instrument plugin, such as a virtual instrument or sampler, and customizing its settings to achieve the desired sound. You can also apply effects and processing to further shape the sonic characteristics of each instrument.
With the instruments or sound generators set up on their respective tracks, you can now play and control them independently by interacting with the corresponding splits on the MIDI keyboard. This seamless integration allows for expressive and dynamic performances, as you can effortlessly switch between different sounds and textures while playing.
By assigning different instruments to each split on the keyboard, you effectively transform your MIDI keyboard into a versatile and expressive musical tool, capable of producing rich and layered arrangements with ease. This level of control and flexibility empowers you to craft intricate compositions and explore a myriad of sonic possibilities, enhancing your creative workflow and musical expression.
With the instruments successfully assigned to each split, the final phase of the process involves testing and adjusting the split points to ensure seamless performance and fluid transitions between the different sections of the keyboard.
Testing and Adjusting the Split Points
After assigning different instruments to each split on your MIDI keyboard in Reaper, it is crucial to thoroughly test and fine-tune the split points to ensure smooth transitions and accurate triggering of the assigned instruments. This phase of the process is essential for refining the performance and playability of the split keyboard setup, allowing for seamless navigation between the various instrument zones.
Begin by playing across the split points on your MIDI keyboard to assess the transition between the different instrument sections. Pay close attention to any abrupt changes or inconsistencies in sound as you move from one split to another. This initial testing phase provides valuable insights into the responsiveness and behavior of the split keyboard setup, highlighting any areas that require adjustment.
If you encounter discrepancies in the triggering of instruments or notice abrupt changes in sound, you may need to refine the split points to achieve a more cohesive and natural transition. In Reaper, you can adjust the split points by modifying the MIDI input ranges for each instrument track, ensuring that the boundaries between splits align with the intended musical phrases and performance dynamics.
As you refine the split points, consider the musical context in which the split keyboard will be used. For example, if you intend to play expressive melodies that span multiple splits, it is imperative to ensure that the transition between the sections is seamless and musically coherent. Likewise, if you aim to create distinct sonic layers using different splits, the accuracy and consistency of the split points become paramount.
Throughout the testing and adjustment process, it is beneficial to solicit feedback from fellow musicians or collaborators, as their perspectives can offer valuable insights into the overall playability and musicality of the split keyboard setup. By incorporating diverse viewpoints, you can refine the split points with a holistic understanding of how the keyboard will be utilized in various musical contexts.
Furthermore, take advantage of Reaper’s real-time monitoring and recording capabilities to capture your performances while testing the split points. This allows you to review and analyze the playability and responsiveness of the split keyboard setup, facilitating iterative adjustments to achieve optimal performance and musical expression.
By meticulously testing and adjusting the split points on your MIDI keyboard in Reaper, you elevate the playability and versatility of the instrument, enabling seamless transitions between different instrument zones and empowering expressive performances. This iterative refinement process is integral to realizing the full potential of the split keyboard setup and ensuring a harmonious integration of diverse sounds and textures.
Conclusion
Mastering the art of splitting a MIDI keyboard in Reaper opens up a world of creative possibilities, allowing you to seamlessly integrate diverse sounds and instruments into your musical compositions. By following the comprehensive process outlined in this guide, you have acquired the knowledge and skills to configure, split, and assign different instruments to your MIDI keyboard, transforming it into a versatile and expressive musical tool.
Through the meticulous setup and configuration of your MIDI keyboard in Reaper, you have established a solid foundation for exploring new sonic territories and crafting dynamic musical arrangements. The ability to split the keyboard and assign distinct instruments to each section empowers you to layer contrasting sounds, trigger diverse samples, and seamlessly transition between different timbres, enhancing the depth and complexity of your musical creations.
As you continue to refine and adjust the split points, it is essential to embrace a spirit of experimentation and exploration, leveraging the flexibility of Reaper to tailor the split keyboard setup to your unique musical vision. Whether you aspire to create intricate multi-layered compositions, emulate the interplay of multiple instruments, or seamlessly blend diverse sonic textures, the split keyboard functionality in Reaper serves as a powerful and versatile tool for musical expression.
Furthermore, the iterative testing and adjustment process ensures that the split points are finely tuned to deliver a seamless and cohesive playing experience, allowing for fluid transitions between different instrument zones and facilitating expressive performances. By embracing this meticulous approach, you elevate the playability and musicality of your split keyboard setup, ultimately enhancing your creative workflow and musical expression.
As you embark on your musical journey with a split MIDI keyboard in Reaper, remember that the process of splitting and assigning instruments is not merely a technical endeavor; it is a gateway to boundless creativity and artistic innovation. Embrace the versatility and expressive potential of the split keyboard, and let your musical ideas flourish as you explore the rich tapestry of sounds and textures at your fingertips.
With the knowledge and expertise gained from this guide, you are well-equipped to harness the full potential of your MIDI keyboard within the Reaper environment, unlocking a world of musical expression and creativity. As you continue to refine your skills and expand your musical horizons, the split keyboard functionality in Reaper will serve as a steadfast companion, empowering you to craft captivating and immersive musical experiences with confidence and finesse.