Introduction
Welcome to this guide on how to configure the Behringer UMC202HD with a USB microphone in Reaper. Whether you are a musician, podcaster, or content creator, having a reliable audio interface and microphone setup is essential for capturing high-quality audio recordings.
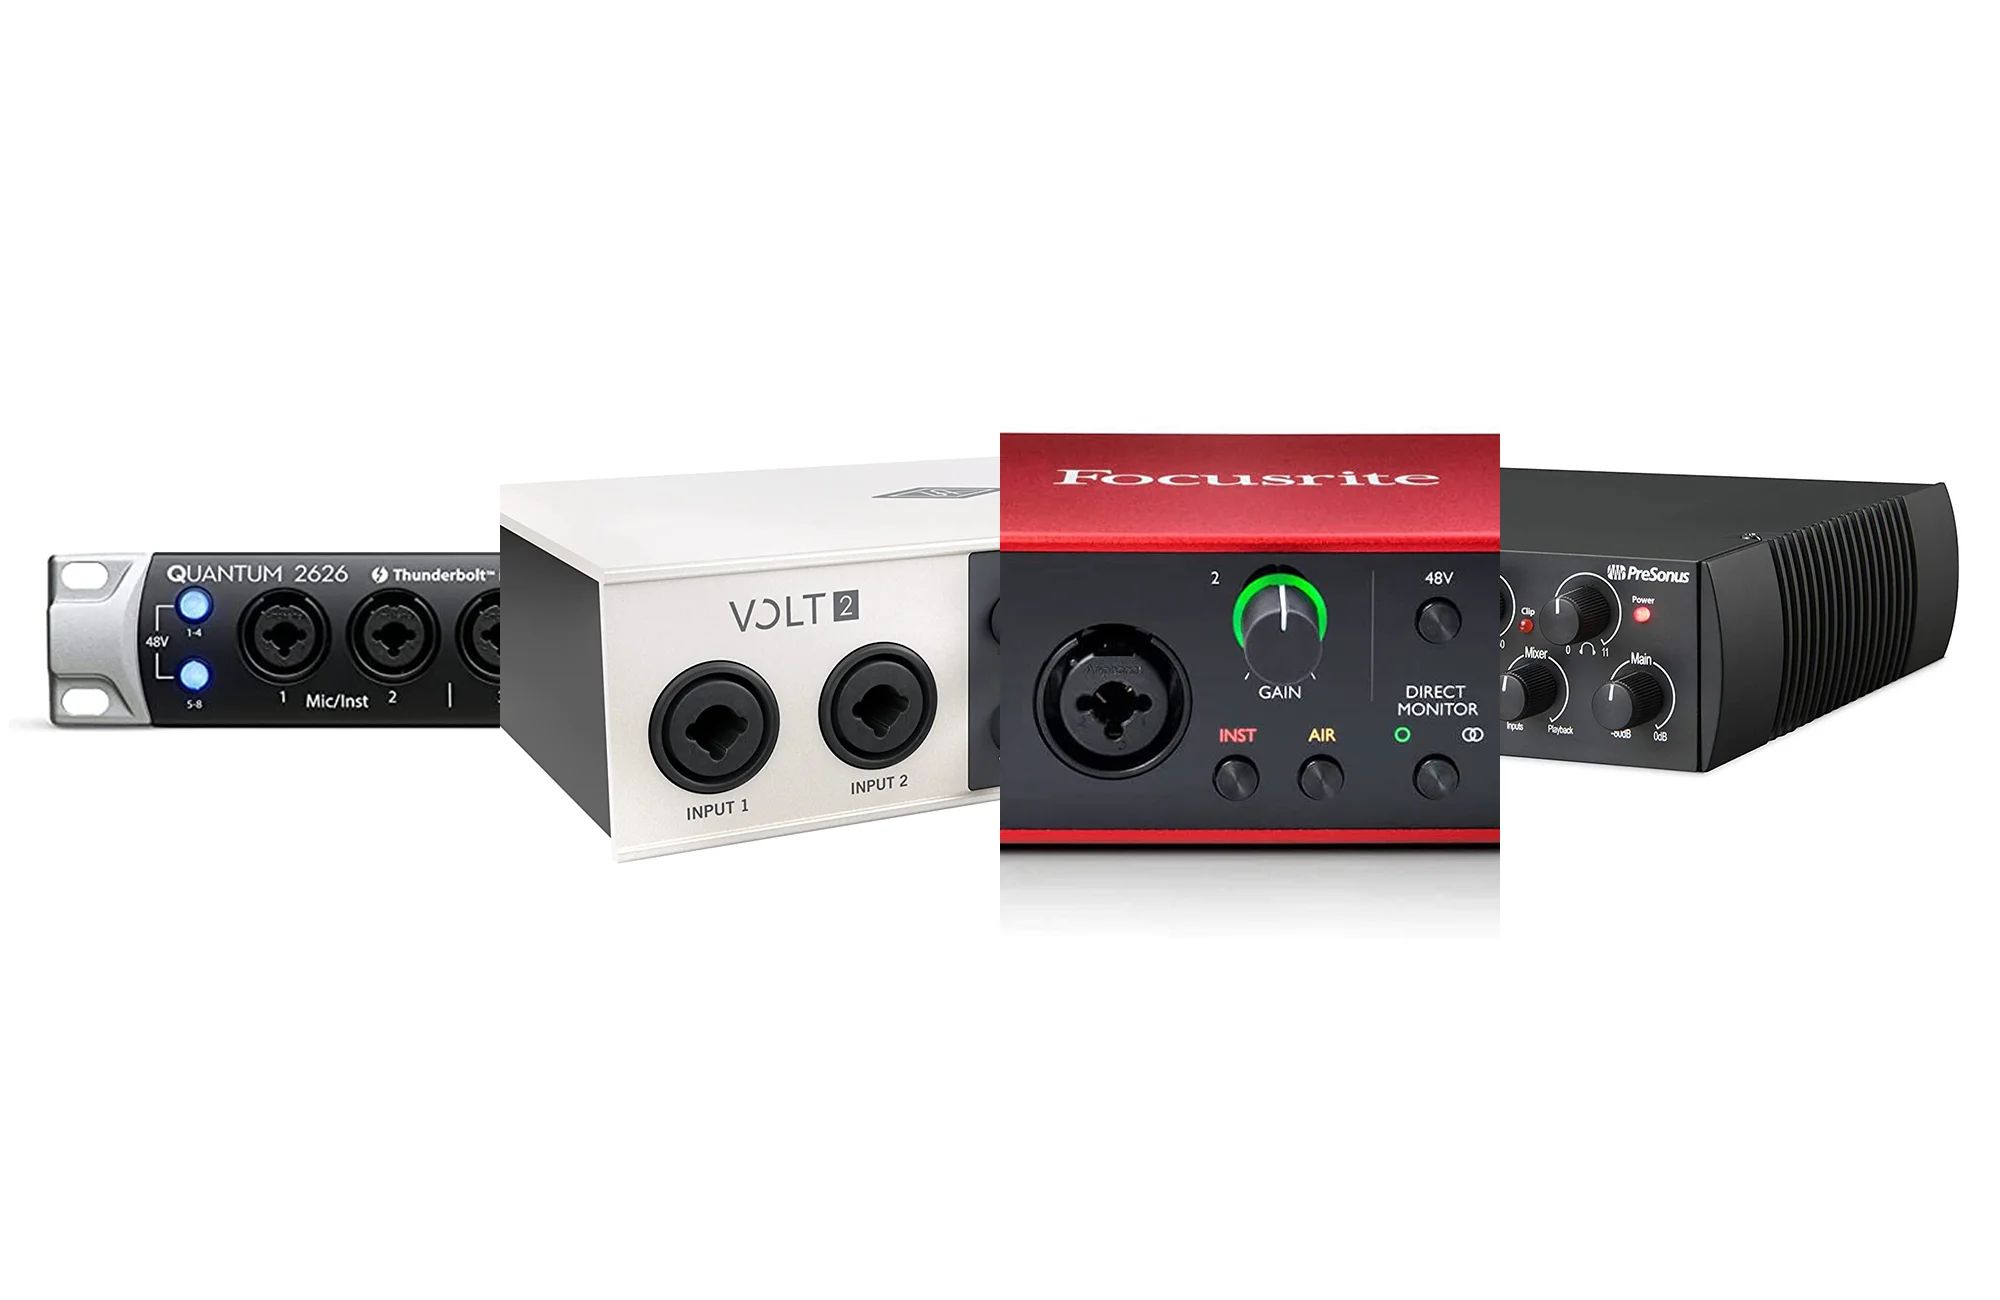
The Behringer UMC202HD is a popular audio interface that provides professional-grade audio recording capabilities. It offers two inputs and two outputs, allowing you to connect microphones, instruments, and other audio devices to your computer.
Reaper is a versatile digital audio workstation (DAW) that provides a powerful platform for recording, editing, and mixing audio. It offers a wide range of features and customization options, making it a popular choice among musicians and audio professionals.
By combining the Behringer UMC202HD and Reaper, you can create a seamless audio recording and editing workflow. In this guide, we will walk you through the process of connecting the Behringer UMC202HD to your computer and configuring it in Reaper.
Whether you are a beginner or an experienced user, this guide will provide you with the necessary steps and settings to ensure optimal audio performance. So, let’s dive in and get your Behringer UMC202HD and USB microphone up and running in Reaper!
Overview of the Behringer UMC202HD
The Behringer UMC202HD is a versatile audio interface that offers professional-grade audio recording capabilities. It features two combination XLR/TRS inputs, allowing you to connect microphones, instruments, or line-level devices such as keyboards or synthesizers.
With its 24-bit/192kHz resolution, the Behringer UMC202HD ensures capturing audio with exceptional clarity and detail. It also includes two studio-grade Midas preamps, known for their excellent sound quality and low noise performance.
In addition to the inputs, the Behringer UMC202HD provides two balanced TRS outputs for connecting studio monitors or headphones. This allows you to monitor your recordings or mix your audio playback directly from the interface.
One of the standout features of the Behringer UMC202HD is its USB connection. This allows for easy integration with your computer, making it compatible with both Mac and Windows operating systems. The UMC202HD is also bus-powered, meaning it draws its power from the USB connection, eliminating the need for an external power source.
Furthermore, the Behringer UMC202HD comes bundled with a range of software. This includes the popular digital audio workstation, Tracktion T7, which offers a user-friendly interface and a comprehensive set of recording and editing features.
Overall, the Behringer UMC202HD provides a reliable and cost-effective solution for those seeking high-quality audio recording and playback. With its solid build, professional-grade preamps, and easy integration with your computer, it has become a popular choice among musicians, podcasters, and content creators.
In the next sections, we will explore how to connect the Behringer UMC202HD to your computer and configure it in Reaper to maximize its potential and ensure optimal audio performance.
Overview of Reaper
Reaper is a powerful and versatile digital audio workstation (DAW) that offers a wide range of features and customization options. It provides a comprehensive platform for recording, editing, mixing, and mastering audio, making it a popular choice among musicians, producers, and audio engineers.
One of the key advantages of Reaper is its flexibility. It supports a wide variety of audio formats and plugins, allowing you to use your preferred tools and workflows. Whether you are working with MIDI, virtual instruments, or audio recordings, Reaper provides a seamless integration and robust functionality.
Reaper’s user interface is highly customizable, allowing you to tailor it to your specific needs and preferences. You can arrange windows, toolbars, and track layouts to create a personalized workspace that enhances your workflow and productivity.
With Reaper, you have access to a comprehensive set of editing tools. You can easily trim, cut, and arrange audio clips, as well as apply a range of effects and processing to achieve the desired sound. Reaper also supports automation, allowing you to create dynamic changes in volume, panning, and various other parameters over time.
Another notable feature of Reaper is its low resource consumption. It is designed to be efficient, making it suitable for running on both high-end systems and laptops with limited processing power. This means you can work on projects of any size without experiencing performance issues.
Reaper also provides extensive routing options, allowing you to route audio signals between tracks, buses, and hardware inputs and outputs. This flexibility enables complex routing setups for advanced mixing and processing techniques.
Furthermore, Reaper has a supportive and active user community. Online forums and resources provide a wealth of knowledge and tutorials to help users navigate and make the most of the software’s capabilities.
In summary, Reaper offers a comprehensive set of tools and features that make it a powerful and flexible DAW for audio recording and production. Its customizable interface, extensive editing capabilities, low resource consumption, and strong user community make it a top choice for musicians and audio professionals.
In the following sections, we will explore how to connect your Behringer UMC202HD to Reaper and configure it for optimal audio recording and editing.
Connecting the Behringer UMC202HD to your Computer
Before you can start using the Behringer UMC202HD with Reaper, you need to connect it to your computer. The UMC202HD uses a USB connection, making it a simple and straightforward process.
Here are the steps to connect the Behringer UMC202HD to your computer:
- Step 1: Power off your computer: Before making any connections, it is advisable to power off your computer to avoid any potential damage to your audio interface or computer.
- Step 2: Connect the UMC202HD to your computer: Take the USB cable that came with your UMC202HD and connect one end to the USB port on the audio interface. Then, connect the other end of the USB cable to an available USB port on your computer.
- Step 3: Power on your UMC202HD: Once the USB cable is connected, you can power on your UMC202HD. It will receive power from the USB connection to your computer, so there is no need for an external power source.
- Step 4: Install the necessary drivers: In most cases, your computer will automatically detect and install the necessary drivers for the UMC202HD. However, if the drivers are not installed automatically, you can visit the Behringer website and download the latest drivers for your operating system.
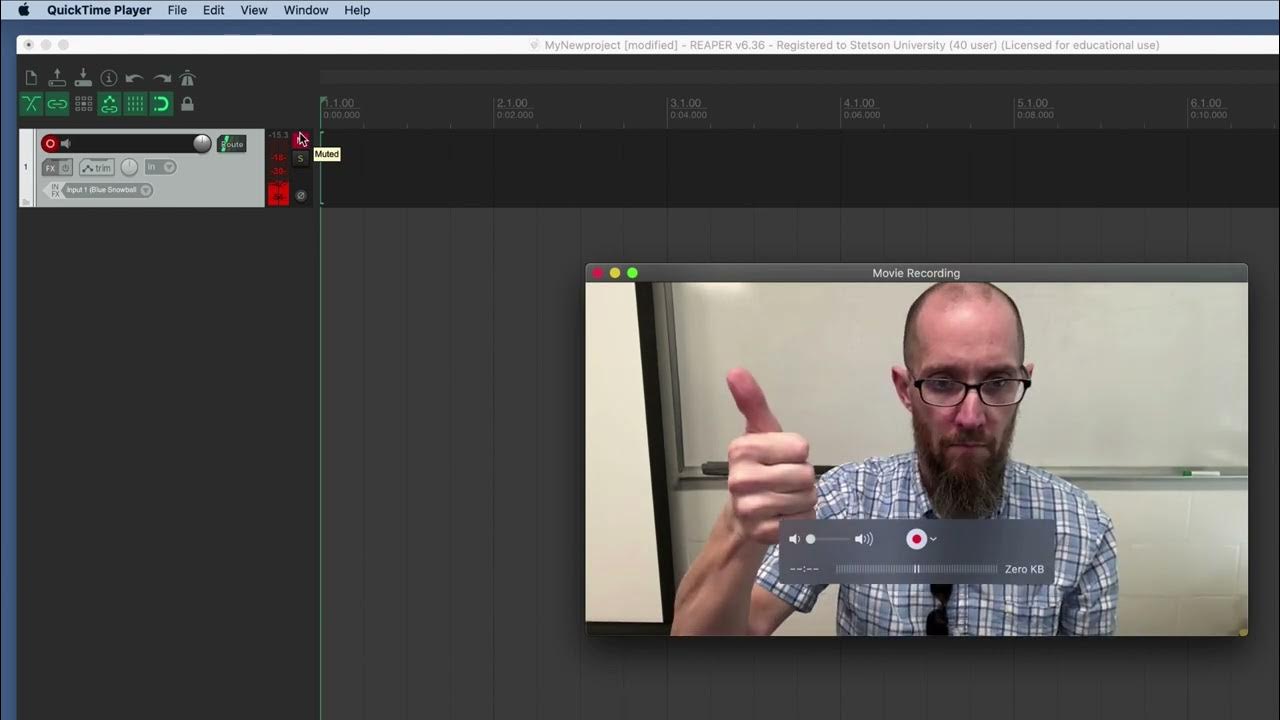
- Step 5: Verify the connection: After the drivers are installed, you can verify the connection by opening Reaper and checking if the UMC202HD is recognized as an available audio device. Navigate to the audio preferences or settings in Reaper and ensure that the UMC202HD is selected as the input and output device.
That’s it! Your Behringer UMC202HD is now connected to your computer, and you are ready to configure it in Reaper. In the next sections, we will walk you through the process of setting up your USB microphone in Reaper and adjusting the necessary preferences for optimal audio performance.
Configuring the Behringer UMC202HD in Reaper
Once you have connected the Behringer UMC202HD to your computer, it’s time to configure it in Reaper to ensure proper functionality and optimal audio recording performance.
Here is a step-by-step guide to configuring the Behringer UMC202HD in Reaper:
- Step 1: Open Reaper: Launch Reaper on your computer. If you haven’t installed Reaper yet, you can download the latest version from the official Cockos website and follow the installation instructions.
- Step 2: Access the Preferences: Click on “Options” in the top menu bar and select “Preferences” from the dropdown menu. This will open the preferences window.
- Step 3: Select Audio Device: In the preferences window, navigate to the “Audio” section. Under the “Device” dropdown menu, select the Behringer UMC202HD as your audio device for both input and output.
- Step 4: Set Audio Buffer Size: Adjust the buffer size to your desired value. A smaller buffer size reduces audio latency but requires more processing power. Experiment with different buffer sizes to find the ideal balance for your system’s performance.
- Step 5: Configure Sample Rate: Set the sample rate of the Behringer UMC202HD to match your desired recording quality. 44.1 kHz or 48 kHz is commonly used for most audio recordings, but higher sample rates are available for specific purposes.
- Step 6: Check Input and Output Channels: In Reaper’s audio preferences, ensure that the correct input and output channels are selected. For example, if you are using a microphone connected to input 1 of the UMC202HD, select “Input 1” as the input channel in Reaper.
- Step 7: Test the Configuration: Click on “Apply” to save the changes and exit the preferences window. Now, test the configuration by recording or monitoring audio in Reaper. Ensure that the input and output levels are correctly set, and adjust them as needed.
By following these steps, you can configure the Behringer UMC202HD in Reaper to take full advantage of its features and ensure optimal audio recording performance.
Remember to consult the respective user manuals or online resources for more specific instructions related to the Behringer UMC202HD and Reaper, as there may be additional settings or preferences to consider depending on your specific requirements.
In the next sections, we will explore how to set up your USB microphone in Reaper and adjust the input and output preferences for optimal audio performance.
Setting Up the USB Microphone in Reaper
Now that you have configured the Behringer UMC202HD in Reaper, it’s time to set up your USB microphone within the software. Properly configuring your microphone will ensure that you capture clear and high-quality audio recordings.
Here is a step-by-step guide to setting up your USB microphone in Reaper:
- Step 1: Connect your USB microphone: Connect your USB microphone to an available USB port on your computer. Make sure the microphone is securely connected and powered on.
- Step 2: Open Reaper and access the preferences: Launch Reaper and click on “Options” in the top menu bar. From the dropdown menu, select “Preferences” to open the preferences window.
- Step 3: Select Audio Device: In the preferences window, navigate to the “Audio” section and ensure that the Behringer UMC202HD is selected as the audio device, as we configured in the previous section.
- Step 4: Access the Track Settings: In the main Reaper interface, right-click on an empty track in the track view area and select “Track Settings” from the context menu.
- Step 5: Enable Input Monitoring: Within the track settings window, locate the “Input monitoring” option and make sure it is enabled. This allows you to hear the audio input from your USB microphone in real-time.
- Step 6: Set the Track Input: In the track settings window, locate the “Input” section and select the appropriate input channel for your USB microphone. This will depend on how your microphone is connected to the UMC202HD.
- Step 7: Adjust Input Levels: In the track settings window, use the input gain or volume control to adjust the input levels of your USB microphone. You can test the levels by speaking into the microphone and observing the meter in Reaper. Ensure that the levels do not clip or distort.
- Step 8: Test the Configuration: Click “Apply” to save the changes and exit the track settings window. Now, test the configuration by recording or monitoring audio using your USB microphone in Reaper. Adjust the input levels and positioning of the microphone as needed.
By following these steps, you can set up your USB microphone in Reaper and ensure that it is properly configured for recording high-quality audio. Remember to consult the user manual or online resources for your USB microphone for any specific instructions or considerations.
In the upcoming sections, we will explore how to adjust the input and output preferences in Reaper to further optimize your audio recording and editing experience.
Setting the Input and Output Preferences in Reaper
Configuring the input and output preferences in Reaper is crucial to achieve the best audio recording and monitoring experience. By properly setting these preferences, you can ensure optimal signal flow and eliminate any potential issues with latency or audio quality.
Here is a step-by-step guide to setting the input and output preferences in Reaper:
- Step 1: Access the Preferences: Click on “Options” in the top menu bar of Reaper and select “Preferences” from the dropdown menu. This will open the preferences window.
- Step 2: Navigate to the Audio Devices Section: In the preferences window, locate and click on the “Audio” tab on the left-hand side. This will display the audio device settings.
- Step 3: Configure Input Preferences: In the audio device settings, locate the “Input” section. Here, you can specify the input channels you want to use, adjust the input hardware settings, and set the input monitoring preferences. Ensure that the correct input channels are selected and that input monitoring is enabled.
- Step 4: Configure Output Preferences: In the audio device settings, find the “Output” section. Here, you can specify the output channels, adjust the output hardware settings, and set the master output preferences. Select the appropriate output channels for playback and ensure that the master output is set to the desired output device.
- Step 5: Adjust Buffer Settings: In the audio device settings, locate the “Buffering” section. Adjust the buffer size to your desired value, balancing latency and processing power. Smaller buffer sizes will minimize latency but may require more processing power.
- Step 6: Configure Sample Rate: In the audio device settings, locate the “Sample Rate” section. Set the sample rate to match your desired recording quality. The standard sample rates are 44.1 kHz and 48 kHz, but higher sample rates may be available depending on your audio interface.
- Step 7: Apply and Test: Click on “Apply” to save the changes and exit the preferences window. Now, test the configuration by recording or monitoring audio in Reaper. Ensure that the input and output levels are correctly set, and adjust them if necessary.
By following these steps and adjusting the input and output preferences in Reaper, you can ensure a smooth and optimal audio recording and playback experience. Remember to consult the user manual or online resources for your specific audio interface or hardware for any additional settings or considerations.
In the next section, we will discuss how to configure the sample rate and buffer size in Reaper to further optimize your audio setup.
Configuring the Sample Rate and Buffer Size
Configuring the sample rate and buffer size in Reaper is essential to achieve the desired audio quality and maintain a stable recording and playback performance. These settings determine the resolution of your audio recordings and the amount of latency you experience during real-time monitoring.
Here is a step-by-step guide on how to configure the sample rate and buffer size in Reaper:
- Step 1: Access the Preferences: Click on “Options” in the top menu bar of Reaper and select “Preferences” from the dropdown menu. This will open the preferences window.
- Step 2: Navigate to the Audio Devices Section: In the preferences window, locate and click on the “Audio” tab on the left-hand side. This will display the audio device settings.
- Step 3: Configure Sample Rate: In the audio device settings, locate the “Sample Rate” section. Here, you can select the desired sample rate for your audio recordings. Common sample rates are 44.1 kHz and 48 kHz, but higher options may be available depending on your audio interface. Choose the sample rate that best suits your project’s requirements.
- Step 4: Adjust Buffer Size: In the audio device settings, find the “Buffering” section. The buffer size determines the amount of audio data processed at a time and affects the latency you experience during real-time monitoring. Smaller buffer sizes can reduce latency but may require more processing power. Experiment with different buffer sizes to find the optimal balance for your system’s performance.
- Step 5: Apply and Test: Click on “Apply” to save the changes and exit the preferences window. Now, test the configuration by recording or monitoring audio in Reaper. Monitor the latency and audio quality to ensure that the sample rate and buffer size settings meet your expectations.
By following these steps and configuring the sample rate and buffer size in Reaper, you can customize the audio quality and real-time monitoring experience to suit your preferences. Remember to consider the system resources available on your computer and the specific requirements of your project when choosing sample rates and buffer sizes.
It’s important to note that changing these settings may have an impact on CPU usage and overall system performance. Monitor your system’s performance when making adjustments to ensure smooth operation.
In the next section, we will discuss how to adjust the levels and monitoring in Reaper to ensure proper audio recording and playback.
Adjusting the Levels and Monitoring
Properly adjusting the levels and monitoring in Reaper is crucial to achieve balanced and clear audio recordings. It ensures that your audio signals are neither too soft nor too loud, and allows you to monitor the audio in real-time to catch any potential issues.
Here is a step-by-step guide on how to adjust the levels and monitoring in Reaper:
- Step 1: Open Reaper and load your project: Launch Reaper on your computer and load the project in which you want to adjust the levels and monitoring.
- Step 2: Set the input levels: During recording, it is essential to set the input levels correctly to avoid clipping or distortion. Check the input levels on your audio interface or in the track settings in Reaper. Adjust the gain or volume control on the audio interface or use the input level controls in Reaper until the input levels peak around -12 dB to -6 dB, ensuring a good signal-to-noise ratio.
- Step 3: Balance the track levels: After recording, you need to balance the levels of different tracks to achieve a coherent mix. Use the faders or volume controls in Reaper to adjust the level of each track. Bring the faders up or down until the mix sounds balanced and the various elements can be heard clearly without overpowering each other.
- Step 4: Set the output levels: Ensure that the output levels from your audio interface and within Reaper are set appropriately. If your audio interface has output level controls, adjust them to an appropriate level. In Reaper, use the master fader or output level controls to set the overall output level. Aim for a level that is neither too low, which can result in a weak and indistinct mix, nor too high, which can lead to distortion.
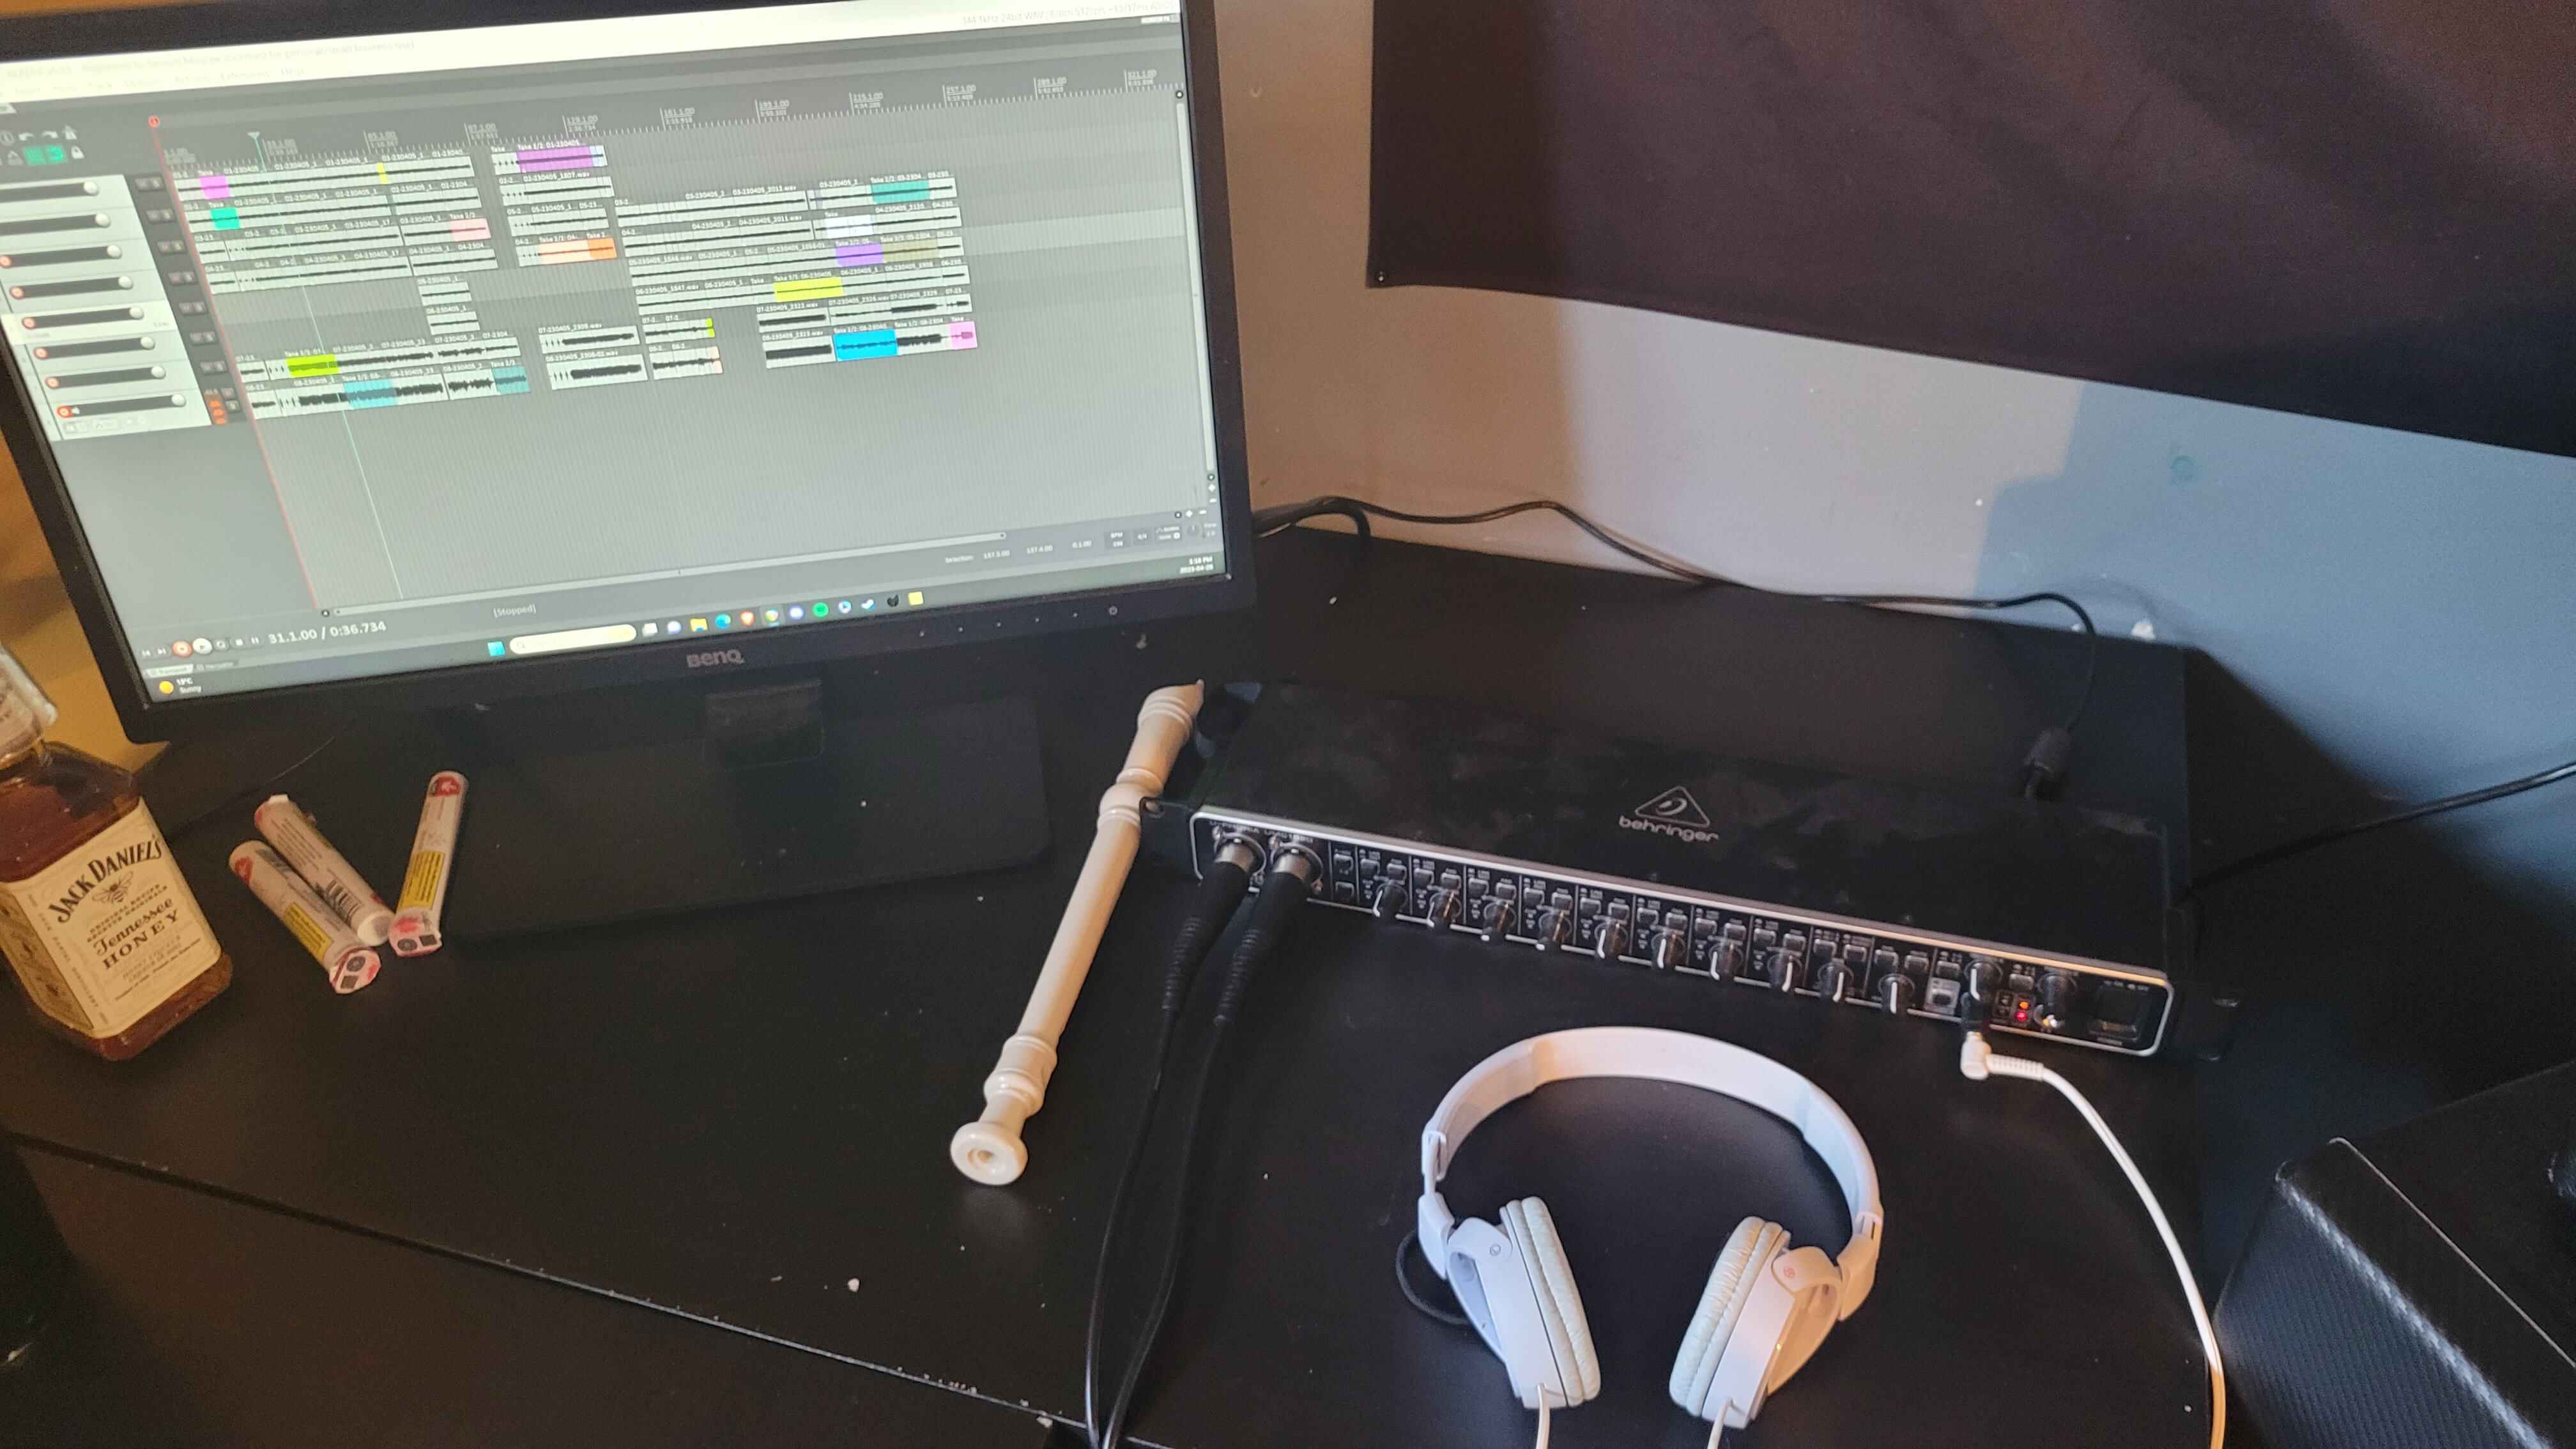
- Step 5: Monitor the audio: Use the monitoring options in Reaper to listen to the audio in real-time. Enable input monitoring on the tracks you want to monitor, allowing you to hear the audio as you record or play it back. Use headphones or studio monitors to accurately monitor and evaluate the audio quality during recording and mixing.
- Step 6: Make adjustments as needed: Continuously monitor the audio levels as you work on your project. If you notice any clipping, distortion, or imbalances, make adjustments to the input levels, track levels, or output levels accordingly. Regularly check the meters in Reaper to ensure that the audio levels are within an appropriate range.
By following these steps and adjusting the levels and monitoring in Reaper, you can achieve well-balanced and clear audio recordings. Regularly monitor the levels and make necessary adjustments throughout your recording and mixing process to maintain optimal audio quality.
In the next section, we will discuss some common troubleshooting tips to help you address any issues that may arise when working with the Behringer UMC202HD and Reaper.
Troubleshooting Common Issues
While working with the Behringer UMC202HD and Reaper, you may encounter some common issues that can affect your audio recording and playback experience. Here are a few troubleshooting tips to help you address these issues:
- No audio signal: If you’re not getting any audio signal, check the cable connections between the Behringer UMC202HD and your computer. Ensure that the UMC202HD is powered on and that the correct input and output settings are selected in Reaper. You may also need to check the input gain settings on your UMC202HD and the input and output levels in Reaper.
- High latency: If you notice a significant delay between when you make a sound and when you hear it in your headphones or monitors, you may be experiencing high latency. Try adjusting the buffer size in Reaper’s audio preferences to a smaller value, but be mindful of the impact it may have on your computer’s performance. You can also try using the “Direct Monitoring” feature on your UMC202HD, if available, to monitor the input signal directly without going through your computer.
- Audio distortion or clipping: If your audio recordings or playback are distorted or clipping, it could be due to input levels being set too high. Check the input gain settings on your UMC202HD and make sure the input levels in Reaper are not too high, aiming for levels peaking around -12 dB to -6 dB. If the distortion persists, try reducing the input gain or adjusting the output level to avoid clipping.
- Driver issues: If you experience problems with audio playback or recording, it’s worth checking for and installing the latest drivers for your Behringer UMC202HD. Visit the Behringer website to download and install the most up-to-date drivers that are compatible with your operating system.
- Compatibility issues: Ensure that your computer’s operating system is compatible with the Behringer UMC202HD and Reaper. Check the system requirements for both the audio interface and the software to ensure they are compatible. If you encounter compatibility issues, consider updating your operating system or reaching out to technical support for further assistance.
If you continue to experience issues, consult the user manual for your Behringer UMC202HD, visit online forums or communities for Reaper users, or contact customer support for both Behringer and Reaper. These resources can provide further guidance and troubleshooting specific to your setup.
Remember to always keep your software and drivers updated, as new updates often include bug fixes and performance enhancements that can help resolve compatibility issues or improve functionality.
By following these troubleshooting tips and seeking additional support if needed, you can overcome common issues and ensure a smooth audio recording and playback experience with the Behringer UMC202HD and Reaper.
Conclusion
Configuring the Behringer UMC202HD with a USB microphone in Reaper can greatly enhance your audio recording and editing experience. By following the steps outlined in this guide, you can ensure that your audio setup is optimized for high-quality recordings.
We started by providing an overview of the Behringer UMC202HD, highlighting its key features and benefits. We then discussed Reaper, a versatile digital audio workstation that provides a robust platform for audio recording, editing, and mixing.
Next, we walked through the process of connecting the Behringer UMC202HD to your computer and configuring it in Reaper. We also discussed how to set up your USB microphone and adjust input and output preferences to ensure optimal audio performance.
We then covered the configuration of sample rate and buffer size, which are important settings to determine the resolution and latency of your audio recordings. Additionally, we explored how to adjust levels and monitoring to achieve a balanced and clear audio signal.
Finally, we provided troubleshooting tips to address common issues that may arise when using the Behringer UMC202HD with Reaper, helping you troubleshoot and resolve any problems encountered along the way.
Remember that each audio setup may have its own unique considerations and requirements. It is always recommended to consult the user manuals for your specific hardware and software, as well as seek support from online forums or customer service if you encounter any challenges.
By following the steps and tips provided in this guide, you can unlock the full potential of your Behringer UMC202HD and USB microphone in Reaper, allowing you to capture professional-quality audio recordings and unleash your creativity in your music, podcasts, or other audio projects.