Introduction
Welcome to the digital age, where smartphones have become an integral part of our lives. These devices offer a multitude of features and functionalities that were once unimaginable. One such feature that often goes unnoticed but can be immensely useful is the ability to use your smartphone as a USB microphone. With the right app and a simple connection, you can transform your smartphone into a portable recording device, perfect for podcasts, voice-overs, video conversations, and more.
Using a smartphone as a USB microphone comes with several benefits. Firstly, it eliminates the need for investing in expensive professional microphones, making it a cost-effective option for individuals and small businesses. Secondly, its portability allows you to record high-quality audio anywhere, anytime. Whether you’re on the go or working from home, your smartphone can be a reliable audio recording solution. Finally, smartphones often have advanced noise cancellation and audio processing capabilities, resulting in clear and professional-sounding recordings.
In this article, we will explore how to utilize your smartphone as a USB microphone, providing you with step-by-step guidelines to set up and configure everything correctly. We will also discuss the best apps available for this purpose and share some tips to achieve optimal sound quality.
So, without further ado, let’s dive into the exciting world of using your smartphone as a USB microphone and unleash its full potential!
Benefits of Using a Smartphone as a USB Microphone
Utilizing your smartphone as a USB microphone brings forth numerous advantages that make it an attractive option for content creators, podcasters, voice-over artists, and more.
1. Cost-effectiveness: Investing in professional microphones and audio recording equipment can be expensive. However, with a smartphone as a USB microphone, you can save money, as it eliminates the need for additional equipment. Most people already own a smartphone, making it a cost-effective solution.
2. Portability: Smartphones are incredibly portable, allowing you to record high-quality audio anywhere, anytime. Whether you’re on the move, traveling, or working remotely, you can easily carry your smartphone and use it as a USB microphone whenever the need arises.
3. Convenience: Using your smartphone as a USB microphone offers convenience in terms of setup and connectivity. With the appropriate app and a simple USB connection, you can start recording or streaming audio within minutes. There’s no need for complex configurations or multiple devices.
4. Advanced features: Smartphones often come equipped with advanced audio processing capabilities such as noise cancellation and equalizer settings. These features enhance the quality of your recordings and ensure professional-sounding audio.
5. Compatibility: Most smartphones support USB connectivity, making them compatible with a wide range of devices such as computers, laptops, and tablets. This allows for seamless integration to record, edit, or stream your audio on various platforms.
6. Versatility: A smartphone’s versatility extends beyond being just a USB microphone. You can use it for video calls, voice memos, interviews, and even as a portable audio recorder for capturing ambient sounds or live performances.
7. Simplicity in post-production: After recording, you can easily transfer the audio files to your computer or preferred device for editing and post-production. Most smartphones offer simple file management systems, allowing you to organize and edit your recordings with ease.
By leveraging these benefits, you can harness the power of your smartphone and transform it into a reliable and versatile USB microphone. It opens up a world of possibilities for capturing high-quality audio on the go, without compromising on professional sound.
Choosing the Right App for USB Microphone Functionality
When it comes to utilizing your smartphone as a USB microphone, selecting the right app is crucial. The app you choose will determine the quality of your audio recordings, the level of control you have over settings, and the overall user experience. Here are some factors to consider when choosing the right app:
1. Compatibility: Ensure that the app you choose is compatible with your smartphone’s operating system. Check if it supports both iOS and Android platforms to ensure a wide range of device compatibility.
2. Features: Look for an app that offers the necessary features for your recording needs. Some apps provide basic recording functionality, while others offer advanced features like noise reduction, equalizer settings, and real-time monitoring. Consider your specific requirements and choose an app that suits them.
3. User Interface: A user-friendly interface can greatly enhance your experience. Look for an app with an intuitive and easy-to-navigate interface. This will make it easier for you to access settings, adjust audio levels, and manage your recordings efficiently.
4. Audio Formats and Quality: Check the supported audio formats and the quality of recordings the app can produce. Look for options that allow you to save in popular formats like WAV or MP3, and ensure the app supports high-quality audio recording to maintain the integrity of your recordings.
5. File Management: Consider how the app manages and organizes your recordings. Look for options that offer easy file management, allowing you to categorize, rename, and access your recordings effortlessly. This will save you time and ensure better organization.
6. Reviews and Ratings: Before making a final decision, read user reviews and ratings of the app. This will give you insights into the experiences of other users and help you gauge the app’s overall performance and reliability.
Some popular apps that offer USB microphone functionality include “DroidCamX,” “Microphone by VonBruno,” and “RecForge Lite.” However, new apps are constantly being developed, so it’s always good to stay updated with the latest options available.
Remember, the app you choose should align with your specific needs and preferences. Take your time to research and experiment with different apps until you find one that suits your requirements and offers the best user experience. With the right app, you can optimize your smartphone’s potential as a USB microphone and achieve professional-quality audio recordings.
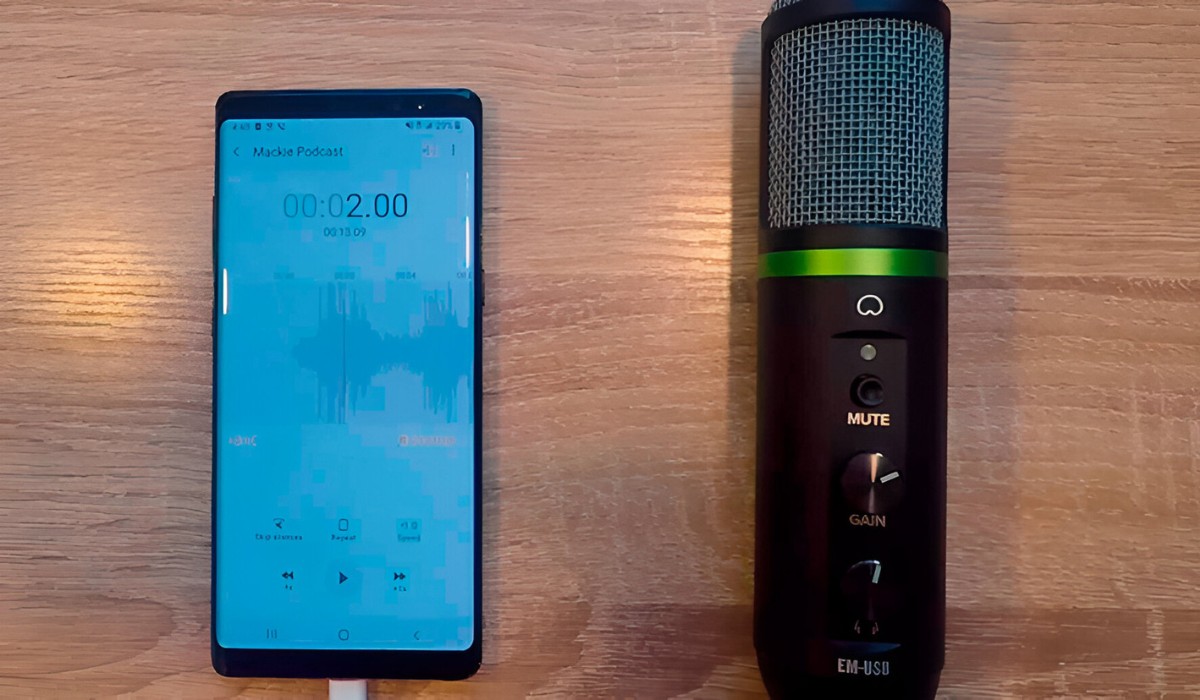
Connecting Your Smartphone to a Computer as a USB Microphone
Connecting your smartphone to a computer as a USB microphone is a straightforward process that requires a USB cable and a few simple steps. Here’s a step-by-step guide to help you get started:
1. Check your smartphone’s USB capabilities: Ensure that your smartphone supports USB audio functionality. Most modern smartphones do support this feature, but it’s always good to verify to avoid any compatibility issues.
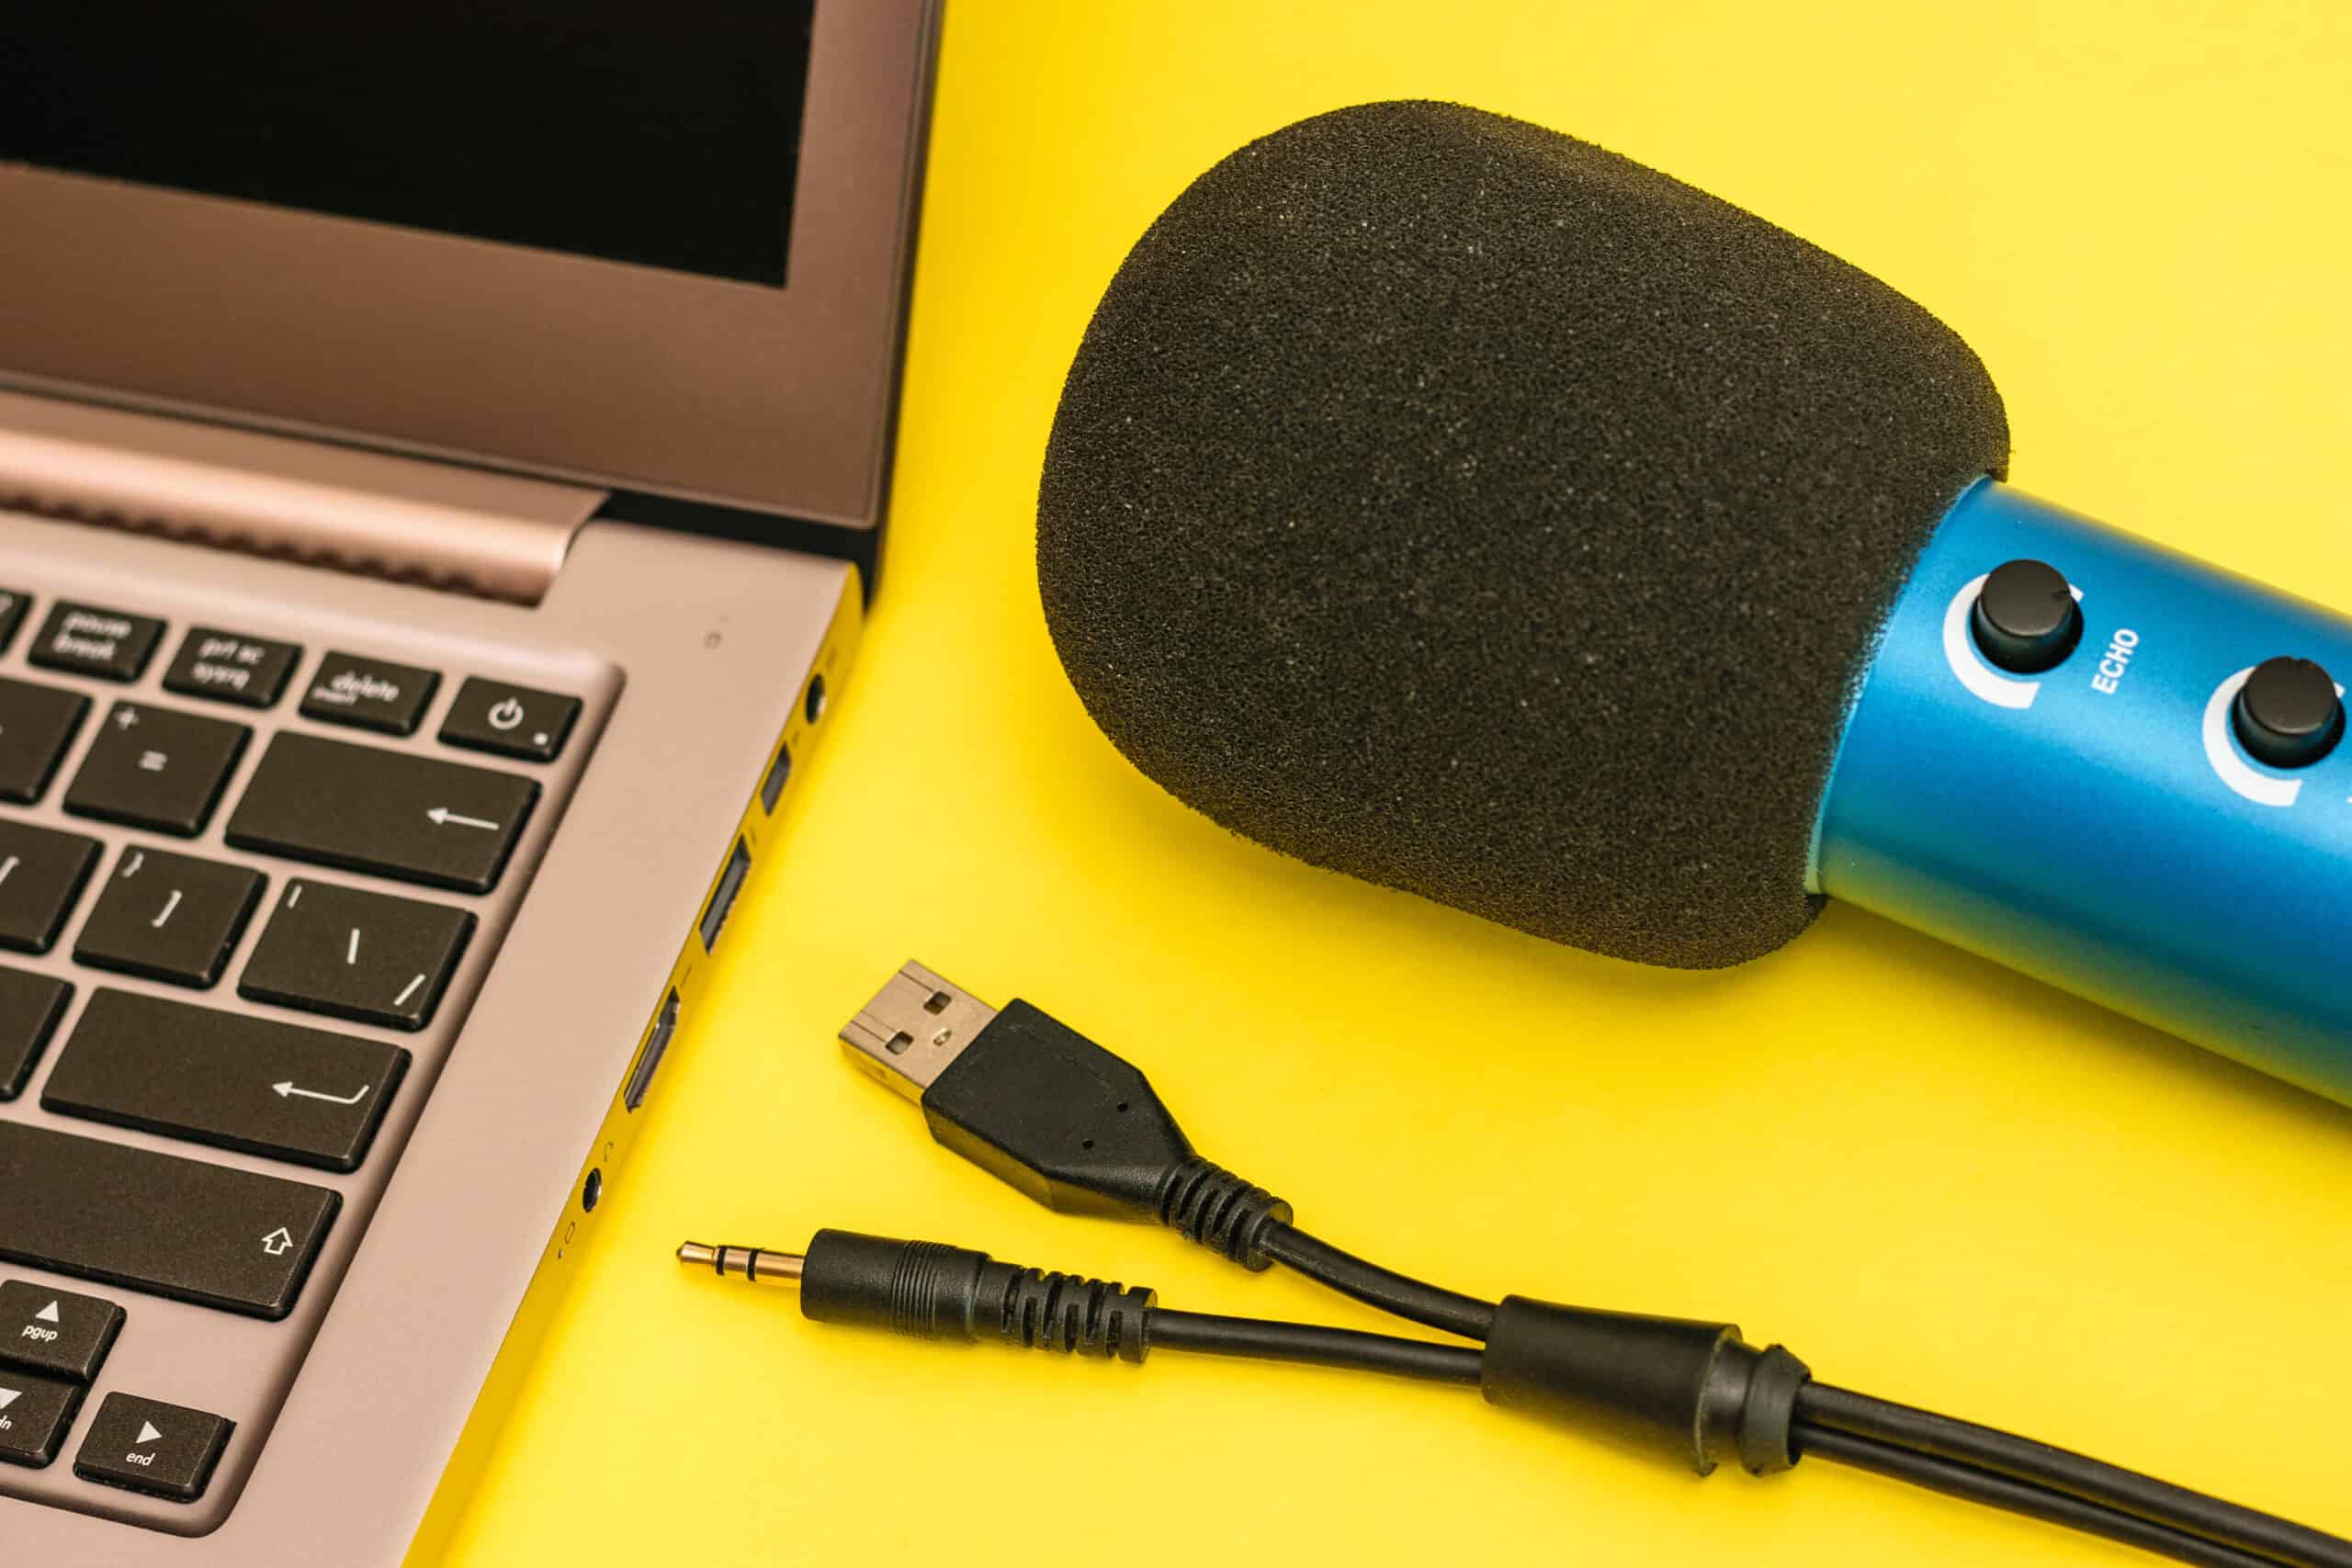
2. Choose a suitable USB cable: Select a USB cable that matches the ports on both your smartphone and computer. This is typically a USB Type-C or micro-USB cable for Android devices, and a Lightning cable for iPhones.
3. Connect your smartphone to the computer: Connect one end of the USB cable to your smartphone and the other end to an available USB port on your computer.
4. Enable USB mode on your smartphone: On your smartphone, go to the settings menu and locate the USB mode or USB connection mode option. Select the option that allows your smartphone to function as a USB microphone. The naming of this option may vary depending on your smartphone’s operating system.
5. Adjust your computer’s audio settings: Open the audio settings on your computer. Depending on the operating system, this may be located in the control panel or system preferences. Select your smartphone as the default audio input device or microphone.
6. Test the connection: Once your smartphone is connected and recognized as a USB microphone, test the connection by speaking into your smartphone. Check the audio levels on your computer to ensure that the sound is being picked up by the microphone.
7. Configure audio settings: Depending on your preferences and the app you are using, you may need to configure the audio settings on your smartphone. This may involve adjusting microphone sensitivity, selecting the desired audio input source, or enabling any additional audio processing features provided by the app.
That’s it! You have successfully connected your smartphone to a computer as a USB microphone. Remember to adjust the volume levels and audio settings to achieve the desired sound quality and ensure it meets your recording or streaming requirements.
Note: If your smartphone does not have built-in USB audio functionality, you can explore external audio interfaces that connect to your smartphone via USB. These interfaces often provide additional features, such as multiple inputs and higher audio quality, but they will require a separate investment.
Now that your smartphone is connected as a USB microphone, you can start recording or streaming high-quality audio directly to your computer. This opens up a world of possibilities for content creation, podcasting, voice-over work, and more.
Adjusting Settings and Configurations for Audio Quality
After connecting your smartphone as a USB microphone, it’s important to fine-tune the settings and configurations to ensure optimal audio quality. Here are some key adjustments and configurations you can make:
1. Microphone Sensitivity: Depending on the app you’re using, you may have the option to adjust the microphone sensitivity. This setting determines how sensitive the microphone is to sounds. Experiment with different sensitivity levels to find the balance that captures clear and balanced audio without picking up excessive background noise.
2. Equalizer Settings: Some apps offer built-in equalizer settings, allowing you to adjust the audio frequencies for optimal sound quality. You can enhance the bass, treble, or midrange frequencies to suit your preferences or the specific audio content you’re recording.
3. Sampling Rate and Bit Depth: Check the sampling rate and bit depth settings in your app to ensure you are capturing audio at the desired quality. Higher sampling rates and bit depths generally result in better audio reproduction, but they also require more storage space. Consider the audio requirements of your project and adjust these settings accordingly.
4. Real-Time Monitoring: Some apps provide real-time monitoring features, allowing you to listen to the audio as it is being recorded. This can help you identify any issues or adjust the microphone position for optimal sound capture.
5. Noise Reduction: If your app supports noise reduction features, consider enabling them to minimize background noise and improve the clarity of your recordings. Be cautious not to overapply noise reduction, as it may result in unnatural sound artifacts.
6. Room Acoustics: Take into account the acoustics of the room you’re recording in. Consider using acoustic treatments like foam panels or diffusers to minimize echoes and reverberation, resulting in cleaner and more professional audio quality.
7. Headphone Monitoring: If your app supports it, using headphones for monitoring the audio can help you hear the nuances and make adjustments in real-time, ensuring optimal recording quality.
8. Positioning and Distance: Experiment with different microphone positions and distances to find the sweet spot that captures the best sound. This may involve positioning the smartphone closer to the sound source for clearer audio or adjusting the angle to minimize unwanted noise.
Remember, each app may have slightly different settings and configurations. Take the time to explore the options available and make adjustments based on your specific requirements and preferences. Regularly test and listen to your recordings to ensure the audio quality meets your expectations.
By adjusting these settings and configurations, you can maximize the potential of your smartphone as a USB microphone and achieve professional-grade audio quality for your recordings, podcasts, voice-overs, and other audio projects.
Testing and Troubleshooting Your Smartphone USB Microphone
Once you have set up your smartphone as a USB microphone, it’s crucial to test and troubleshoot to ensure everything is functioning correctly. Here are some steps you can take to test and troubleshoot your smartphone USB microphone:
1. Test recording: Open the app you are using and record a short audio sample. Speak into your smartphone while monitoring the audio levels. Play it back and listen for any distortion, background noise, or other audio issues. Adjust the microphone sensitivity or other settings if necessary.
2. Check for interference: Ensure that your smartphone is not near any other electronic devices that may cause interference or static noise. Move away from sources like speakers, monitors, or Wi-Fi routers that can interfere with the audio quality.
3. Experiment with different environments: Test your smartphone USB microphone in different environments to evaluate how it performs in various settings. Record audio samples in a quiet room, a noisy room, or even outdoors to assess how effectively the microphone picks up sound and handles different types of background noise.
4. Verify USB connection: Ensure that the USB cable is securely connected to both your smartphone and the computer. Try using a different USB port or cable to rule out any connection issues. If you’re using an adapter, make sure it is functioning correctly.
5. Update app and firmware: Check for any available updates for the app you are using and keep your smartphone’s firmware up to date. Updates often include bug fixes, performance improvements, and additional features that can enhance the functionality and stability of your USB microphone.
6. Restart and reset: If you encounter any issues with the USB microphone, try restarting both your smartphone and computer. This can help resolve minor software or connectivity problems. If the issue persists, you can also try resetting your smartphone’s settings to default, but remember to backup any important data first.
7. Seek support: If you’re still experiencing problems with your smartphone USB microphone, reach out to the app developer’s support team or consult online communities and forums for assistance. They can provide troubleshooting tips specific to the app or offer solutions to common issues.
It’s important to regularly test your smartphone USB microphone and address any issues promptly to ensure consistent audio quality. Don’t hesitate to experiment with different settings and configurations to find the optimal setup for your specific needs.
By performing thorough testing and troubleshooting, you can rely on your smartphone as a USB microphone to deliver high-quality audio recordings for your projects, podcasts, voice-overs, or any other audio-related endeavors.
Tips for Getting the Best Sound Quality from Your Smartphone
Getting the best sound quality from your smartphone USB microphone requires a combination of proper techniques and settings adjustments. Here are some valuable tips to help you achieve optimal sound quality:
1. Use a quiet environment: Find a quiet space to record your audio. Avoid rooms with excessive background noise, such as air conditioners or traffic. The quieter the environment, the cleaner and clearer your recordings will be.
2. Position the microphone correctly: Place your smartphone USB microphone close to the sound source. For example, if you’re recording your voice, position the microphone slightly below your mouth and maintain a consistent distance for consistent volume levels.
3. Maintain proper microphone technique: Speak directly into the microphone and avoid covering it with your hand or obstructing it in any way. This ensures that the microphone captures your voice accurately and prevents muffled or distorted audio.
4. Experiment with microphone gain: Adjusting the microphone gain or sensitivity can help optimize the audio level without introducing unnecessary noise. Test different gain settings to find the balance between capturing clear sound and minimizing background noise.
5. Monitor recording levels: Keep an eye on the audio levels while recording to ensure you’re capturing an optimal signal. Avoid clipping, where audio becomes distorted due to volume overload. Adjust the microphone input level to prevent clipping and maintain a healthy signal.
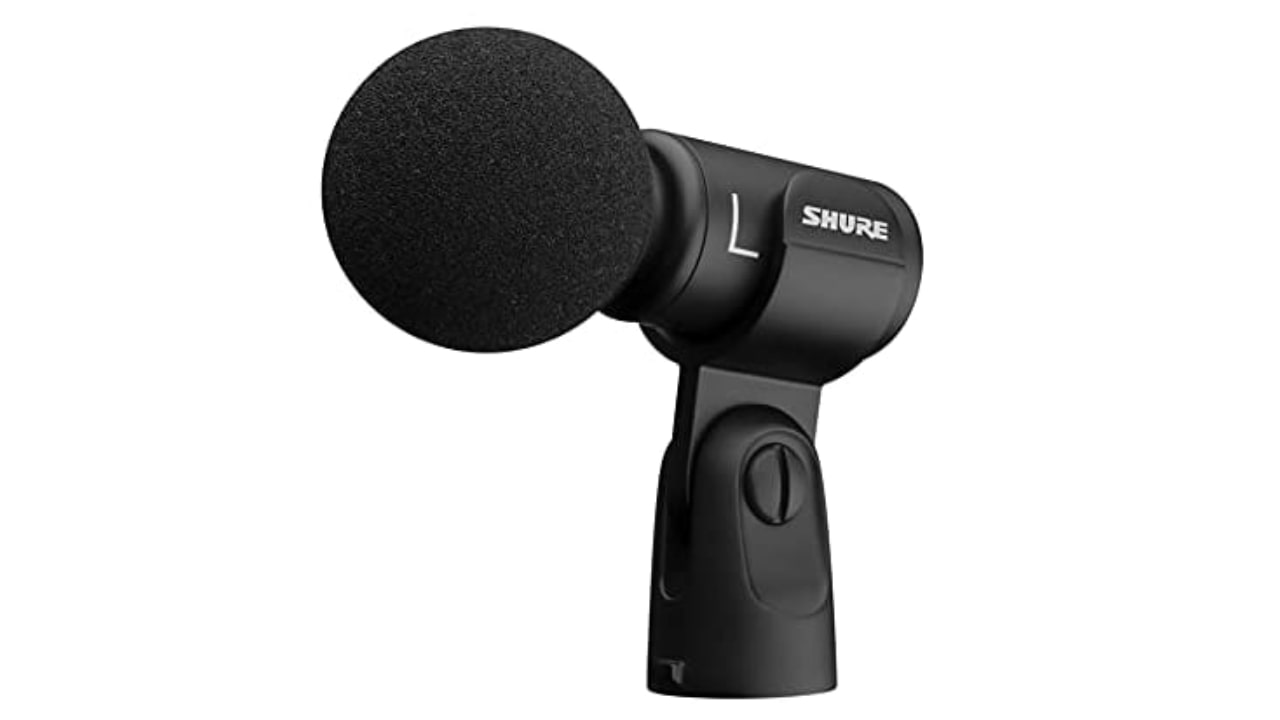
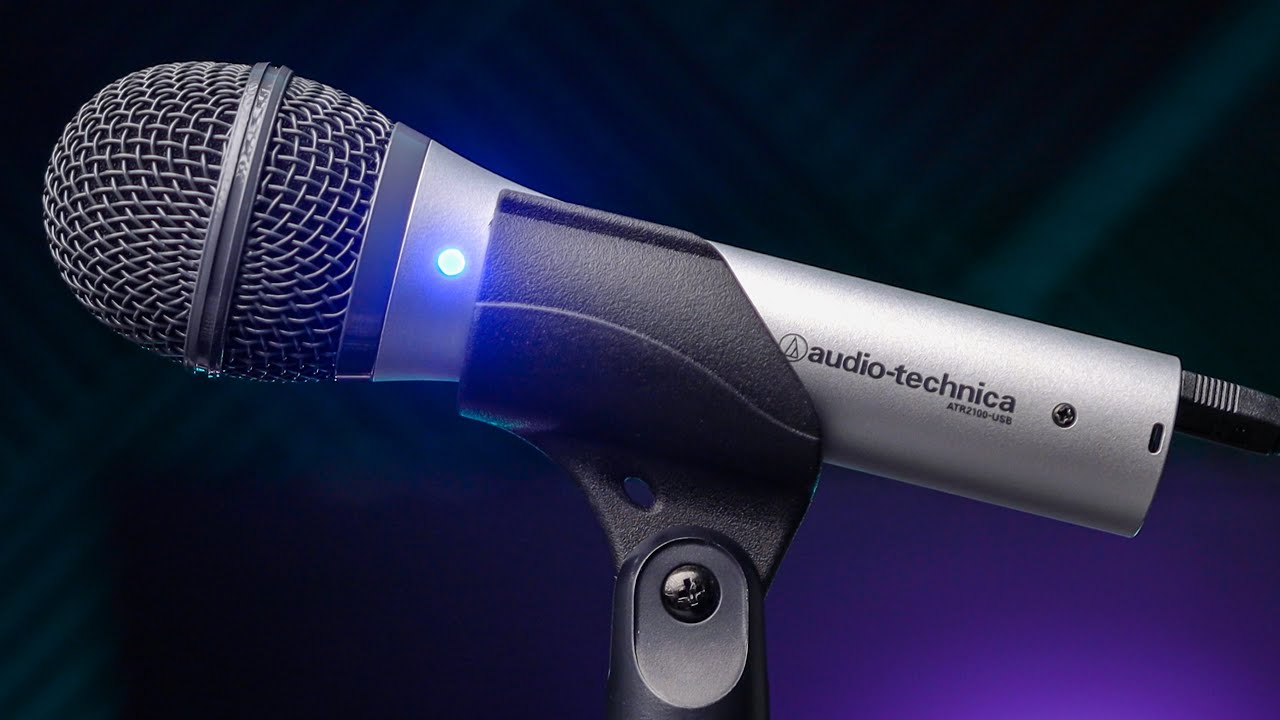
6. Consider external microphone attachments: If you require higher sound quality or specific microphone characteristics, consider investing in external microphones that connect to your smartphone. These attachments can further enhance the sound quality and allow for a more professional recording experience.
7. Utilize audio editing tools: After recording, take advantage of audio editing tools to further enhance the sound quality. You can use noise reduction tools, equalizers, and audio effects to refine your recordings and produce a polished final product.
8. Use headphones for monitoring: Connect headphones to your smartphone to monitor the audio while recording. This allows you to catch any issues during the recording process, such as background noise or audio artifacts, and make adjustments in real-time.
9. Regularly test and evaluate: Continually test and evaluate your recordings to ensure the best sound quality. Listen to your recordings on different devices and in different environments to ensure they sound good across various playback scenarios.
10. Practice and experiment: Don’t be afraid to experiment with different techniques and settings. The more you practice and explore, the better you’ll become at capturing excellent sound quality with your smartphone USB microphone.
By following these tips, you can maximize the sound quality obtained from your smartphone USB microphone. The key is to create an optimal recording environment, employ proper microphone techniques, and fine-tune the audio settings to suit your specific recording needs.
Conclusion
Utilizing your smartphone as a USB microphone opens up a world of possibilities for capturing high-quality audio. It offers a cost-effective, portable, and convenient solution for content creators, podcasters, voice-over artists, and more.
By choosing the right app for USB microphone functionality and connecting your smartphone to a computer, you can easily transform your device into a powerful recording tool. Adjusting settings and configurations allows you to fine-tune the audio quality and achieve professional-grade results.
Through testing and troubleshooting, you can ensure that your smartphone USB microphone functions optimally, delivering clear and crisp sound recordings. Employing tips for obtaining the best sound quality further enhances your audio production, allowing you to create impressive content.
Remember to experiment, practice, and continually evaluate your recordings to refine your skills and achieve the desired audio outcomes. Maximize the potential of your smartphone as a USB microphone by utilizing the numerous features and functionalities available.
So go ahead, unleash the power of your smartphone and dive into the exciting world of USB microphones. Embrace the convenience, versatility, and cost-effectiveness it offers, and let your creativity soar as you produce professional-quality audio content.