Introduction
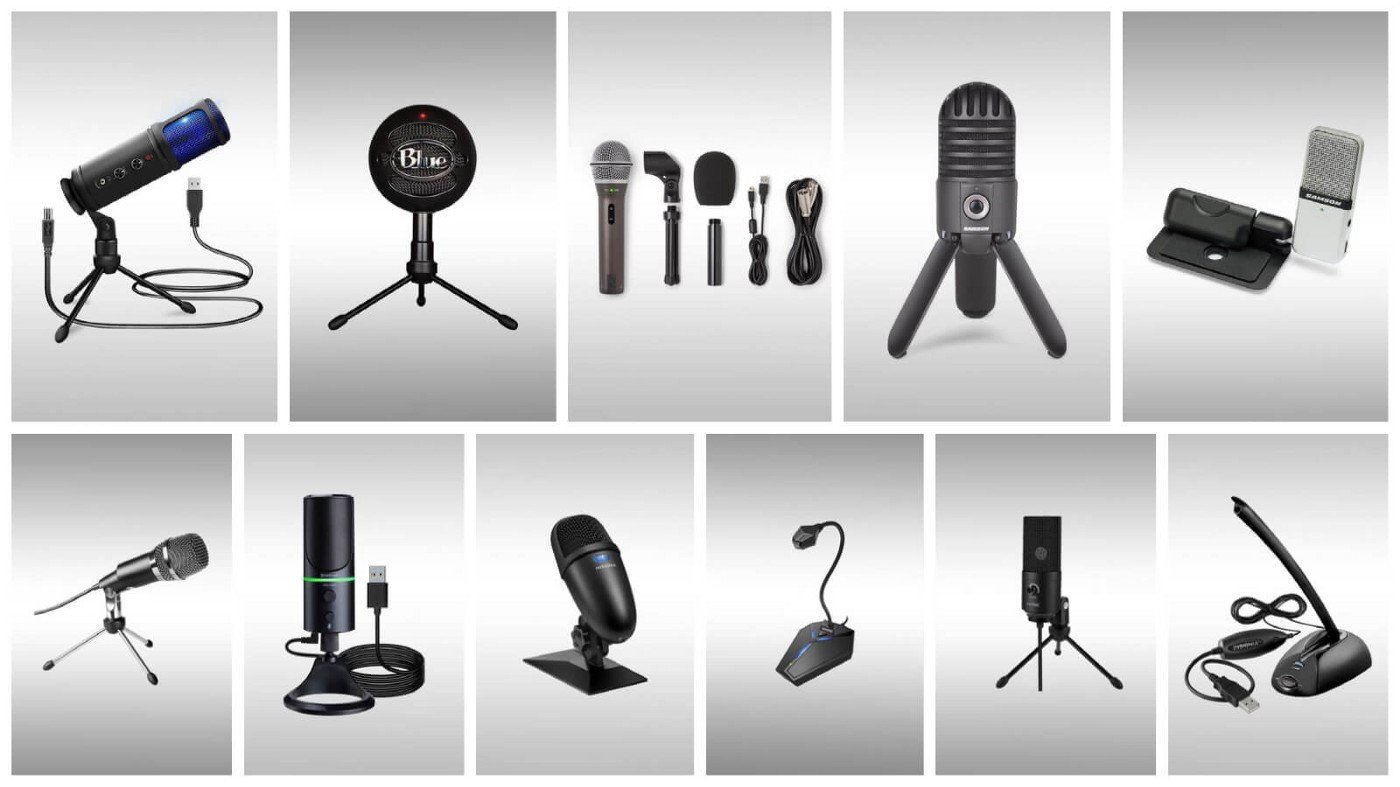
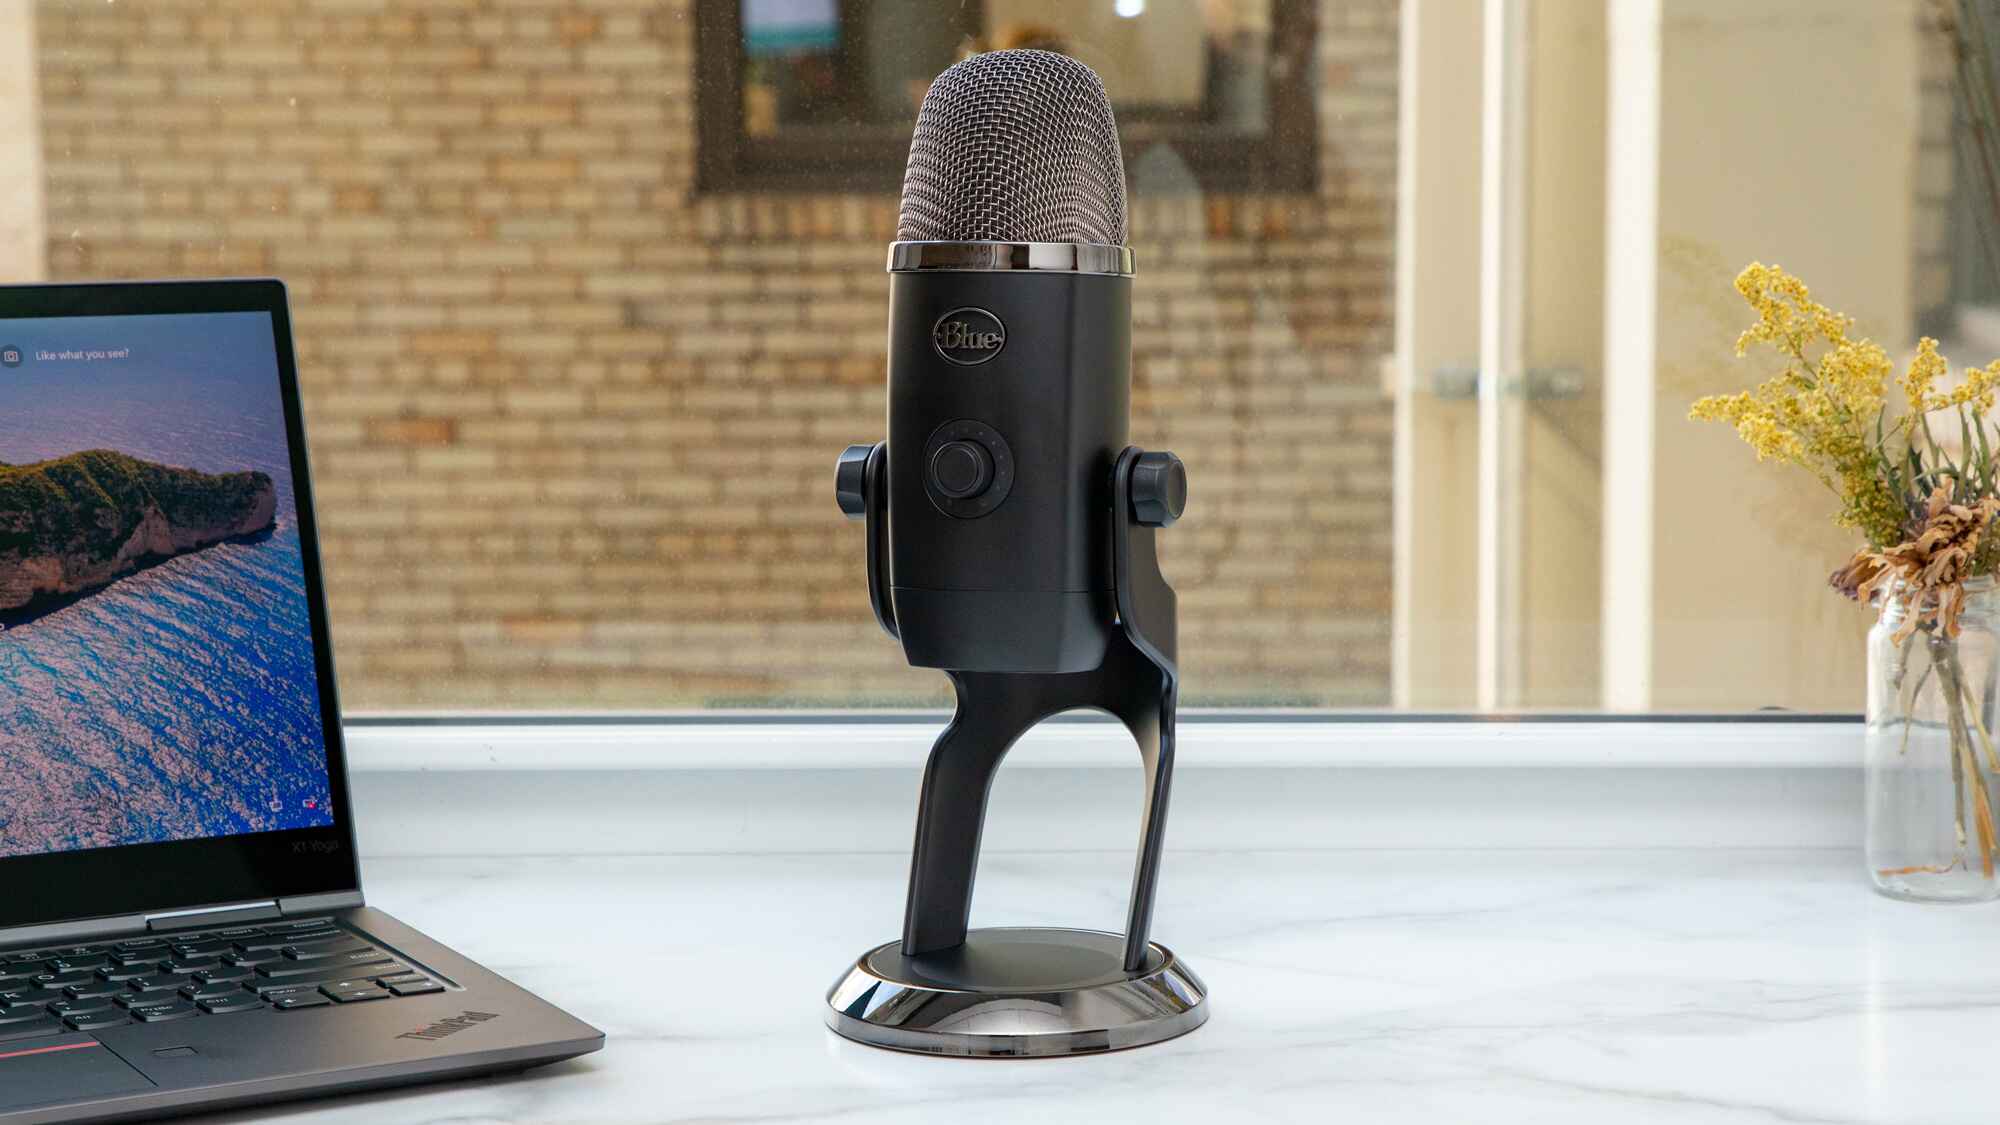
Welcome to the world of USB microphones! Whether you are a content creator, gamer, podcaster, or someone who just wants to capture high-quality audio, a USB microphone is a great choice. These plug-and-play devices have made it incredibly easy for anyone to record professional-sounding audio without the need for complex setups or expensive audio interfaces.
One of the key settings you should be aware of when using a USB microphone is the sample rate. But what exactly is a sample rate? And why would you want to change it?
A sample rate refers to the number of audio samples captured per second. It is measured in hertz (Hz) and is an essential factor in determining the quality and fidelity of digital audio. The higher the sample rate, the more accurately the audio waveform can be captured and reproduced.
The default sample rate for most USB microphones is usually set at 44.1 kHz or 48 kHz, which is the standard sample rate for audio CDs. However, there may be times when you want to change the sample rate to better suit your specific needs or workflow. This could be because of compatibility issues, software requirements, or simply personal preference.
In this article, we will guide you through the steps to change the sample rate of a USB microphone on both Windows and Mac operating systems. We will also provide troubleshooting tips for common issues that you might encounter along the way. So, whether you are a Windows enthusiast or a loyal Mac user, we’ve got you covered.
Let’s dive in and explore how to customize the sample rate settings of your USB microphone to ensure the best audio experience possible.
What is a sample rate?
To understand the concept of a sample rate, we need to delve into the world of digital audio. When we listen to music, voice recordings, or any other sound, we perceive it as continuous and fluid. However, digital devices cannot directly capture or reproduce sound in this analog form. Instead, they convert it into a digital representation comprising a series of data points.
A sample rate, also known as the sampling frequency, is the number of samples of audio data taken per second during the analog-to-digital conversion process. These samples represent the amplitude of the audio signal at a specific point in time.
The sample rate is measured in hertz (Hz), which denotes the number of sample points collected per second. For example, a common sample rate is 44.1 kHz, which means 44,100 samples are taken every second. The higher the sample rate, the more accurately the audio waveform can be captured, resulting in higher fidelity and more precise reproduction of the original sound.
When digital audio is played back, the audio player reconstructs the continuous waveform by connecting the sampled points. The sample rate determines how many points are used to recreate the audio signal and, consequently, affects the audio quality.
It is important to note that the sample rate is related to the maximum frequency range that can be accurately recorded or reproduced. According to the Nyquist-Shannon theorem, to accurately represent a frequency in a digital audio recording, the sample rate must be at least twice the frequency of the highest sound you want to capture. This is known as the Nyquist frequency. For example, if you want to capture frequencies up to 20 kHz, a sample rate of at least 40 kHz is required.
Most audio devices, including USB microphones, come with a default sample rate of 44.1 kHz or 48 kHz. These rates are commonly used for music production, streaming, and general audio recording purposes. However, some specialized applications, such as high-resolution audio production, may require higher sample rates like 96 kHz or even 192 kHz.
Understanding the sample rate and its impact on audio quality is essential when working with USB microphones or any other digital audio equipment. By adjusting the sample rate settings, you can fine-tune the audio capture and playback experience to suit your specific needs and preferences.
Why would you want to change the sample rate of a USB microphone?
The default sample rate of a USB microphone is typically set at 44.1 kHz or 48 kHz, which works well for most recording scenarios. However, there are several reasons why you might want to change the sample rate:
1. Compatibility: Some audio software or hardware may have specific sample rate requirements. By adjusting the sample rate of your USB microphone to match the system or software requirements, you can ensure seamless compatibility and optimal performance.
2. Higher quality audio: Increasing the sample rate beyond the default settings can result in higher fidelity and more precise audio reproduction. This can be beneficial for professional audio production, music recording, or capturing subtle nuances in voice recordings.
3. File size management: Higher sample rates generate larger audio files. If you are working on a project with limited storage space or need to transmit files over the internet, reducing the sample rate can help in managing file sizes without significant loss in audio quality.
4. Specialized applications: Certain audio applications, such as high-resolution audio production or capturing ultrasonic frequencies, may require sample rates higher than the standard settings provided by USB microphones. By adjusting the sample rate, you can meet the specific demands of these specialized applications.
5. Experimentation and personal preference: Changing the sample rate allows you to experiment with different audio capturing and playback settings. You may prefer the characteristics of audio recorded at a specific sample rate, such as a warmer sound or increased detail, and adjusting the sample rate allows you to achieve your desired audio aesthetics.
It’s important to note that changing the sample rate of a USB microphone should be done carefully and with consideration of the factors mentioned above. Moving to extremely high sample rates may not always be necessary or beneficial unless your specific audio requirements demand it. Additionally, not all USB microphones support sample rate changes, so it’s essential to check the specifications of your device before attempting any modifications.
By understanding why you would want to change the sample rate of a USB microphone, you can make informed decisions about adjusting the settings to meet your specific needs and achieve the desired audio results.
Steps to change the sample rate on Windows
If you’re using a USB microphone on a Windows computer and want to change the sample rate, you can easily do so by following these steps:
- Open Sound settings: Right-click on the speaker icon in the system tray and select “Open Sound settings” from the context menu. Alternatively, you can navigate to the Sound settings by searching for “Sound settings” in the Start menu.
- Select the Recording tab: In the Sound settings window, click on the “Recording” tab located on the left side of the window.
- Choose the USB microphone: Locate your USB microphone from the list of available recording devices. It will typically be labeled with the name or model of your microphone.
- Access Properties: Right-click on your USB microphone and select “Properties” from the context menu. This will open the Microphone Properties window.
- Navigate to the Advanced tab: In the Microphone Properties window, click on the “Advanced” tab located at the top of the window.
- Change the sample rate: Under the Advanced tab, you will find the “Default Format” section. Here, you can select the desired sample rate from the drop-down menu. Choose the sample rate that suits your needs or matches the requirements of the software or system you are using.
- Apply the changes: Once you have selected the desired sample rate, click on the “Apply” button to apply the changes. Then click on “OK” to close the Microphone Properties window.
After following these steps, your USB microphone’s sample rate will be changed to the selected value. Remember to close any open applications using the microphone and restart them for the changes to take effect.
It is important to note that not all USB microphones have customizable sample rates, and the available options may vary depending on the device and its drivers. If your USB microphone does not have an option to change the sample rate in the Properties window, consider checking the manufacturer’s website or contacting their support for further assistance.
By following these steps, you can easily modify the sample rate of your USB microphone on a Windows computer, ensuring optimal audio performance and compatibility for your recording or streaming needs.
Steps to change the sample rate on Mac
If you’re using a USB microphone on a Mac and want to change the sample rate, you can adjust the settings by following these steps:
- Open System Preferences: Click on the Apple menu located in the top-left corner of the screen and select “System Preferences” from the drop-down menu.
- Select Sound: In the System Preferences window, click on the “Sound” icon. This will open the Sound preferences panel.
- Go to Input: In the Sound preferences panel, navigate to the “Input” tab. This tab shows the available input devices, including your USB microphone.
- Select the USB microphone: From the list of input devices, select your USB microphone. It should be listed by its name or model.
- Click on “Configure”: With your USB microphone selected, click on the “Configure” button located below the input device list. This will open the Audio MIDI Setup utility.
- Access the USB microphone properties: In the Audio MIDI Setup utility, you will see a list of audio devices. Locate your USB microphone in the list and click on it to select it.
- Change the sample rate: In the USB microphone properties window, you will find a drop-down menu labeled “Format.” Click on this menu and select the desired sample rate from the options available. Choose the sample rate that suits your needs or matches the requirements of the software or system you are using.
- Apply the changes: Once you have selected the desired sample rate, close the Audio MIDI Setup utility. The sample rate of your USB microphone will be changed to the selected value, and the changes will take effect.
After following these steps, your USB microphone’s sample rate will be modified on your Mac. Remember to close any applications that are using the microphone and restart them to ensure the changes are applied successfully.
Please note that not all USB microphones support changing the sample rate on Mac, and the available options may vary depending on the device and its drivers. If you don’t see an option to change the sample rate in the Audio MIDI Setup utility, check the manufacturer’s website or contact their support for further guidance.
By following these steps, you can easily adjust the sample rate of your USB microphone on a Mac, catering to your specific audio needs and ensuring optimal performance for your recording or broadcasting endeavors.
Troubleshooting common issues
While changing the sample rate of a USB microphone is a straightforward process, you may encounter some common issues along the way. Here are a few troubleshooting tips to help you resolve these issues:
- Incompatible software: If the software you’re using does not support the sample rate you have chosen, you may experience compatibility issues. Ensure that the software you’re using is compatible with the sample rate settings you have selected. If not, try adjusting the sample rate to a supported value.
- Driver conflicts: USB microphones rely on specific drivers to function properly. If you encounter issues after changing the sample rate, make sure you have the latest drivers installed for your USB microphone. Check the manufacturer’s website for driver updates and download and install them if necessary.
- USB port problems: Sometimes, issues can arise due to problems with the USB port you’re using. Try connecting the USB microphone to a different USB port on your computer to see if the issue persists. Additionally, ensure that the USB port is in good working condition and not damaged.
- Sampling rate limitations: Some USB microphones may have limitations on the available sample rate options. Check the specifications of your USB microphone to determine the supported sample rates. If the desired sample rate is not available, you may need to consider using a different USB microphone that meets your requirements.
- Audio driver conflicts: Conflicts between audio drivers can cause issues with the sample rate change. Try disabling or uninstalling any unnecessary audio drivers or software that might be conflicting with your USB microphone’s driver. This can help resolve potential conflicts and ensure smooth operation.
- Restarting applications: After changing the sample rate, if you find that your applications are not recognizing the new settings, try restarting the respective applications. This will allow them to refresh and apply the new sample rate of your USB microphone.
If you encounter persistent issues despite troubleshooting, it may be beneficial to reach out to the manufacturer’s support team or consult online forums and communities for further assistance. They can provide specific advice based on the make and model of your USB microphone.
Remember that altering the sample rate of a USB microphone should be done with care and consideration for the compatibility and requirements of your recording system or software. By addressing common issues and following best practices, you can overcome any challenges and optimize the performance of your USB microphone.
Conclusion
Changing the sample rate of a USB microphone allows you to tailor the audio capture and playback to your specific needs. Whether you’re adjusting it for compatibility, higher audio quality, file size management, or specialized applications, the process is relatively simple.
In this article, we discussed the importance of the sample rate in digital audio and explored why you might want to change it. We provided step-by-step instructions on how to change the sample rate on both Windows and Mac operating systems. Additionally, we shared troubleshooting tips to help you overcome common issues that might arise during the process.
Remember, not all USB microphones support changing the sample rate, so it’s important to check your device’s specifications and driver capabilities. Additionally, be mindful of the system and software requirements to ensure optimal compatibility and performance.
By adjusting the sample rate of your USB microphone, you can unlock new possibilities in audio recording, production, and playback. Whether you’re a content creator, musician, or simply someone who appreciates high-quality audio, modifying the sample rate can enhance your overall experience and help you achieve the desired sound.
Experiment with different sample rates, observe the impact on audio quality, and find the settings that work best for your unique preferences and needs. With a USB microphone and the knowledge of how to change the sample rate, you’re well on your way to capturing pristine audio and bringing your creative vision to life.