Introduction
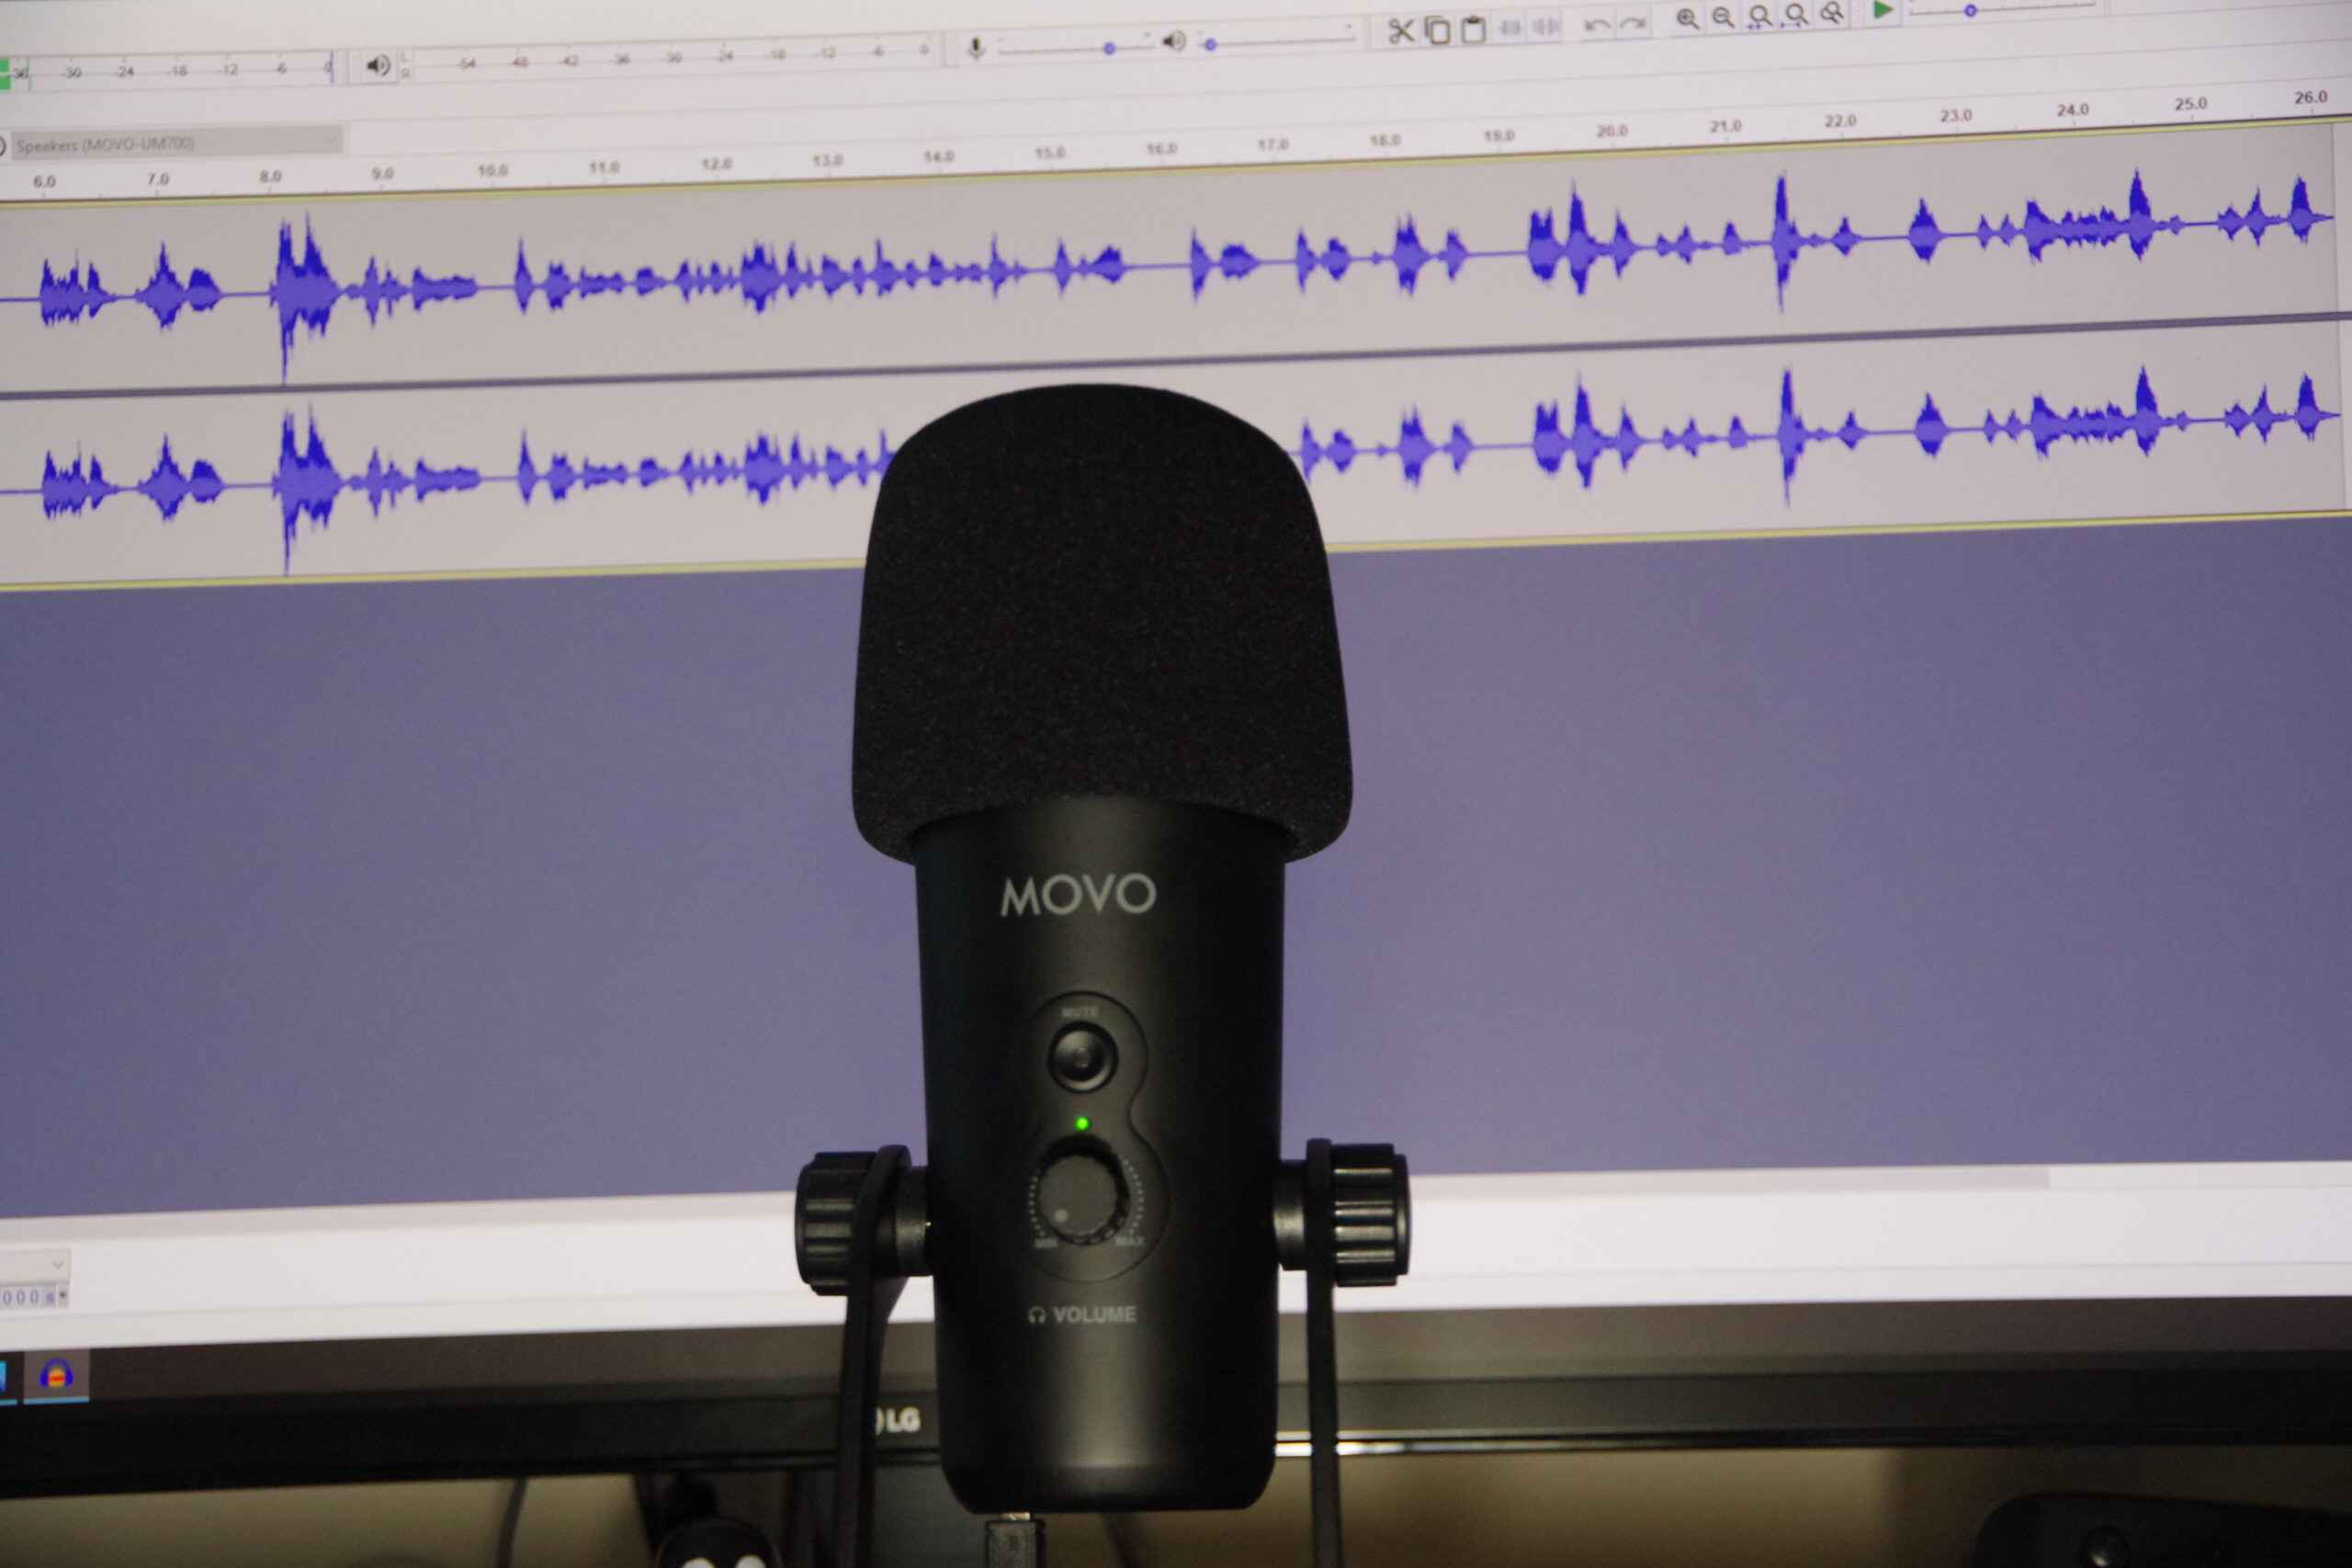
Welcome to this guide on how to record with a USB microphone in Audacity. Whether you’re a podcaster, musician, voice actor, or simply someone looking to record high-quality audio, using a USB microphone can offer convenience and excellent sound reproduction. Audacity, a free and open-source audio recording and editing software, is a popular choice for many aspiring and professional audio enthusiasts.
In this guide, we will walk you through the steps of installing Audacity, setting up your USB microphone, adjusting microphone levels, selecting the USB microphone as the recording device, and adjusting recording settings in Audacity. We will also cover how to test your microphone and record your audio. Lastly, we will touch on the basics of editing and exporting your recording.
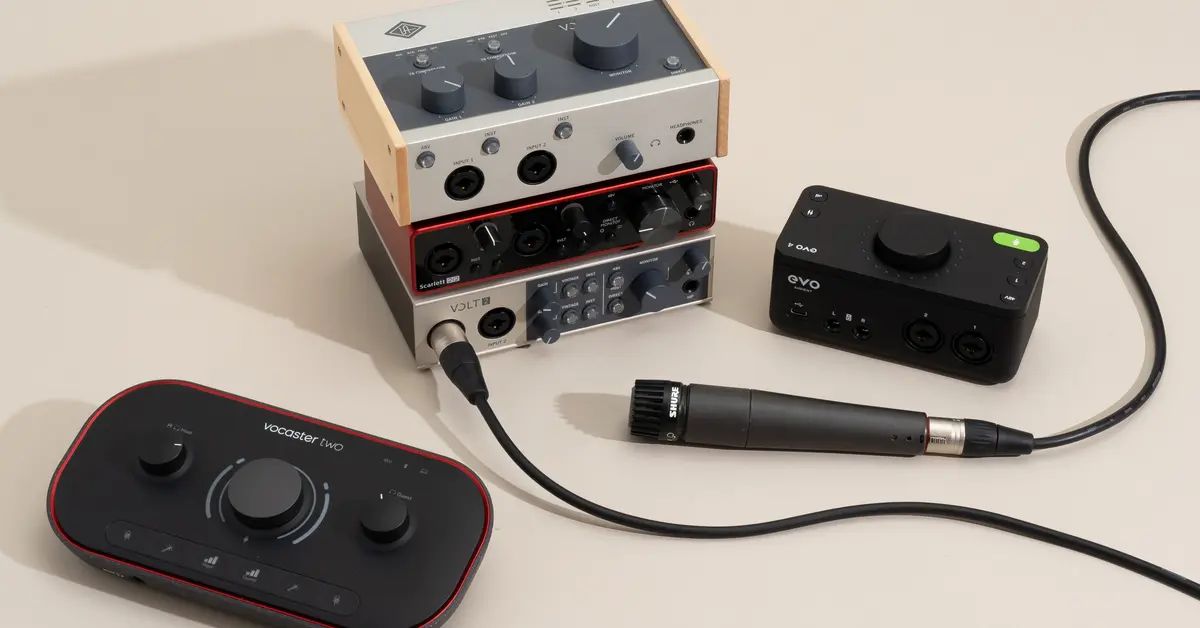
Recording with a USB microphone and Audacity offers a host of benefits. USB microphones are plug-and-play devices, meaning they do not require additional audio interfaces or preamps. They can be easily connected to your computer via the USB port, allowing for quick and hassle-free setup. Audacity, on the other hand, is a versatile and user-friendly software that allows you to record, edit, and enhance your audio recordings with ease.
By following the step-by-step instructions in this guide, you can start recording professional-sounding audio with your USB microphone in no time. So, without further ado, let’s get started with installing Audacity and setting up your USB microphone!
Installing Audacity
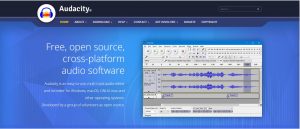
Before you can start recording with your USB microphone in Audacity, you need to install the software on your computer. Audacity is available for Windows, Mac, and Linux operating systems, and the installation process is quite straightforward. Follow the steps below to get Audacity up and running:
- First, visit the official Audacity website at https://www.audacityteam.org/.
- Navigate to the Download section of the website and choose the appropriate version of Audacity for your operating system.
- Click on the download link to start the download process.
- Once the download is complete, locate the downloaded installation file and double-click on it to run the installer.
- Follow the on-screen instructions and select the desired options during the installation process.
- After the installation is complete, launch Audacity from your desktop or start menu.
Congratulations! You have successfully installed Audacity on your computer. Now, it’s time to move on to setting up your USB microphone for recording.
It’s important to note that Audacity is a free and open-source software. However, the development team relies on donations to support ongoing maintenance and updates. If you find Audacity useful, consider contributing to their efforts to keep the software free for everyone.
Setting Up Your USB Microphone
Now that you have Audacity installed on your computer, it’s time to set up your USB microphone. USB microphones are designed to be plug-and-play devices, making the setup process quick and hassle-free. Follow the steps below to get your USB microphone ready for recording:
- Locate an open USB port on your computer.
- Take the USB cable included with your microphone and connect it to the USB port on your computer.
- If your microphone has an on/off switch, turn it on.
- Wait a few moments for your computer to recognize the USB microphone. It should automatically install any necessary drivers.
- Once the USB microphone is recognized by your computer, you’re ready to configure it in Audacity.
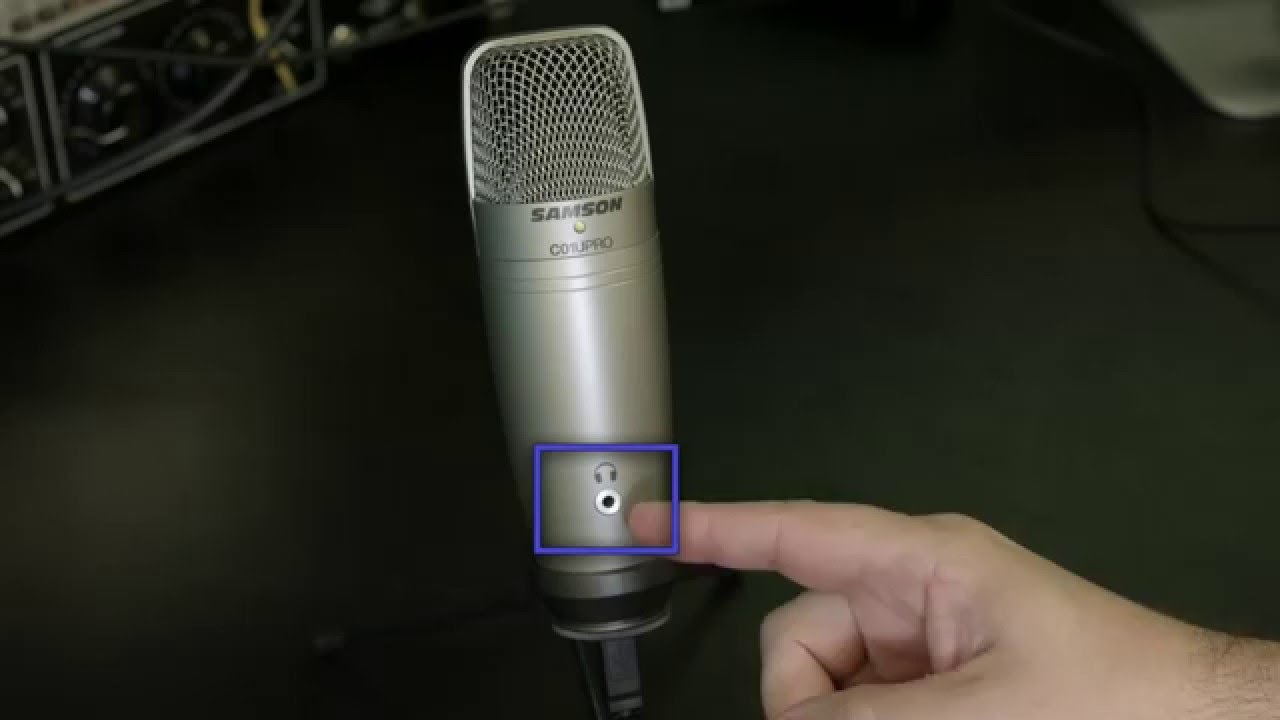
It’s important to note that some USB microphones may have additional features or controls. For instance, they may have a headphone jack for monitoring your audio or built-in volume controls. Refer to the user manual provided by the microphone manufacturer for specific instructions on using these features.
In Audacity, click on the “Edit” menu at the top and select “Preferences.” This will open the Preferences window.
In the Preferences window, select the “Devices” tab. Under the “Recording” section, you should see your USB microphone listed as an available device.
Click on the drop-down menu next to the “Recording Device” option and select your USB microphone from the list.
Once you have selected your USB microphone, click on the “OK” button to save the changes.
Congratulations! Your USB microphone is now set up and ready to be used for recording in Audacity. In the next sections, we will cover how to adjust the microphone levels, select the USB microphone as the recording device, and make any necessary recording settings adjustments.
Adjusting Microphone Levels in Audacity
Before you start recording with your USB microphone in Audacity, it’s important to ensure that the microphone levels are properly adjusted. The microphone levels determine the volume at which your audio is captured, and having them set correctly ensures optimal sound quality. Here’s how you can adjust the microphone levels in Audacity:
- Launch Audacity and make sure your USB microphone is connected and selected as the recording device, as mentioned in the previous section.
- Click on the red “Record” button in Audacity to bring up the recording window.
- Locate the microphone volume slider within the recording window. This is usually represented by a microphone icon with a slider underneath it.
- Start speaking or making sound into the USB microphone at a normal level.
- While speaking or making sound, adjust the microphone volume slider to set the desired level. Aim for a level that is neither too low (resulting in faint audio) nor too high (resulting in distorted audio).
- Monitor the recording volume using the level meter within Audacity. This meter displays the volume level in real-time and helps you keep track of the audio input.
- Make small adjustments to the microphone volume slider until you achieve the desired recording level.
It’s important to perform a test recording and playback to ensure that the microphone levels are properly adjusted. This allows you to catch any issues early on and make further adjustments if necessary.
Remember, the ideal microphone level may vary depending on factors such as the specific USB microphone you’re using and your recording environment. It’s always a good idea to test and fine-tune the microphone levels to achieve the best possible sound quality.
Now that your microphone levels are set, you’re one step closer to capturing high-quality audio recordings with your USB microphone in Audacity. In the next section, we will look at how to select the USB microphone as the recording device in Audacity.
Selecting the USB Microphone as the Recording Device
Once you have set up your USB microphone and adjusted the microphone levels in Audacity, the next step is to select the USB microphone as the recording device. By doing this, you ensure that Audacity will capture the audio input from your USB microphone during the recording process. Follow the steps below to select the USB microphone as the recording device:
- Open Audacity on your computer if it isn’t already open.
- Click on the “Edit” menu at the top of the Audacity window.
- From the dropdown menu, select “Preferences”.
- In the Preferences window, click on the “Devices” tab.
- Under the “Recording” section, you will find the option labeled “Recording Device”.
- Click on the dropdown menu next to “Recording Device” to view a list of available recording devices.
- From the list, select your USB microphone. It should be named the same as the model of your microphone or have some indication that it is a USB input device.
- After selecting your USB microphone, click on the “OK” button to save the changes.
Once you have selected the USB microphone as the recording device, Audacity will now use the USB microphone for capturing audio during the recording process. Make sure your USB microphone is properly connected and powered on before starting your recording session.
It’s worth mentioning that if you have multiple recording devices connected to your computer, such as a built-in microphone or other external devices, you may need to disable or disconnect them to ensure that Audacity only captures audio from your USB microphone. This can be done in the operating system’s sound settings or by physically unplugging the devices.
With the USB microphone selected as the recording device, you are now ready to proceed with adjusting recording settings in Audacity. We will cover this in the next section.
Selecting the Input Channels
When recording with a USB microphone in Audacity, it’s important to ensure that the correct input channels are selected. Input channels refer to the audio sources that Audacity will capture during the recording process. USB microphones typically offer either mono or stereo recording capabilities, and selecting the appropriate input channels ensures that your recordings are captured with the desired spatial audio setup. Follow the steps below to select the input channels in Audacity:
- Open Audacity on your computer if it isn’t already open.
- Click on the “Edit” menu at the top of the Audacity window.
- From the dropdown menu, select “Preferences”.
- In the Preferences window, click on the “Devices” tab.
- Under the “Recording” section, look for the option labeled “Channels”.
- Click on the dropdown menu next to “Channels” to view the available options.
- If your USB microphone supports mono recording (single audio channel), select “1 (Mono)”. This is suitable for most voice recordings, podcasts, and certain instruments.
- If your USB microphone supports stereo recording (two separate audio channels), select “2 (Stereo)”. This is often used for capturing a wider audio range, such as music recordings or sound effects.
- After selecting the desired input channels, click on the “OK” button to save the changes.
Choosing the appropriate input channels ensures that Audacity receives the audio input from your USB microphone correctly. It’s recommended to consult the user manual of your USB microphone to determine the supported recording modes and the best choice for your specific needs.
Keep in mind that selecting more channels than your USB microphone supports may result in either no audio being captured or audio being recorded in only one channel. Therefore, it’s essential to choose the input channels carefully to achieve the desired recording outcome.
Now that you have selected the input channels in Audacity, you’re ready to move on to adjusting recording settings. This will be covered in the next section.
Adjusting Recording Settings
Before you start recording with your USB microphone in Audacity, it’s important to ensure that the recording settings are properly adjusted according to your preferences and requirements. Configuring the recording settings allows you to customize aspects such as the file format, sample rate, and bit depth, ensuring compatibility and desired audio quality. Follow the steps below to adjust the recording settings in Audacity:
- Open Audacity on your computer if it isn’t already open.
- Click on the “Edit” menu at the top of the Audacity window.
- From the dropdown menu, select “Preferences”.
- In the Preferences window, click on the “Quality” tab.
- Under the “Default Sample Format” section, select the desired sample format, such as 16-bit or 24-bit. Higher bit depths offer better audio fidelity.
- Next, under the “Default Sample Rate” section, select the desired sample rate. Common options include 44.1 kHz, 48 kHz, or higher for professional audio production.
- Scroll down to the “File Formats” section to specify the default file format for recording. The recommended format is WAV (uncompressed), which preserves the original audio quality.
- Customize any additional recording settings according to your preferences. For example, you can enable or disable the “Overdub” feature which allows you to layer multiple recordings.
- Once you have adjusted the recording settings, click on the “OK” button to save the changes.
It’s worth noting that recording settings can vary depending on your specific needs and the intended use of the recorded audio. For instance, if you’re recording for a podcast, you might choose a lower sample rate and bit depth to reduce file size and compatibility issues. However, for professional music production or high-quality voiceovers, higher settings may be preferred.
As you experiment with different recording settings, consider the storage capacity on your computer, as higher-quality settings can result in larger file sizes. Additionally, consult any technical specifications provided by the USB microphone manufacturer to ensure compatibility and optimal recording performance.
With the recording settings adjusted, you’re now ready to test your USB microphone and start recording your audio in Audacity. In the next section, we will cover how to test the microphone and ensure it’s working properly.
Testing the Microphone
Before you begin your recording session with your USB microphone in Audacity, it’s crucial to test the microphone to ensure it’s working properly. Doing a test recording allows you to identify any issues with the microphone setup or settings and make adjustments if necessary. Follow the steps below to test your USB microphone in Audacity:
- Open Audacity on your computer if it isn’t already open.
- Connect your USB microphone to your computer and make sure it’s properly set up according to the previous steps.
- Select the USB microphone as the recording device in Audacity, as explained in the earlier sections.
- Set the microphone levels to an appropriate level, making sure it’s not too low or too high. Adjust the microphone volume slider in Audacity accordingly.
- Click on the red “Record” button in Audacity to start the recording process.
- Speak or make sound into the USB microphone to perform a test recording. You can say a few words or play a musical instrument to check the audio quality.
- Observe the recording meters in Audacity to ensure that they are registering a proper signal level. The meters should move when you speak or make sound into the microphone.
- After a few seconds of recording, click on the square “Stop” button to stop the recording.
- Click on the “Play” button to listen to the test recording playback. Check if the audio is clear, without any distortion, background noise, or abnormalities.
If you encounter any issues during the test recording, double-check the microphone connections, settings, and recording levels. Ensure that your USB microphone is selected as the recording device and that the microphone volume is set at an appropriate level.
If you’re still experiencing problems, consider consulting the troubleshooting section in the user manual provided by the USB microphone manufacturer or seeking assistance from their customer support.
Performing a test recording ensures that your USB microphone is functioning as expected, allowing you to proceed with confidence during your actual recording session. With the microphone successfully tested, you’re now ready to start recording your audio in Audacity using your USB microphone.
Recording with the USB Microphone in Audacity
Now that you have properly set up and tested your USB microphone in Audacity, you’re ready to start recording your audio. Whether you’re creating a podcast, recording vocals for music, or capturing a voiceover, Audacity provides a user-friendly platform for capturing high-quality audio with your USB microphone. Follow the steps below to start recording:
- Ensure that your USB microphone is connected and selected as the recording device in Audacity.
- Adjust the microphone levels to the desired volume by using the microphone volume slider in Audacity.
- Position yourself in front of the microphone, ensuring that you’re at an optimal distance to capture clear and balanced audio.
- Click on the red “Record” button in Audacity to begin the recording process.
- Speak or perform into the USB microphone to capture your desired audio. Be mindful of your positioning and technique to ensure the best sound quality.
- Monitor the recording meters in Audacity to ensure that the audio levels are within the desired range. Avoid peaking (exceeding the maximum level), as this can lead to distorted audio.
- Continue recording until you have captured the desired content or complete your audio recording session.
- Click on the square “Stop” button to stop the recording.
Once you have finished recording, you can review and edit your audio using the various editing tools and features available in Audacity. This includes removing unwanted sections, adjusting volume levels, adding effects, and more. Exploring these editing capabilities allows you to enhance the overall quality and presentation of your recorded audio.
It’s worth noting that Audacity saves your recording as a project file (.aup) by default. To export your recording as an audio file, such as MP3 or WAV, click on the “File” menu and select the “Export” option. Choose the file format, location, and other settings according to your needs, and click “Save” to export the recording.
Recording with your USB microphone in Audacity opens up endless possibilities for capturing professional-quality audio. So, take advantage of this powerful combination and let your creativity shine!
Editing and Exporting Your Recording
Once you have recorded your audio with your USB microphone in Audacity, you can now dive into the editing process and refine your recording. Audacity offers a range of powerful editing tools and features to help you enhance the quality and polish of your audio. Follow the steps below to edit and export your recording:
- Open your recorded audio project in Audacity by going to the “File” menu and selecting “Open”. Browse for the project file (.aup) you saved during the recording.
- Use the selection tool in Audacity to highlight sections of the recording that you want to edit or remove. You can delete, cut, copy, or paste sections to rearrange or eliminate unwanted parts.
- Adjust the volume levels of different sections of your recording using the volume control sliders or by applying the “Amplify” effect.
- Apply effects and filters to enhance the sound quality or achieve creative audio transformations. You can experiment with effects like reverb, compression, EQ, pitch shift, and more.
- Use the fade in and fade out effects to smooth the beginning and ending of your recording.
- Listen and review your edited audio to ensure a seamless and cohesive presentation. Make further adjustments as necessary.
- Once you are satisfied with your edited recording, it’s time to export it as a standalone audio file. Go to the “File” menu and select “Export” to choose the desired file format, such as MP3, WAV, or FLAC.
- Specify the export settings, such as the desired quality, sample rate, and bit depth.
- Choose a location on your computer to save the exported audio file, and give it a meaningful name.
- Click “Save” to export your edited recording as the selected audio file format.
After exporting, you will have a standalone audio file that can be easily shared, uploaded, or used in your desired manner. You can now enjoy the fruits of your recording and editing labor!
Remember to save your Audacity project file (.aup) as well, as this allows you to revisit and make further edits to your recording in the future if needed.
With the ability to edit and export your recording in Audacity, you have the power to refine your audio and unleash your creativity. So make the most of these features and create audio content that truly stands out!
Conclusion
Recording with a USB microphone in Audacity provides a convenient and accessible way to capture high-quality audio for various purposes. By following the steps outlined in this guide, you can confidently set up your USB microphone, adjust microphone levels, select the recording device, and configure the recording settings in Audacity. With these foundations in place, you’re ready to dive into the recording process and unleash your creativity.
Whether you’re a podcaster, musician, voice actor, or simply someone looking to record professional-quality audio, Audacity offers a range of powerful editing tools and features to help you enhance your recordings. From removing unwanted sections and adjusting volume levels to applying effects and exporting your audio in different formats, you have the freedom to shape and refine your recorded content to your desired standards.
Remember to test your USB microphone before recording to ensure it’s functioning correctly, and periodically review your recording levels to avoid clipping or distortion. Additionally, take advantage of Audacity’s editing capabilities to polish your recordings and create exceptional audio content.
By embracing the combination of a USB microphone and Audacity, you have the ability to unleash your creativity and produce professional-quality recordings. So, why wait? Start exploring the endless possibilities that await you and bring your audio projects to life!