Introduction
Welcome to this guide on how to connect your Samson USB microphone! Whether you are a content creator, podcaster, gamer, or musician, having a high-quality microphone is essential for capturing crystal-clear audio. Samson USB microphones provide excellent sound reproduction and are a popular choice among professionals and enthusiasts alike.
In this article, we will walk you through the steps to connect your Samson USB microphone and ensure that it is set up properly on your computer or device. Whether you’re using a Windows PC, Mac, or even a smartphone or tablet, the process is quite straightforward.
A USB microphone is a plug-and-play device, meaning you can connect it directly to your computer or device without the need for additional drivers or complex setup procedures. However, it is important to follow the correct steps to ensure optimal performance and compatibility.
By the end of this guide, you will be ready to start using your Samson USB microphone and enjoy the superior audio quality it offers. So, let’s dive in and get your microphone up and running!
Step 1: Gather the Necessary Materials
Before you begin connecting your Samson USB microphone, make sure you have all the essential materials at hand. By gathering everything you need beforehand, you can ensure a smooth setup process. Here are the materials you’ll need:
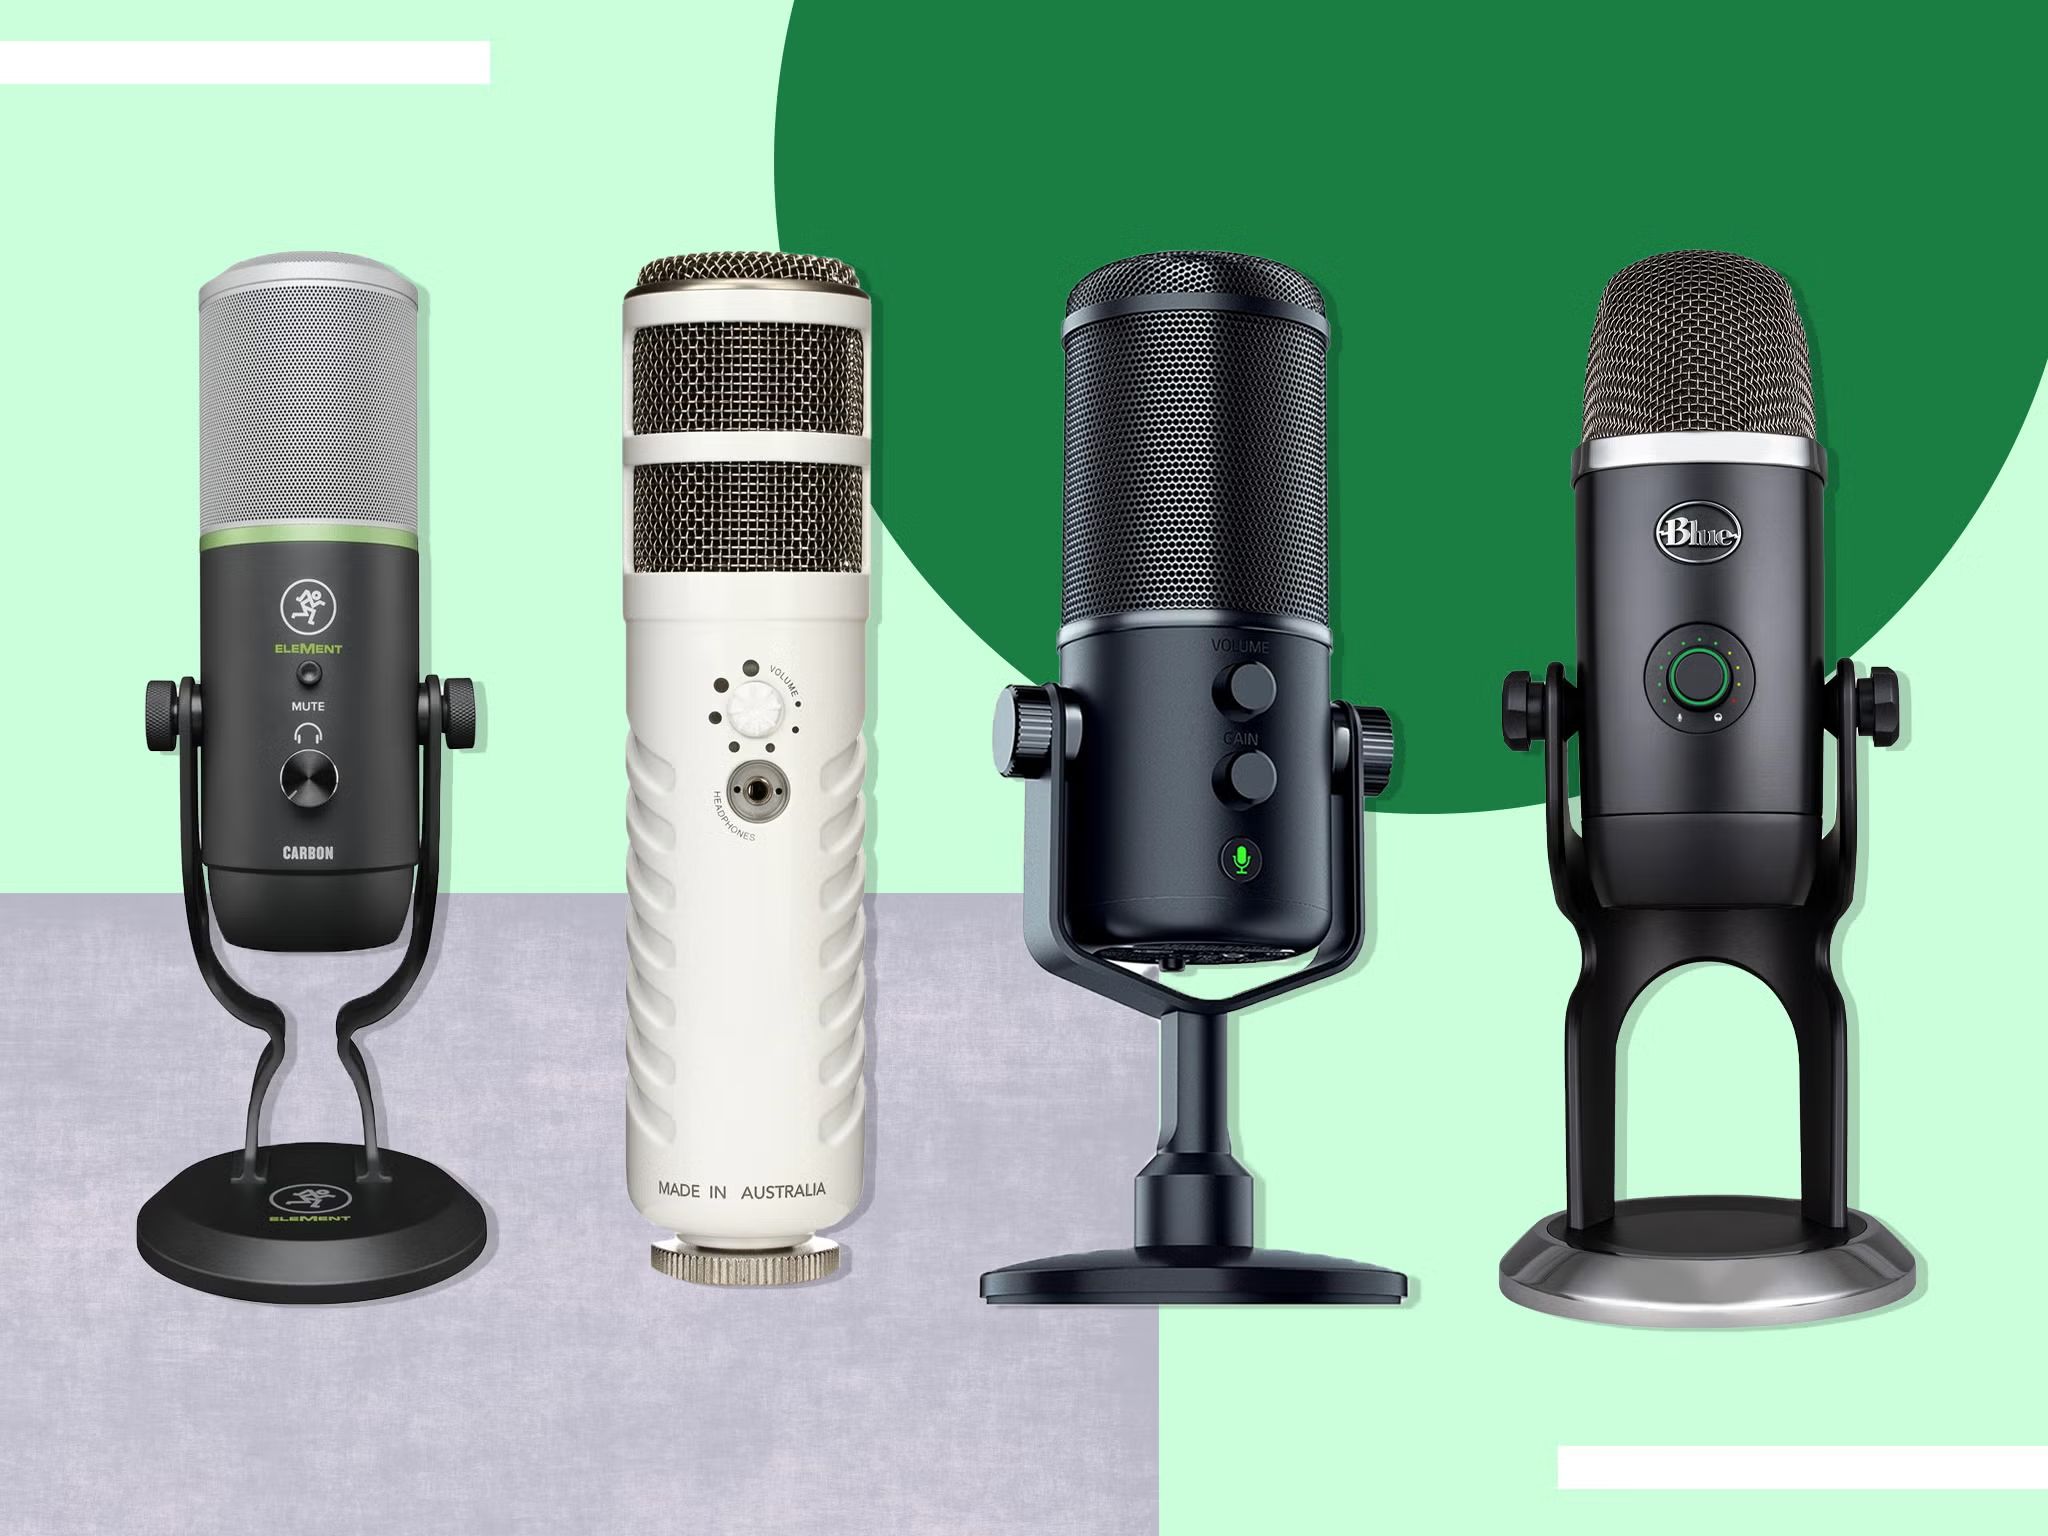
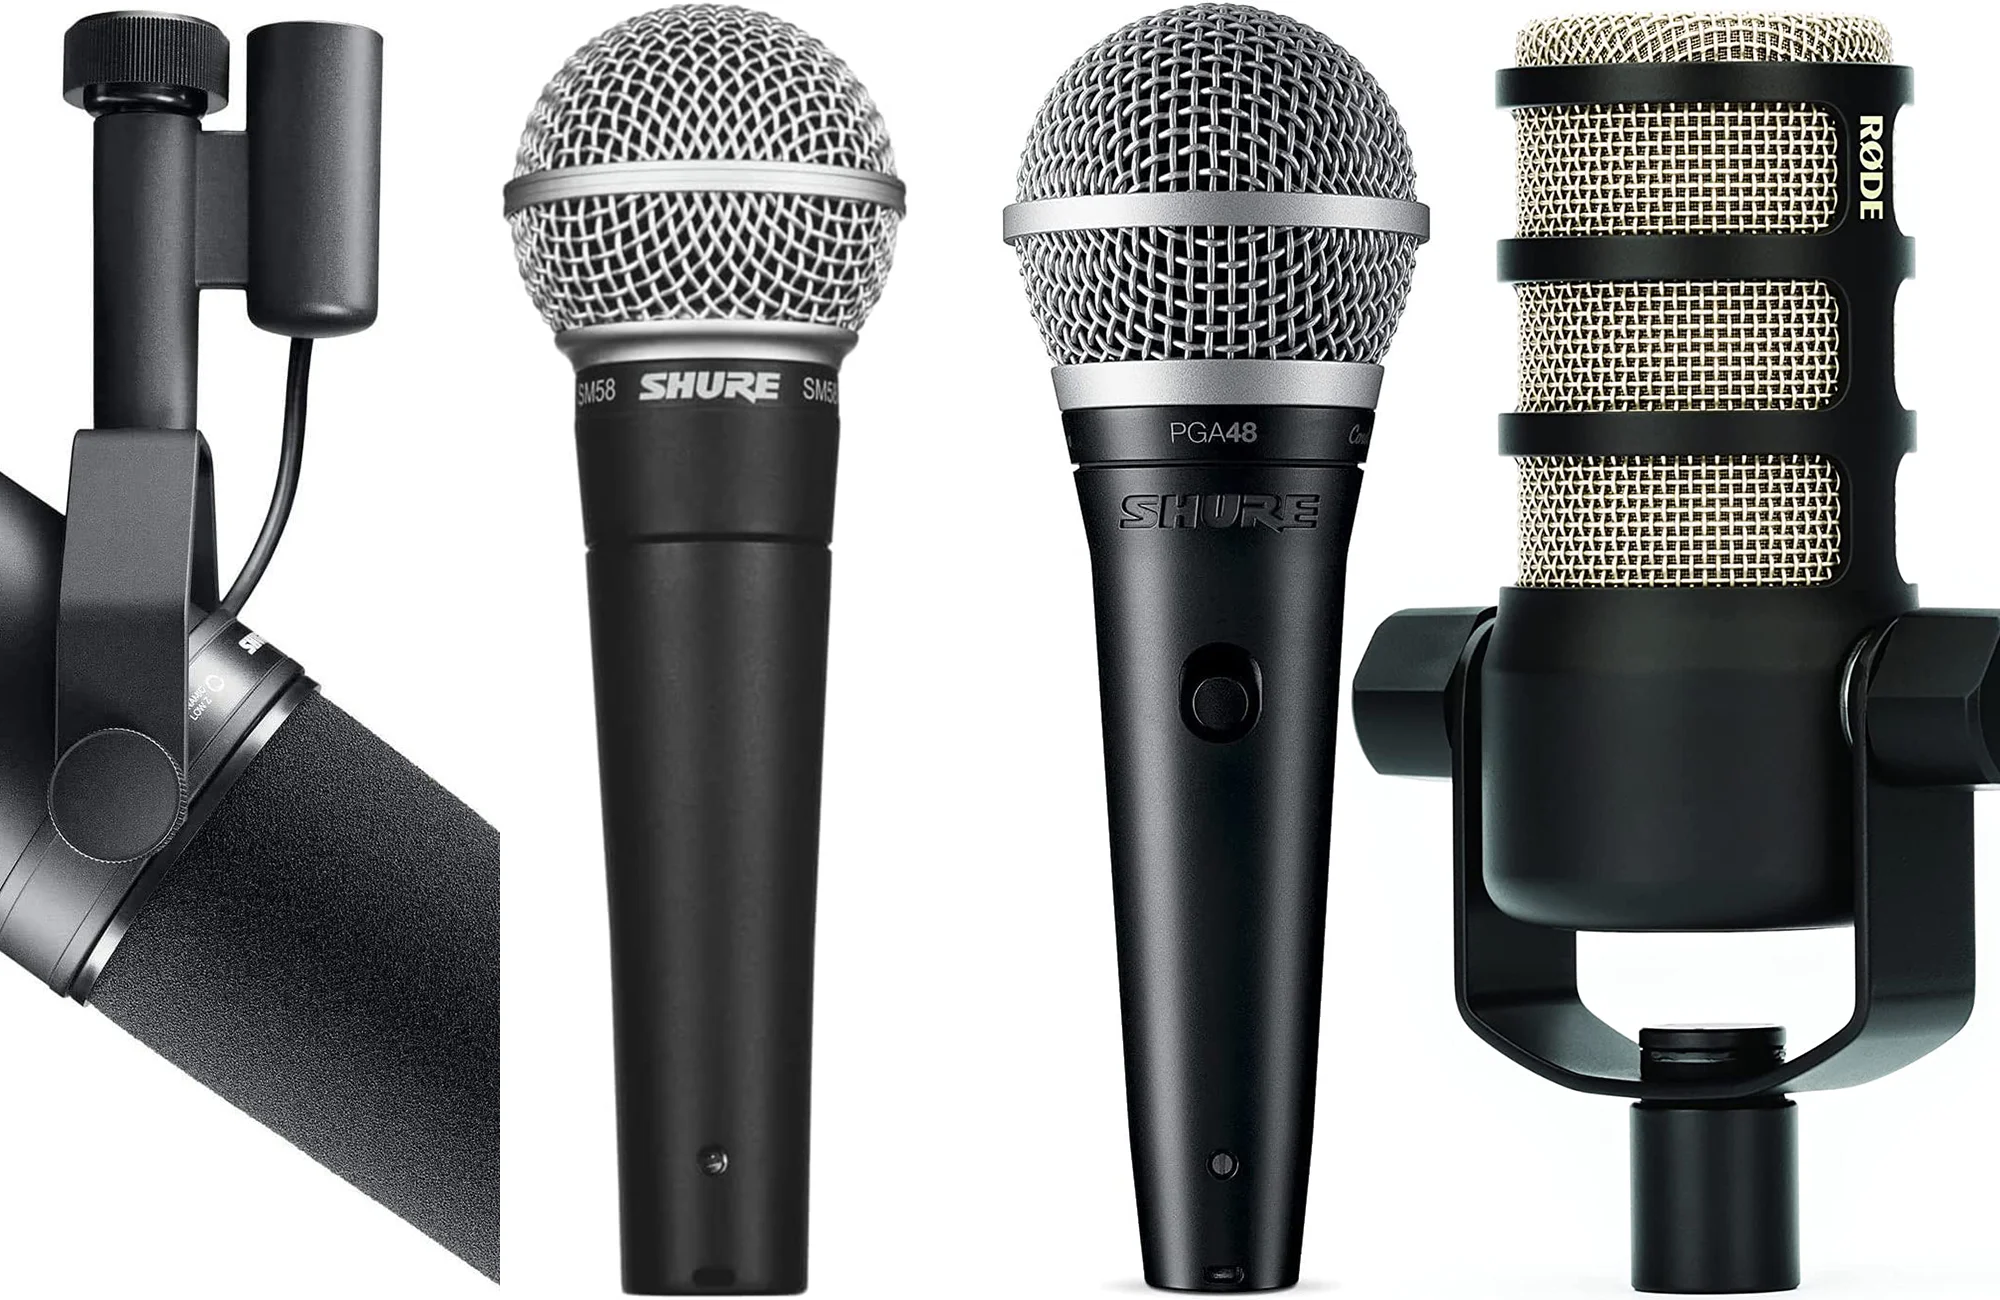
- Samson USB Microphone: Make sure you have your Samson USB microphone ready. Different models may have different designs and features, but the setup process remains quite similar.
- USB Cable: Your Samson USB microphone should come with a USB cable that allows you to connect it to your computer or device. Ensure that the USB cable is in good condition and free from any damages.
- Computer or Device: You will need a computer or device to connect the USB microphone to. This can be a Windows PC, Mac, or even a smartphone or tablet. Ensure that your computer or device has an available USB port.
- Software or Recording Application: Depending on how you intend to use your Samson USB microphone, you may need to install a software or recording application. This could be a Digital Audio Workstation (DAW) like Audacity, GarageBand, or any other compatible software.
- Internet Connection (optional): If your Samson USB microphone requires software installation or online registration, make sure you have a stable internet connection to download any necessary drivers or updates.
Once you have gathered these materials, you’re ready to move on to the next step of connecting your Samson USB microphone. Having everything prepared beforehand will save you time and ensure a hassle-free setup process.
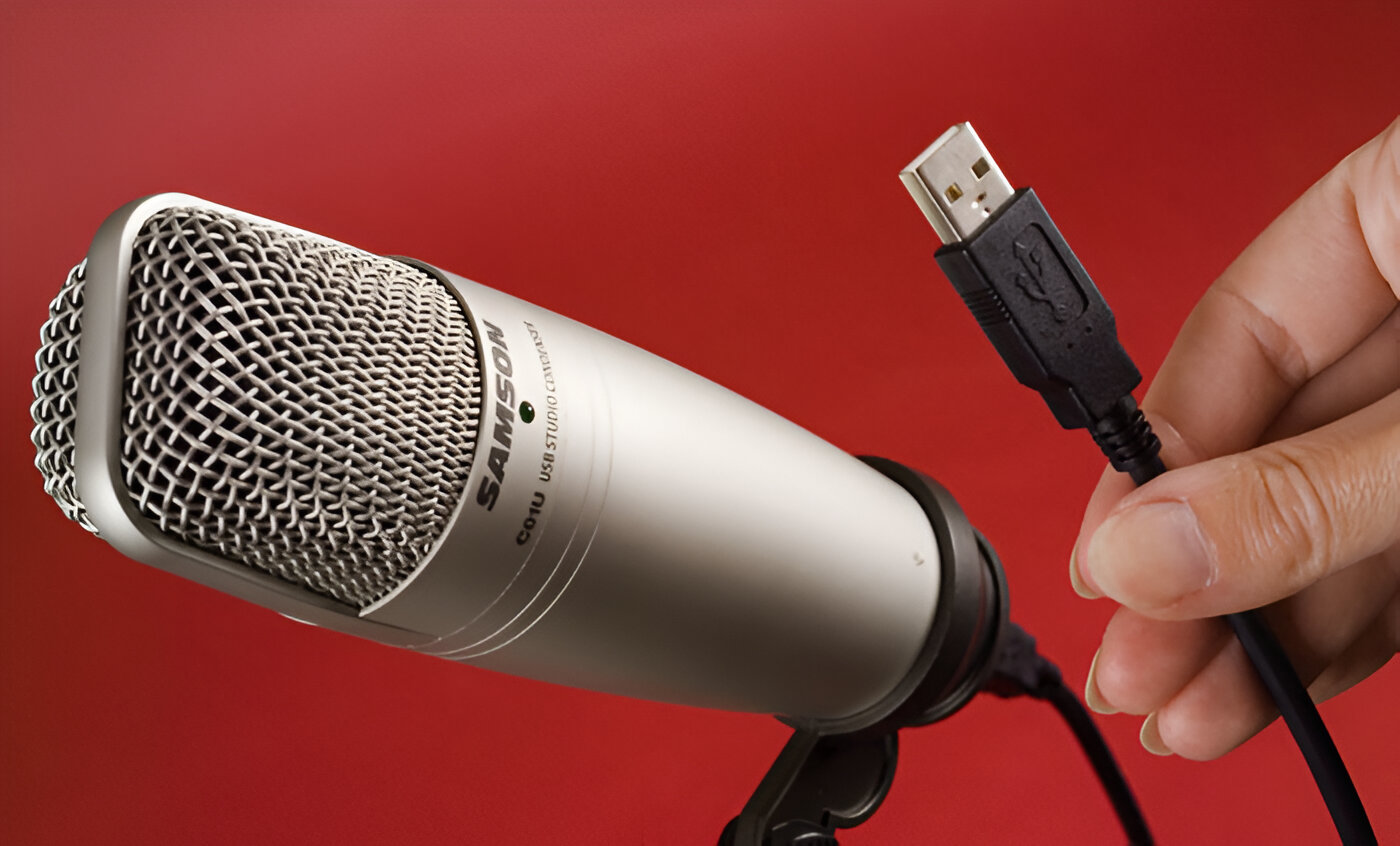
Step 2: Plug in the USB Microphone
Now that you have all the necessary materials, it’s time to connect your Samson USB microphone to your computer or device. Follow these simple steps:
- Locate the USB Port: Look for an available USB port on your computer or device. It is usually located on the side or back of a desktop computer, or on the side or bottom of a laptop or mobile device. Ensure that the USB port is clean and free from any debris.
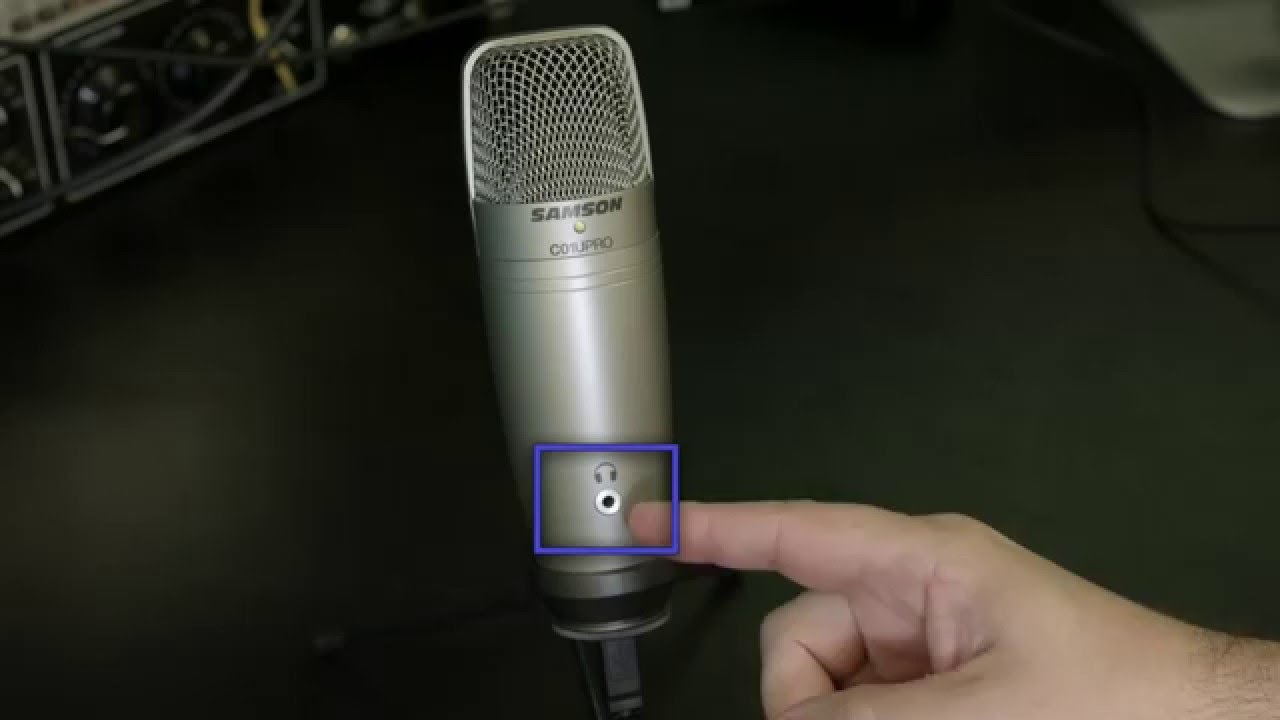
- Connect the USB Cable: Take the USB cable that came with your Samson USB microphone and insert one end into the USB port on your computer or device. The USB connector should fit snugly into the port. Make sure it is fully inserted to establish a secure connection.
- Connect the Other End: Take the other end of the USB cable and insert it into the corresponding USB port on your Samson USB microphone. Again, ensure that the USB connector is securely inserted into the microphone.
- Power On the Microphone (if applicable): Some Samson USB microphones have a power switch or button. If your microphone has this feature, make sure to turn it on.
Once you have completed these steps, your Samson USB microphone should be successfully connected to your computer or device. The USB connection provides both power and data transfer capabilities, allowing you to use the microphone to record or stream audio.
If you are using a Windows PC, the operating system will automatically detect the USB microphone and install any necessary drivers. On a Mac, the USB microphone should be recognized and configured automatically.
Now that your Samson USB microphone is connected, it’s time to proceed to the next step of selecting it as the default input device on your computer or device.
Step 3: Select the Microphone as the Default Input Device
After plugging in your Samson USB microphone, you need to ensure that your computer or device recognizes it as the default input device. This step will vary depending on the operating system you are using. Follow the instructions below based on your system:
For Windows:
- Open Sound Settings: Right-click on the speaker icon in the taskbar and select “Open Sound settings.” Alternatively, you can navigate to the Control Panel and open the “Sound” settings.
- Select Input Device: In the “Input” section, you should see a list of available input devices. Look for your Samson USB microphone in the list and select it as the default input device.
- Adjust Microphone Levels (optional): To ensure optimal microphone performance, you may want to adjust the microphone levels. Click on “Device properties” or “Manage sound devices” and navigate to the microphone settings. Here, you can modify the volume and other settings to suit your preferences.
For Mac:
- Open System Preferences: Click on the Apple menu in the top-left corner and select “System Preferences.”
- Select Sound: In the System Preferences window, click on the “Sound” icon.
- Choose Input: Switch to the “Input” tab. You should see a list of available input devices. Select your Samson USB microphone from the list.
- Adjust Microphone Levels (optional): If needed, you can adjust the microphone input levels using the slider. Test your microphone by speaking into it and observing the input level meter.
By selecting your Samson USB microphone as the default input device, you ensure that all audio input, such as your voice or instrument, is captured by the microphone. This setting allows you to effectively record, stream, or communicate using your Samson USB microphone.
Once you have completed this step, you’re ready to move on to the next stage of configuring the microphone settings for optimal performance.
Step 4: Configure Microphone Settings
With your Samson USB microphone connected and selected as the default input device, it’s time to configure the microphone settings to optimize its performance. Here’s what you need to do:
- Open Sound Settings: Open the sound settings on your computer or device, similar to the process mentioned in Step 3.
- Navigate to Microphone Settings: Locate the microphone settings within the sound settings interface. This may be listed as “Microphone Settings,” “Recording Devices,” or a similar option.
- Adjust Microphone Gain: The microphone gain determines the sensitivity of the microphone. You can increase or decrease the gain level to capture the desired audio volume. Experiment with different gain settings while monitoring the audio input level to find the optimal balance.
- Enable/Disable Microphone Enhancements (optional): Some systems may offer additional microphone enhancements, such as noise cancellation or echo reduction. Depending on your preferences and the environment you’re recording in, you can enable or disable these enhancements to create the desired audio output.
- Configure Sample Rate and Bit Depth (optional): If advanced options are available, you can adjust the sample rate and bit depth. Higher sample rates and bit depths result in higher-quality audio but may require more storage space.
- Test the Microphone: After making any necessary adjustments, it is essential to test your Samson USB microphone. Open a recording software or application and speak or sing into the microphone. Monitor the audio levels and ensure that the sound is clear and free from distortion.
By configuring the microphone settings, you can fine-tune the audio input to match your needs and preferences. Take some time to experiment with different settings to find the best setup for your specific use case.
Remember to save your changes and exit the microphone settings once you are satisfied with the configuration. You are now ready to use your Samson USB microphone for various audio recording, streaming, or communication purposes.
Step 5: Test the Microphone
After connecting and configuring your Samson USB microphone, it’s crucial to test its functionality to ensure that it is capturing clear and high-quality audio. Follow these steps to perform a microphone test:
- Open a Recording Software or Application: Launch a recording software or application on your computer or device. This could be the software that came bundled with your Samson USB microphone or any compatible recording program such as Audacity or GarageBand.
- Create a Test Recording: Within the recording software, create a new recording session or open a new project. Set the input source to your Samson USB microphone.
- Monitor Audio Levels: Speak or sing into the microphone and closely monitor the audio levels on the recording software. Ensure that the audio levels are sufficient and not peaking or distorting. Adjust the microphone gain if necessary to achieve an optimal recording level.
- Listen to the Playback: After recording a sample, play back the recording to assess the audio quality. Pay attention to the clarity, volume, and any unwanted background noise or distortion. Make further adjustments to the microphone settings if needed.
- Perform Additional Tests (optional): Test the microphone in different scenarios to ensure its versatility. Consider testing it in a quiet environment, as well as in a noisy environment, to evaluate its noise-canceling capabilities.
By conducting a microphone test, you can fine-tune the settings and identify any potential issues. If you encounter any problems during the test, double-check all connections, settings, and software configurations to troubleshoot the issue.
Upon successful completion of the microphone test, you can confidently use your Samson USB microphone for your desired activities, whether it’s podcasting, recording vocals, streaming, or online communication.
Remember to save your recordings and familiarize yourself with the recording software’s features and functions. This will enable you to fully utilize the capabilities of your Samson USB microphone and enhance your audio production experience.
Conclusion
Congratulations! You have successfully connected and set up your Samson USB microphone. Now you can enjoy professional-grade audio quality for your recordings, podcasts, live streaming, and other creative endeavors.
In this guide, we walked through the step-by-step process of connecting your Samson USB microphone, selecting it as the default input device, configuring the microphone settings, and performing a microphone test. By following these steps, you have ensured optimal performance and the best audio capturing experience with your Samson USB microphone.
Remember, each operating system and recording software may have slight variations in the settings and configurations. It’s always essential to refer to the specific documentation and instructions provided with your microphone and the software you are using.
Now that you are well-equipped with the knowledge to connect and set up your Samson USB microphone, unleash your creativity and produce professional-quality audio content. Experiment with different recording environments, techniques, and applications to explore the full potential of your microphone.
Don’t forget to regularly update your microphone’s firmware and software to ensure that you have the latest features and enhancements. Additionally, maintain proper care and storage for your Samson USB microphone to prolong its lifespan and preserve its pristine audio performance.
Whether you’re a content creator, podcaster, musician, or online communicator, having a reliable and high-quality microphone is essential. Your Samson USB microphone will provide you with the clarity and accuracy needed to capture the rich nuances of your voice or instruments.
Now, go ahead and let your voice be heard with confidence and precision, knowing that your Samson USB microphone is ready to take your audio production to the next level.