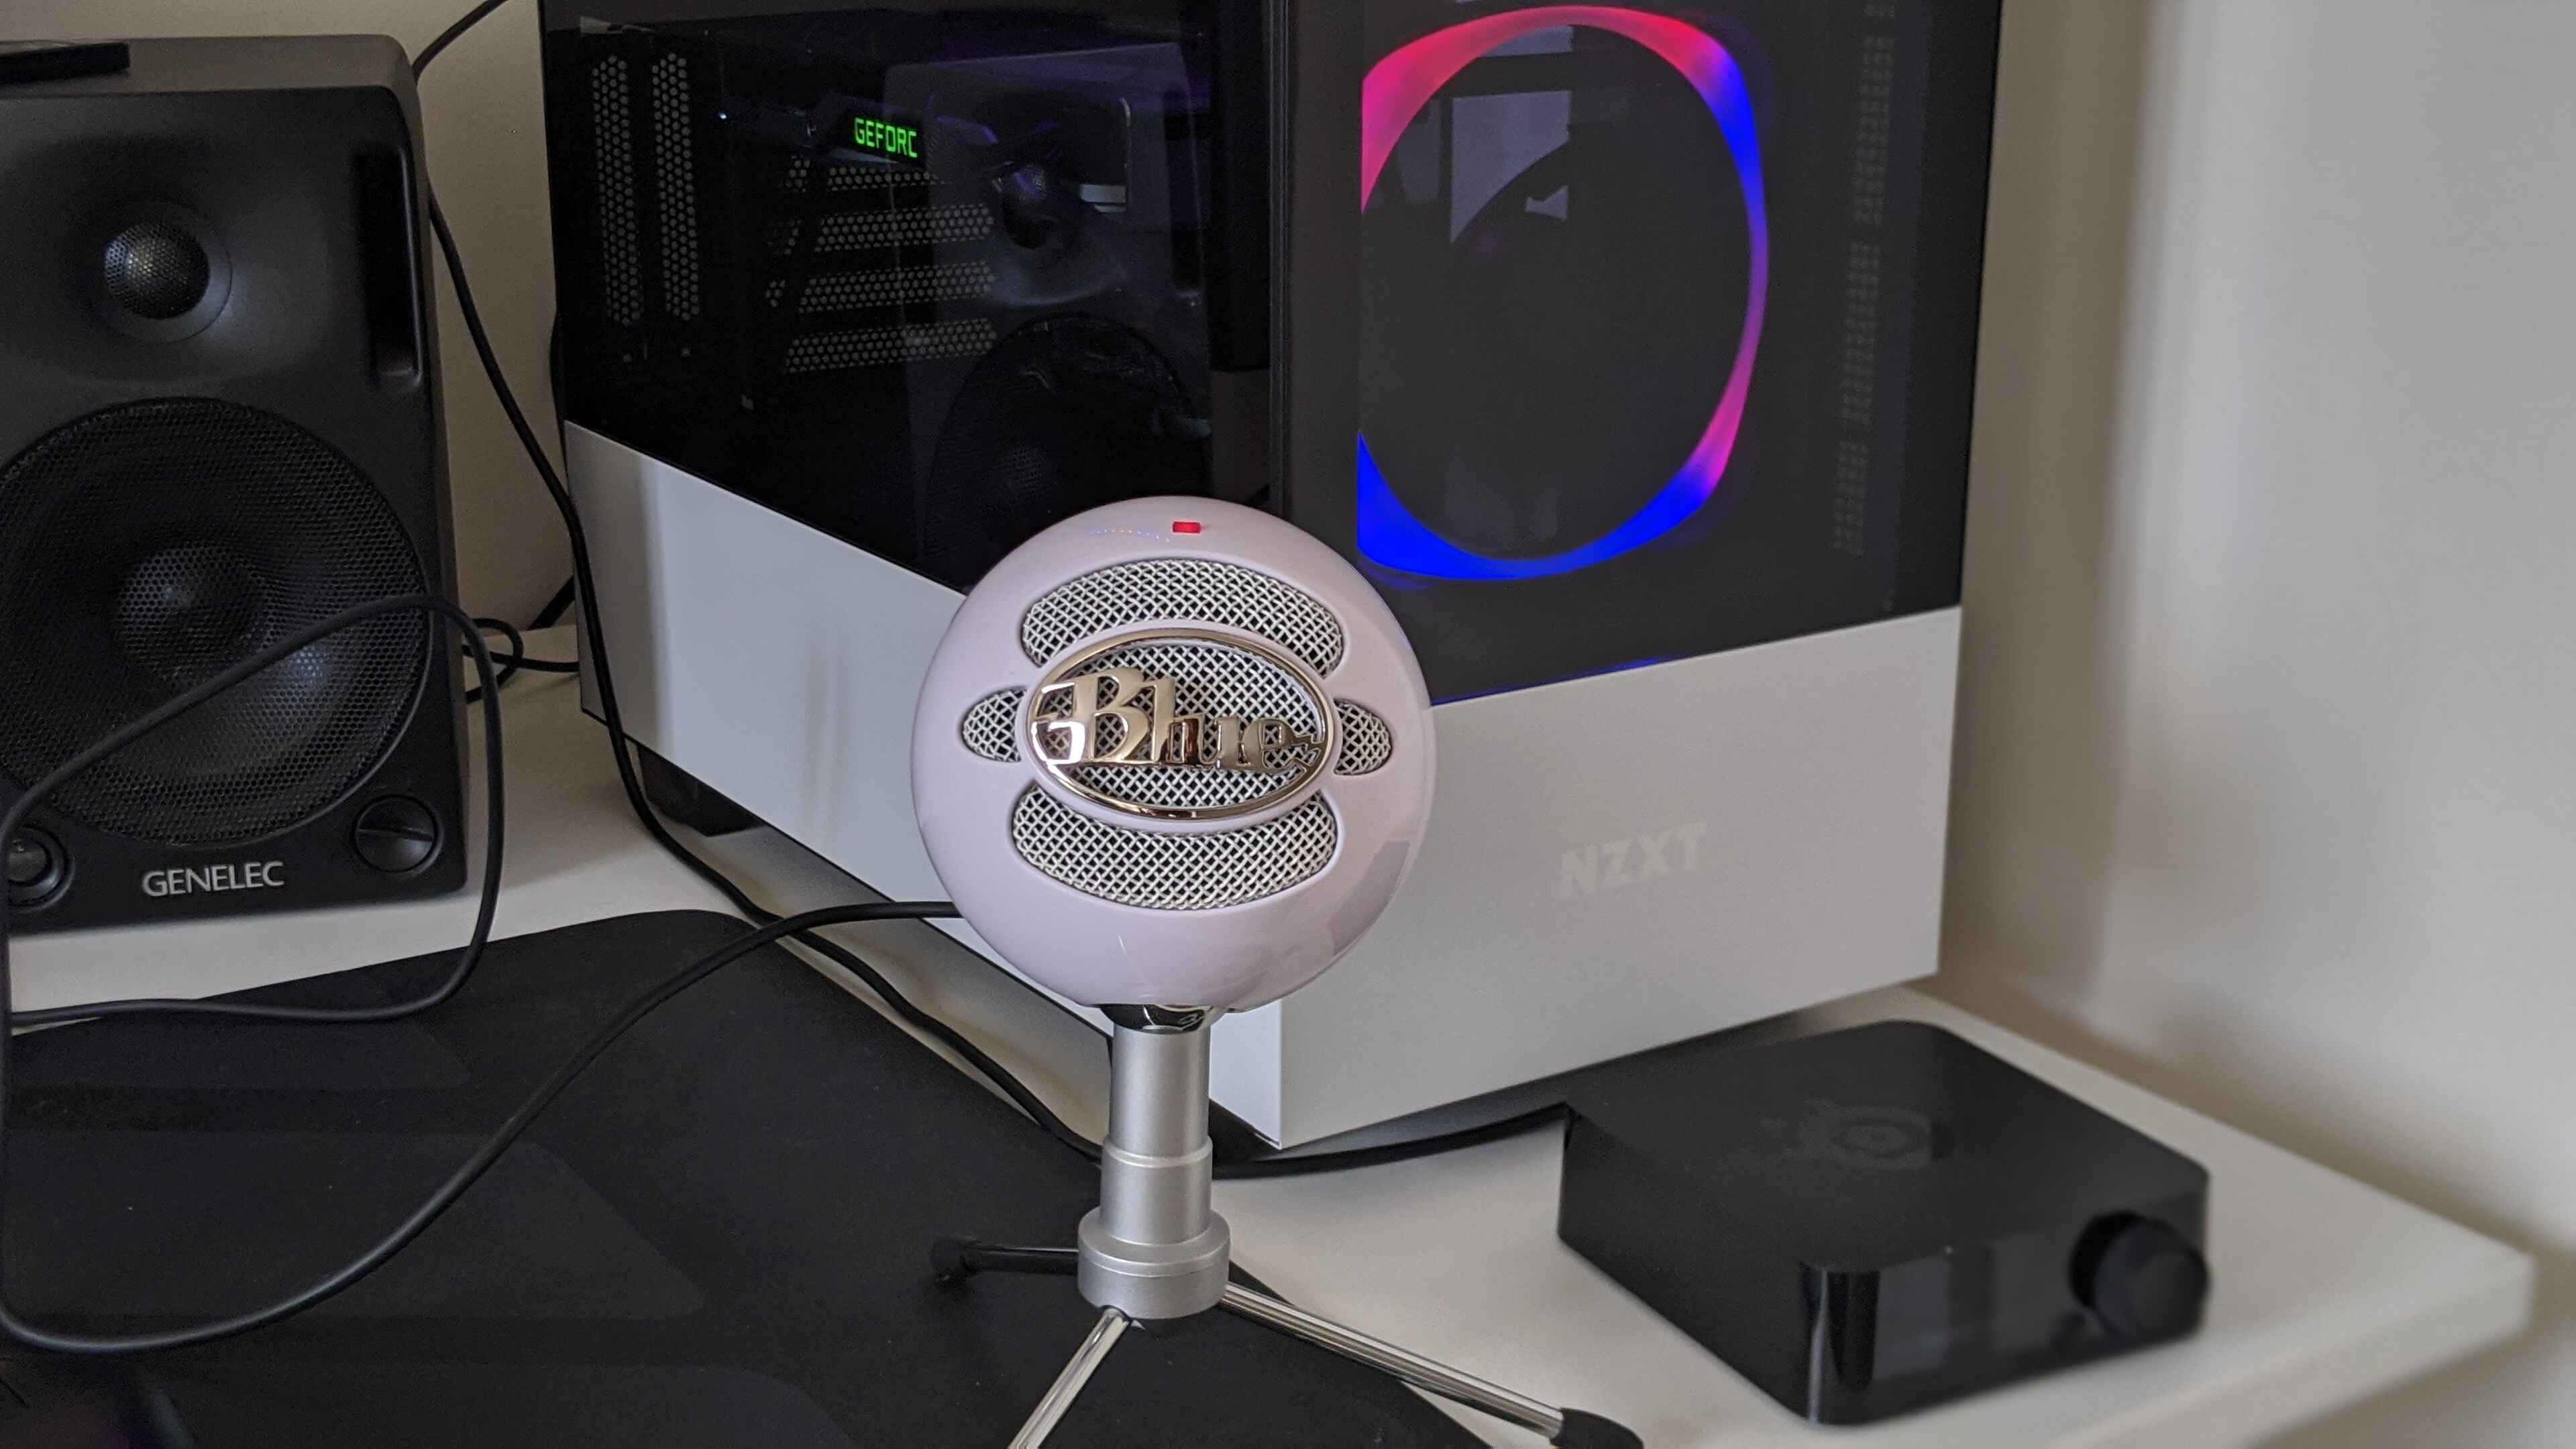
To set up your Blue Snowball Ice microphone, simply connect the included USB cable from the microphone to your computer, it's a true plug-and-play device that requires no additional drivers. If you're still exploring options, the best cheap condenser microphone can offer comparable clarity for budget-conscious streamers, though you'll need to activate a bm 800 condenser microphone on your computer with extra hardware like phantom power. Once connected, a solid red LED light above the Blue logo will illuminate, confirming the microphone is powered and ready for use.
Connect the mic and check the power light
Take the USB cable that came with your Blue Snowball Ice and plug the smaller end into the microphone's USB port. Plug the other end into an available USB port on your computer. A solid red LED light located just above the Blue logo will illuminate, indicating the microphone is powered and ready for use.
Select the Snowball Ice as your input device in Windows
- Right-click the speaker icon in your system tray and select "Sounds."
- Navigate to the "Recording" tab.
- Click "Properties," go to the "Levels" tab, and adjust the microphone volume slider to your preferred level.
- Click "Apply" then "OK" to save your changes.
Select the Snowball Ice as your input device in macOS
- Open "System Preferences" from the Apple menu.
- Click "Sound" and select the "Input" tab.
- From the list of devices, choose "Blue Snowball iCE."
- Adjust the input volume slider as needed.
- Close System Preferences to save the setting.
Choose the mic in your recording software
After configuring system settings, you must also select "Blue Snowball iCE" as the input device within your chosen recording or communication software. This step is required for the microphone to work in applications like Audacity, GarageBand, Skype, or OBS. For example, if you need to record with a USB microphone in Reaper, open Reaper's Preferences, go to Audio > Device, and set the input driver to "Blue Snowball iCE."
Position the microphone for the best sound
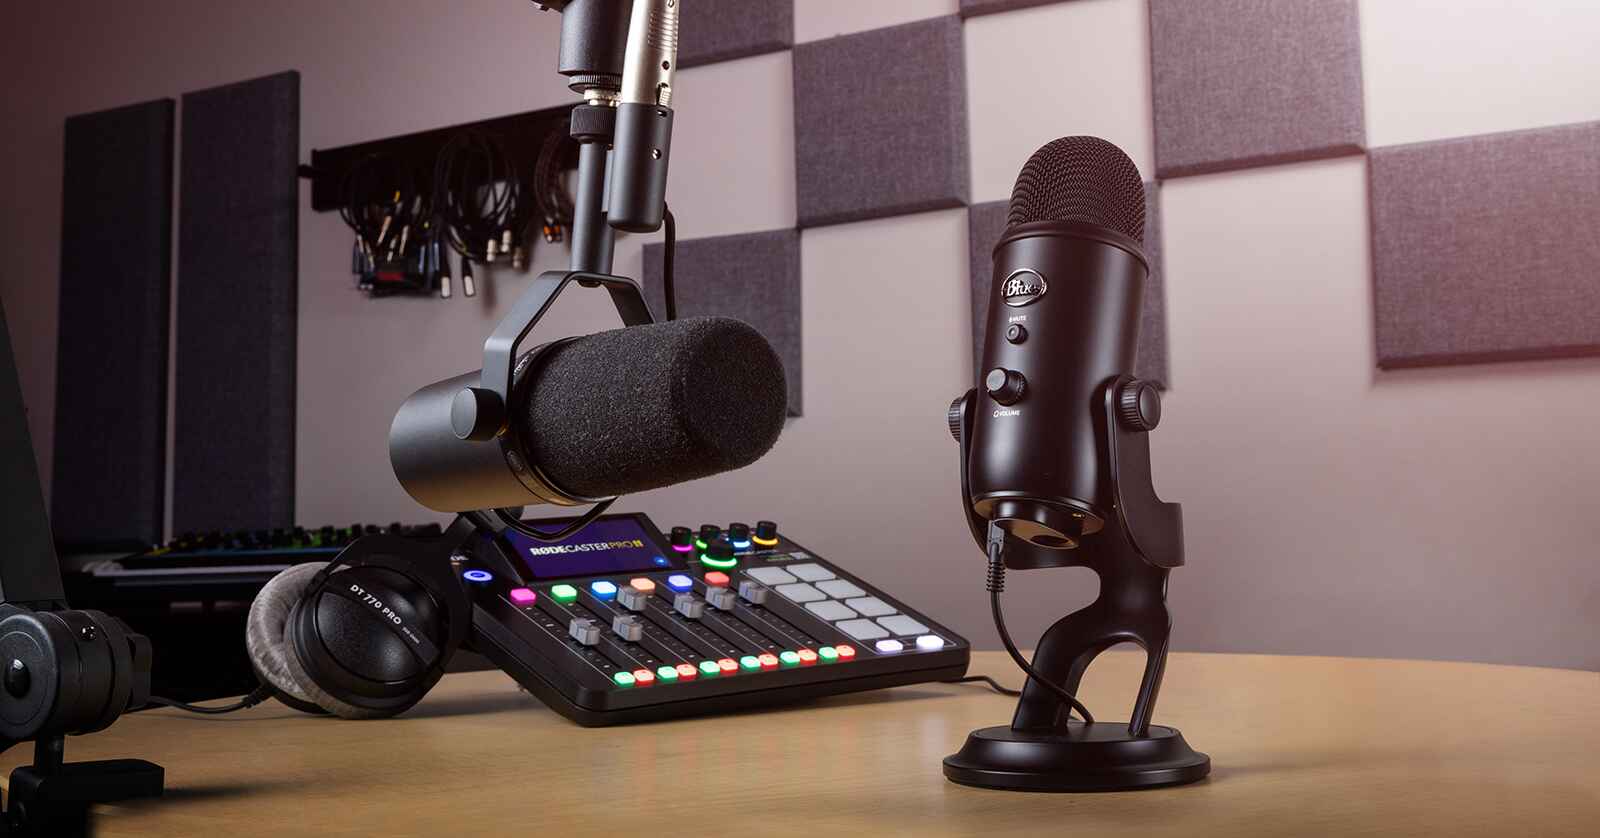
Place the microphone on its included desktop stand on a stable surface. Position the microphone 6-12 inches from your mouth, with the Blue logo facing directly toward the sound source. For clearer recordings, consider adding a pop filter to reduce plosive sounds from "P" and "B" consonants. Avoid placing the mic too close to walls or reflective surfaces to prevent echoes.
Quick fixes for common problems
No sound
First, check that the Blue Snowball Ice is set as the default recording device in your operating system's sound settings. Then verify that you have selected it as the input device inside your specific application. If the issue persists, try a different USB port on your computer.
Muffled sound
Ensure the microphone is 6-12 inches from your mouth and that the Blue logo is facing you. If you are too close or the mic is turned away, the audio will sound dull or muffled. Adjust the distance and orientation until the sound is clear.