Introduction
Welcome to the ultimate guide on how to install a USB microphone on Studio One! If you’re a budding recording artist, podcaster, or voice-over artist, having a high-quality microphone is crucial for capturing crystal-clear audio. USB microphones have become increasingly popular due to their ease of use and versatility. Studio One is a professional digital audio workstation widely used by musicians and producers for recording, editing, and mixing music.
In this guide, we will walk you through the step-by-step process of installing a USB microphone on Studio One. Whether you’re a seasoned Studio One user or a complete beginner, by the end of this guide, you’ll have your USB microphone up and running, ready to capture professional-level audio for your projects.
Before we dive into the installation process, it is important to ensure that your computer meets the necessary compatibility requirements. We will also cover how to prepare your USB microphone for installation and provide guidance on connecting it to your computer properly. Additionally, we will explain how to install any required drivers specific to your USB microphone model.
Once the hardware installation is complete, we will guide you through the necessary configuration settings in Studio One. You’ll learn how to select your USB microphone as the input device and calibrate the audio levels for optimal recording quality. By the end of this guide, you will have all the knowledge and tools you need to successfully install and utilize your USB microphone with Studio One.
So, grab your USB microphone, fire up Studio One, and let’s jump right into the installation process. Exciting recording opportunities await!
Step 1: Check Compatibility and Requirements
Before you begin the installation process, it’s important to ensure that your computer meets the necessary compatibility requirements. This will ensure a smooth and successful setup of your USB microphone with Studio One. Here are the key factors to consider:
- Operating System: Check if your computer is running a compatible operating system. Studio One is available for both Windows and macOS, so make sure you have the appropriate version.
- Studio One Version: Verify that you have a compatible version of Studio One installed on your computer. Ensure that it supports USB audio devices and is in-line with the system requirements specified by PreSonus, the developer of Studio One.
- USB Port: Ensure that your computer has a functioning USB port to connect the USB microphone. Most USB microphones are plug-and-play, requiring no additional power supply.
- System Specifications: Check if your computer meets the minimum system requirements for Studio One. This includes requirements for CPU, RAM, and available disk space.
To find the specific compatibility and system requirements, refer to the official documentation provided by Studio One. They will provide the necessary information based on the version and operating system you plan to use.
Taking the time to verify compatibility and system requirements beforehand will save you the frustration of attempting an installation that may not work on your computer. Ensuring compatibility will ensure that Studio One and your USB microphone work seamlessly, providing you with the best recording experience possible.
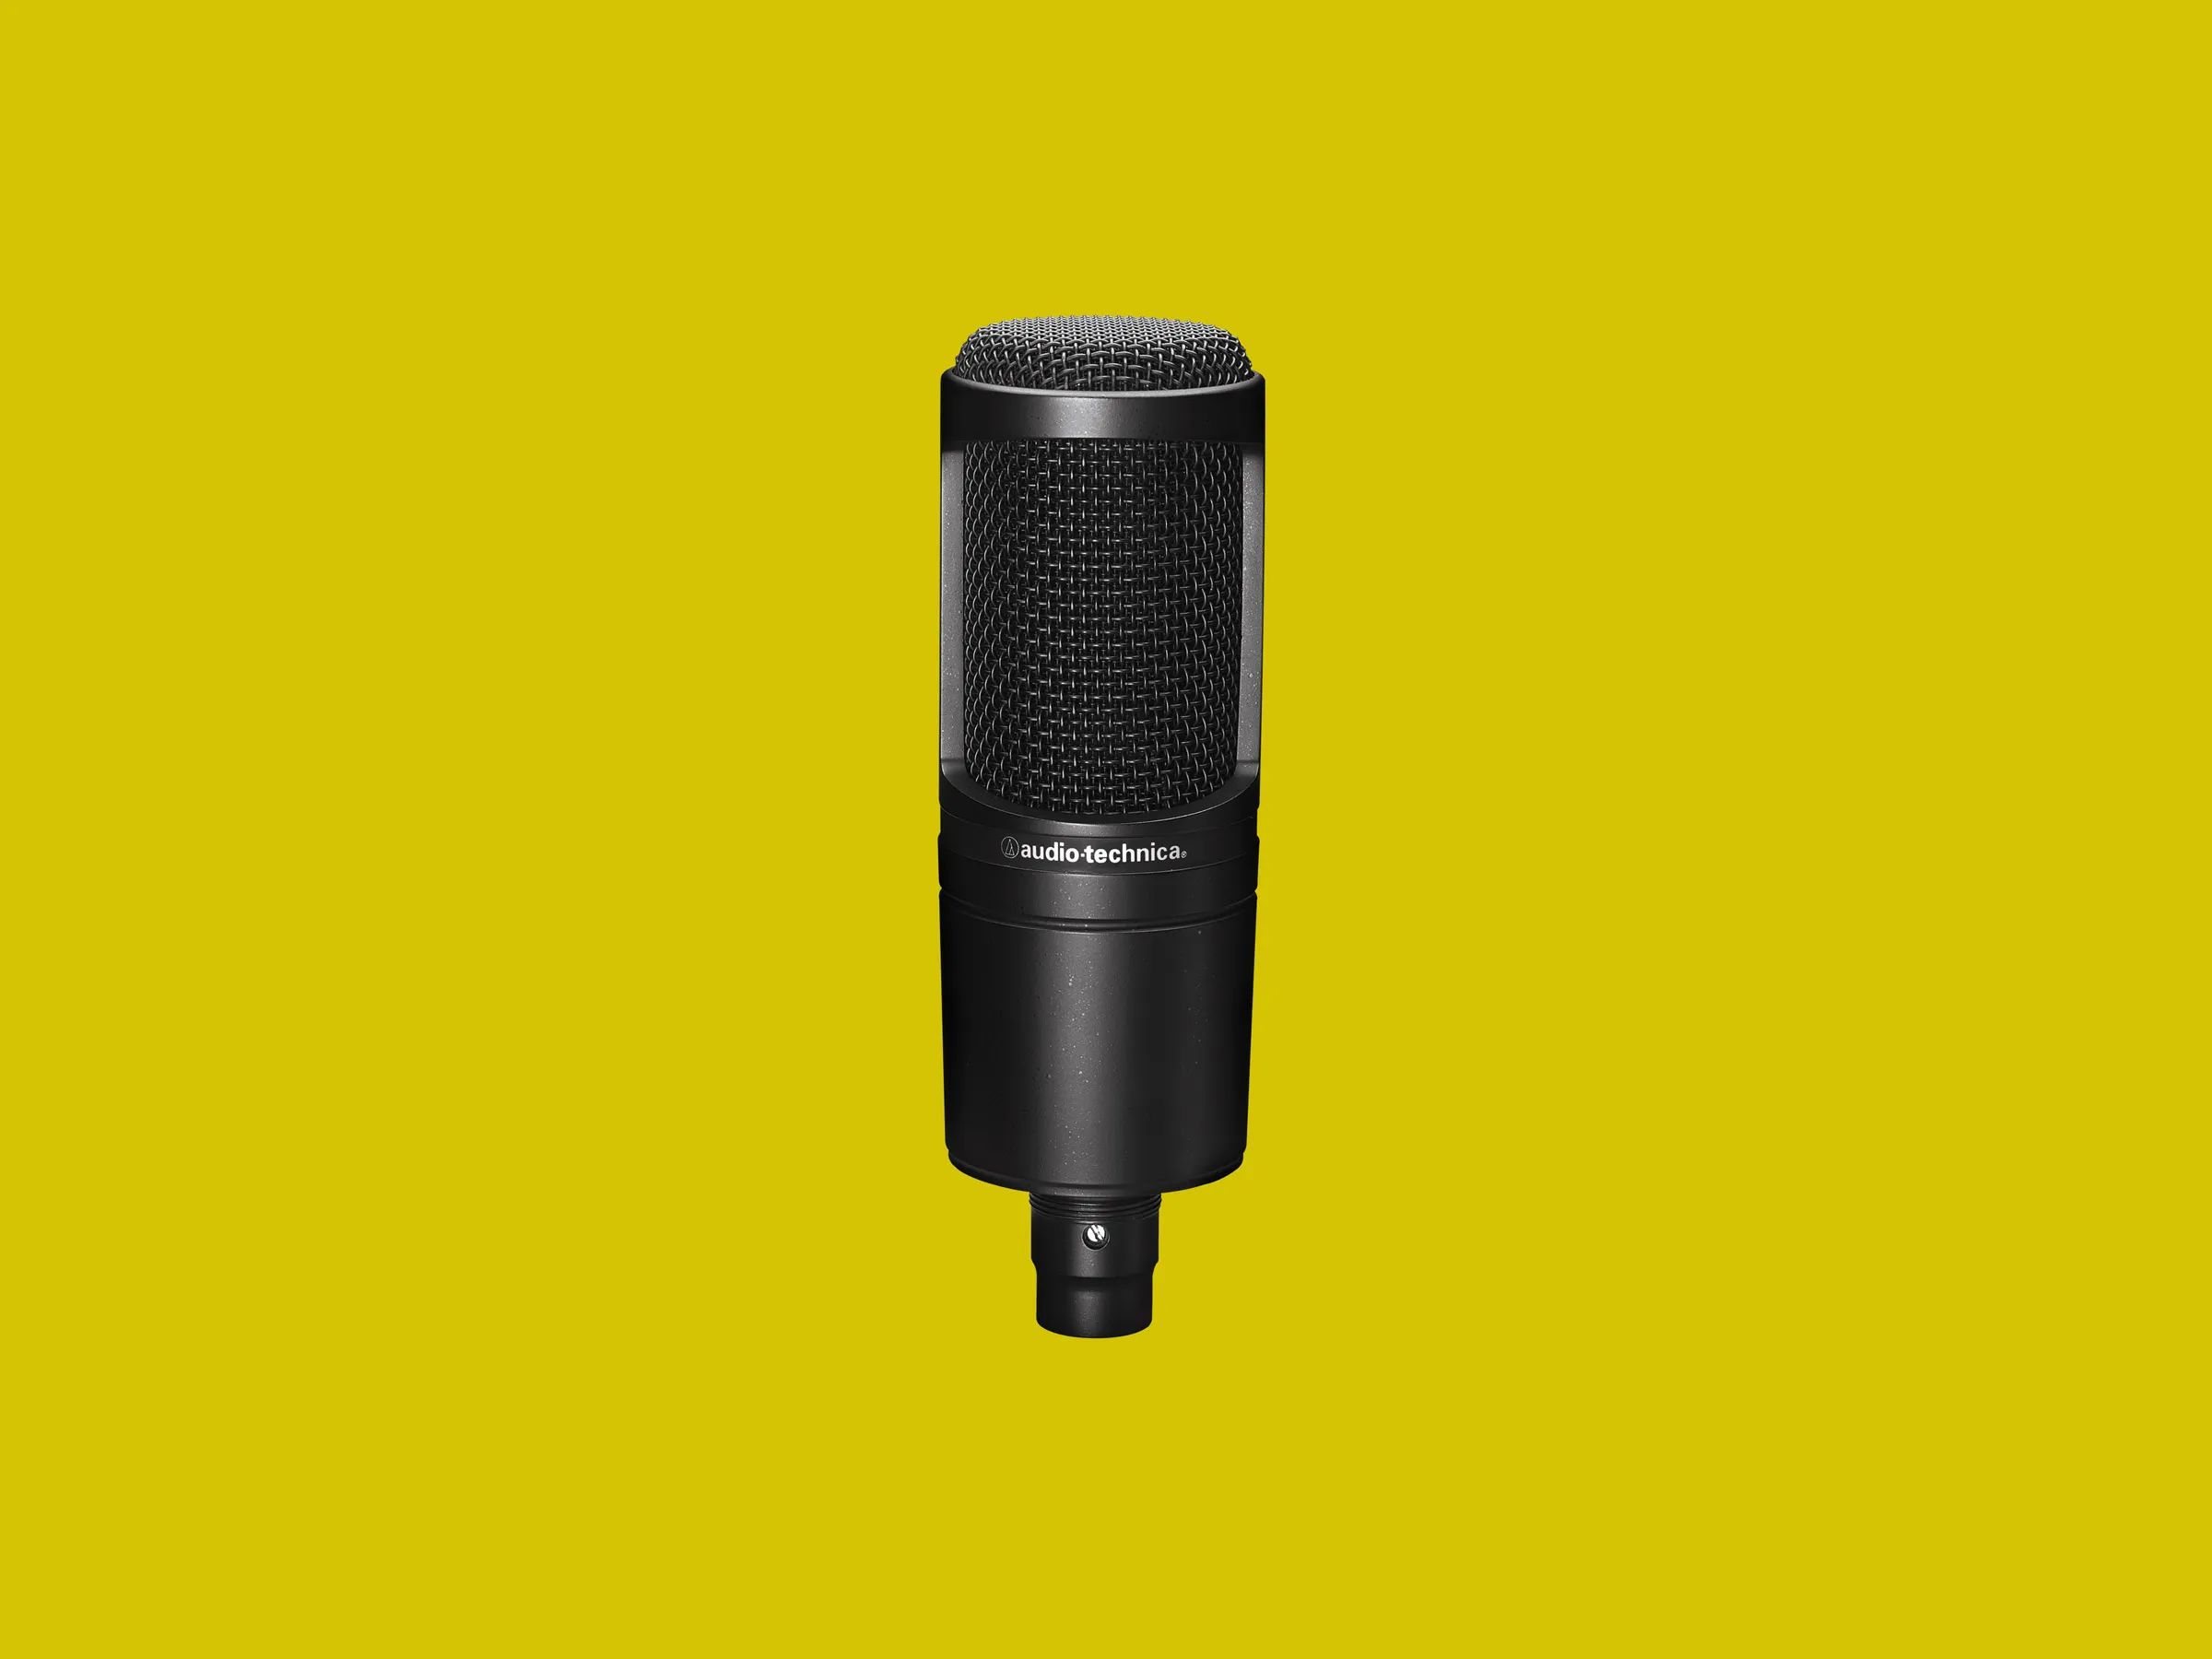
Step 2: Prepare Your USB Microphone
Before you connect your USB microphone to your computer, it’s important to prepare it properly to ensure optimal performance. Here are a few key steps to follow:
- Read the Manual: Every USB microphone is unique, so familiarize yourself with the manufacturer’s instructions provided in the user manual. This will help you understand the specific features and settings of your microphone.
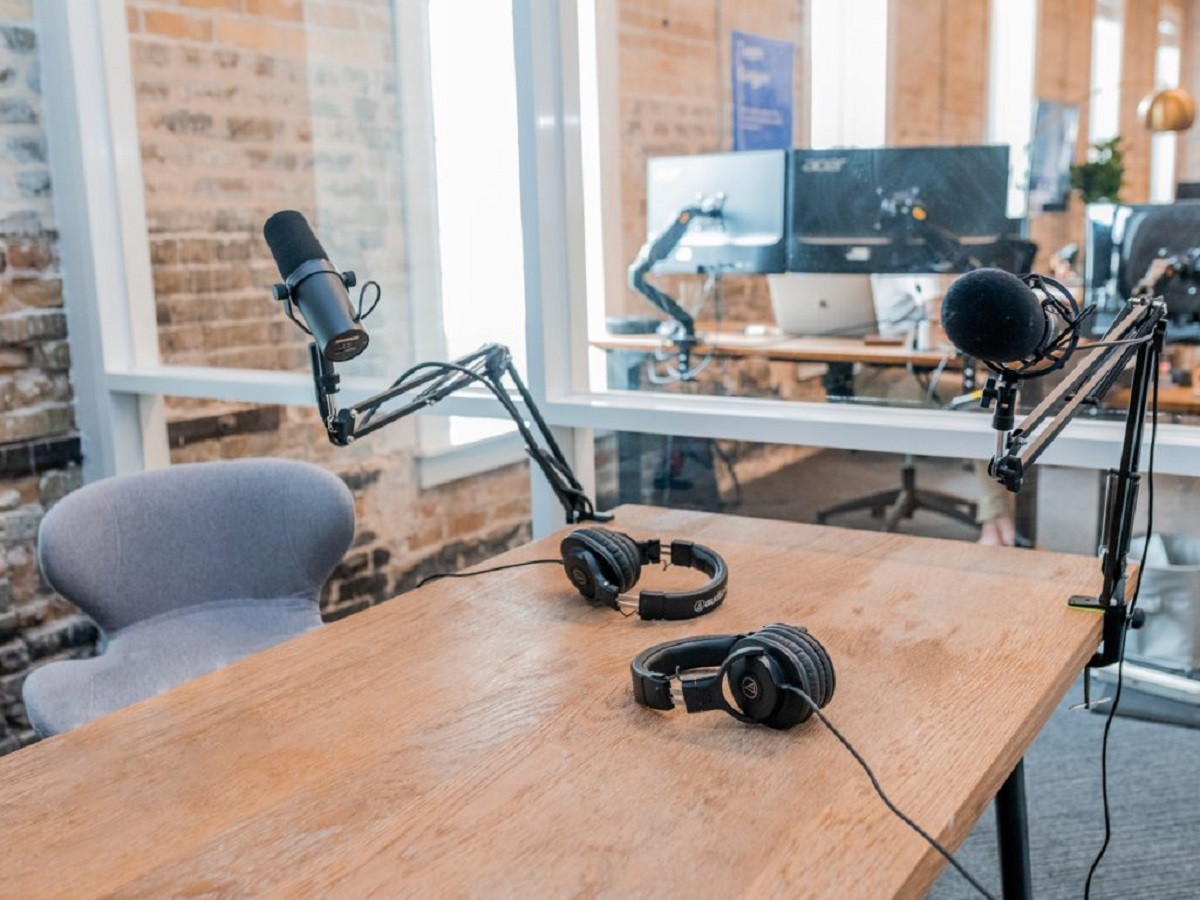
- Positioning: Consider the optimal placement and positioning of your USB microphone. Depending on the type of microphone you have, positioning it correctly can greatly impact the audio quality and reduce unwanted background noise.
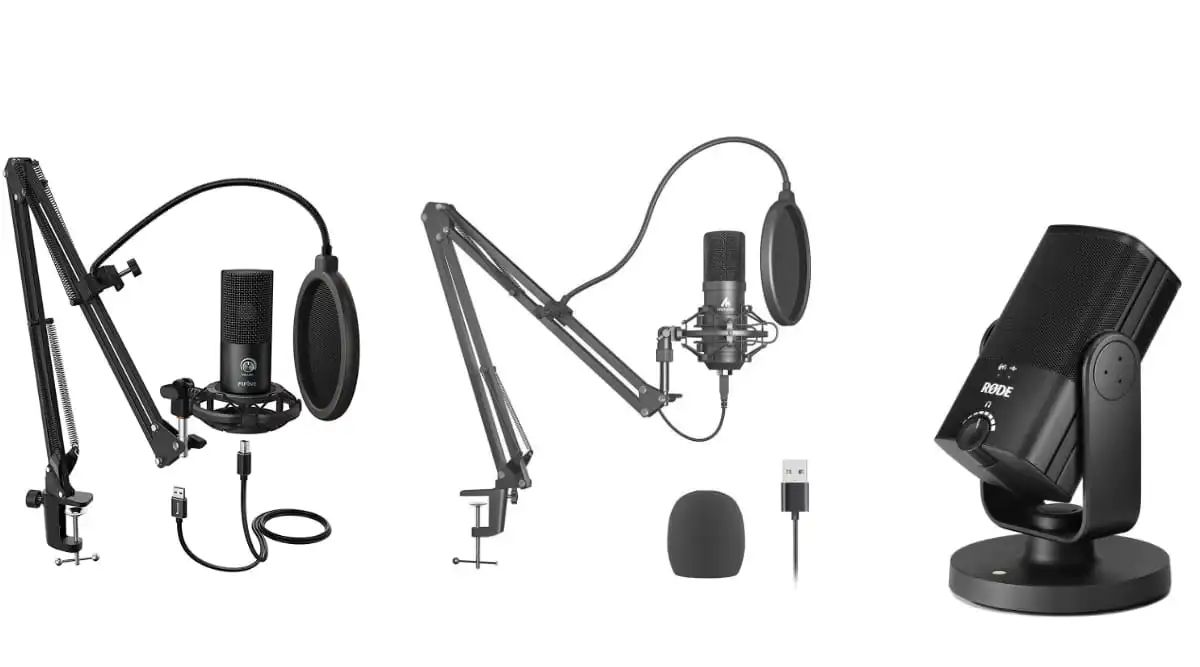
- Pop Filter: Attach a pop filter to your microphone if it doesn’t come with an integrated one. A pop filter helps minimize unwanted plosives (popping sounds) caused by the air from certain sounds hitting the microphone directly.
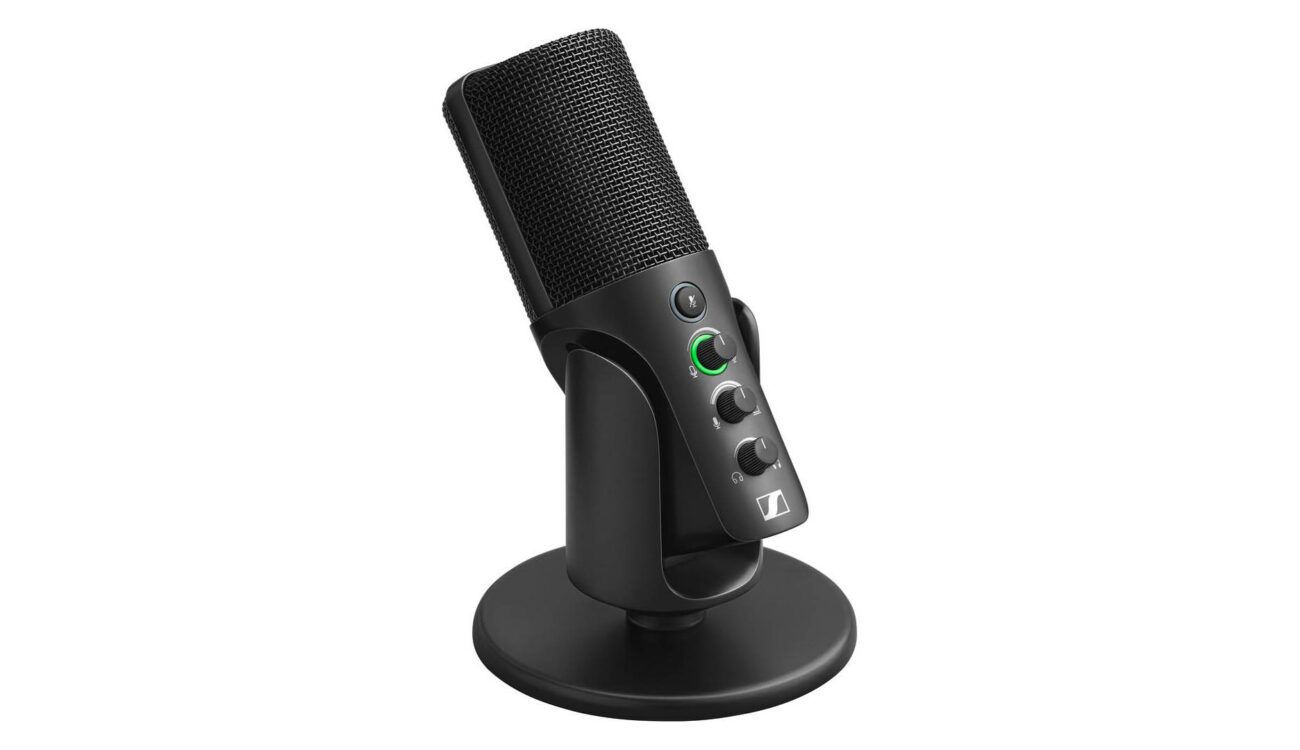
- Mute and Volume Controls: Locate any mute or volume control buttons or switches on your USB microphone. Familiarize yourself with their usage and functionality.
By following these steps, you’ll ensure that your USB microphone is ready to deliver the best audio quality possible. Taking the time to prepare your microphone before connecting it to your computer will help you make the most out of your recording sessions.
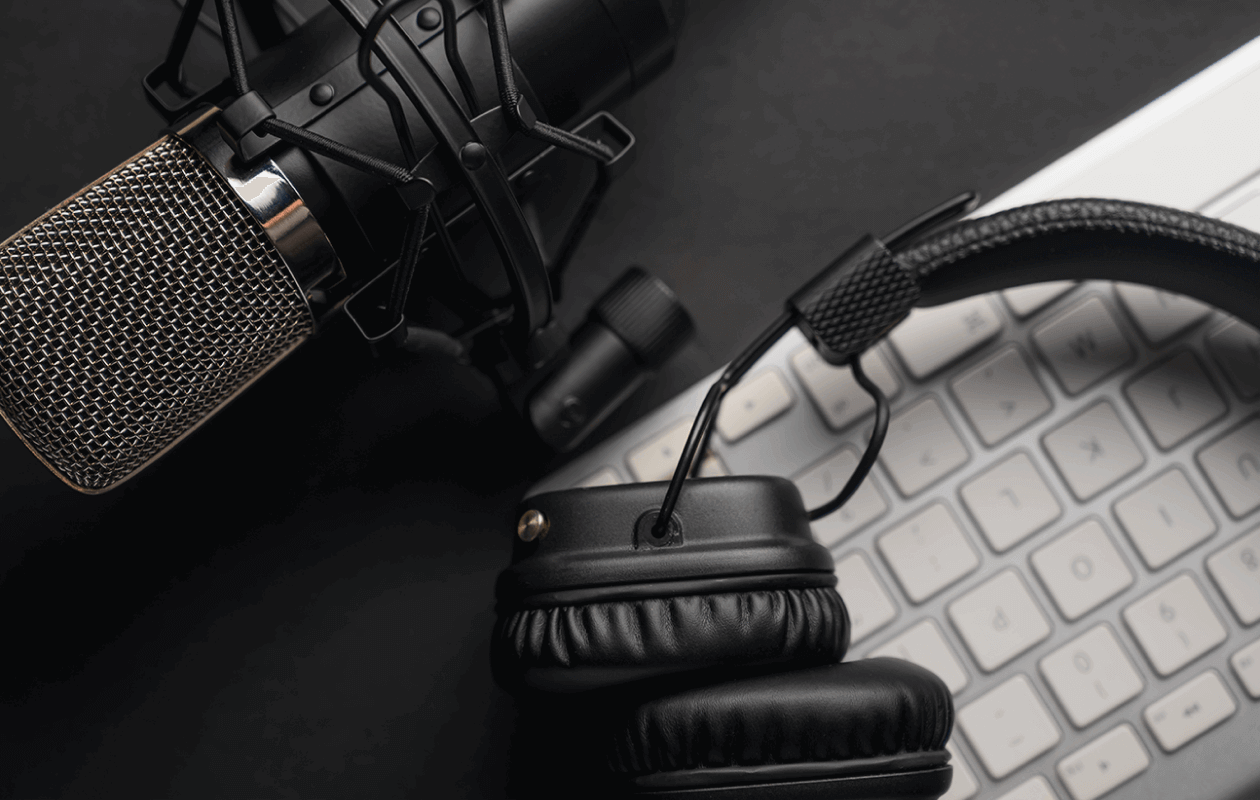
Step 3: Connect the USB Microphone to Your Computer
Now that you have prepared your USB microphone, it’s time to connect it to your computer. Follow these steps to ensure a proper connection:
- Locate an available USB port on your computer. USB ports are typically found on the sides or back of laptops and on the main unit of desktop computers.
- Take the USB cable attached to your microphone and gently plug it into the USB port. Ensure that the connection is secure.
- Your computer will detect the USB microphone and install the necessary drivers automatically. This process may take a few moments as the drivers are being installed.
- Once the drivers are installed, you should see a notification confirming successful installation, or you may need to check the device manager to ensure the microphone is recognized and functioning correctly.
It’s important to note that USB microphones are typically plug-and-play devices, meaning they do not require additional power supplies or complicated setup procedures. The USB connection not only transfers audio data but also powers the microphone, making it convenient and easy to use.
If you encounter any issues during the connection process, make sure you have a compatible USB port and that your USB cable is not damaged. Try connecting the microphone to a different USB port or using a different USB cable if necessary.
Once your USB microphone is successfully connected to your computer, you’re one step closer to recording professional-level audio using Studio One. In the next step, we will cover the installation of any necessary drivers specific to your USB microphone.
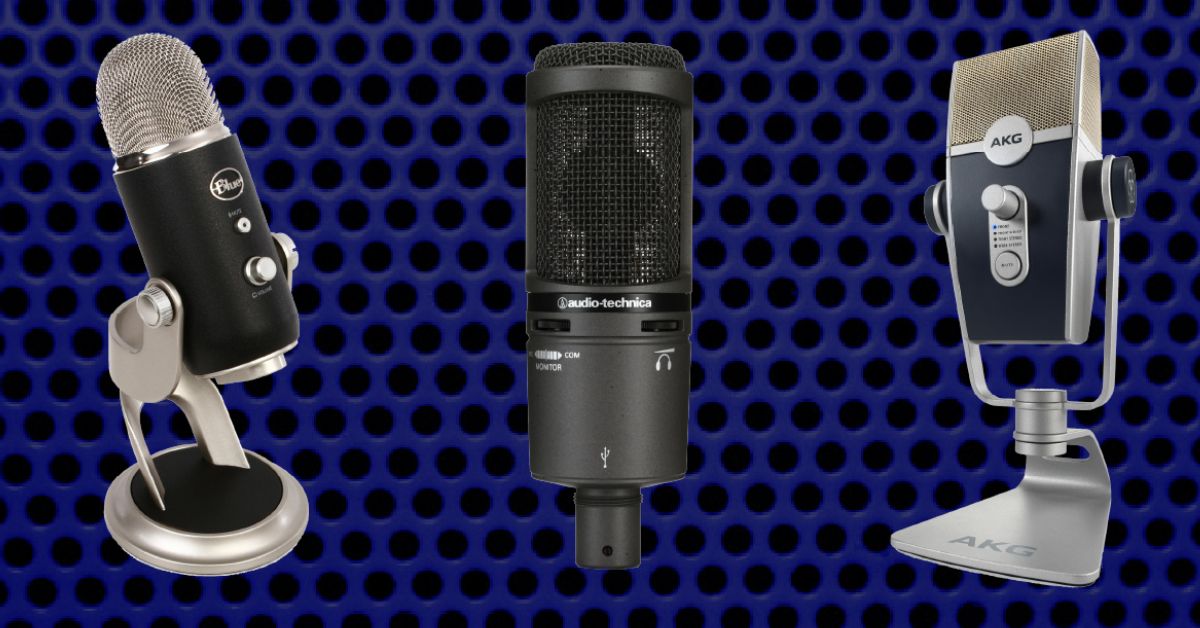
Step 4: Install the Necessary Drivers
After connecting your USB microphone to your computer, it’s time to install any necessary drivers to ensure seamless communication between the microphone and Studio One. Although many USB microphones are plug-and-play, some models may require specific drivers for full functionality. Follow these steps to install the drivers:
- Check the Manufacturer’s Website: Visit the official website of your USB microphone’s manufacturer. Look for the “Downloads” or “Support” section, where you’ll find the necessary drivers for your specific model.
- Download the Drivers: Locate the appropriate driver for your operating system and download it to your computer. Make sure you choose the correct version that matches your computer’s architecture (32-bit or 64-bit).
- Run the Installer: Once the driver file has finished downloading, run the installer file by double-clicking on it. Follow the on-screen instructions to install the drivers on your computer.
- Restart Your Computer: After the installation completes, it is advisable to restart your computer. This will ensure that the newly installed drivers are initialized correctly and ready for use.
- Confirm Driver Installation: After rebooting, check the device manager or the audio settings on your computer to confirm that the USB microphone is recognized correctly and the drivers are installed without any errors.
Installing the necessary drivers for your USB microphone is crucial for maximizing its functionality and ensuring optimal performance. It is recommended to keep the drivers up to date by periodically checking the manufacturer’s website for any available updates.
Once the drivers are installed, you’re one step closer to using your USB microphone with Studio One. In the next step, we will discuss how to configure Studio One to recognize and utilize your USB microphone for recording and playback.
Step 5: Configure Studio One for Your USB Microphone
Now that your USB microphone drivers are installed, it’s time to configure Studio One to recognize and utilize your microphone for recording and playback. Follow these steps to set up your USB microphone in Studio One:
- Launch Studio One: Open Studio One on your computer. Make sure your USB microphone is connected and recognized by your computer.
- Select Audio Device: In Studio One, go to the “Studio One” menu and select “Options.” In the “Options” window, navigate to the “Audio Setup” or “Audio Device” section.
- Choose Your USB Microphone: From the drop-down menu, select your USB microphone as the input device. This ensures that Studio One will receive audio input from your USB microphone during recording.
- Adjust Buffer Size: Adjust the buffer size to your desired value. A lower buffer size allows for less latency, but it may require more system resources. Experiment with different values to find the optimal balance between latency and performance.
- Set Sample Rate: Set the sample rate to match your USB microphone’s specifications. Most USB microphones run at 44.1 kHz or 48 kHz, but it’s essential to check your microphone’s documentation for the correct sample rate.
- Configure Recording Channels: Set the number of recording channels according to your USB microphone’s capabilities. If your microphone supports stereo recording, you can set it to record in stereo. Otherwise, select the appropriate mono recording option.
- Calibrate Audio Levels: Adjust the input gain/volume of your USB microphone within Studio One. This ensures that the recorded audio is neither too quiet nor too loud. You can do this either through the software settings or directly on the USB microphone, depending on its features.
- Test and Monitor: Before recording, ensure that you can hear audio playback through your USB microphone. Test it by selecting the USB microphone as the output device in Studio One and checking for sound output during playback.
By configuring Studio One to recognize and utilize your USB microphone properly, you are ready to start recording high-quality audio. Take some time to familiarize yourself with the various settings in Studio One and experiment with different configurations to achieve the desired sound quality for your projects.
Now that your USB microphone is set up and configured in Studio One, you’re all set to unleash your creativity and start capturing professional-grade audio for your recordings. Happy recording!
Conclusion
Congratulations! You have successfully installed and configured your USB microphone on Studio One. By following the steps outlined in this guide, you are now equipped to capture high-quality audio for your music production, podcasting, or voice-over projects.
We began by emphasizing the importance of checking compatibility and system requirements to ensure a smooth installation process. Preparing your USB microphone properly and positioning it correctly will greatly improve the audio quality of your recordings.
Connecting your USB microphone to your computer is a straightforward process, with most models being plug-and-play devices. In cases where specific drivers are required, we guided you through the process of downloading and installing them.
Afterward, we focused on configuring Studio One to recognize and utilize your USB microphone. By selecting your microphone as the input device, adjusting buffer size and sample rate, and calibrating audio levels, you can ensure optimal performance and recording quality.
Remember to explore the various features and settings in Studio One to discover the full potential of your USB microphone. As you continue your recording journey, periodically check for software updates and keep your USB microphone’s drivers up to date for enhanced compatibility and performance.
With your USB microphone successfully integrated into Studio One, you are now ready to unleash your creativity and produce professional-level audio content. Whether it’s recording vocals, instruments, podcasts, or voice-overs, enjoy the seamless experience and let your artistic talent shine through.
Thank you for following this guide, and we hope it has been helpful in assisting you with the installation and configuration of your USB microphone on Studio One. Now, it’s time to start making magic happen with your newfound recording setup!