Introduction
Welcome to the world of audio recording and microphones! If you’re familiar with the terms USB and XLR microphones, then you probably know that they are two different types of microphones commonly used in recording studios, live performances, and podcasting. However, you may be wondering if it is possible to turn a computer USB microphone into an XLR microphone.
In this article, we will explore the concept of converting a USB microphone into an XLR microphone. We will discuss the differences between USB and XLR microphones, the reasons why you might want to make this conversion, and the benefits of using an XLR microphone. We will also provide a step-by-step guide on how to turn a USB microphone into an XLR microphone, as well as troubleshoot any potential issues you may encounter along the way.
Whether you’re a musician, podcaster, or audio enthusiast, understanding the capabilities of different microphone types is essential for achieving high-quality sound recordings. So, if you’re ready to delve into the world of audio equipment, let’s explore the possibilities of transforming your USB microphone into an XLR microphone.
Understanding USB and XLR Microphones
Before we dive into converting a USB microphone into an XLR microphone, let’s first understand the differences between these two types of microphones.
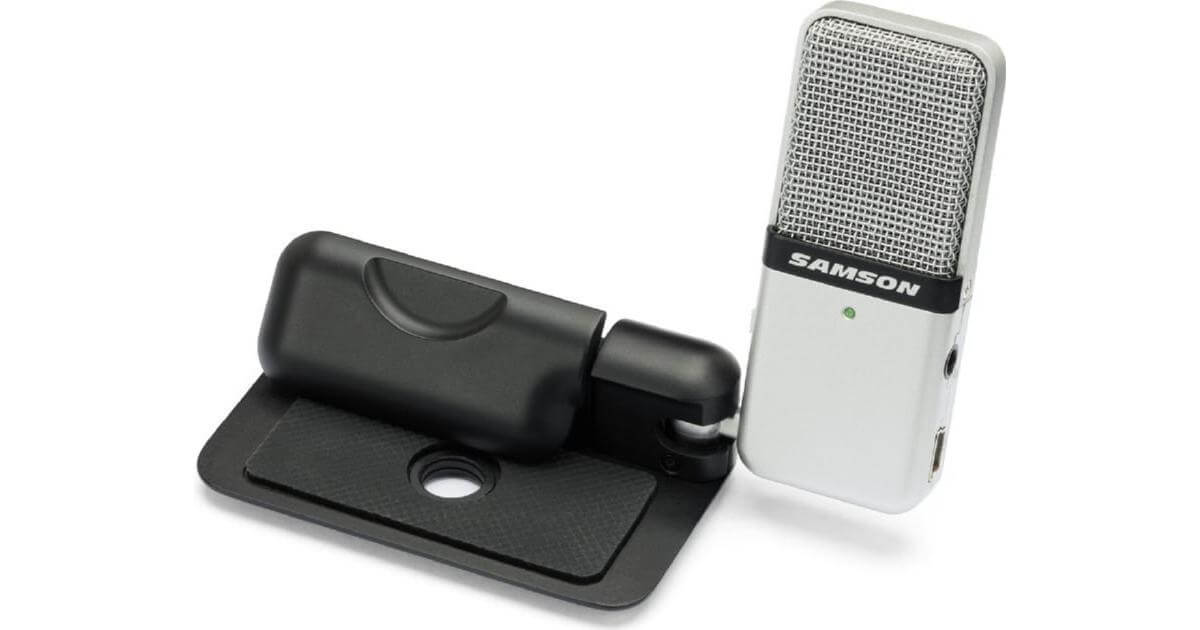
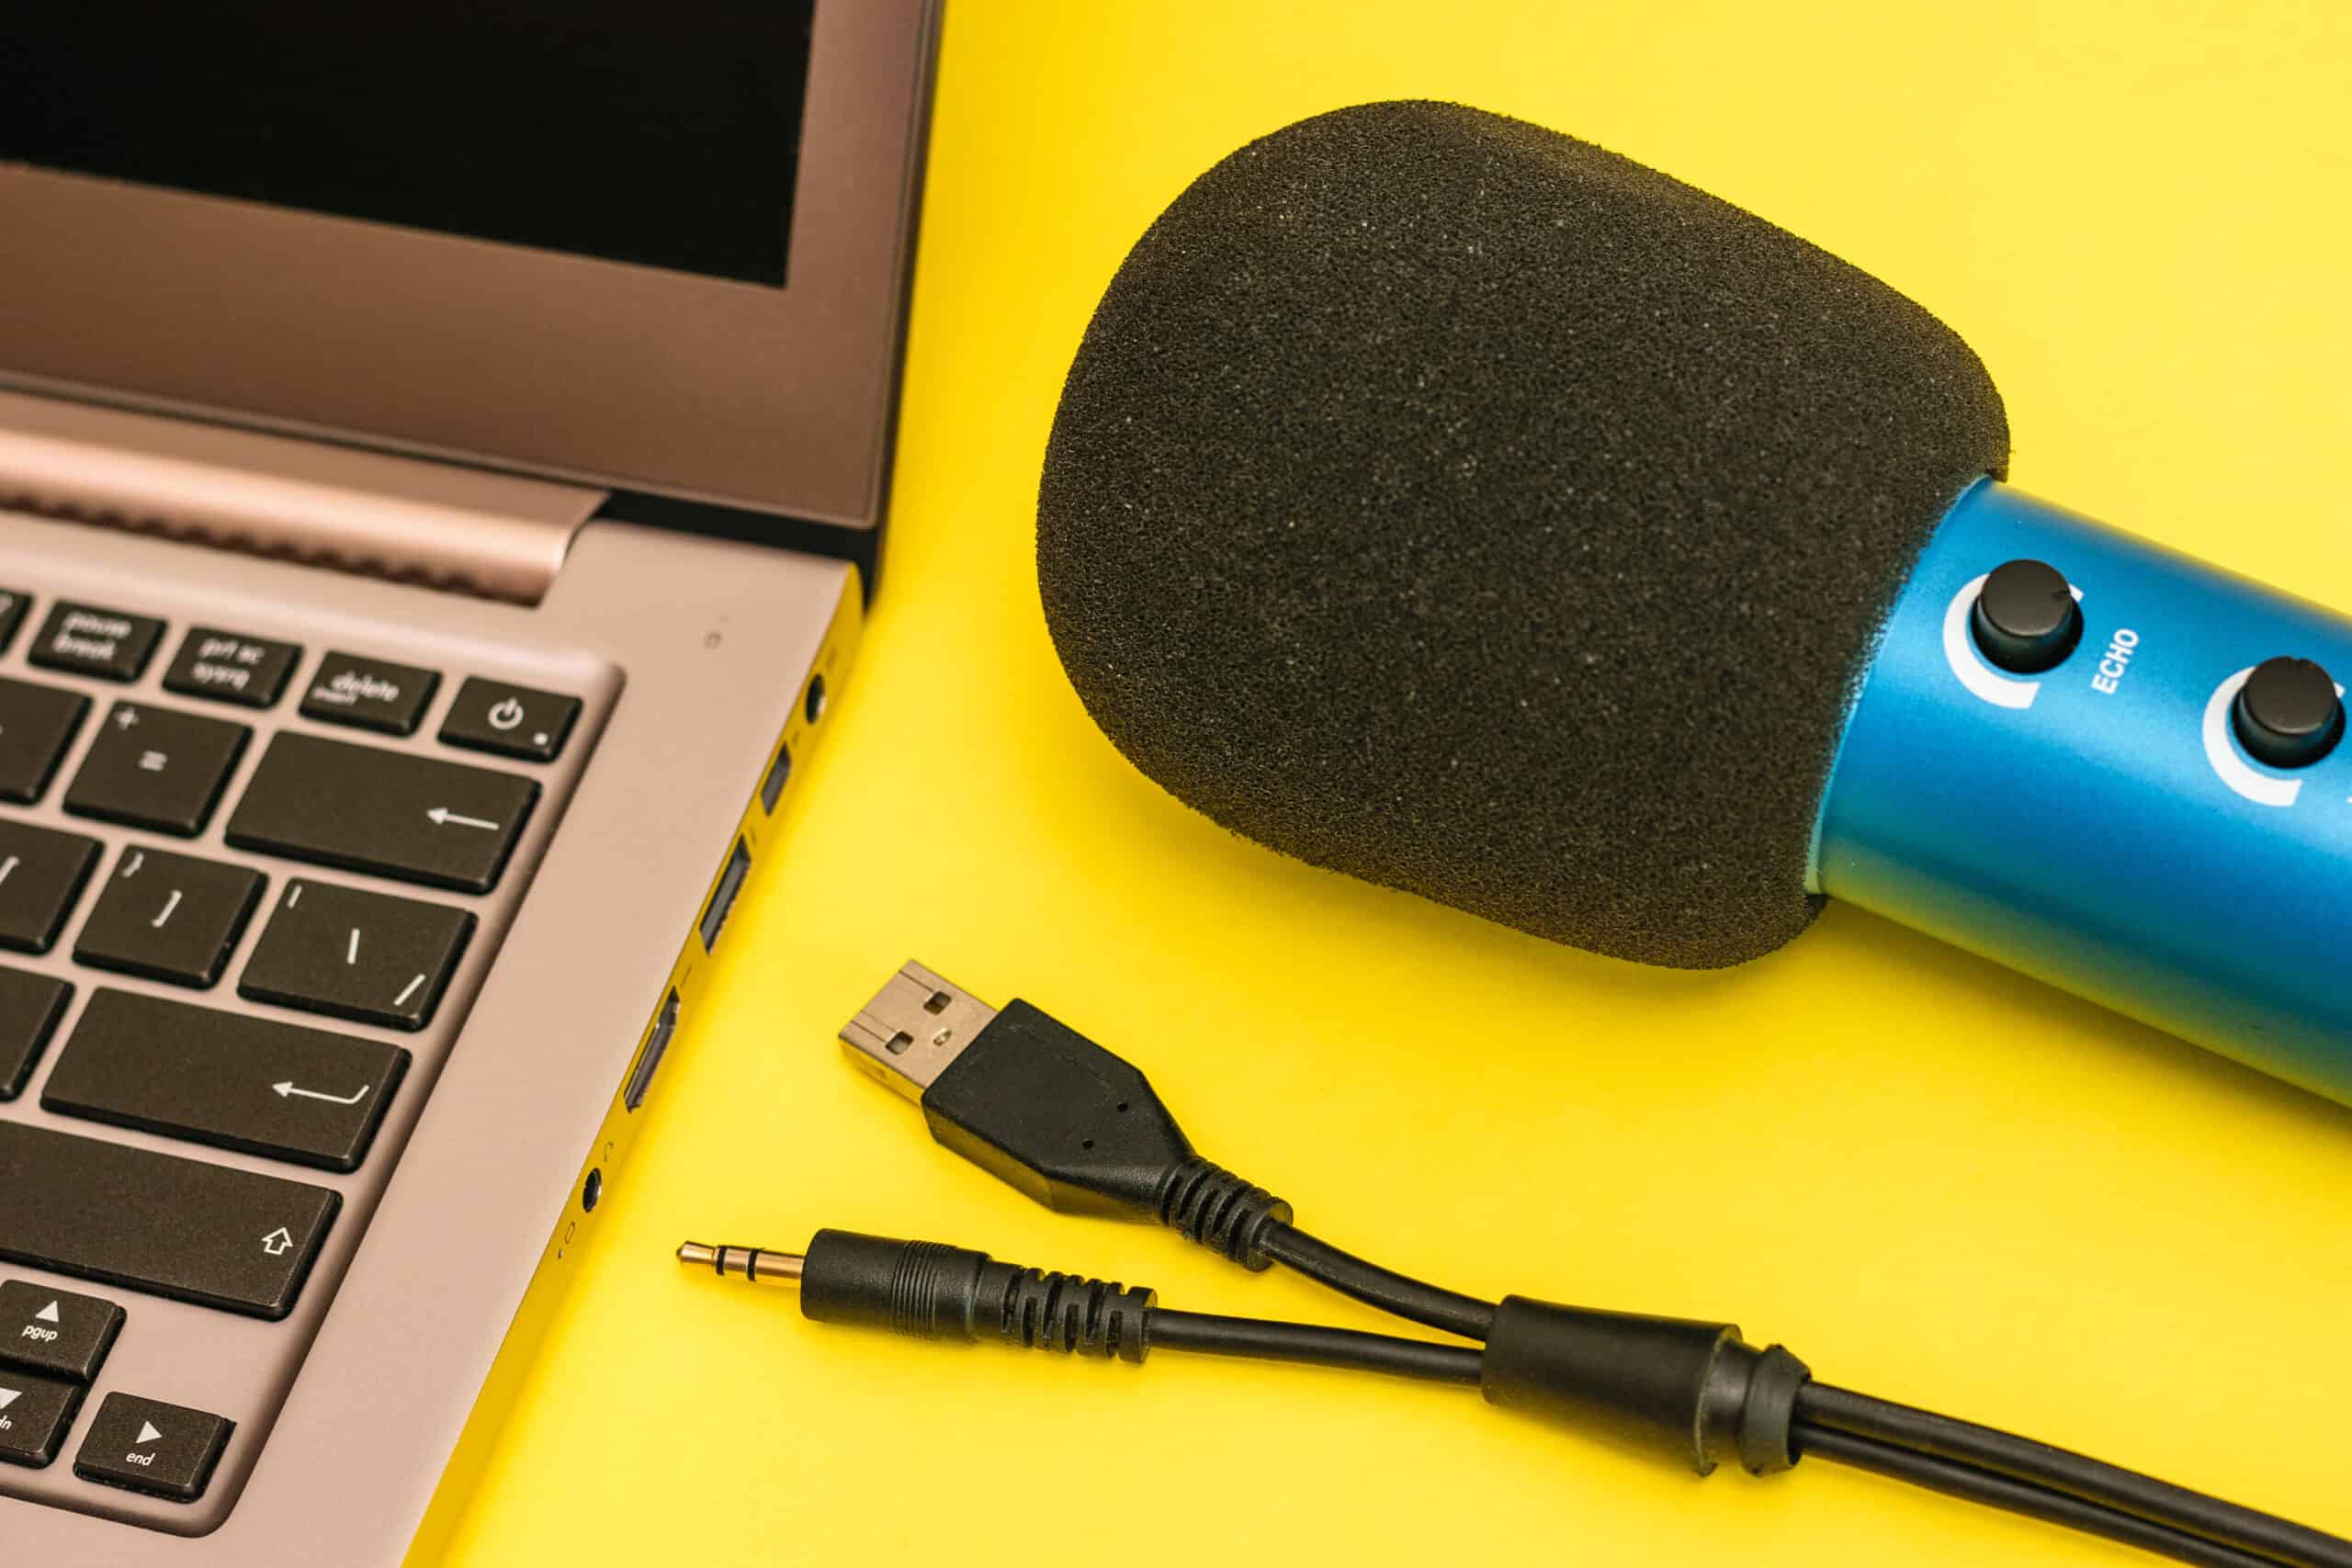
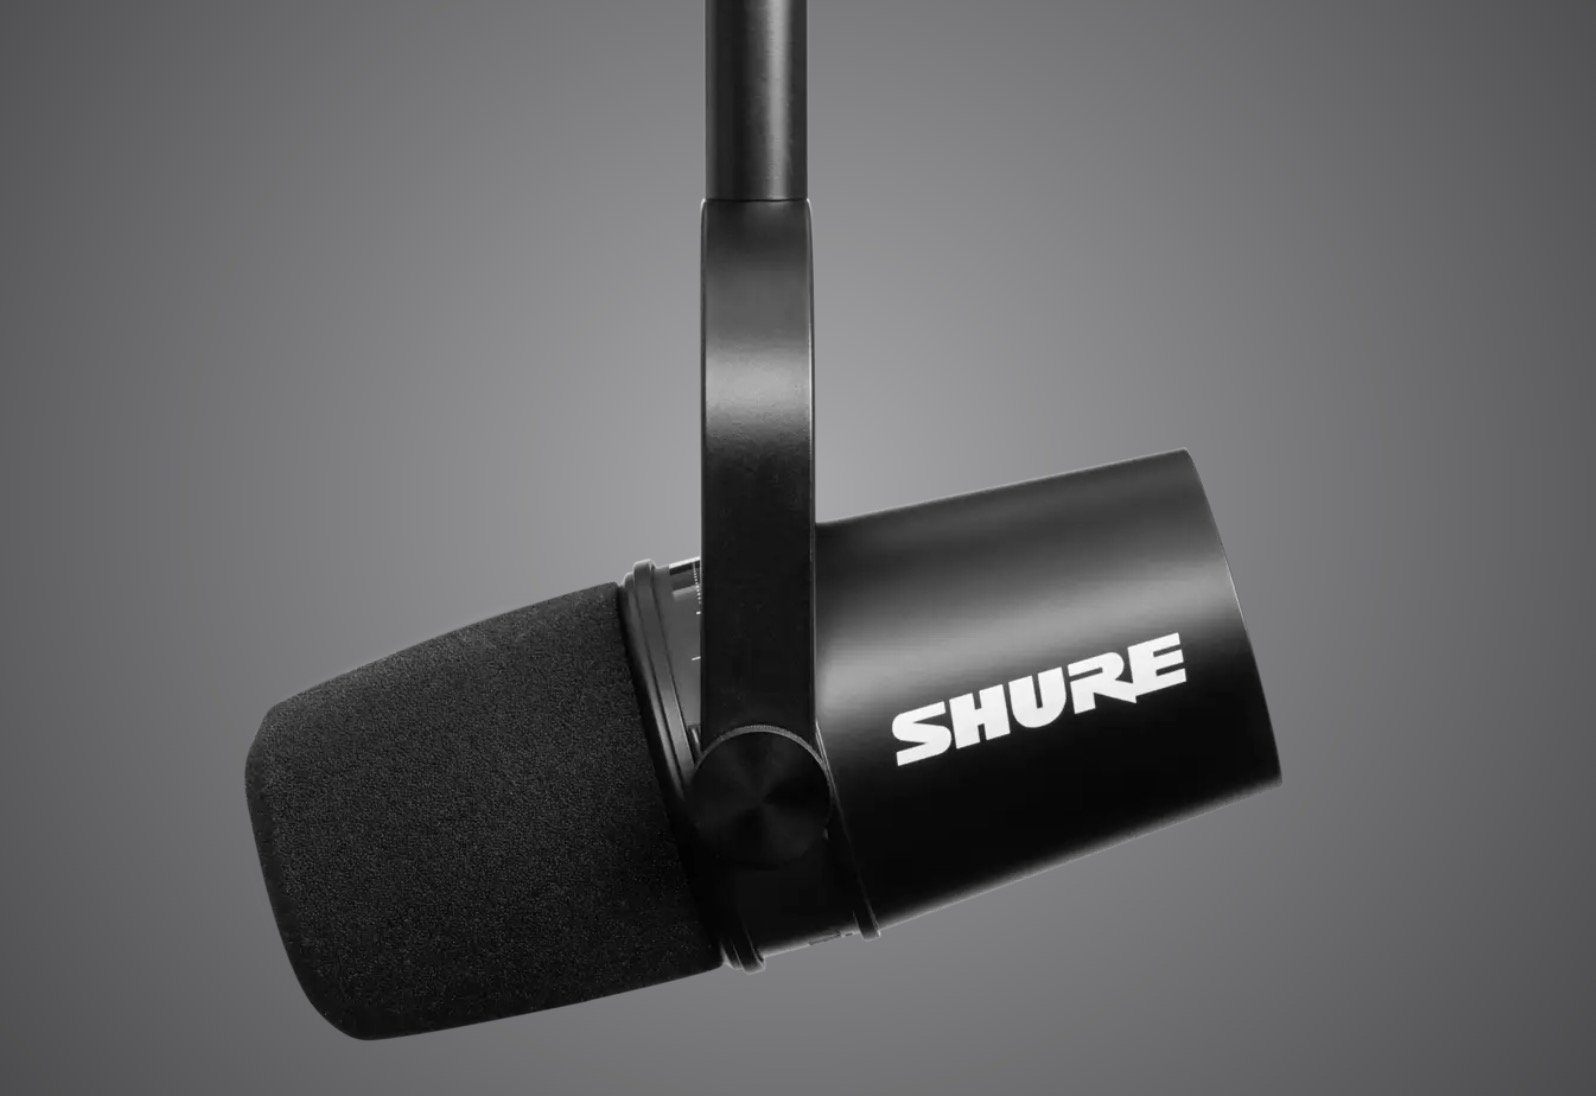
A USB microphone is a microphone that connects directly to a computer or other USB-enabled device. It utilizes the Universal Serial Bus (USB) interface to transmit audio data. USB microphones are popular among beginners and content creators due to their simplicity and ease of use. They are plug-and-play devices that require minimal setup and can be used with various recording software.
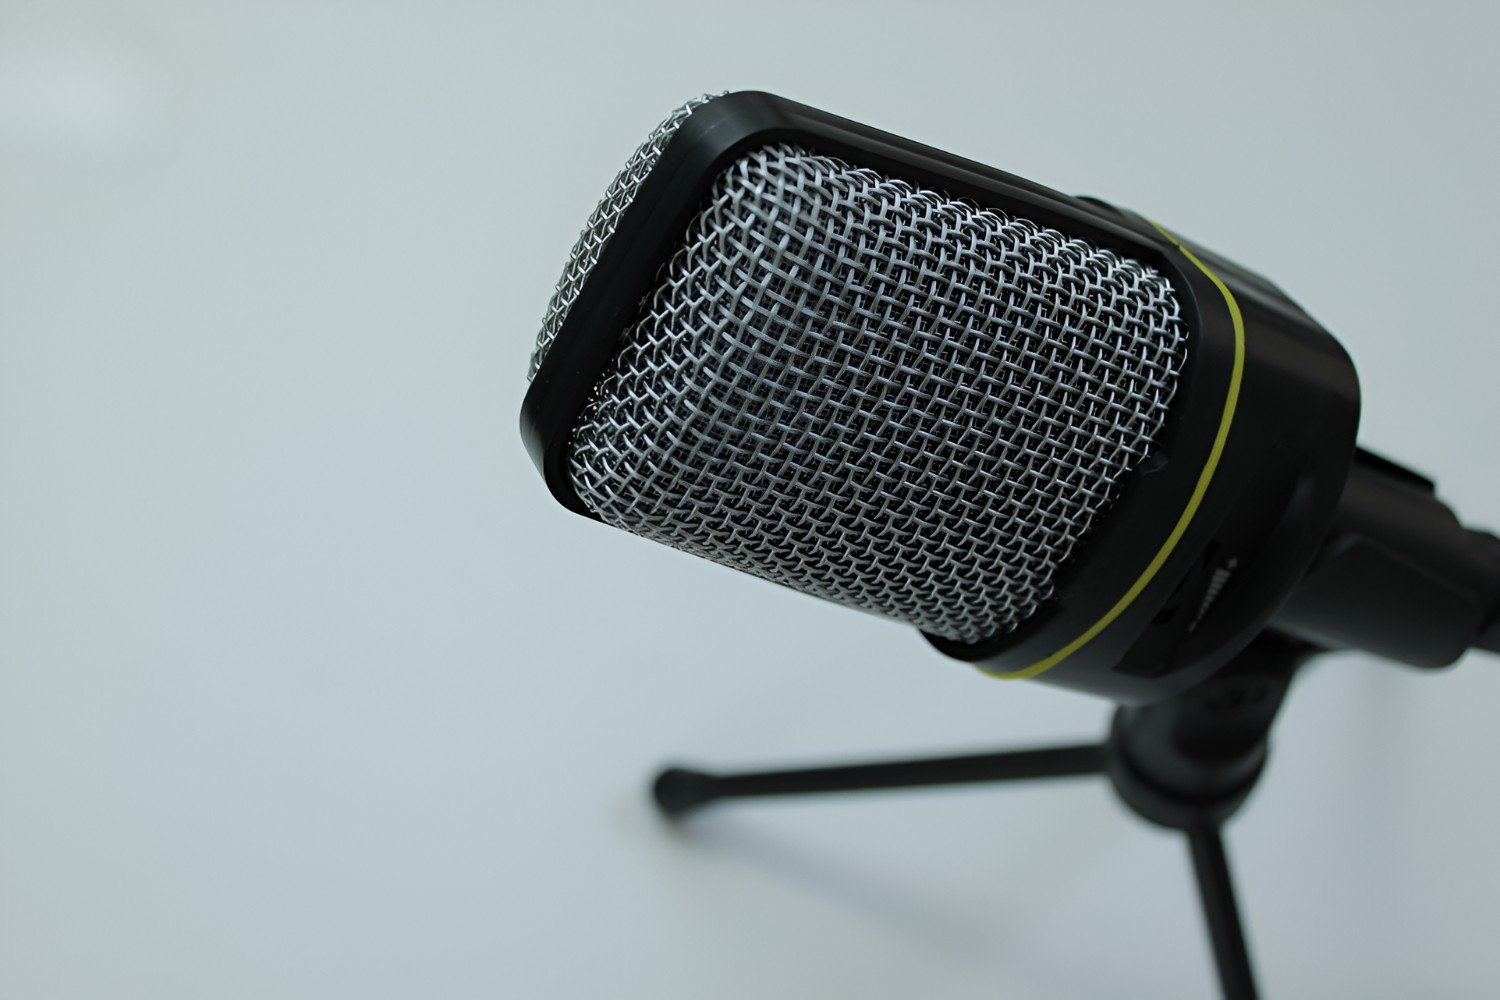
On the other hand, an XLR microphone utilizes the XLR (X-series and Latch-type connector) interface, which is a standard connector for professional audio equipment. XLR microphones require an external audio interface or mixer to connect to a computer or recording device. Unlike USB microphones, XLR microphones offer more flexibility and versatility, as they can be used in professional studio setups or live performances.
One of the key differences between USB and XLR microphones is the level of audio quality they provide. XLR microphones generally offer higher audio fidelity and professional-grade sound reproduction compared to USB microphones. This is due to several factors, including better preamp quality, wider frequency response range, and the ability to use external audio processing equipment.
Additionally, XLR microphones boast superior noise cancellation capabilities, allowing for cleaner and clearer recordings even in noisy environments. This makes them an ideal choice for professional musicians, podcasters, and broadcasters.
It’s important to note that while USB microphones are more straightforward and convenient, they may not deliver the same level of audio quality and versatility as XLR microphones. However, with the right setup and some modifications, it is possible to bridge the gap between the two.
Now that we have a basic understanding of USB and XLR microphones, let’s explore why you might want to convert a USB microphone into an XLR microphone in the next section.
Why Turn a USB Microphone Into an XLR Microphone?
You may be wondering why someone would want to go through the process of converting a USB microphone into an XLR microphone. After all, USB microphones are convenient and easy to use, so why bother making the switch?
There are several reasons why you might consider turning your USB microphone into an XLR microphone:
1. Flexibility: XLR microphones offer greater flexibility in terms of connectivity options. By converting your USB microphone to XLR, you can connect it to a wider range of audio equipment such as mixers, audio interfaces, and recording consoles. This opens up opportunities for more advanced audio setups and allows for integration into professional studio environments.
2. Upgradability: USB microphones often come as all-in-one solutions, where the microphone and preamp are built into the same unit. By converting to XLR, you can upgrade your microphone or preamp separately, giving you the freedom to improve your audio quality without replacing the entire setup.
3. Compatibility: XLR microphones are the industry standard for professional audio applications. Converting your USB microphone to XLR ensures compatibility with a wide range of audio systems and equipment used in recording studios, sound reinforcement, and live performances. This can be particularly useful if you plan on collaborating with other musicians or recording in professional studio settings.
4. Audio Quality: While USB microphones are convenient, they may not offer the same level of audio quality as XLR microphones. By converting to XLR, you can take advantage of the enhanced audio fidelity, wider frequency response, and improved noise cancellation capabilities that XLR microphones provide. This is especially important if you are aiming for professional-grade audio recordings or high-quality live performances.
5. Learning Experience: Converting your USB microphone to XLR can be an educational journey. It allows you to learn more about audio connections, signal flow, and equipment compatibility. It can also provide insights into the world of professional audio equipment, giving you a deeper understanding of the recording process.
While USB microphones have their advantages, converting to XLR can offer increased versatility, improved audio quality, and more integration into professional audio setups. Next, let’s explore the benefits of using an XLR microphone to understand why they are favored by many audio professionals.
The Benefits of Using an XLR Microphone
When it comes to professional audio recording and live performances, XLR microphones offer a range of benefits that make them a popular choice among audio enthusiasts, musicians, and broadcasters.
Here are some of the key benefits of using an XLR microphone:
1. Audio Quality: XLR microphones are renowned for their superior audio quality. They often feature high-quality components, including high-grade condenser or dynamic elements and professional-grade preamps. This results in clearer, more detailed sound reproduction, with a wider frequency response range. Professional musicians and sound engineers choose XLR microphones for their ability to capture high-fidelity audio with minimal distortion.
2. Noise Rejection: XLR microphones are designed with balanced audio connections, which greatly reduce interference and noise. The XLR interface not only carries the audio signal but also provides a separate ground connection, further reducing the chances of noise interference in the recording or performance environment. This ensures cleaner recordings, especially in environments with electrical interference or other sources of unwanted noise.
3. Flexibility and Versatility: XLR microphones offer versatility in terms of connection options. They can be easily integrated into various audio setups, including professional recording studios, live sound systems, and broadcast environments. XLR microphones allow you to connect to audio interfaces, mixers, and other audio equipment using balanced XLR cables, providing a stable and reliable connection.
4. Control and Adjustability: XLR microphones often come with additional controls and features that allow for precise adjustment of various audio parameters. These may include options for adjusting gain, polarity, and filters to tailor the microphone’s response to specific recording or performance needs. The ability to fine-tune your microphone’s settings ensures optimal audio capture in different situations.
5. Durability: XLR microphones are typically built to withstand the rigors of professional use. They are constructed with robust materials, such as metal housing, which ensures durability and longevity. This makes them a reliable choice for musicians and performers who require equipment that can endure the demands of touring or frequent use.
6. Upgrade Path: XLR microphones offer a clear upgrade path in terms of audio quality and functionality. As your skills and needs grow, you can easily upgrade your XLR microphone to a higher-quality model or switch to a different microphone type while retaining compatibility with your existing audio setup. This scalability and upgradeability make XLR microphones a long-term investment.
7. Professional Recognition: XLR microphones are often considered the standard in professional audio applications. Using an XLR microphone can provide a sense of credibility and professionalism, especially when collaborating with other musicians or working in professional studio environments. It showcases a commitment to quality and a dedication to achieving the best possible audio results.
In summary, XLR microphones offer superior audio quality, noise rejection capabilities, flexibility, control, durability, and an upgrade path. These benefits make them a top choice for professionals and audio enthusiasts alike. Now that we understand the advantages of XLR microphones, let’s move on to the next section, where we will discuss the things you’ll need to convert a USB microphone into an XLR microphone.
Things You’ll Need
To successfully convert your USB microphone into an XLR microphone, you’ll need a few essential items. Here’s a list of the things you’ll need:
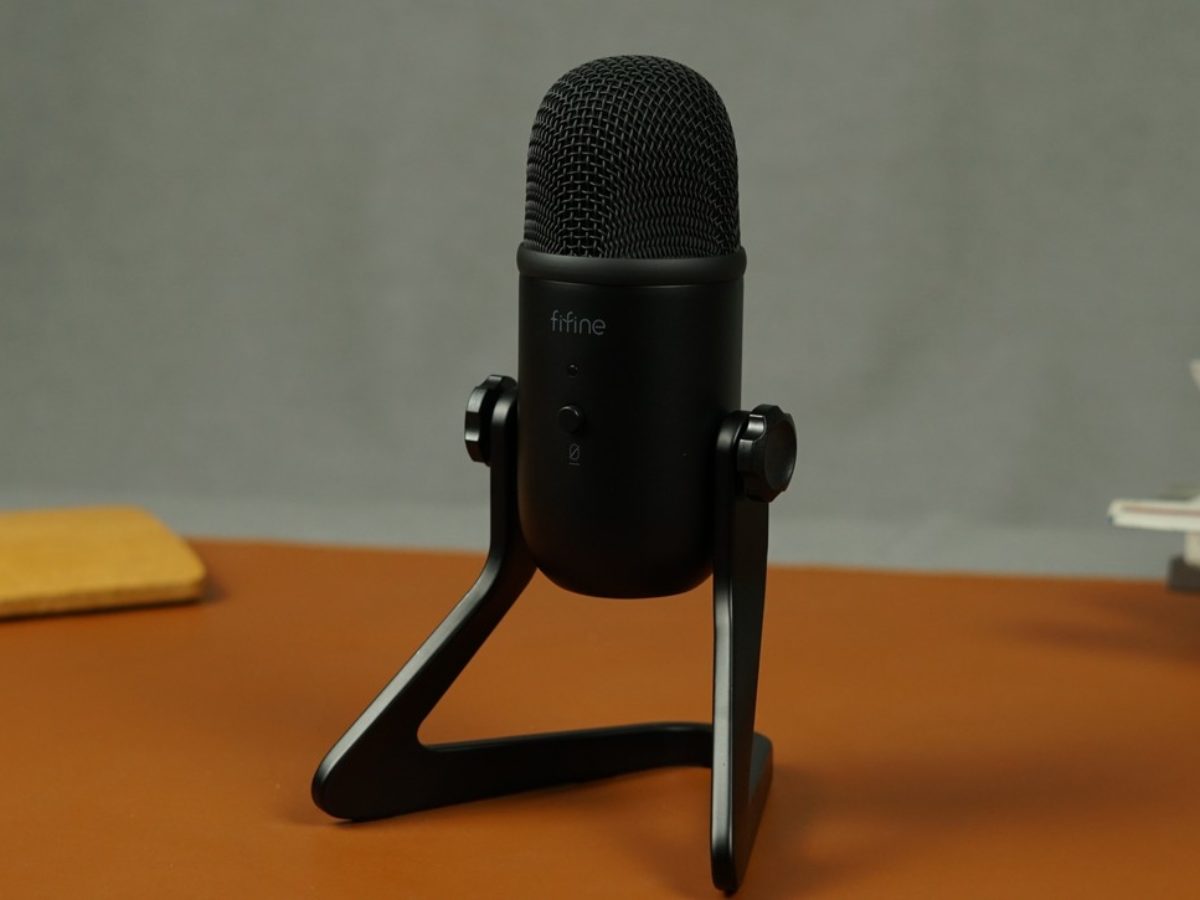
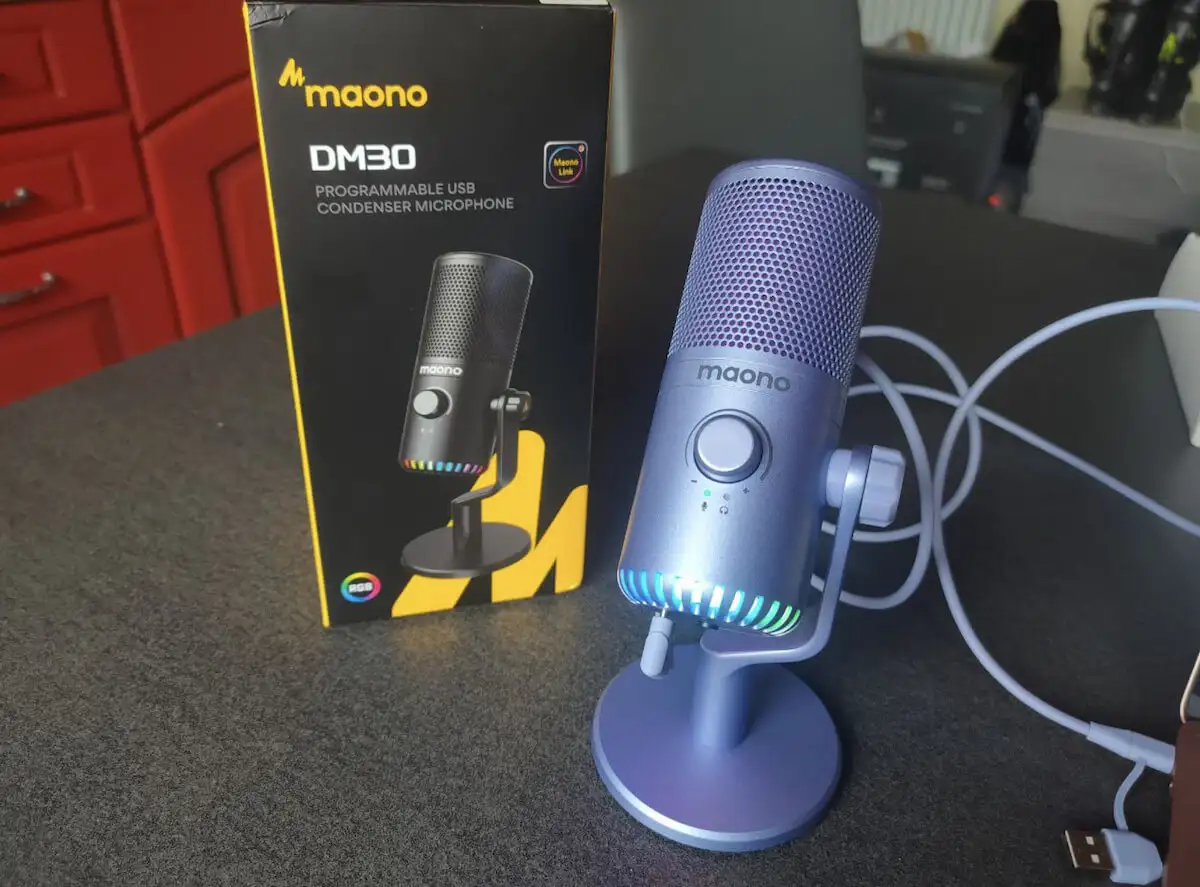
1. USB Microphone: Start with a USB microphone that you already own or plan to purchase. Make sure it is compatible with your computer and has decent audio quality.
2. XLR Cable: An XLR cable is necessary to connect your USB microphone to an audio interface or mixer. Choose a high-quality XLR cable of appropriate length to ensure a stable and reliable connection.
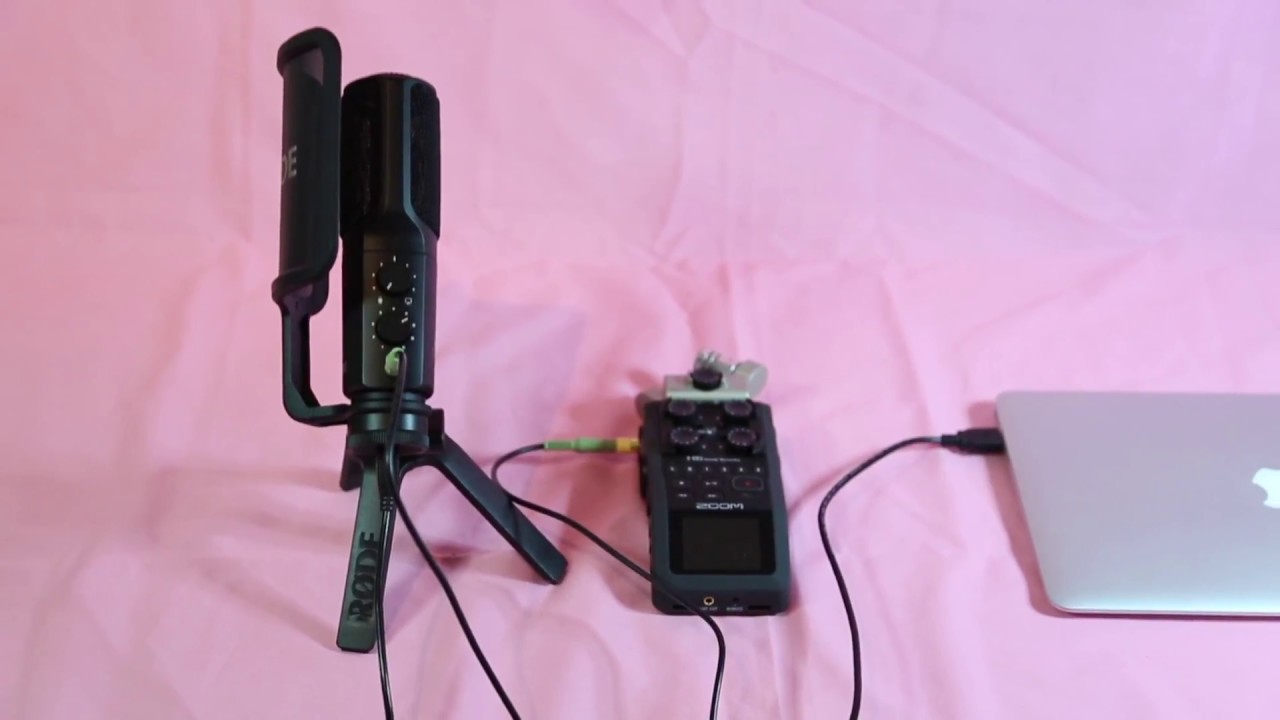
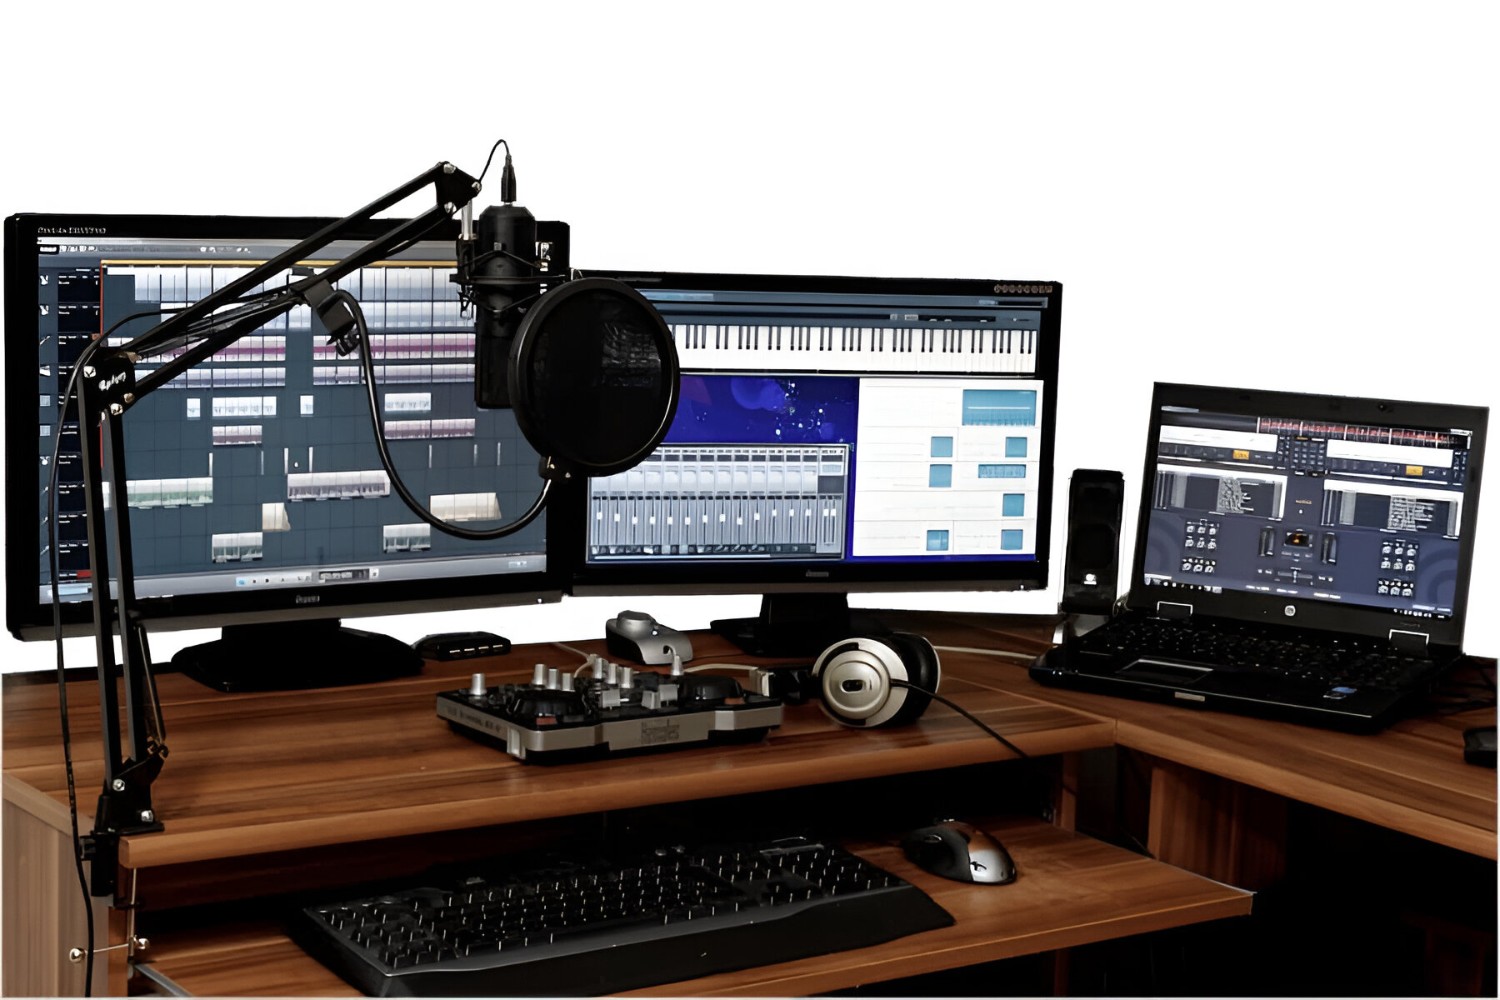
3. Audio Interface: Since USB microphones are not typically designed to work with XLR connections, you will need an audio interface. An audio interface serves as a bridge between your XLR microphone and your computer. Look for an interface that suits your needs in terms of connectivity, audio quality, and features.
4. Microphone Stand, Pop Filter, and Shock Mount: Depending on your specific setup and requirements, you may also need a microphone stand to hold your microphone, a pop filter to reduce plosive sounds, and a shock mount to isolate the microphone from vibrations and handling noise.
5. Audio Editing Software: To fully utilize the capabilities of your newly converted XLR microphone, you’ll need audio editing software. There are numerous options available, ranging from free to professional-grade software. Choose one that suits your preferences and requirements.
6. Optional Accessories: Additional accessories that can enhance your setup include headphones for monitoring your recordings, a dedicated microphone preamp for added audio quality, and a soundproofing solution to reduce unwanted background noise.
Before proceeding with the conversion process, ensure that you have acquired all the necessary items mentioned above. It’s important to choose high-quality components to ensure optimal audio performance and longevity.
Now that you have a clear list of the things you’ll need, let’s move on to the step-by-step guide on how to turn your USB microphone into an XLR microphone.
Step-by-Step Guide: Turning a USB Microphone Into an XLR Microphone
Converting your USB microphone into an XLR microphone may seem like a complex process, but with the right steps, it can be accomplished smoothly. Follow this step-by-step guide to transform your USB microphone into an XLR microphone:
1. Choose an audio interface: Select an audio interface that meets your needs and budget. Make sure it has XLR inputs and USB connectivity. Research and compare different models to find one that suits your specific requirements.
2. Connect the audio interface: Connect the audio interface to your computer using a USB cable. Install any necessary drivers or software provided with the interface.
3. Connect the XLR cable: Connect one end of the XLR cable to the XLR input on the audio interface and the other end to the USB microphone. Ensure the connections are secure.
4. Set up the audio software: Open your preferred audio editing software and configure it to recognize the audio interface. Select the appropriate input source for the microphone within the software settings.
5. Adjust input levels: Use the gain control on your audio interface to set the desired input level for the microphone. Aim for a level that provides a good balance between capturing the audio clearly and avoiding distortion.
6. Test the setup: Record a sample audio clip or use real-time monitoring to test the setup. Verify that the microphone is capturing sound and that the audio levels are appropriate. Make any necessary adjustments in the software or hardware settings.
7. Refine your setup: Experiment with different microphone positions, gain settings, and software effects to achieve the desired audio quality. Consider using additional accessories like pop filters or shock mounts to enhance the performance of your newly converted XLR microphone.
By following these steps, you can successfully convert your USB microphone into an XLR microphone. Remember to take your time during the setup process and make adjustments as needed to achieve the best possible audio quality.
In the next section, we will provide troubleshooting tips and additional considerations to address any potential issues you may encounter during the conversion process.
Troubleshooting and Tips
While converting your USB microphone into an XLR microphone is generally a straightforward process, you may encounter a few challenges along the way. Here are some common troubleshooting tips and additional considerations to help address any issues that may arise:
1. Compatibility Check: Ensure that your USB microphone is compatible with the audio interface you have chosen. Check the specifications of both devices to verify their compatibility.
2. Driver Installation: If your audio interface requires drivers or software for proper operation, make sure you have installed them correctly. Visit the manufacturer’s website to download the latest drivers if needed.
3. Cable Quality: Use high-quality XLR cables to avoid interference and ensure a reliable connection. Poor-quality cables can introduce noise and signal loss, ultimately affecting the audio quality.
4. Check Signal Flow: Double-check the signal flow in your setup. Ensure that the USB microphone is connected to the audio interface correctly and that the audio interface is set as the input device in your software.
5. Audio Interface Settings: Review the settings on your audio interface, including gain levels and phantom power (if required). Adjust the settings as needed to achieve optimal audio quality.
6. Software Settings: Check the input settings in your audio editing software. Ensure that the correct audio interface and microphone input are selected. Adjust any necessary preferences or settings within the software.
7. Testing and Monitoring: Regularly test your setup and monitor the audio output. Listen for any abnormal sounds, distortion, or unwanted noise. Make adjustments to your microphone placement, gain levels, or software settings as necessary.
8. Upgrade Options: Consider upgrading specific components of your setup, such as the audio interface or microphone, if you find limitations or quality issues. Research and invest in higher-quality equipment to improve your audio recording experience.
9. Seek Professional Help: If you encounter persistent issues or are unsure about any aspect of the conversion process, don’t hesitate to consult with audio professionals, online forums, or support resources provided by manufacturers to seek guidance and assistance.
By following these troubleshooting tips and being mindful of potential challenges, you can overcome any hurdles you may face during the conversion process. Take your time to fine-tune the setup and experiment with different settings to achieve the best possible audio results.
In the next section, we will wrap up this guide and summarize the key points discussed throughout the article.
Conclusion
Converting a USB microphone into an XLR microphone can open up a world of possibilities in terms of audio quality, flexibility, and professional-grade recording capabilities. While USB microphones are convenient and user-friendly, XLR microphones offer superior audio fidelity, noise rejection, and compatibility with a wide range of audio setups.
Throughout this article, we have explored the differences between USB and XLR microphones, discussed the reasons why you might want to make the conversion, and highlighted the benefits of using an XLR microphone. We have also provided a step-by-step guide to help you successfully turn your USB microphone into an XLR microphone.
By following the step-by-step process and troubleshooting tips, you can achieve a seamless conversion and enjoy the enhanced audio quality and versatility that XLR microphones offer. Remember to choose high-quality components, properly set up your audio interface, and fine-tune your microphone placement and software settings for optimal results.
It’s important to note that converting a USB microphone to XLR does have its limitations. The conversion process may not provide all the features and capabilities of a dedicated XLR microphone. However, it can still significantly improve the quality and compatibility of your setup, making it a worthwhile endeavor.
Whether you’re a musician, podcaster, or audio enthusiast, the ability to use an XLR microphone brings you closer to professional-level recording and performance. By taking the time to understand the technology, invest in the necessary equipment, and fine-tune your setup, you can elevate your audio recordings and achieve the desired sound quality.
Remember to always stay curious, experiment, and continue learning about audio equipment and techniques to push the boundaries of your creativity and achieve the best possible results in your audio endeavors. Happy recording!