Introduction
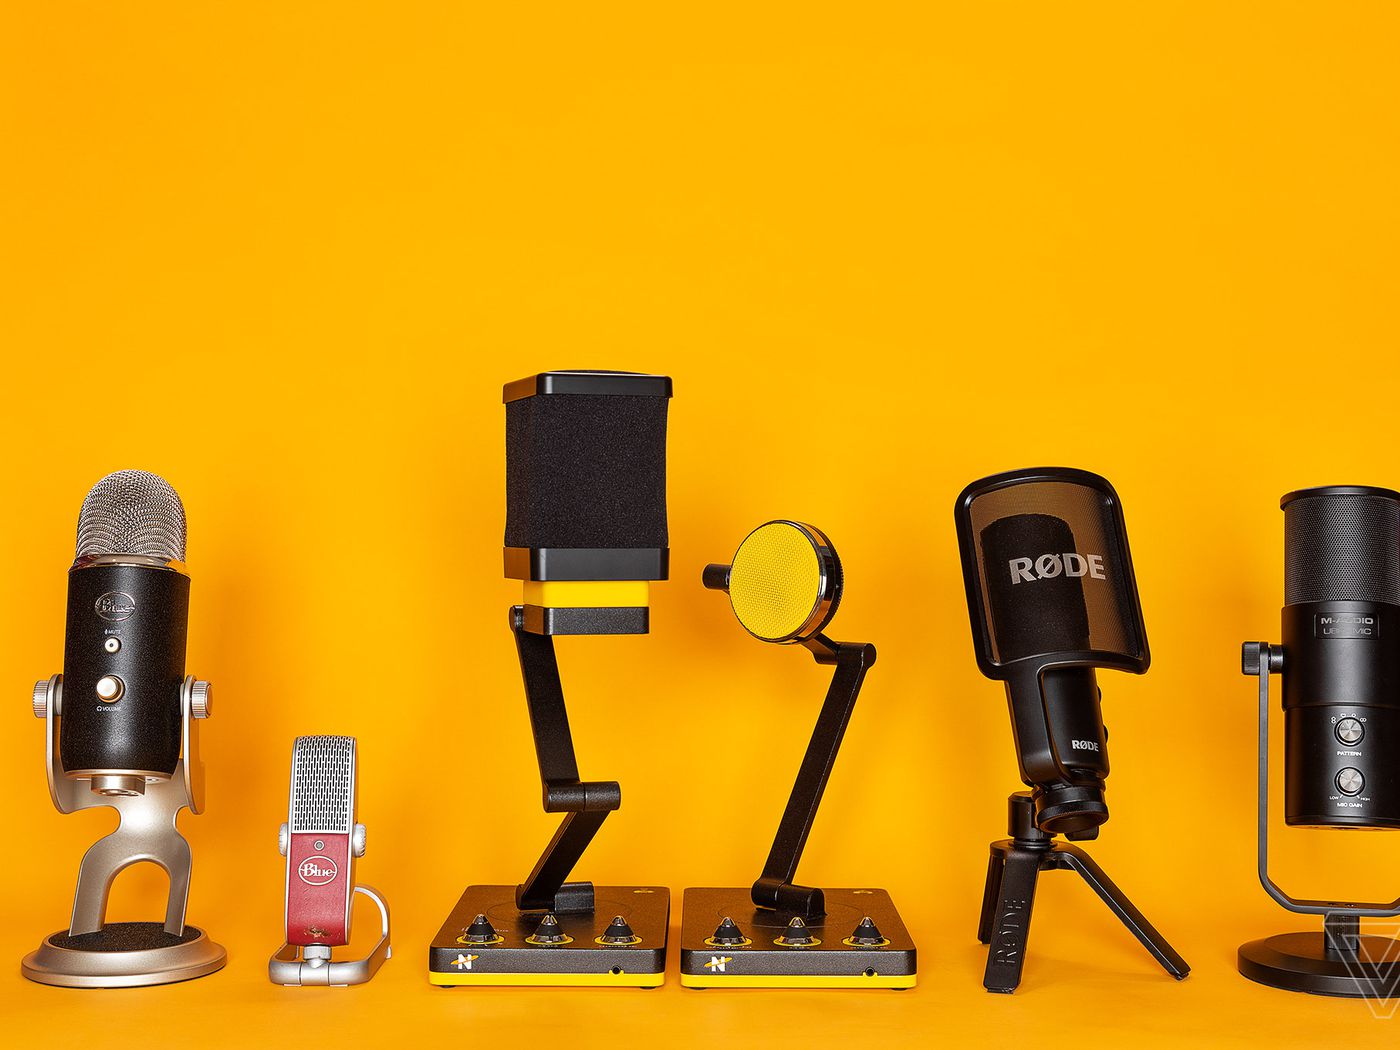
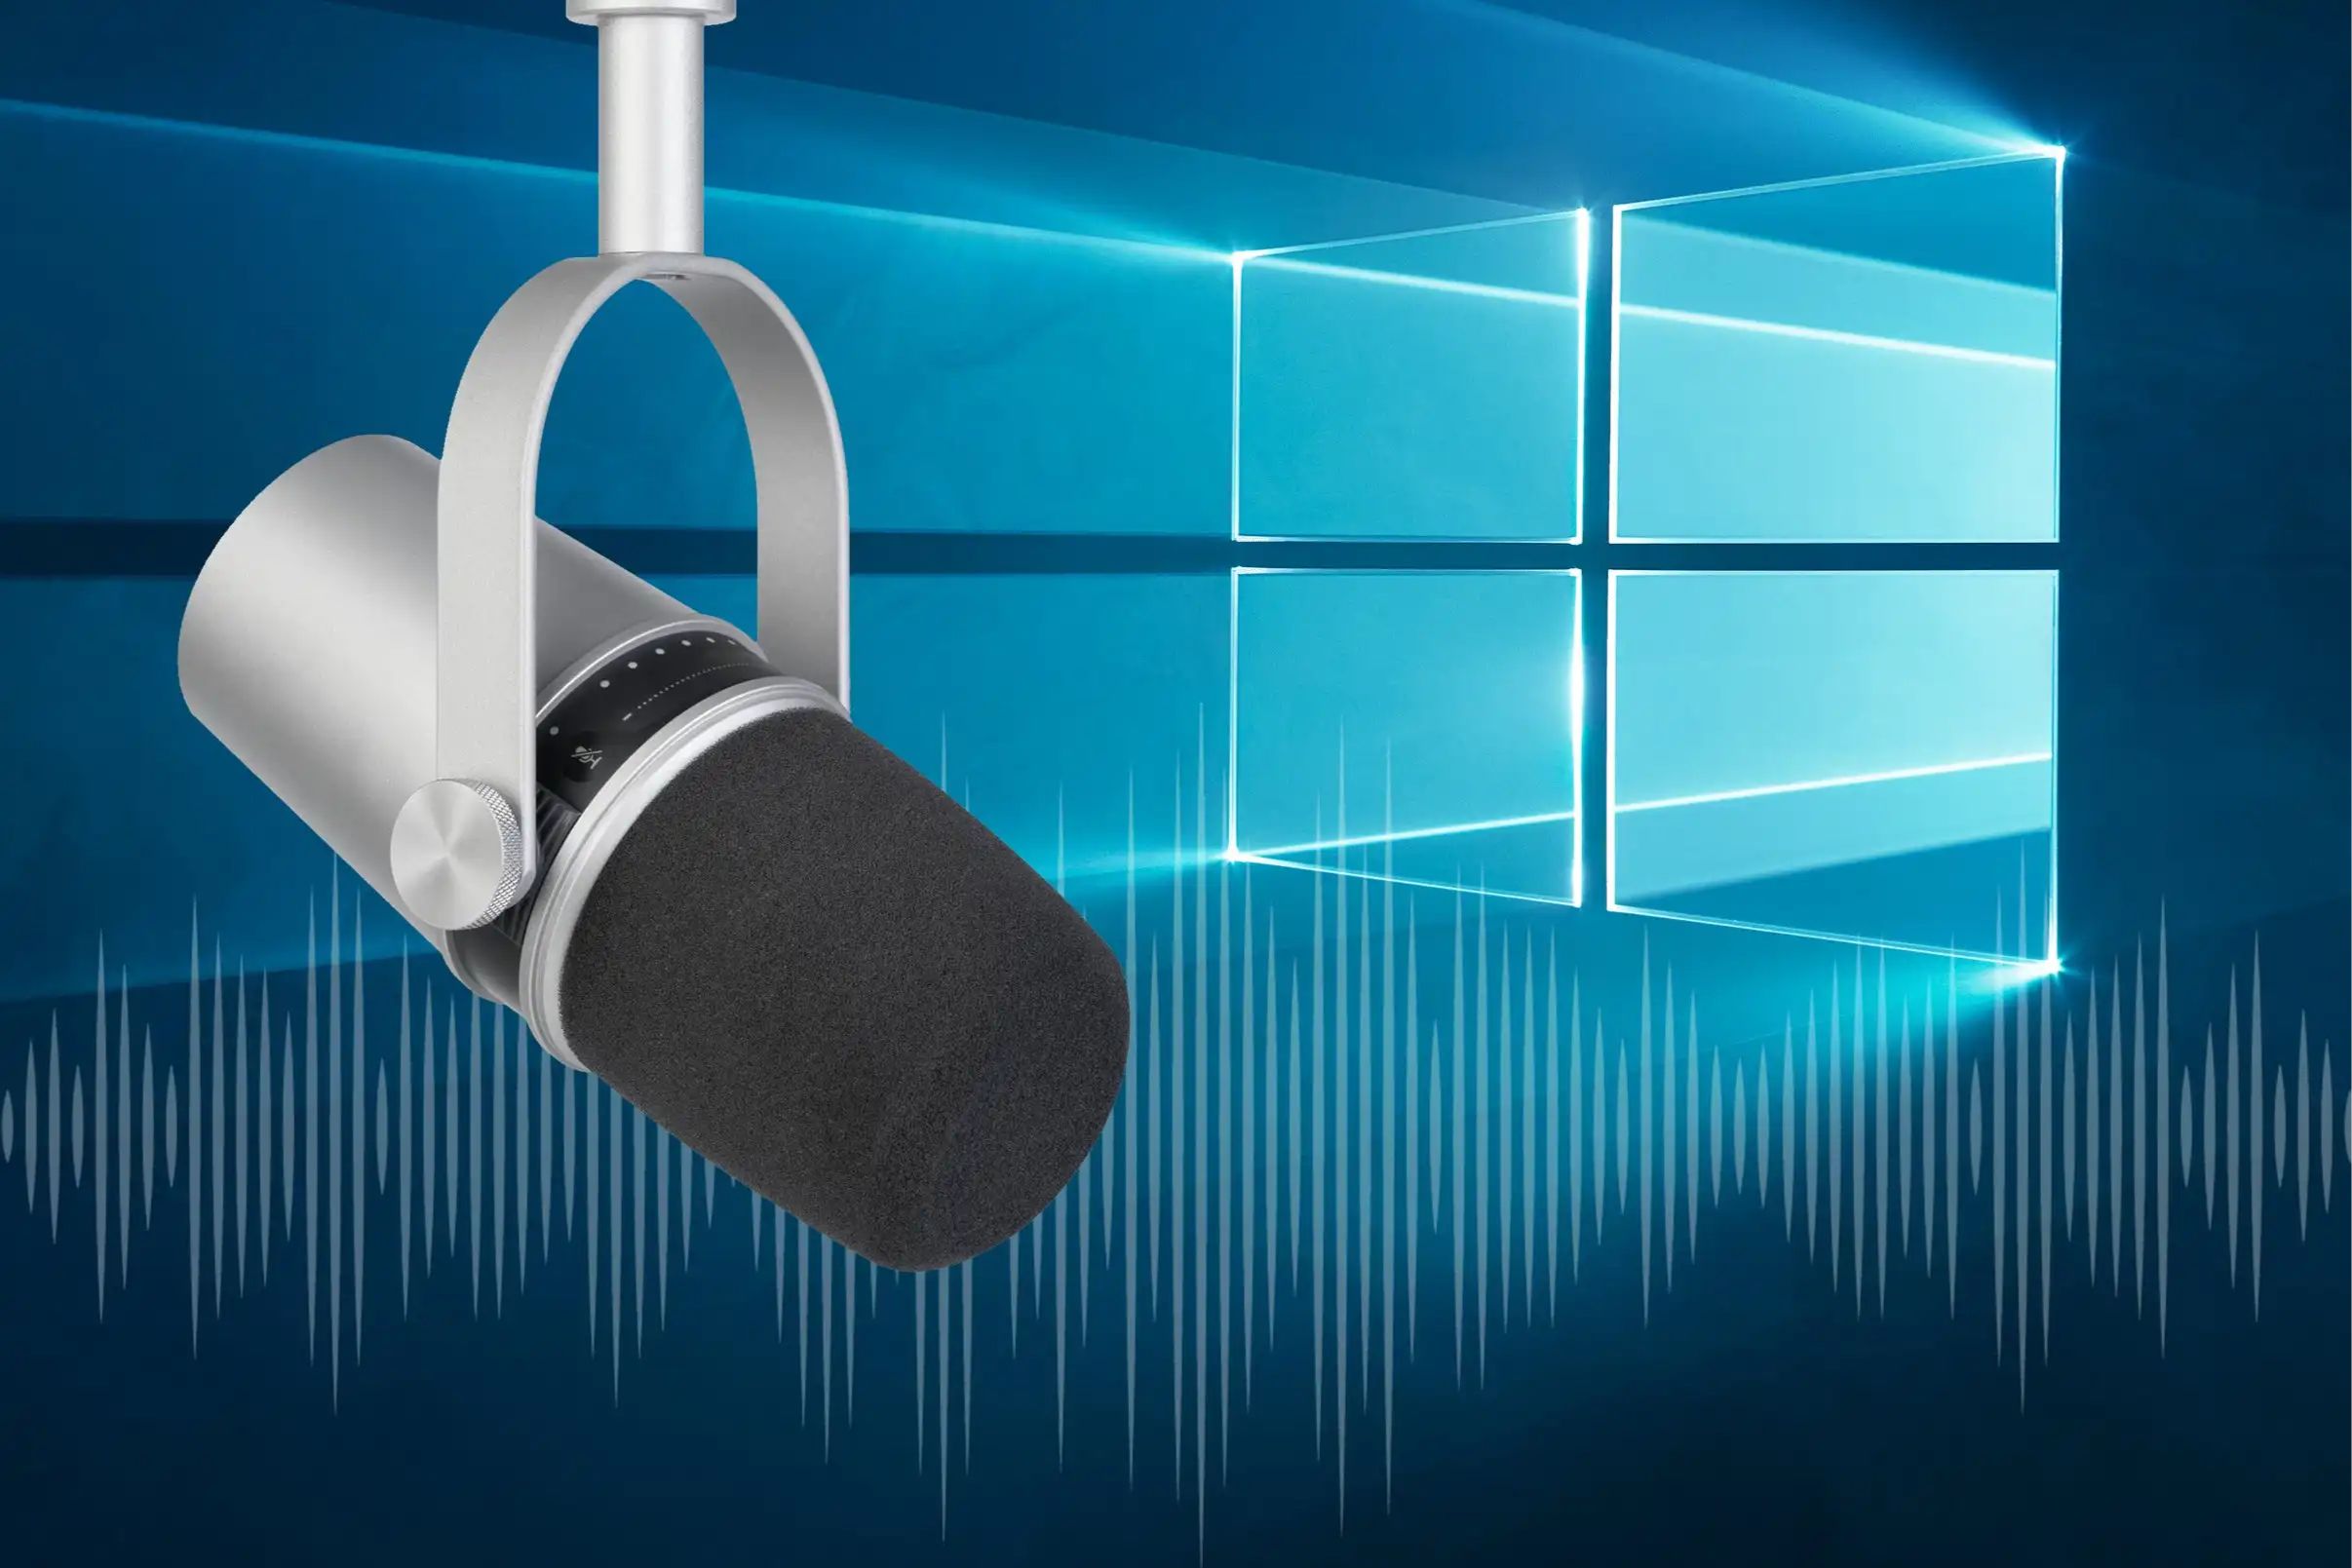
Setting up a USB microphone on your Windows 8 computer can greatly enhance your audio recording and communication experience. Whether you are a content creator, a podcast host, or simply looking to improve the quality of your voice calls, a high-quality USB microphone can make a significant difference.
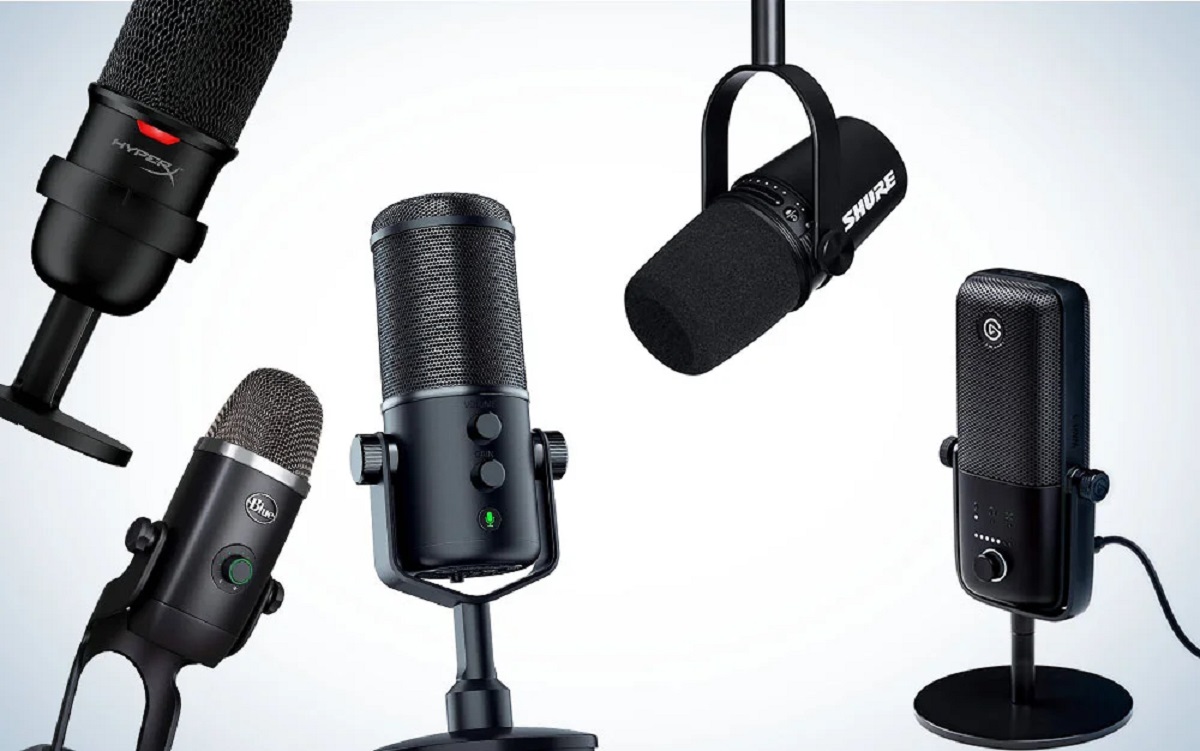
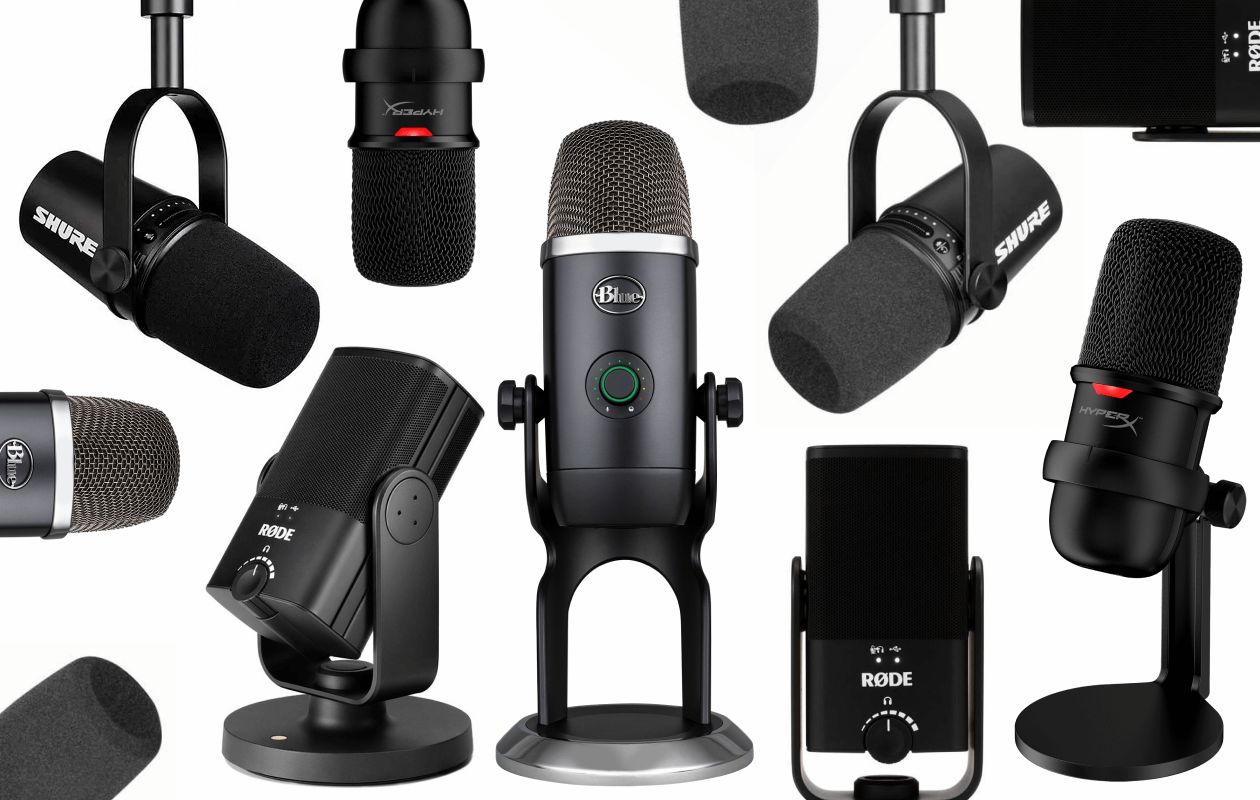
USB microphones are popular due to their ease of use and compatibility with various devices. With Windows 8, the process of setting up a USB microphone is relatively straightforward, allowing you to start using it quickly and efficiently. In this guide, we will walk you through the step-by-step process to set up your USB microphone on your Windows 8 system.
Before we dive into the setup process, it is essential to ensure that your system meets the necessary requirements. Make sure you have a USB port available on your Windows 8 computer for connecting the microphone. Additionally, check for any specific system requirements mentioned by the manufacturer of your USB microphone, such as minimum RAM or processor specifications.
Now that you have verified your system requirements let’s move on to the step-by-step setup process. By the end of this guide, you will have your USB microphone up and running on your Windows 8 computer, ready to capture crystal-clear audio and provide you with a seamless audio experience.
System Requirements
Before setting up your USB microphone on Windows 8, it is important to ensure that your system meets the necessary requirements. Here are some general system requirements to consider:
- Operating System: Windows 8 (or compatible with Windows 8)
- USB Port: Ensure that you have an available USB port on your computer. Most USB microphones are plug-and-play, meaning they can be connected directly to a USB port without the need for additional drivers or software.
- Processor: Check the manufacturer’s specifications for any minimum processor requirements. Some high-end USB microphones may have specific processor requirements to ensure optimal performance.
- RAM: Verify if there are any minimum RAM requirements mentioned by the manufacturer. While USB microphones typically don’t consume much system memory, it is important to ensure that your computer has enough RAM to support other applications running simultaneously.
- Internet Connection: If you plan to use your USB microphone for online communication or streaming purposes, a stable internet connection is necessary to ensure uninterrupted audio transmission.
It’s worth noting that specific USB microphone models may have additional system requirements. Therefore, it is always recommended to refer to the manufacturer’s documentation or website for detailed information on the system requirements for your particular USB microphone model.
Having verified that your system meets the necessary requirements, you can now proceed to the next steps of setting up your USB microphone on Windows 8. Keep reading to learn how to connect your USB microphone and configure it as the default recording device.
Step 1: Plug in the USB Microphone
The first step in setting up your USB microphone on Windows 8 is to physically plug it into an available USB port on your computer. Locate the USB port on your computer—usually found on the front or back of the CPU or on the sides of a laptop.
Take the USB cable attached to your microphone and insert it firmly into the USB port. You may need to apply slight pressure until it is fully inserted. Once connected, your Windows 8 computer will detect the USB microphone and begin installing any necessary drivers automatically. Depending on your computer’s settings, you may see a notification confirming the successful connection of the USB microphone.
It is worth noting that some USB microphones may have an on/off switch or a mute button. Before proceeding, ensure that the microphone is powered on and not muted. You may refer to the manufacturer’s instructions for specific details about your USB microphone’s features and controls.
Connecting the USB microphone establishes the physical link between the device and your computer. Now, let’s move on to the next step to check if the microphone is recognized and properly installed in Windows Device Manager.
Step 2: Check Device Manager
After connecting your USB microphone to your Windows 8 computer, it is important to verify whether the device is recognized and installed correctly. This can be done through the Device Manager, a Windows utility used to manage and monitor the hardware devices connected to your computer.
To access the Device Manager, follow these steps:
- Right-click on the Start button in the bottom-left corner of your screen.
- In the context menu that appears, select “Device Manager.”
Alternatively, you can also access the Device Manager by pressing the Windows key + X and selecting Device Manager from the menu that pops up.
Once the Device Manager window is open, look for the “Audio inputs and outputs” or “Sound, video, and game controllers” category. Expand the category by clicking on the arrow next to it.
You should see your USB microphone listed as a device under this category. It might be recognized by its brand name or as a generic “USB Audio Device.” This indicates that your computer has successfully detected and installed the USB microphone.
If you see a yellow exclamation mark or a red cross next to the USB microphone device, it signifies a driver issue or a problem with the device. In such cases, right-click on the USB microphone and select “Update driver” or “Uninstall device.” Try updating the driver or reinstalling it to resolve the issue. If the problem persists, consult the manufacturer’s support website for further assistance.
Now that you have confirmed that the USB microphone is recognized and installed in the Device Manager, you can proceed to the next step of setting it as the default recording device on your Windows 8 computer.
Step 3: Set Microphone as Default Device
Once your USB microphone is recognized and installed in the Device Manager, the next step is to set it as the default recording device on your Windows 8 computer. This ensures that any audio input is captured through the USB microphone, providing you with the best recording experience.
To set your USB microphone as the default recording device, follow these steps:
- Right-click on the volume icon in the system tray located at the bottom-right corner of your screen.
- In the context menu that appears, select “Sounds”.
- In the “Sounds” window, navigate to the “Recording” tab.
- You will see a list of all available recording devices. Look for your USB microphone. It may be identified by its brand name or as a generic “USB Audio Device”.
- Click on your USB microphone to select it, then click on the “Set Default” button.
- Click on “Apply” and “OK” to save the changes.
By setting your USB microphone as the default recording device, any application that requires audio input will automatically use the USB microphone for recording. This includes voice recording apps, video conferencing software, and communication apps like Skype or Discord.
It’s important to note that you may need to restart the applications that were open before making this change for them to recognize the USB microphone as the default recording device. Additionally, make sure that the volume levels and microphone sensitivity are appropriately adjusted to achieve optimal audio quality.
With the USB microphone set as the default recording device, you are now ready to fine-tune the microphone properties to suit your preferences. Proceed to the next step to adjust the microphone properties through the Windows Control Panel.
Step 4: Adjust Microphone Properties
After setting your USB microphone as the default recording device, it’s time to fine-tune its properties through the Windows Control Panel. Adjusting the microphone properties allows you to customize the settings according to your preferences and optimize the audio quality.
Here’s how you can adjust the microphone properties:
- Right-click on the volume icon in the system tray located at the bottom-right corner of your screen.
- In the context menu that appears, select “Sounds”.
- In the “Sounds” window, navigate to the “Recording” tab.
- Locate your USB microphone in the list of recording devices. It should be indicated as the default recording device.
- Click on your USB microphone, and then click on the “Properties” button.
- In the “Microphone Properties” window, you can adjust various settings like microphone volume, boost level, and noise suppression.
- Click on the “Levels” tab to adjust the microphone volume. Move the slider to increase or decrease the volume level. You can also enable the “Microphone Boost” option if required.
- Click on the “Enhancements” tab to enable or disable specific enhancements like noise suppression or echo cancellation. Experiment with these settings to find the configuration that suits your needs.
- Click on “Apply” and “OK” to save the changes.
By adjusting the microphone properties, you can ensure that the audio captured by your USB microphone meets your desired quality standards. It’s recommended to test the microphone after making these adjustments to ensure that the audio output is clear and free from any unwanted noise or distortions.
If you are using specific applications that have their own microphone settings, such as voice chat software or recording software, it’s important to check their individual settings and configure them accordingly. Each application may have its own set of settings for microphone sensitivity, noise reduction, or audio filters.
Now that you have adjusted the microphone properties, it’s time to test your USB microphone to ensure everything is working as expected. Move on to the next step to perform a microphone test on your Windows 8 computer.
Step 5: Test Your Microphone
After setting up your USB microphone and adjusting its properties, it is important to perform a microphone test to ensure it is functioning correctly on your Windows 8 computer. This test will help you verify that the microphone is capturing audio accurately and that you can hear your own voice or any other audio input clearly.
To test your microphone, follow these steps:
- Open the Windows “Control Panel” by searching for it in the Start menu.
- In the Control Panel, navigate to the “Hardware and Sound” category and click on “Sound.”
- In the Sound window, go to the “Recording” tab.
- Select your USB microphone from the list of recording devices.
- Click on the “Properties” button.
- In the Microphone Properties window, go to the “Levels” tab.
- Click on the “Test” button to start the microphone test.
- Speak or make some noise into the USB microphone, and you should see the green volume meter moving to indicate that the microphone is picking up the sound.
- If you can hear your voice or any other audio input, your USB microphone is working correctly.
- If you do not see any movement in the volume meter or cannot hear any sound, ensure that the microphone is connected properly, the volume is turned up, and the microphone is not muted. You may also consider checking the microphone settings in the specific applications you are using.
Performing a microphone test allows you to evaluate the audio quality and ensure that your USB microphone is functioning as intended. If you encounter any issues during the test, try reconnecting the microphone, adjusting the settings, or referring to the manufacturer’s documentation for troubleshooting steps.
Congratulations! You have successfully set up and tested your USB microphone on your Windows 8 computer. Whether you’re recording audio, hosting podcasts, or engaging in voice calls, your USB microphone will deliver high-quality sound and elevate your audio experience.
If you encounter any further difficulties or have specific questions about your USB microphone, feel free to consult the manufacturer’s support documentation or reach out to their customer support for further assistance.
Troubleshooting Tips
While setting up a USB microphone on Windows 8 is generally a straightforward process, you may encounter some challenges along the way. Here are a few troubleshooting tips to help you overcome common issues and ensure a smooth setup experience:
- Check the USB connection: Ensure that the USB cable is securely connected to both the USB microphone and your computer. Try using a different USB port to rule out any port-related issues.
- Update drivers: If your USB microphone is not recognized or functioning correctly, it may be due to outdated or incompatible drivers. Visit the manufacturer’s website and download the latest drivers for your specific USB microphone model.
- Restart your computer: Sometimes, a simple restart can resolve any minor software glitches or conflicts that may be affecting the USB microphone’s functionality.
- Check microphone permissions: Ensure that the necessary permissions are enabled for the USB microphone to access your computer’s audio input. Go to the Windows privacy settings and make sure the microphone access is allowed for the relevant applications.
- Test with different applications: If your USB microphone is working in some applications but not in others, it may be a software-specific issue. Test the microphone with different applications to identify whether the problem lies with a particular application or your computer settings.
- Disable other recording devices: If you have multiple recording devices connected to your Windows 8 computer, such as built-in microphone or webcam microphone, disable them temporarily to avoid conflicts and ensure that your USB microphone is the selected recording device.
- Check for firmware updates: Some USB microphones have firmware that can be updated to enhance performance and compatibility. Visit the manufacturer’s website to check for any available firmware updates for your USB microphone model.
- Consult manufacturer support: If you have exhausted all troubleshooting steps and are still facing issues with your USB microphone, reach out to the manufacturer’s customer support for further assistance. They have the expertise to help you resolve any specific issues related to their product.
By following these troubleshooting tips, you can overcome common problems that may arise during the setup and usage of a USB microphone on your Windows 8 computer. Remember to refer to the manufacturer’s documentation and support resources for specific troubleshooting guidance related to your USB microphone model.
With your USB microphone set up and functioning correctly, you can now enjoy high-quality audio recordings, voice calls, and more with confidence and clarity.
Conclusion
Setting up a USB microphone on Windows 8 can greatly enhance your audio recording and communication experience. By following the steps outlined in this guide, you can easily connect your USB microphone, adjust its properties, and ensure it is working correctly on your Windows 8 computer.
Remember to verify your system requirements, plug in the USB microphone, check the Device Manager for proper installation, set the microphone as the default device, adjust the microphone properties according to your preferences, and perform a microphone test to ensure everything is working as expected.
If you encounter any difficulties during the setup process, consult the troubleshooting tips provided to overcome common issues. Additionally, don’t hesitate to reach out to the manufacturer’s customer support for further assistance specific to your USB microphone model.
With your USB microphone properly set up on your Windows 8 computer, you can now enjoy high-quality audio recordings, voice calls, podcasts, and more. Whether you are a content creator, a professional communicator, or someone who simply wants to enhance their audio experience, a USB microphone can make a significant difference.
We hope this guide has been informative and helpful in assisting you with the setup of your USB microphone on Windows 8. Embrace the power of great audio and enjoy seamless communication and recording with your USB microphone!