Introduction
Connecting a USB microphone to your Raspberry Pi can open up a world of possibilities. Whether you’re a hobbyist looking to record audio for your projects or a professional needing high-quality sound input, getting your Raspberry Pi to recognize a USB microphone is an essential step.
In this guide, we will walk you through the process of connecting and configuring a USB microphone on your Raspberry Pi. You don’t need to be a tech expert to follow these steps; with a little patience and attention to detail, you’ll have your USB microphone up and running in no time.
Using a USB microphone offers several advantages over the built-in audio input of the Raspberry Pi. USB microphones are often capable of capturing higher-quality sound and offer improved noise cancellation features. Additionally, they provide better versatility, allowing you to use different types of microphones for different applications.
Before we dive into the steps of setting up a USB microphone, it’s important to ensure that you have all the necessary prerequisites. This will help streamline the process and avoid any unnecessary roadblocks along the way.
Prerequisites
Before getting started with setting up your USB microphone on the Raspberry Pi, make sure you have the following prerequisites:
- A Raspberry Pi board (any model should work)
- A USB microphone compatible with the Raspberry Pi
- A power supply for your Raspberry Pi
- An HDMI cable or other means of connecting to a display
- An SD card with a Raspberry Pi operating system (e.g., Raspbian) installed
- A keyboard and mouse for interacting with your Raspberry Pi
- An internet connection (either through Ethernet or Wi-Fi)
Make sure to have these items ready before proceeding with the setup. It’s also a good idea to have the latest version of the Raspberry Pi operating system installed to ensure compatibility with USB devices.
If you haven’t set up your Raspberry Pi yet, there are plenty of resources available online that can guide you through the installation process.
Once you have these prerequisites in place, you’re ready to connect and configure the USB microphone on your Raspberry Pi. Following the steps outlined in this guide will ensure a seamless integration of your USB microphone with your Raspberry Pi, allowing you to enjoy high-quality sound input for your projects.
Step 1: Connect the USB microphone to your Raspberry Pi
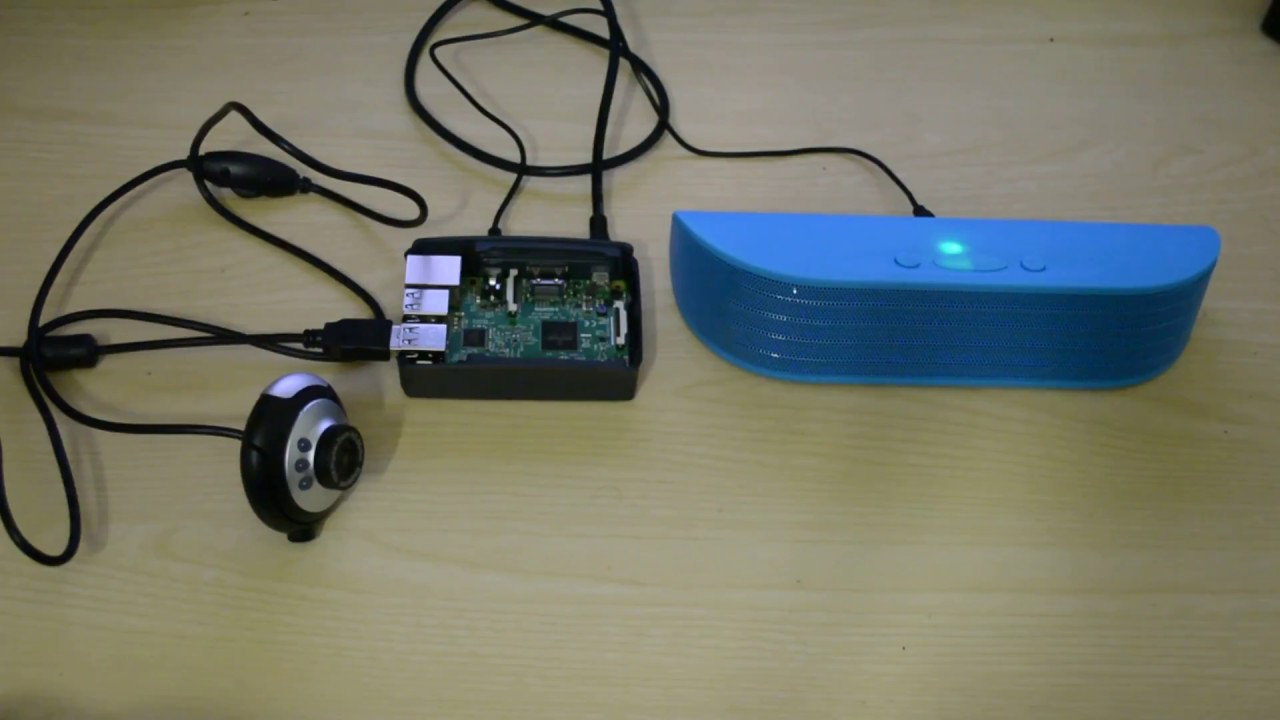
The first step in getting your USB microphone recognized by your Raspberry Pi is to physically connect it to the board. Here’s how you can do it:
- Ensure that your Raspberry Pi is powered off and disconnected from the power source.
- Locate an available USB port on your Raspberry Pi and insert the USB connector of the microphone into the port.
- Once the microphone is securely connected, you can proceed with powering on your Raspberry Pi.
It’s important to note that some USB microphones may require additional power and may come with a separate power adapter. In such cases, make sure to connect the power adapter according to the manufacturer’s instructions.
After connecting the USB microphone to your Raspberry Pi, you’re ready to move on to the next step, which involves updating and upgrading your Raspberry Pi’s operating system.

Step 2: Update and upgrade your Raspberry Pi
Before proceeding with the configuration of your USB microphone, it’s important to ensure that your Raspberry Pi’s operating system is up to date. Here’s how you can update and upgrade your Raspberry Pi:
- Open the terminal on your Raspberry Pi by clicking on the terminal icon or by pressing Ctrl+Alt+T.
- Run the following command to update the package lists:
- After the update process completes, run the following command to upgrade the installed packages:
- Once the upgrade is complete, reboot your Raspberry Pi to apply the changes:
sudo apt updatesudo apt upgradeThis may take some time depending on the number of packages that need to be upgraded. Follow the on-screen prompts, if any, to complete the upgrade process.
sudo rebootIt’s important to keep your Raspberry Pi up to date to ensure optimal performance and compatibility with external devices like USB microphones. By updating and upgrading your Raspberry Pi, you’ll have the latest software and security updates installed.
After your Raspberry Pi reboots, you’re ready to move on to the next step, which involves installing the required packages to configure the USB microphone.
Step 3: Install the required packages
To configure your USB microphone on the Raspberry Pi, you’ll need to install a few packages that will enable recognition and communication with the device. Follow these steps to install the required packages:
- Open the terminal on your Raspberry Pi.
- Run the following command to install the necessary packages:
- During the installation process, you may be prompted to confirm the installation and provide your password. Follow the on-screen prompts to proceed.
- After the installation is complete, reboot your Raspberry Pi to ensure that the changes take effect:
sudo apt install alsa-utilsThis command will install the ALSA (Advanced Linux Sound Architecture) utilities, which provide essential tools for managing sound devices on your Raspberry Pi.
sudo rebootBy installing the ALSA utilities, you’re equipping your Raspberry Pi with the necessary tools to recognize and configure the USB microphone.
Once your Raspberry Pi reboots, you’re ready to move on to the next step, where you’ll configure the USB microphone as the default input device.
Step 4: Configure the USB microphone as the default input device
Configuring the USB microphone as the default input device on your Raspberry Pi will ensure that it is recognized and used for audio input in various applications. Follow these steps to configure the USB microphone:
- Open the terminal on your Raspberry Pi.
- Run the following command to open the ALSA mixer tool:
- Use the arrow keys on your keyboard to navigate to the USB microphone channel. It might be labeled as “USB PnP Sound Device” or something similar.
- Press the M key on your keyboard to unmute the USB microphone channel if it is muted. You should see the volume level indicator change from “MM” to a numerical value.
- Use the arrow keys to adjust the volume level of the USB microphone to your desired level.
- Press the Esc key on your keyboard to exit the ALSA mixer.
alsamixerThis command will launch the ALSA mixer, which allows you to adjust and configure the audio settings of your Raspberry Pi.
By configuring the USB microphone as the default input device and adjusting the volume levels, you have now set up your Raspberry Pi to use the USB microphone for audio input.
Next, we’ll move on to the final step, where we’ll test the USB microphone to ensure it’s functioning correctly.
Step 5: Test the USB microphone
After configuring the USB microphone on your Raspberry Pi, it’s essential to test it to ensure that it’s functioning correctly and capturing audio input. Follow these steps to test your USB microphone:
- Open the terminal on your Raspberry Pi.
- Run the following command to open the ALSA audio recorder:
- Speak or make some noise into the USB microphone for a few seconds.
- Press Ctrl+C on your keyboard to stop the audio recorder.
- Run the following command to play back the recorded audio:
arecord test.wavThis command will start the audio recorder and create a file named “test.wav” to capture the audio input from your USB microphone.
aplay test.wavThis command will play the recorded audio file, allowing you to hear the quality of the audio captured by your USB microphone.
If you can hear the playback and the audio quality is satisfactory, congratulations! Your USB microphone is working successfully with your Raspberry Pi.
If you encounter any issues during the test, double-check the connections, volume levels, and configuration steps outlined earlier in this guide. You can also restart the Raspberry Pi and repeat the test.
By testing the USB microphone, you can ensure that it’s ready for use in various applications, such as voice recording, audio streaming, or video conferencing.
Now that you have successfully tested your USB microphone, you’re ready to embark on your audio projects with the Raspberry Pi.
Conclusion
Configuring a USB microphone to work with your Raspberry Pi opens up a world of possibilities for audio input projects. By following the steps outlined in this guide, you have learned how to connect a USB microphone to your Raspberry Pi, update and upgrade the operating system, install the necessary packages, configure the USB microphone as the default input device, and test its functionality.
With a USB microphone connected to your Raspberry Pi, you can now explore a wide range of applications, such as voice recognition, audio recording, podcasting, video conferencing, and more. The improved sound quality and versatility of a USB microphone will enhance the audio capabilities of your Raspberry Pi projects.
Remember to always check the compatibility of your USB microphone with the Raspberry Pi and ensure that you have the latest version of the Raspberry Pi operating system installed for optimal performance and compatibility.
Now that you have successfully set up your USB microphone, you’re ready to unleash your creativity and take advantage of the audio capabilities of your Raspberry Pi. Have fun experimenting with audio projects and enjoy the enhanced audio experience!