Introduction
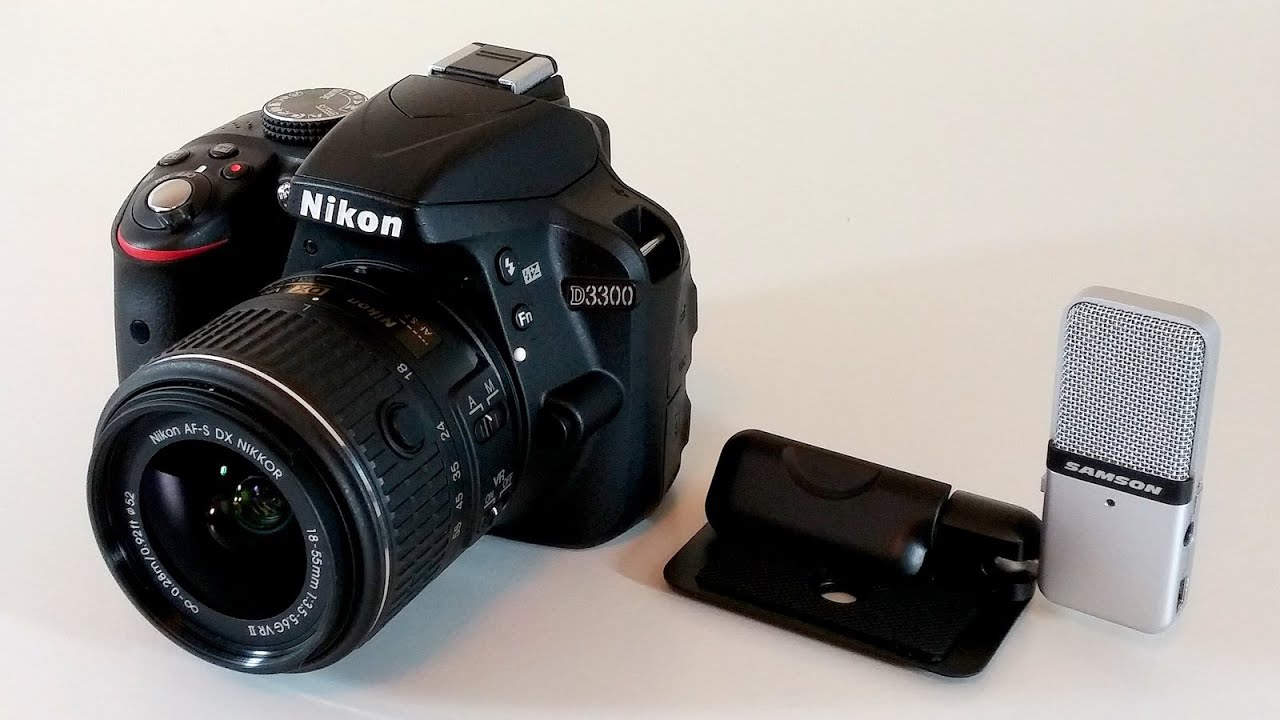
Welcome to the world of multimedia content creation! As a passionate photographer or videographer, you understand the importance of capturing high-quality audio alongside your visuals. While built-in microphones on DSLRs can be decent, they often lack the clarity and richness that dedicated USB microphones provide. If you’re wondering how to get your USB microphone to work on your DSLR, you’ve come to the right place.
In this guide, we will walk you through the process of connecting and configuring your USB microphone with your DSLR. Whether you’re a vlogger, content creator, or simply someone who wants better audio for their videos, this article will help you achieve studio-quality sound.
Before we dive into the nitty-gritty, it is important to understand the compatibility between USB microphones and DSLRs. The first thing to note is that not all DSLRs support external microphones, and even those that do may have certain limitations. Furthermore, USB microphones have specific power and data requirements that may vary across different camera models.
It’s crucial to ensure that both your USB microphone and your DSLR are compatible with each other before attempting to connect them. Simply put, you want to avoid any potential technical issues or frustration by making sure they can work together seamlessly.
In the following sections, we will guide you through the process of checking compatibility, configuring audio settings on your DSLR, connecting your USB microphone, and troubleshooting common issues that you may encounter. So, let’s get started and unlock the full potential of your DSLR by integrating a USB microphone!
Understanding the Compatibility between USB Microphones and DSLRs
Before you connect your USB microphone to your DSLR, it is essential to understand the compatibility between these two devices. While both USB microphones and DSLRs are widely used in multimedia content creation, not all combinations of USB microphones and DSLRs are compatible with each other. Let’s explore the factors that affect compatibility:
Power Requirements: USB microphones require power to function properly. Some DSLRs can provide enough power through their USB ports to drive the microphone, while others may not. It is important to check the power capabilities of your DSLR and the power requirements of your USB microphone to ensure compatibility.
Data Transfer: USB microphones communicate with devices through a USB connection. Some DSLRs may not have the necessary drivers or firmware to support USB microphones. Make sure your DSLR has the required software and updates to enable the use of USB microphones.
Audio Input Port: Most DSLRs have a dedicated audio input port, usually a 3.5mm jack, to connect external microphones. However, not all DSLRs have a USB port that supports audio input. Check the specifications of your DSLR to determine if it can accept audio input through USB.
Audio Format Compatibility: USB microphones generate digital audio signals. While most DSLRs can handle standard audio formats, it is essential to check if your DSLR supports the specific audio format generated by your USB microphone. This information can usually be found in the DSLR’s user manual or specifications.
When researching compatibility, it is wise to refer to the user manuals or the manufacturer’s websites for both your USB microphone and DSLR. These resources will provide specific details about the compatibility of your devices.
Remember, understanding compatibility is crucial for a successful connection between your USB microphone and DSLR. By ensuring compatibility, you can avoid compatibility issues, signal loss, or poor audio quality. Now that you are aware of the factors affecting compatibility, let’s move on to the next step: checking the compatibility of your USB microphone with your DSLR.
Checking the USB Microphone Compatibility with Your DSLR
Before connecting your USB microphone to your DSLR, it’s crucial to verify their compatibility. By doing so, you can ensure that they will work seamlessly together and avoid any frustrations or technical issues. Follow the steps below to check the compatibility of your USB microphone with your DSLR:
1. Read the manuals: Start by thoroughly reading the user manuals of both your USB microphone and DSLR. Look for any specific information regarding compatibility requirements or limitations.
2. Consulting the manufacturer’s website: Visit the manufacturer’s website of your USB microphone and DSLR. Look for any compatibility listings or support pages that may provide additional information about using USB microphones on your specific DSLR model.
3. Search online: Search online forums, communities, and websites dedicated to photography and videography. Look for discussions or articles related to USB microphone compatibility with your DSLR model. Often, you will find valuable insights and experiences shared by other users who have already tested the compatibility.
4. Contact customer support: If you’re still unsure about the compatibility after conducting your research, reach out to the customer support of both the USB microphone and DSLR manufacturers. They should be able to provide you with accurate information and clarify any doubts you may have.
5. Experimentation: In some cases, compatibility information may not be readily available. If you have access to the USB microphone and DSLR, you can try connecting them and testing their compatibility firsthand. Follow the setup instructions provided with your USB microphone and see if your DSLR recognizes the audio input from the USB microphone.
Remember, not all DSLRs support USB microphones, and even among those that do, there may be limitations on power supply or data transfer. It’s important to verify compatibility to ensure a successful connection and optimal audio quality.
Once you have confirmed that your USB microphone is compatible with your DSLR, you can proceed with the next steps, which involve configuring the audio settings on your DSLR and connecting the USB microphone.
Configuring Audio Settings on Your DSLR
Now that you have ensured the compatibility of your USB microphone with your DSLR, it’s time to configure the audio settings on your camera. Properly configuring these settings will ensure that your DSLR recognizes and utilizes the USB microphone for recording audio. Follow the steps below to set up the audio settings on your DSLR:
1. Access the menu: Turn on your DSLR and navigate to the menu or settings option. Different camera models may have slightly different menu structures, so refer to your DSLR’s user manual if necessary.
2. Locate audio settings: Look for the audio settings within the menu. This option is usually found under the “Audio” or “Sound” section. Once you find it, select it to access the audio settings.
3. Select the external microphone option: Within the audio settings, there should be an option to select the audio source. Choose the “External” or “External Microphone” option to indicate that you will be using a USB microphone for audio input.
4. Adjust audio levels: DSLRs typically have controls for adjusting the audio recording levels. These controls allow you to set the volume of the recorded audio. Adjust these levels according to your specific USB microphone’s recommendations and the audio requirements of your project.
5. Monitor audio: Some DSLRs have a headphone output or an audio level meter display that allows you to monitor the audio input in real-time. This feature enables you to ensure that the USB microphone is working properly and that the audio levels are within an acceptable range.
6. Save settings: Once you have configured the audio settings according to your preferences, save the changes and exit the menu. Your DSLR is now set up to record audio using the connected USB microphone.
It’s important to note that the specific steps and options may vary depending on your DSLR model. Consulting the user manual or online resources for your camera model can provide more detailed instructions tailored to your specific device.
Now that you have configured the audio settings, let’s move on to the next step: connecting your USB microphone to your DSLR.
Connecting Your USB Microphone to Your DSLR
With your USB microphone compatibility verified and the audio settings on your DSLR configured, it’s time to connect your USB microphone to your camera. Follow the steps below to ensure a proper connection:
1. Power off your DSLR: Before making any connections, ensure that your DSLR is turned off to prevent any potential damage to the USB ports or microphone.
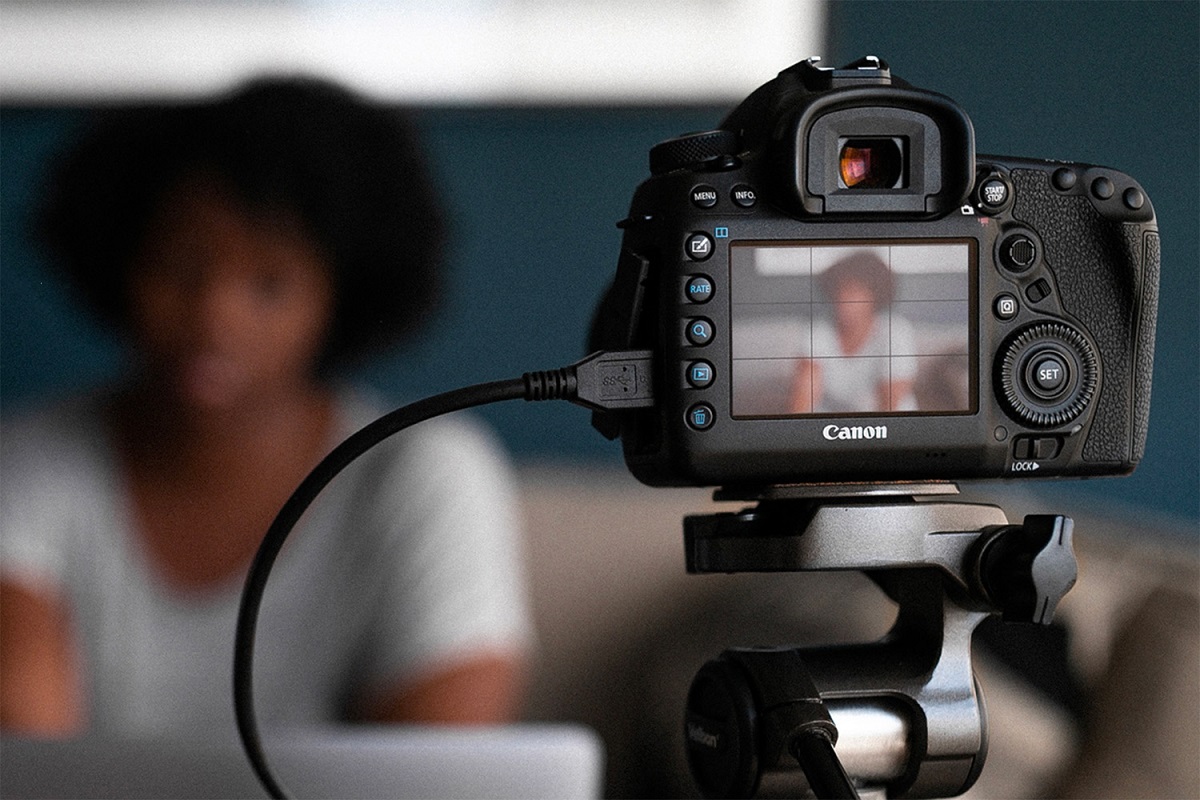
2. Locate the USB port on your DSLR: Check your DSLR for a USB port. The location of the port may vary depending on the camera model, but it is typically found on the side or back of the camera body.
3. Plug in the USB cable: Take the USB cable that came with your USB microphone and connect it to the USB port on your DSLR. Make sure the connection is secure.
4. Connect the USB microphone: Now, plug the other end of the USB cable into your USB microphone. Once again, ensure that the connection is secure.
5. Power on your DSLR: With the USB microphone connected, power on your DSLR. It will detect the USB microphone and use it as the primary audio input source.
At this point, your USB microphone should be successfully connected to your DSLR. You can now start recording high-quality audio to complement your visuals. Remember to check the audio levels on your DSLR to ensure that the recorded audio is neither too quiet nor too loud.
It’s essential to note that different DSLR models may have slightly different procedures or requirements for connecting USB microphones. If you encounter any difficulties during the connection process, refer to the user manual or online resources specific to your camera model.
Now that your USB microphone is connected to your DSLR and ready to capture pristine audio, let’s address some common issues that may arise and how to troubleshoot them.
Troubleshooting Common Issues with USB Microphones and DSLRs
While connecting a USB microphone to a DSLR is generally a straightforward process, there may be instances where you encounter some common issues. Here are some troubleshooting steps for the most frequently encountered problems:
1. No audio input: If you’re not getting any audio input from your USB microphone, double-check that it is securely connected to your DSLR. Verify that the USB port on your DSLR is functioning properly. Additionally, ensure that the audio settings on your DSLR are correctly configured to recognize the USB microphone as the input source.
2. Low audio levels: If the audio recorded by your USB microphone is too quiet or barely audible, check the audio levels on your DSLR. Increase the levels if necessary, but be careful not to introduce excessive background noise or audio distortion. Adjusting the audio settings on both your USB microphone and DSLR can help optimize the audio levels.
3. Poor audio quality: If you notice degraded audio quality, ensure that you are using a high-quality USB cable to connect the microphone to your DSLR. Sometimes, using a shorter cable or a cable with better shielding can minimize interference and improve audio quality. It’s also worth checking if there are any firmware updates available for your DSLR that may address audio-related issues.
4. Compatibility issues: If your USB microphone and DSLR are not compatible, even after verifying compatibility, you may need to consider alternative solutions. Look for dedicated audio recorders or adapters that can interface between your USB microphone and DSLR. These solutions can help bridge the compatibility gap and ensure optimal performance.
5. External noise interference: USB microphones are sensitive and can pick up background noises easily. To minimize unwanted noise in your recordings, consider using a windscreen or a pop filter to reduce wind noise and plosive sounds. You can also choose a quieter recording location or use soundproofing materials in your shooting environment.
If you continue to experience issues with your USB microphone and DSLR setup, it’s recommended to reach out to the customer support of both the USB microphone and DSLR manufacturers. They can provide additional troubleshooting tips or suggestions specific to your devices.
By identifying and resolving common issues that may arise when using USB microphones with DSLRs, you can ensure a seamless recording experience and produce high-quality audio for your multimedia projects.
Conclusion
Congratulations! You’ve successfully learned how to get your USB microphone to work on your DSLR. By understanding the compatibility between USB microphones and DSLRs, checking the compatibility of your specific devices, configuring the audio settings on your DSLR, connecting your USB microphone, and troubleshooting common issues, you’re now equipped to capture professional-quality audio for your multimedia content.
Remember to refer to the user manuals and online resources provided by the manufacturers of your USB microphone and DSLR for specific instructions and compatibility information.
With your USB microphone and DSLR working harmoniously together, you can take your photography and videography to the next level. Enjoy the enhanced audio quality and immerse your audience in a more immersive and captivating experience.
As you continue to explore the possibilities of USB microphones and DSLRs, don’t forget to experiment, try different settings, and adapt to the unique needs of each project. By harnessing the power of both high-quality visuals and crisp audio, you can create compelling multimedia content that leaves a lasting impact.
Now, go ahead and unleash your creativity with your USB microphone and DSLR. Happy recording!


