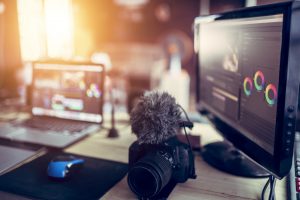
Why Use a DSLR as a Webcam?
When it comes to web conferencing, video streaming, or content creation, the quality of your webcam can make a significant difference in how you are perceived by others. While most laptops and external webcams can get the job done, using a DSLR as a webcam can elevate your online presence to a whole new level.
Here are a few reasons why using a DSLR as a webcam is worth considering:
- Image Quality: DSLRs are known for their superior image quality compared to standard webcams. With larger image sensors, higher resolution capabilities, and better low-light performance, DSLRs can capture sharp, vibrant, and professional-looking video.
- Depth of Field: One of the key advantages of using a DSLR is the ability to create a shallow depth of field. This means that you can achieve a blurred background, making you stand out in the frame and creating a visually pleasing effect that can enhance your video presence.
- Versatility: DSLRs offer a range of manual settings, allowing you to have more control over your video production. You can adjust exposure, white balance, focus, and other settings to meet your specific needs and create the desired aesthetic for your video calls or streams.
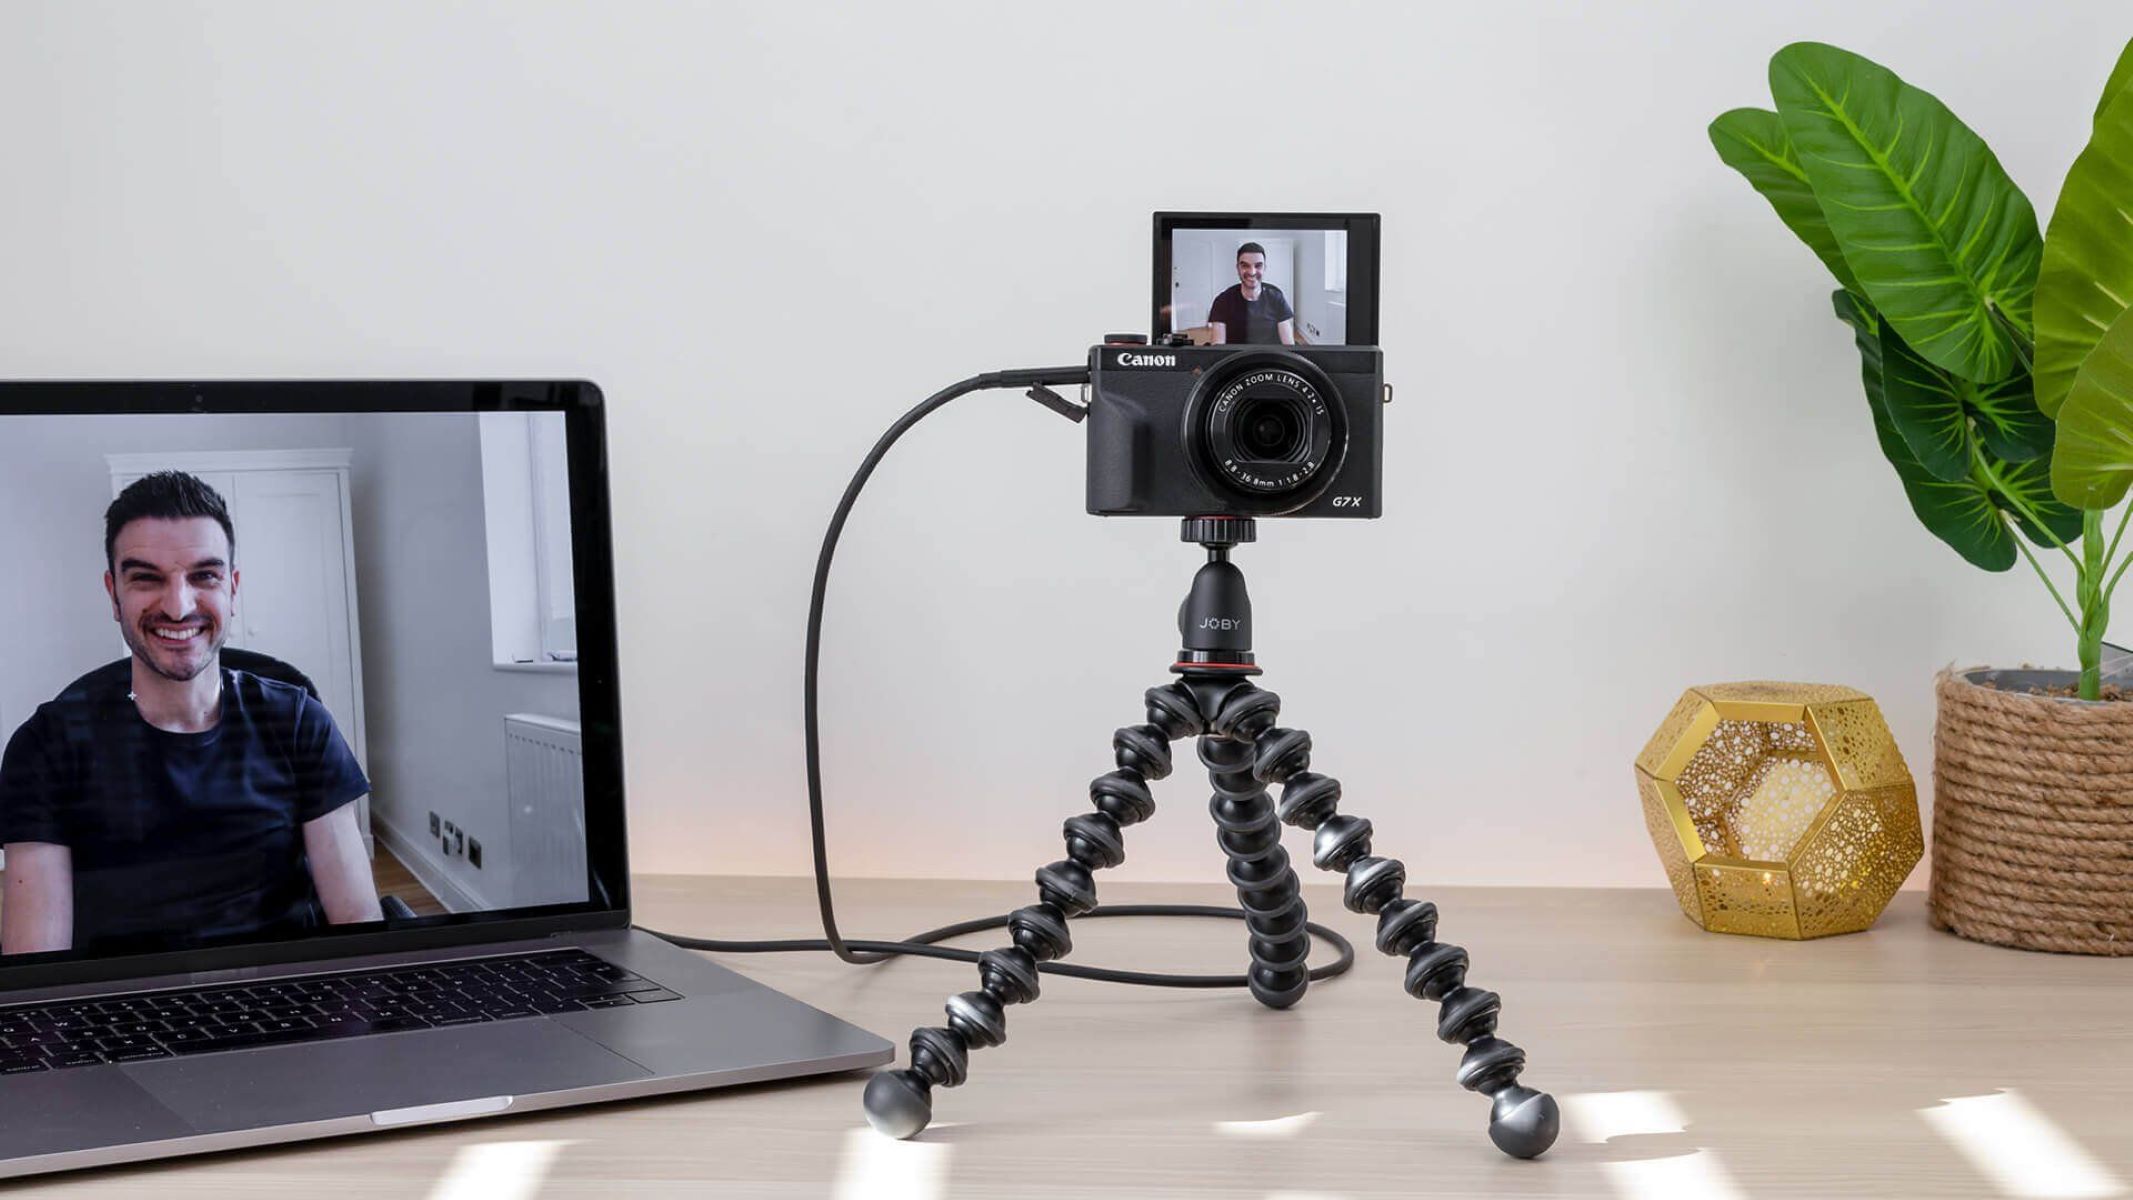
- Flexibility: Unlike traditional webcams that are mounted to your computer, using a DSLR as a webcam gives you the flexibility to position the camera wherever you want. This means you have more control over the framing and composition of your video.
- Multi-Purpose Use: DSLRs are primarily designed for photography, but by using your DSLR as a webcam, you can leverage its capabilities for other creative pursuits, such as vlogging, live streaming, or creating professional-looking video content for YouTube or social media.
- Investment in Quality: If you already own a DSLR camera, connecting it to your computer as a webcam allows you to make the most of your investment. Instead of purchasing a separate webcam, you can utilize the high-quality camera you already have – saving you money in the long run.
Keep in mind that using a DSLR as a webcam may require some additional equipment and software, but the benefits in terms of image quality and versatility are well worth the effort. Whether you are a professional looking to elevate your online presence or a content creator aiming to enhance the visual appeal of your videos, using a DSLR as a webcam can significantly improve the overall quality of your video calls, streams, and recordings.
What You Will Need
In order to use your DSLR as a webcam, there are a few items you will need to gather:
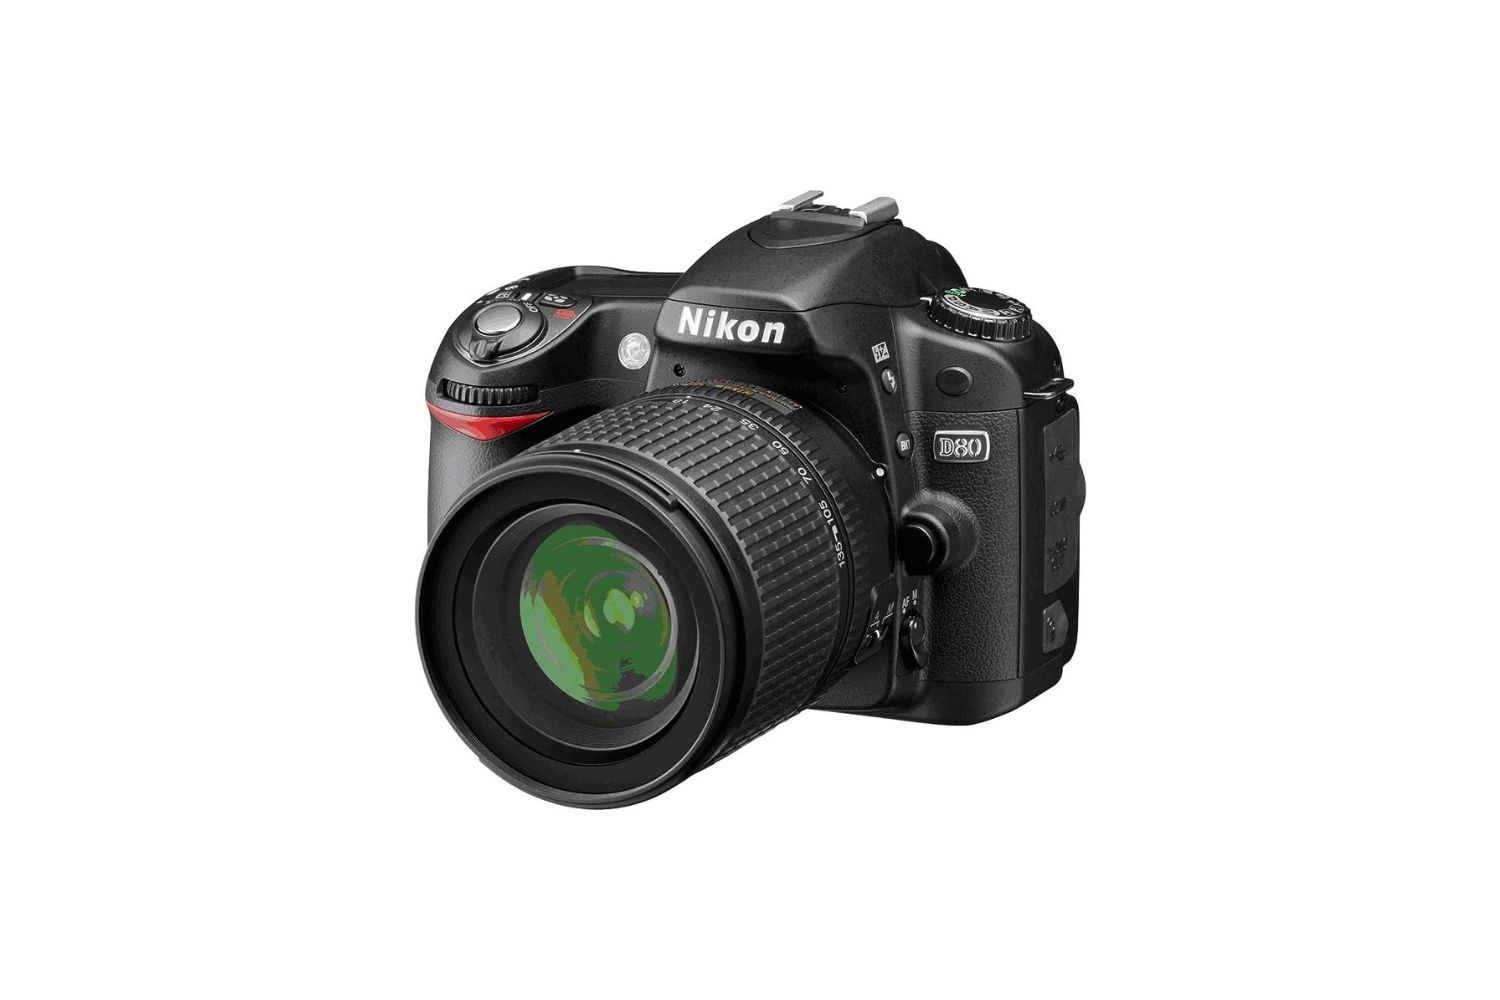
- DSLR Camera: Of course, you will need a DSLR camera to serve as your webcam. Ensure that your camera has a clean HDMI output feature, as this will make it compatible with streaming software.
- HDMI Cable: To connect your DSLR camera to your computer, you will need an HDMI cable. Make sure to check the specifications of your camera to determine the type of HDMI cable required.
- AC Power Adapter: Using your DSLR as a webcam can drain the battery quickly, especially during long video calls or streaming sessions. An AC power adapter will provide a continuous power supply to your camera, avoiding any unexpected shutdowns.
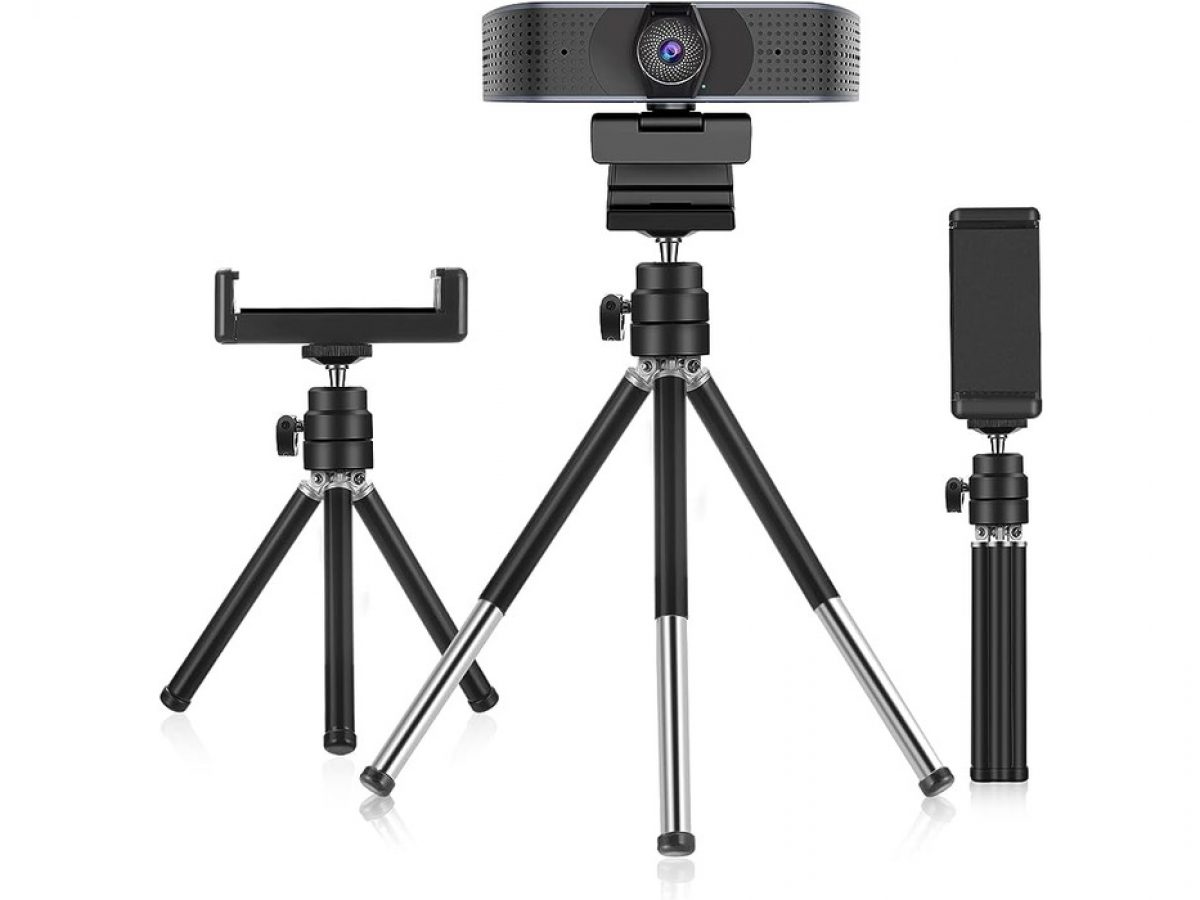
- Tripod or Camera Mount: To position your DSLR camera properly, you will need a tripod or camera mount. This will ensure stability and allow you to adjust the camera height and angle as needed.
- USB Capture Card: Most DSLR cameras do not have a native USB connection for streaming. To overcome this, you will need a USB capture card. This device converts the HDMI output from your camera into a USB signal, enabling your computer to recognize it as a webcam.
- Streaming Software: You will need streaming software installed on your computer to utilize your DSLR as a webcam. OBS Studio and XSplit are popular options that offer a range of features and settings for a professional streaming experience.
- Computer: A desktop or laptop with sufficient processing power is essential for smooth video streaming. Make sure your computer meets the recommended system requirements for the streaming software you choose.
Once you have gathered these items, you will be ready to proceed with setting up your DSLR as a webcam. With the right equipment in place, you can take advantage of the high-quality video capabilities of your DSLR camera to enhance your web conferencing, streaming, and content creation endeavors.
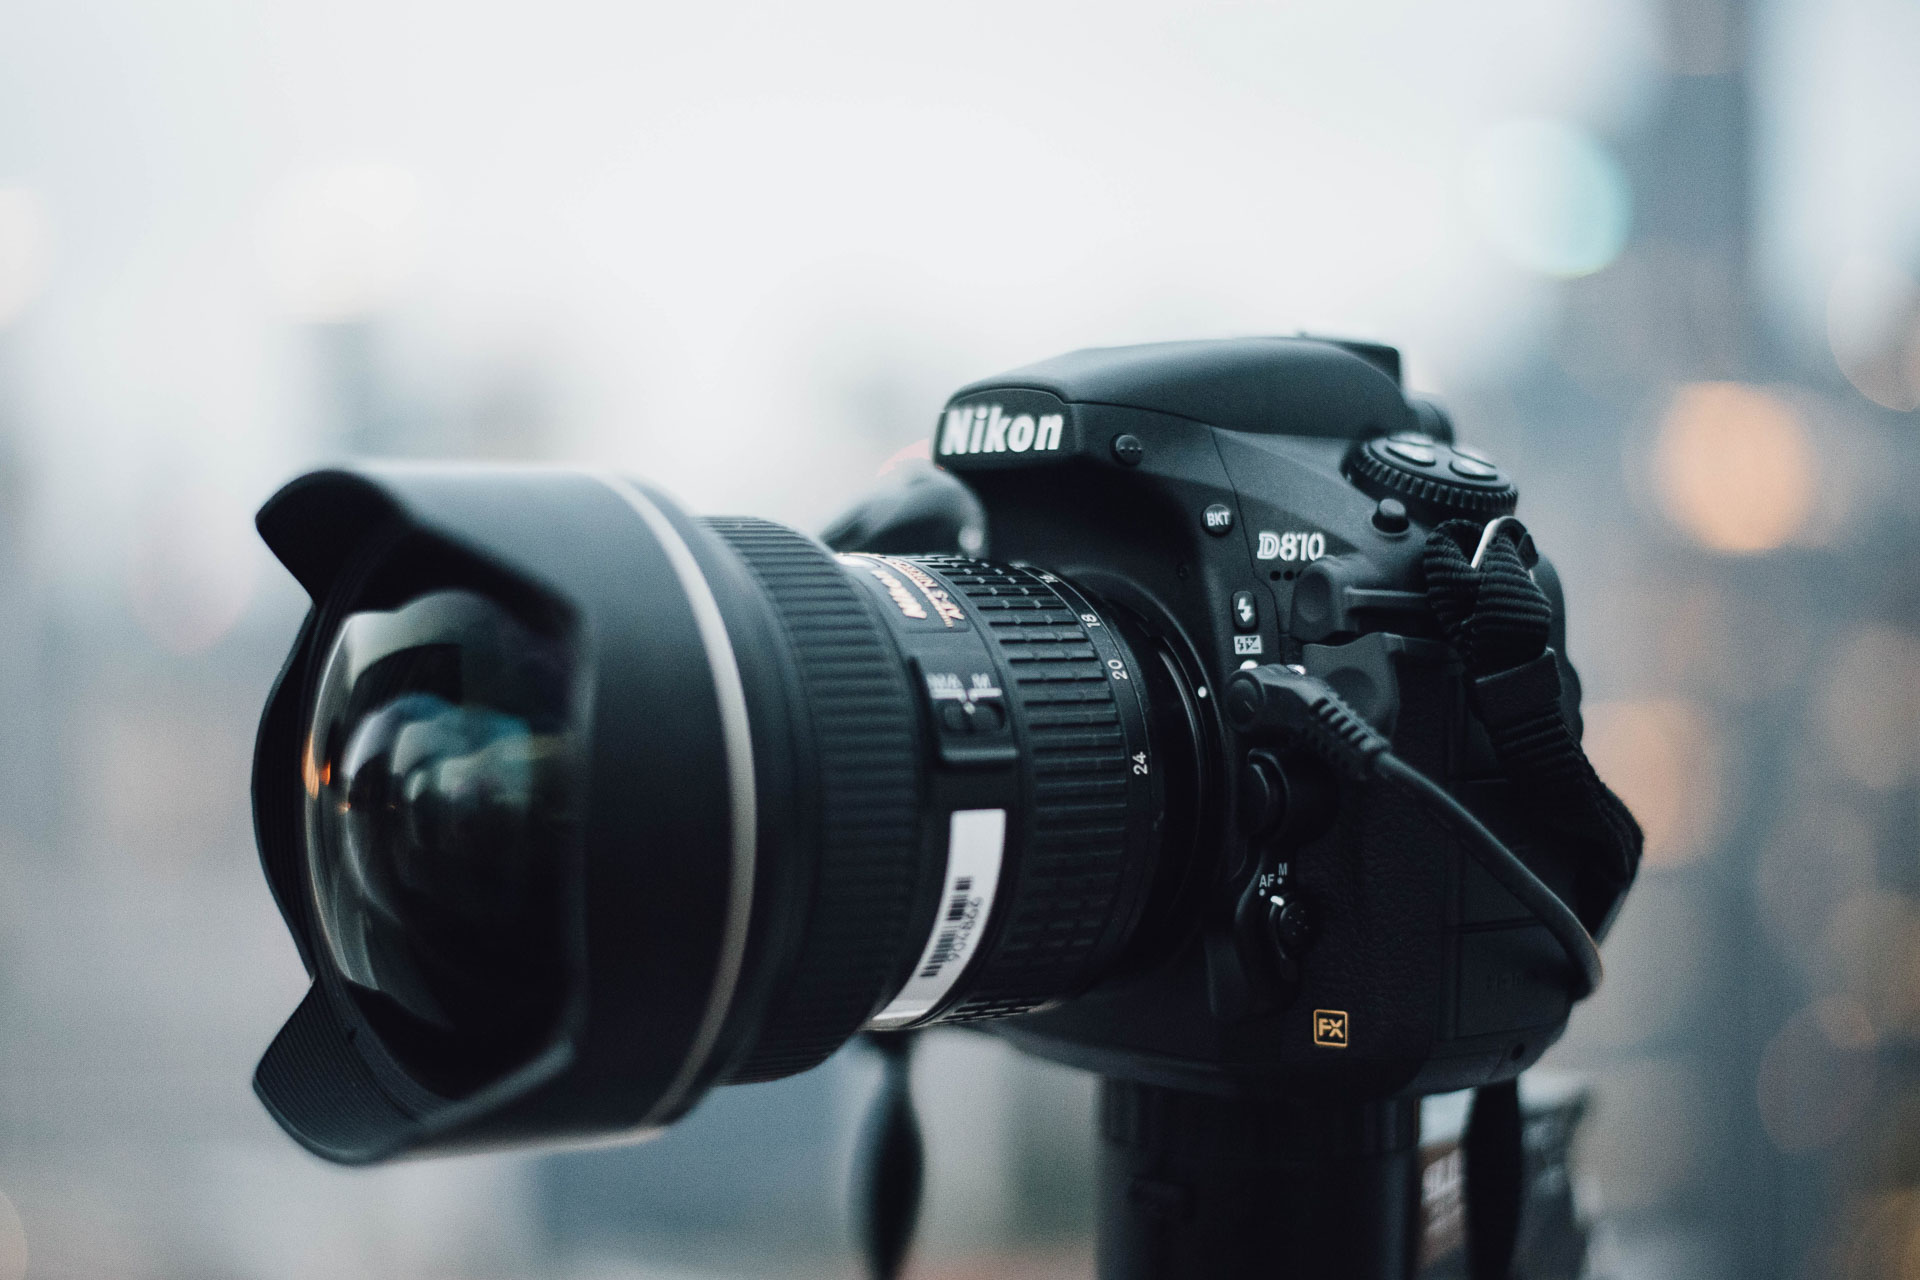
Step 1: Choose the Right Camera
Choosing the right DSLR camera to use as a webcam is essential for achieving the best results. Here are a few factors to consider when selecting your camera:
- Clean HDMI Output: Look for a DSLR camera that provides a clean HDMI output. This means that the camera will deliver a signal without any on-screen overlays, such as focus points or camera settings. A clean HDMI output ensures a clean and professional-looking video feed for your webcam.
- Image Quality: Consider the image quality capabilities of the camera. Look for a camera with a high resolution and good low-light performance. This will ensure that your video feed is crisp, sharp, and well-lit, even in challenging lighting conditions.
- Auto-Focus: A camera with reliable auto-focus capabilities can greatly enhance your webcam experience. It will keep you in sharp focus, even if you move around or change positions during your video calls or streams.
- Connectivity: Check if the camera has an HDMI output port and the ability to connect to an AC power adapter. These features are essential for using your DSLR as a webcam for an extended period without worrying about battery life or the camera shutting off.
- Compatibility: Ensure that the DSLR camera you choose is compatible with the streaming software you plan to use. Popular streaming software like OBS Studio and XSplit have specific camera compatibility requirements, so consult the software documentation or website for a list of compatible cameras.
- Cost: Consider your budget when choosing a DSLR camera. While top-of-the-line cameras offer exceptional image quality and advanced features, they might not be necessary for every use case. Assess your needs and find a camera that strikes the right balance between performance and affordability.
Research and read reviews to find the best DSLR camera that meets your requirements and fits within your budget. Keep in mind that each camera model may have its own unique settings and specifications, so familiarize yourself with the camera’s user manual to fully utilize its capabilities as a webcam.
By choosing the right DSLR camera, you can ensure a high-quality video feed for your webcam, enhancing your online presence and delivering professional-looking video for your web conferencing, streaming, or content creation needs.
Step 2: Install the Necessary Software and Drivers
Before you can start using your DSLR as a webcam, you will need to install the required software and drivers on your computer. Here are the steps to follow:
- Camera Software: Check if your camera manufacturer provides any software specifically designed for connecting your DSLR to your computer. Install the necessary software from the manufacturer’s website onto your computer.
- Streaming Software: Download and install the streaming software of your choice. Popular options include OBS Studio, XSplit, and ManyCam. Visit the respective websites to download the software and follow the on-screen instructions to complete the installation.
- Camera Drivers: Some cameras require additional drivers to be installed on your computer. Check the camera manufacturer’s website for any driver updates that might be necessary. Download and install the drivers to ensure proper communication between your camera and the streaming software.
- USB Capture Card Drivers: If you are using a USB capture card to connect your DSLR to your computer, make sure to install the drivers for the capture card as well. Visit the manufacturer’s website to download the latest drivers and follow the installation instructions provided.
It is recommended to keep your camera software, streaming software, and drivers up to date to ensure compatibility and optimal performance. Check for updates regularly and install them as they become available.
Once you have installed the necessary software and drivers, you are ready to move on to the next steps of setting up your DSLR as a webcam. It’s important to note that the installation process may vary slightly depending on the specific camera model, streaming software, and operating system you are using. Refer to the documentation and support resources provided by your camera and software manufacturers for any specific instructions or troubleshooting steps.
Step 3: Set Up Your Camera
Now that you have installed the necessary software and drivers, it’s time to set up your DSLR camera for use as a webcam. Follow these steps to ensure proper camera configuration:
- Camera Placement: Position your camera on a stable surface or mount it on a tripod. Ensure that the camera is at eye level or slightly above for a more flattering angle.
- Clean the Lens: Use a microfiber cloth or lens cleaner to clean the lens of your camera. This will remove any dust or smudges that could affect the image quality.
- Power on the Camera: Connect the AC power adapter to your camera and plug it into a power outlet. Power on your camera to ensure a continuous power supply, especially for longer streaming or video conferencing sessions.
- Set the Mode to Video: Switch your camera to video mode. Refer to your camera’s user manual if you’re unsure of how to do this. Some cameras have a dedicated video mode, while others may require you to select a specific mode or dial setting.
- Adjust Camera Settings: Depending on your camera model, you may have various settings that can be adjusted for video recording. These may include exposure, white balance, ISO, and picture profile. Experiment with the settings to achieve the desired look and feel for your video feed.
- Turn Off Auto Power Off: Most DSLR cameras have an auto power-off feature to conserve battery life. Disable this feature in your camera settings to prevent the camera from turning itself off during your streaming or video calls.
- Disable Sound Recording (Optional): If you’re not planning to use the audio from your camera, you can disable sound recording to conserve storage space on your SD card.
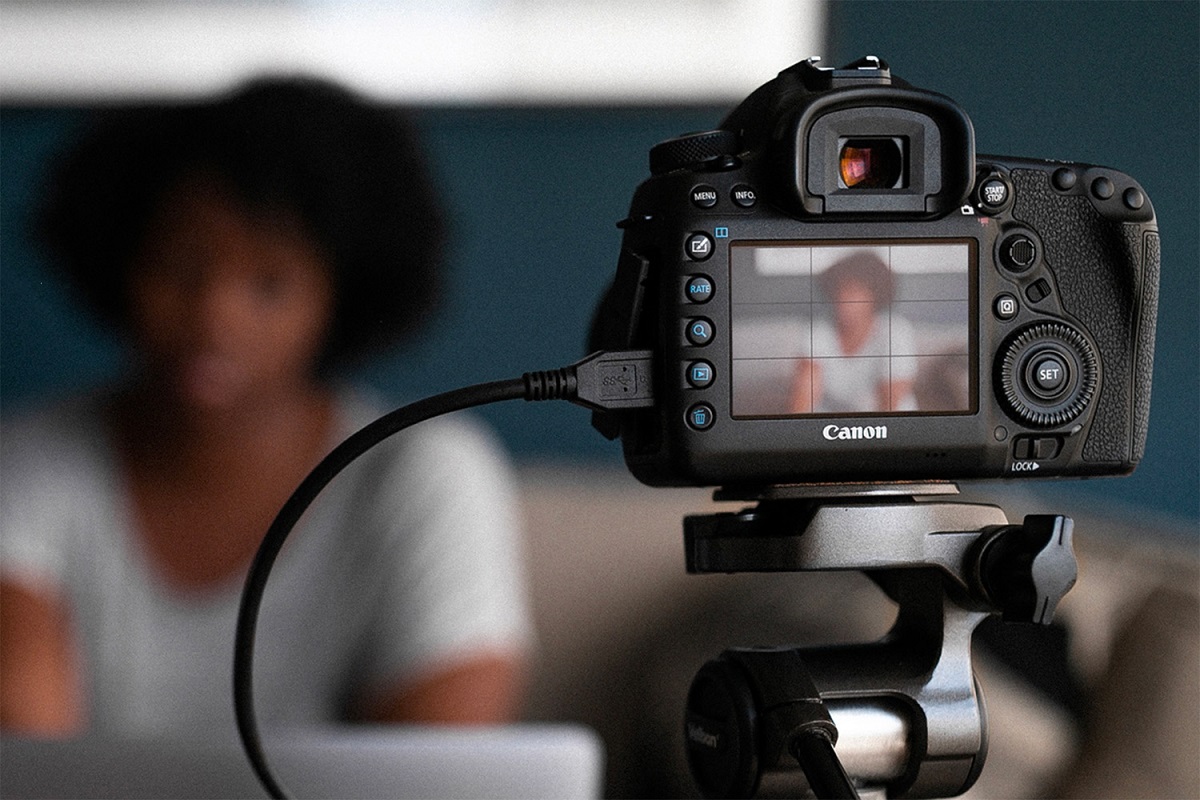
- Connect the HDMI Cable: Connect one end of the HDMI cable to the HDMI output port on your camera and the other end to the HDMI input port of your capture card or directly to your computer, depending on your setup.
- Double-Check Connections: Ensure that all connections are secure and properly plugged in. Check that the HDMI cable is inserted firmly into both the camera and the capture card or computer.
Once your DSLR camera is properly set up, you can move on to connecting it to your computer and configuring the necessary settings in your streaming software. Ensuring the correct camera setup is crucial for capturing high-quality video and delivering a professional-looking webcam feed for your online meetings, live streams, or content creation.
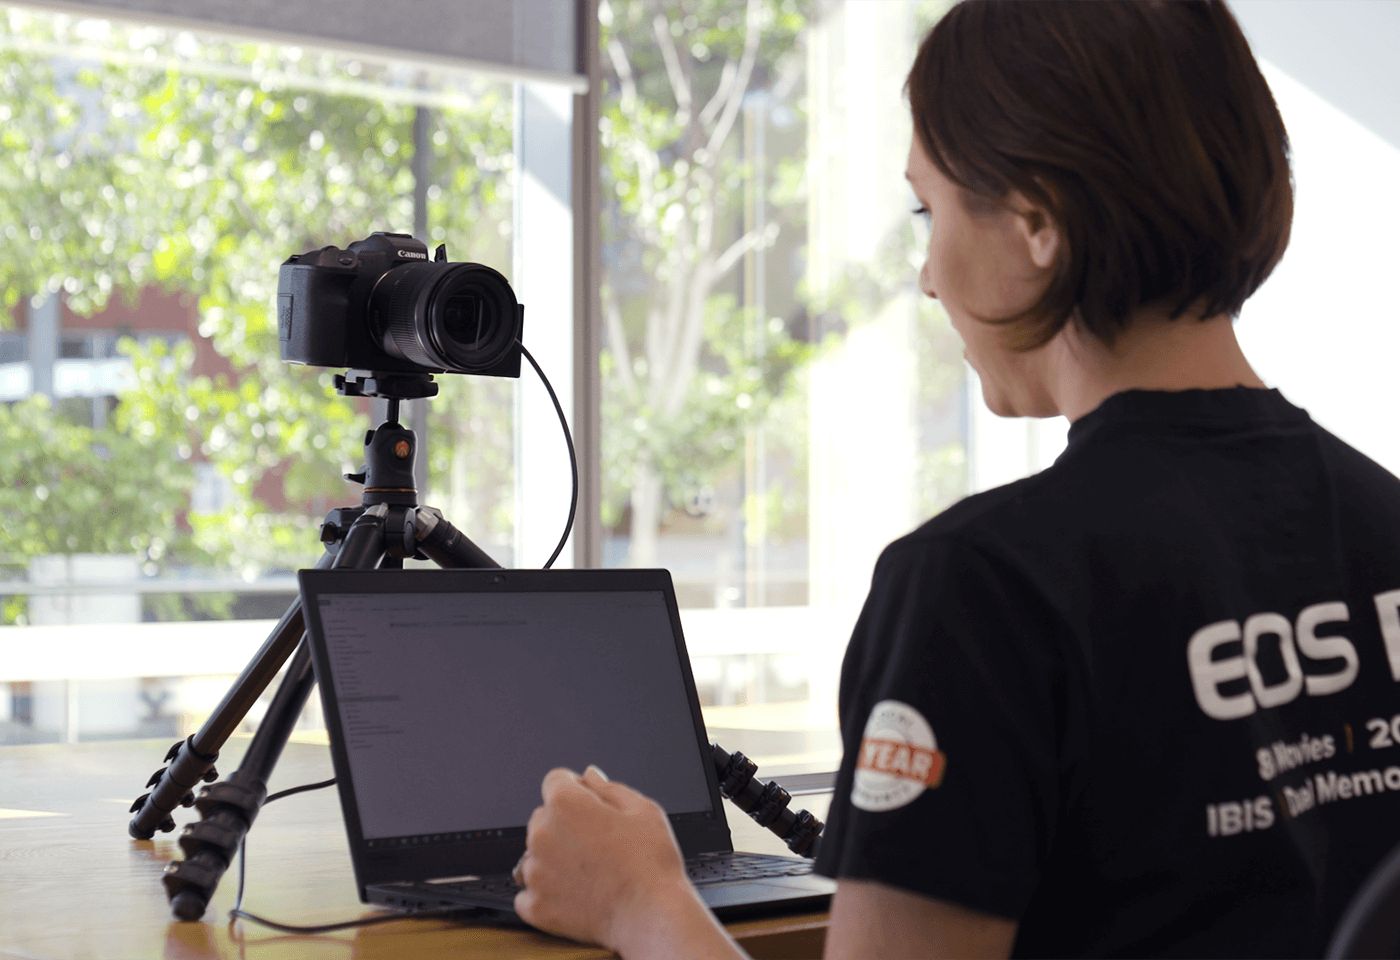
Step 4: Connect Your Camera to Your Computer
Now that you have set up your DSLR camera, it’s time to establish the connection between your camera and your computer. The following steps will guide you through the process:
- Connect the USB Capture Card: If you’re using a USB capture card, plug one end of the USB cable into the capture card and the other end into an available USB port on your computer. Ensure that the connection is secure.
- Connect the HDMI Cable: Connect the HDMI cable from your camera to the HDMI input port on the capture card or directly to the HDMI input port on your computer if it has one. Make sure the cable is securely plugged in on both ends.
- Check Camera Compatibility: Open the streaming software you installed earlier and check if your camera is recognized. In the software settings, you may need to select the capture card or the camera-connected HDMI input as the video source.
- Camera Display: On the camera LCD screen, you might see a live preview of what the camera is capturing. Some cameras may have an option to turn off the LCD screen to conserve battery life or minimize distractions during streaming.
- Camera Control: In most cases, you will not be able to control camera settings directly from the streaming software. Adjustments like focus, exposure, or white balance will need to be made on the camera itself.
- Camera Display on Computer: Once the camera is connected and recognized by the streaming software, you should see the camera’s live video feed on your computer screen. You can now proceed to configure other settings within the streaming software.
Keep in mind that the exact steps and settings may vary depending on the streaming software you are using and the camera model you have. Refer to the software documentation or consult online resources for specific instructions related to your setup.
With your camera successfully connected to your computer, you are now ready to move on to the next step of configuring the camera settings within the streaming software to ensure optimal video quality for your webcam feed.
Step 5: Adjust Camera Settings
After connecting your DSLR camera to your computer, it’s time to fine-tune the camera settings to ensure the best video quality for your webcam feed. Follow these steps to adjust the camera settings:
- Exposure: Adjust the exposure settings on your camera to ensure the proper brightness of your video. You can usually control the exposure through the camera’s menu or dedicated buttons. Experiment with different settings to find the optimal exposure level.
- White Balance: Set the white balance on your camera to achieve accurate colors in your video feed. This helps avoid any unnatural color tinting. You can choose from preset white balance options or manually adjust the white balance to match the lighting conditions in your environment.
- Focus: Ensure that your camera is focused properly. Most cameras offer both auto-focus and manual focus options. Depending on your preference, choose the appropriate focus mode. If using auto-focus, make sure it is enabled and working effectively during your video calls or streaming.
- Picture Profile: Some cameras provide picture profiles that allow you to fine-tune the look of your video. These profiles can affect contrast, saturation, sharpness, and other aspects of the image. Experiment with different picture profiles to achieve the desired visual style for your webcam feed.
- Audio Settings: If you plan to use the microphone built into your camera, ensure that the audio levels are properly set. Check the camera’s audio settings to adjust the input volume and verify that the sound is clear and without any distortions.
- Frame Rate and Resolution: Verify that the camera is set to the appropriate frame rate and resolution for your streaming needs. Most cameras support multiple frame rates (e.g., 30 fps, 60 fps) and resolutions (e.g., 1080p, 720p). Select the highest quality settings that your camera and computer can handle without causing any performance issues.
While adjusting these settings, ensure that you have a live preview of your camera’s video feed on your computer screen through the streaming software. This will allow you to see the real-time changes you make to the camera settings and adjust accordingly.
Don’t be afraid to experiment with different settings to find the optimal configuration for your video feed. Regularly review and fine-tune these settings based on your specific requirements or changes in lighting conditions.
Once you have adjusted the camera settings, you’re ready to proceed to the next step of selecting the camera as your preferred webcam device within the streaming software.
Step 6: Select the Camera as Your Webcam
Now that you have connected your DSLR camera and adjusted the camera settings, it’s time to configure your streaming software to recognize and use the camera as your preferred webcam device. Follow these steps:
- Launch the Streaming Software: Open the streaming software you installed earlier.
- Access Settings or Preferences: Look for the settings or preferences section within the streaming software. This is usually located in the top menu bar or in a dedicated settings menu.
- Select the Camera Device: In the settings or preferences section, navigate to the video settings or webcam settings. Look for the option to choose the camera device and select your DSLR camera from the available options.
- Adjust Resolution and Frame Rate: Set the desired resolution and frame rate for your video feed within the streaming software. Ensure that the selected settings match the capabilities of your DSLR camera and your computer’s processing power.
- Configure Other Settings: Explore the additional settings within the streaming software. These may include audio settings, video filters, or other customization options that can further enhance your webcam feed.
- Preview and Test: Use the preview or test feature in the streaming software to see how your webcam feed appears. Make any necessary adjustments to achieve the desired video quality.
- Save and Exit: Once you are satisfied with the camera selection and settings, save the changes within the streaming software and exit the settings or preferences section.
Keep in mind that the exact steps may vary depending on the streaming software you are using. Refer to the documentation or support resources provided by the software manufacturer for specific instructions or troubleshooting tips.
By selecting your DSLR camera as your webcam device within the streaming software, you are now ready to utilize its high-quality video capabilities for smooth and professional-looking web conferencing, live streaming, or content creation.
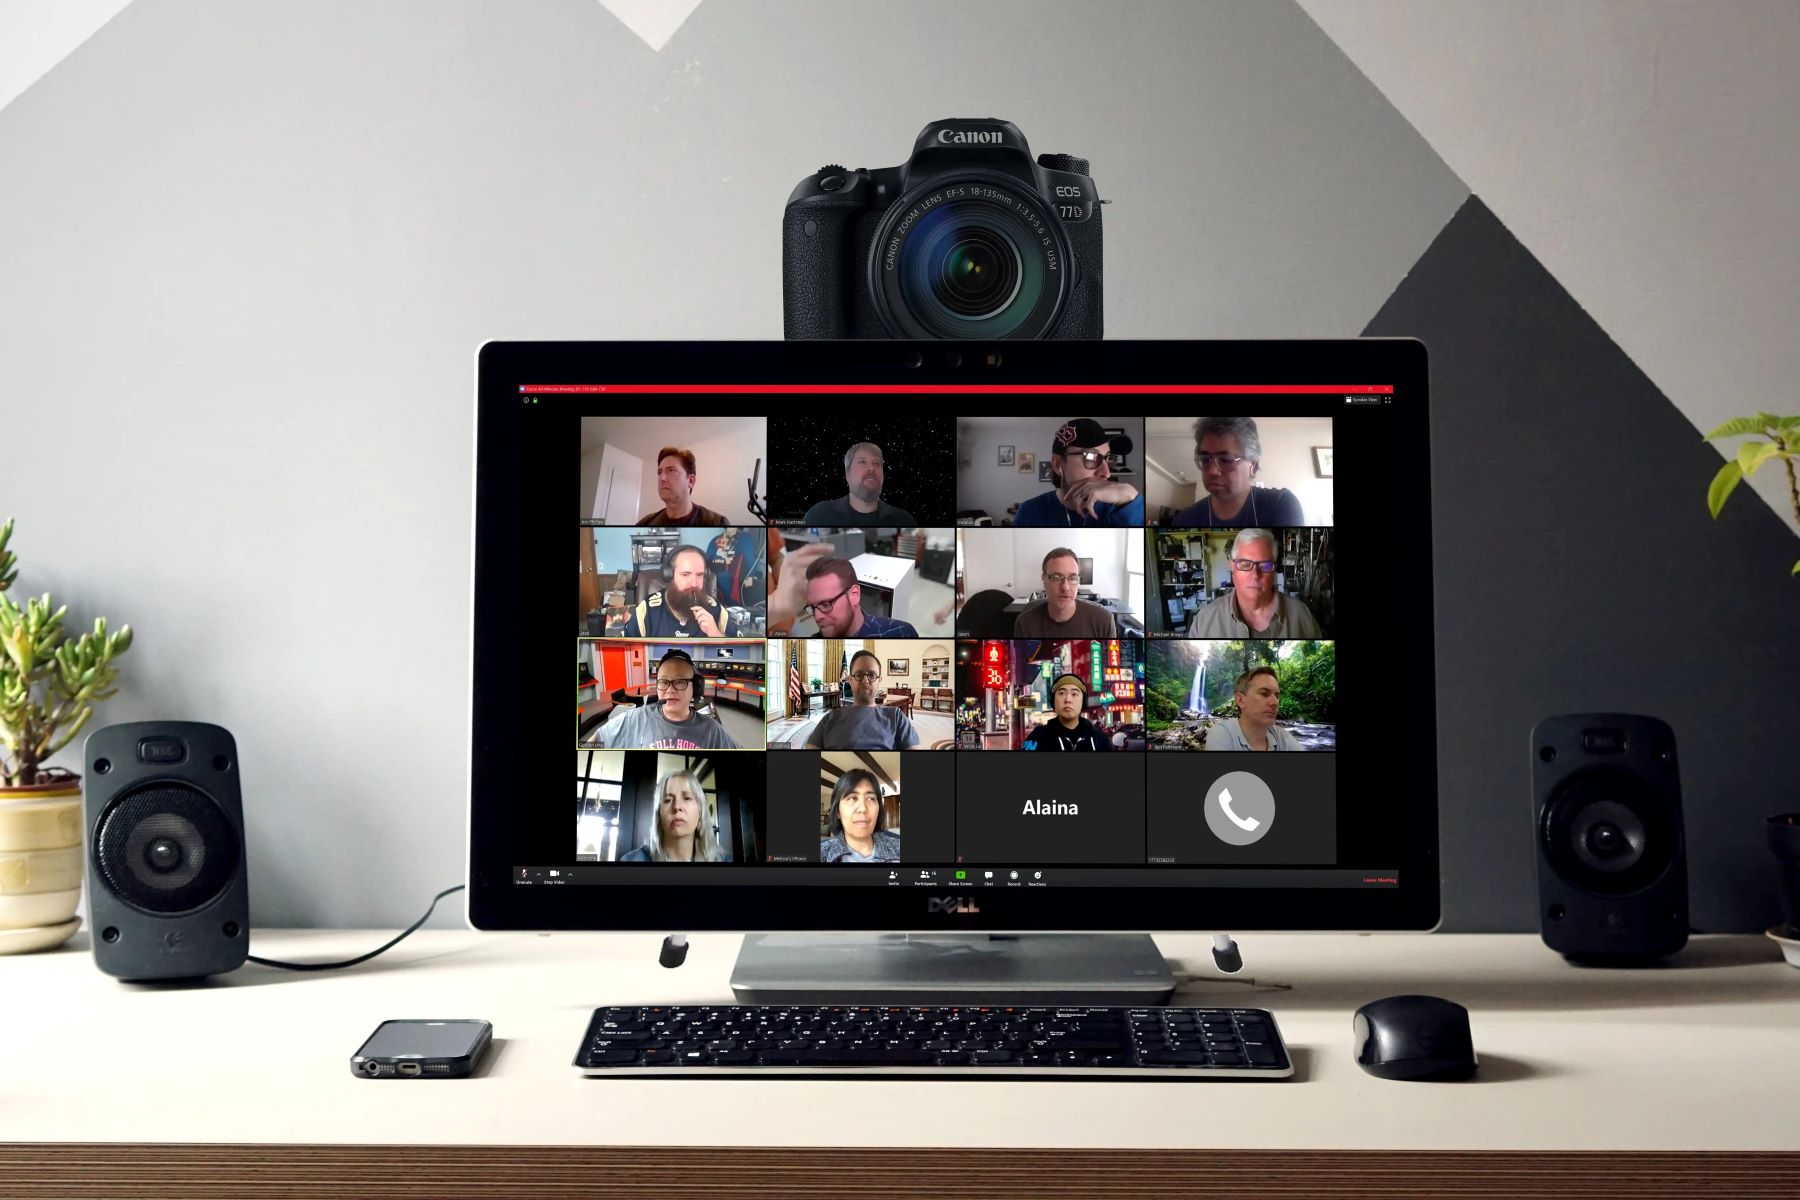
Step 7: Test the Webcam
Now that you have set up and configured your DSLR camera as a webcam, it’s important to test it before your important video calls, live streams, or content creation sessions. Follow these steps to ensure that your webcam is functioning correctly:
- Open Your Preferred Communication or Streaming Platform: Launch the communication or streaming platform that you intend to use for your video calls or streams. This can be Zoom, Skype, Google Meet, OBS Studio, or any other platform of your choice.
- Create a Test Call or Stream: Initiate a test call or start a private stream that only you can access. This will allow you to see how your video feed appears in real-time and make any necessary adjustments.
- Select Your Camera: In the settings or preferences section of the communication or streaming platform, ensure that your DSLR camera is selected as the video input device.
- Check the Video Quality: Start the test call or stream, and observe the video quality. Pay attention to the following aspects:
- Image clarity: Ensure that your video feed is clear and not blurry.
- Colors and lighting: Check that the colors are accurate and the lighting is well-balanced.
- Frame rate: Ensure that the video appears smooth without any noticeable stuttering or lag.
- Focus: Make sure the camera is focusing properly and keeping you in focus during movement.
- Test Audio (optional): If you plan to use the microphone built into your camera, test the audio quality as well. Speak clearly and listen to the recorded playback to ensure that the sound is clear and without any distortions.
- Make Adjustments as Needed: Based on your test results, make any necessary adjustments to the camera settings, position, lighting, or any other factors that may impact the video quality.
- Repeat the Test: If you made any changes, perform another test call or stream to verify that the adjustments have improved the video quality to your satisfaction.
Regularly testing your DSLR camera as a webcam ensures that you are well-prepared and confident in the quality of your video feed during important meetings, streams, or content creation sessions. It allows you to make any necessary adjustments in advance and ensures a smooth and professional experience for all participants or viewers.
Step 8: Optimize Your Video Appearance
Now that you have tested your DSLR camera as a webcam and ensured that it is working properly, you can focus on optimizing your video appearance to make the best impression during your web conferences, live streams, or content creation. Follow these steps to enhance your video appearance:
- Lighting: Proper lighting is essential for a professional-looking video. Make sure you are well-lit with soft, diffused lighting from the front. Avoid harsh or direct lighting that can cast shadows or create unflattering effects. Consider using a ring light, softbox, or natural light from a window to achieve optimum lighting.
- Background: Pay attention to your background as it can significantly impact the overall appearance of your video. Choose a clean, uncluttered background that is not distracting. Consider using a virtual background if your streaming software supports it or position yourself in front of a neutral wall or backdrop.
- Composition: Frame yourself properly within the video feed. Position yourself in the center of the frame, with enough headroom and some space above your head. Use the rule of thirds to create a pleasing composition by placing yourself slightly off-center.
- Appearance: Dress appropriately for your video meetings or streams. Consider what you would wear for an in-person meeting or event to ensure a professional appearance. Pay attention to your posture, facial expressions, and gestures to exude confidence and engagement.
- Audio: Although it doesn’t directly influence your video appearance, ensuring clear and high-quality audio is crucial. Use an external microphone if possible, as it can provide better audio fidelity compared to the built-in camera microphone. Test your audio levels and minimize background noise to deliver a more polished experience.
- Engagement: Maintain eye contact with the camera as if you’re looking directly at the person on the other side of the screen. Smile, nod, and use appropriate gestures to actively engage with your audience. Being enthusiastic and attentive will captivate your viewers and create a positive impression.
- Monitor Your Performance: Regularly review recordings of your video calls or streams to identify areas for improvement. Pay attention to your speaking pace, vocal tone, and overall presentation. Adjust your delivery and presentation style as necessary to continuously refine and improve your video appearance.
Remember that video appearance optimization is an ongoing process. Continuously work on refining your setup, experimenting with different techniques, and seeking feedback to improve your video presence over time.
By paying attention to these factors, you can project a professional image and create an engaging and memorable experience for your audience, whether you’re attending a virtual meeting, streaming live content, or creating video content for online platforms.
Conclusion
Using a DSLR camera as a webcam can significantly elevate the quality of your web conferencing, live streaming, and content creation. The superior image quality, depth of field, and versatility offered by DSLRs provide a professional look and enhance your online presence.
In this guide, we have covered the essential steps to successfully use your DSLR as a webcam. We started by discussing the benefits of using a DSLR, such as improved image quality, depth of field, and flexibility in positioning. We then outlined the necessary equipment, including the DSLR camera, HDMI cable, AC power adapter, tripod or camera mount, USB capture card, streaming software, and a capable computer.
We went through each step of the process, from choosing the right camera and installing the necessary software and drivers to setting up the camera, connecting it to your computer, adjusting camera settings, selecting it as your webcam device, testing the webcam, and optimizing your video appearance.
Remember, the key to a successful DSLR-as-webcam setup lies in proper planning, configuration, and testing. Regularly test your setup, make adjustments as needed, and continually strive to improve the quality of your video feed.
By following these steps and optimizing your DSLR camera setup, you can take your web conferencing, streaming, and content creation to the next level, ensuring a professional and engaging online presence. So, go ahead and harness the power of your DSLR camera to make a lasting impression on your audience!