Introduction
Are you looking to elevate your video conferencing and live streaming game? Your DSLR camera can serve as a high-quality webcam, offering superior image quality and enhanced versatility compared to standard webcams. By harnessing the power of your DSLR, you can achieve professional-looking video content for virtual meetings, online classes, or live streaming sessions. This guide will walk you through the steps to seamlessly integrate your DSLR camera into your computer setup, unlocking its full potential as a webcam.
Harnessing the power of a DSLR camera for your video needs can significantly enhance the visual appeal of your content. Whether you're a content creator, educator, or business professional, the crisp image quality and advanced features of a DSLR can take your video presentations to the next level. With the ability to control depth of field, adjust exposure settings, and utilize high-quality lenses, your DSLR camera can deliver a level of visual impact that traditional webcams simply can't match.
In the following steps, you will learn how to check your camera's compatibility, gather the necessary cables and adapters, install the required software, connect your camera to your computer, set up your camera as a webcam, and fine-tune the camera settings and position. By following these instructions, you can unlock the full potential of your DSLR camera and elevate the quality of your video content. Let's dive in and explore the process of harnessing the power of your DSLR camera as a webcam.
Step 1: Check Your Camera Compatibility
Before embarking on the journey of transforming your DSLR camera into a webcam, it’s essential to ensure that your camera is compatible with this functionality. Not all DSLR models support direct USB connectivity for use as a webcam, so it’s crucial to verify the compatibility of your specific camera model.
Start by consulting the manufacturer’s website or user manual for your DSLR camera. Many camera manufacturers offer dedicated software or firmware updates that enable webcam functionality for their DSLR models. Look for information regarding “webcam utility” or “tethering software” provided by the manufacturer. This software can often unlock the webcam capabilities of your camera, allowing it to function as a high-quality video input device for your computer.
If your camera model is not natively supported for use as a webcam, don’t lose hope just yet. Third-party software solutions exist that can bridge the gap and enable webcam functionality for a broader range of DSLR cameras. Popular software applications such as OBS Studio, SparkoCam, and ManyCam offer compatibility with a wide array of DSLR models, providing the necessary tools to connect your camera to your computer as a webcam.
Additionally, some newer DSLR models come equipped with native webcam functionality, allowing for seamless integration with video conferencing and live streaming applications without the need for additional software or firmware updates. If you’re in the market for a new DSLR camera and plan to use it as a webcam, consider researching models that offer built-in webcam support to streamline the setup process.
By confirming the compatibility of your DSLR camera and identifying the available software solutions, you can lay the groundwork for a successful transition to using your DSLR as a webcam. With the compatibility aspect addressed, you’re ready to move on to the next steps in the process of harnessing the full potential of your DSLR camera for your video needs.
Step 2: Gather the Necessary Cables and Adapters
Once you’ve confirmed the compatibility of your DSLR camera for use as a webcam, the next step involves gathering the essential cables and adapters to establish a seamless connection between your camera and your computer. Depending on the specific requirements of your camera model and computer setup, you may need to acquire certain cables and adapters to facilitate the connection.
First and foremost, determine the type of connectivity options available on your DSLR camera. Many modern DSLR cameras feature a USB port that can be utilized for connecting the camera to a computer. However, some older models may require alternative connectivity solutions, such as HDMI or mini HDMI ports, to establish a video feed to your computer.
If your camera utilizes a USB connection, ensure that you have a compatible USB cable that can link your camera to your computer. It’s advisable to use the cable provided by the camera manufacturer or a high-quality third-party alternative to ensure reliable data transfer and minimize potential connectivity issues.
In the case of cameras with HDMI output, you may need an HDMI capture device to convert the camera’s HDMI signal into a format compatible with your computer’s USB port. These capture devices, often referred to as HDMI capture cards, serve as an intermediary between the camera’s video output and the computer, allowing for seamless integration of the DSLR camera into your video conferencing or live streaming setup.
For DSLR models equipped with mini HDMI ports, ensure that you have the appropriate adapter or cable to connect the camera’s output to the HDMI capture device or directly to your computer, depending on the available connectivity options.
By gathering the necessary cables and adapters tailored to your specific camera and computer setup, you can ensure a smooth and reliable connection between your DSLR camera and your computer. With the hardware requirements addressed, you’re poised to progress to the subsequent steps, bringing you closer to unleashing the full potential of your DSLR as a high-quality webcam.
Step 3: Install the Required Software
With your DSLR camera and necessary cables at the ready, the next crucial step in the process of transforming your camera into a webcam involves installing the requisite software on your computer. Depending on your camera model and the chosen method of connecting it to your computer, different software options may be available to facilitate the webcam functionality.
If your DSLR camera manufacturer provides dedicated webcam utility software or firmware updates, visit the official website or support portal to download and install the recommended software for your specific camera model. This software often enables seamless integration of your DSLR camera with popular video conferencing and live streaming applications, allowing the camera to function as a high-quality webcam input.
For DSLR models requiring third-party software solutions to enable webcam functionality, various applications cater to this need. OBS Studio, a versatile and open-source software, offers robust webcam support for a wide range of DSLR cameras, providing extensive customization options and compatibility with popular video platforms. SparkoCam is another popular choice, offering features such as green screen support, real-time effects, and virtual webcam functionality, expanding the creative possibilities for your video content.
ManyCam, renowned for its live streaming and video conferencing capabilities, also serves as a reliable option for integrating your DSLR camera into your computer setup as a webcam. These software solutions empower you to harness the full potential of your DSLR camera, leveraging its superior image quality and advanced features for your video needs.
Prioritize the installation of the recommended software tailored to your camera model and desired functionality, ensuring that the software is compatible with your computer’s operating system. By installing the appropriate software, you pave the way for a seamless transition to utilizing your DSLR camera as a high-quality webcam, setting the stage for enhanced video conferencing, live streaming, and content creation experiences.
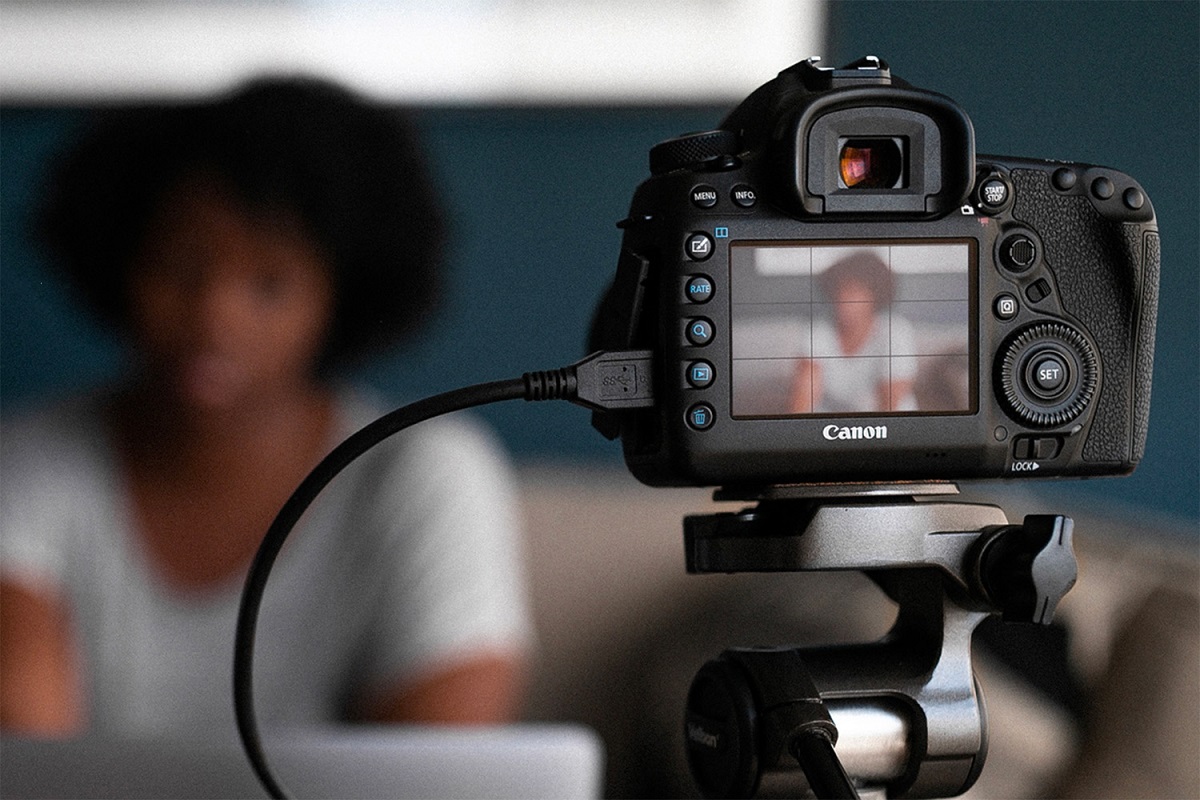
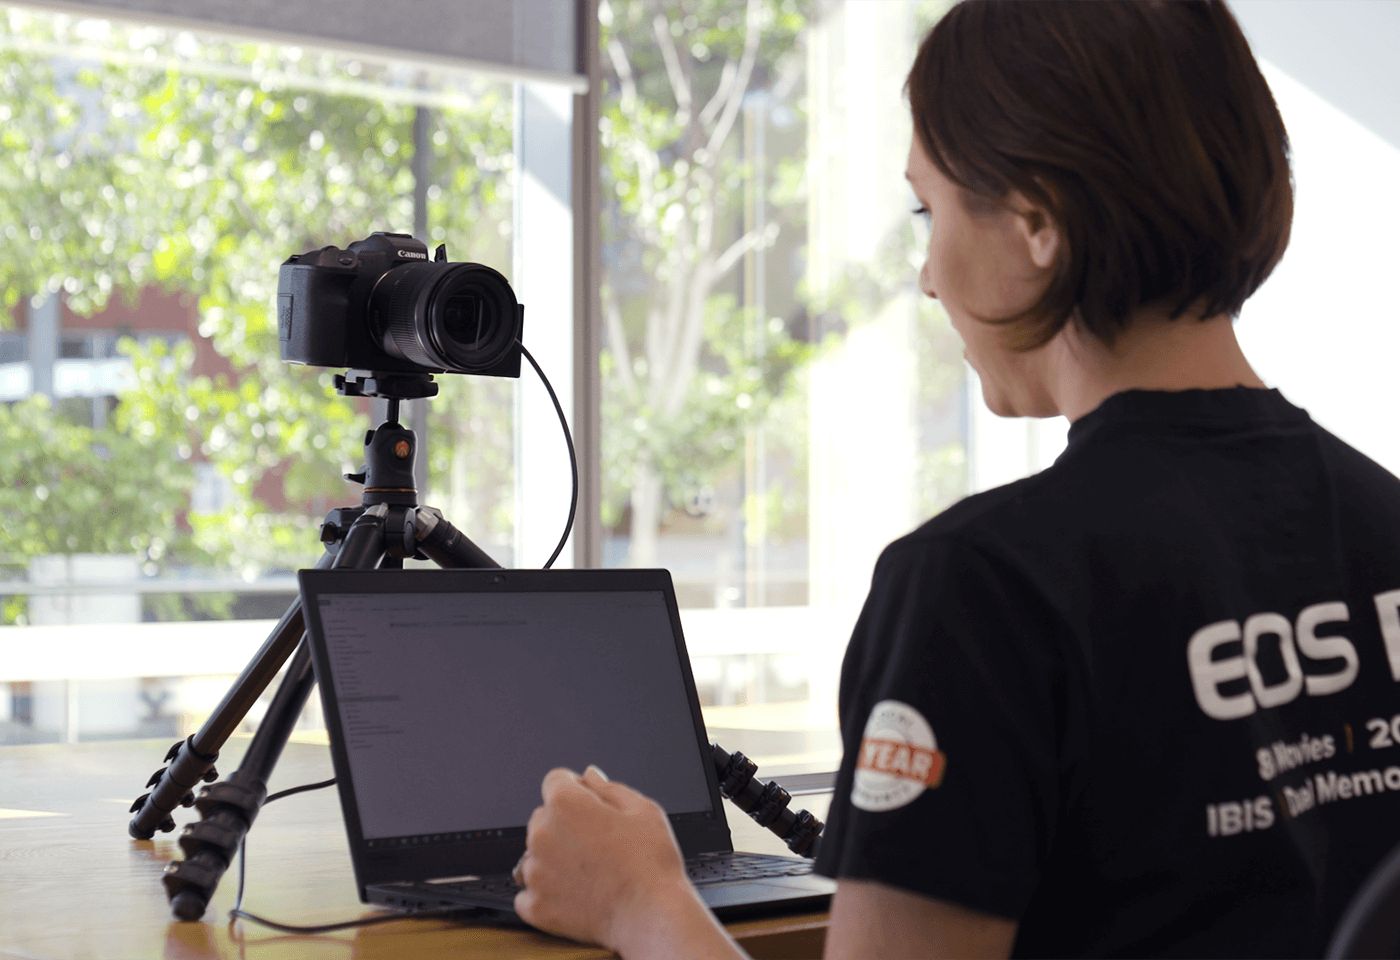
Step 4: Connect Your Camera to Your Computer
With the necessary software installed, it’s time to establish the physical connection between your DSLR camera and your computer, setting the stage for integrating the camera as a high-quality webcam. The specific method of connection will depend on the available connectivity options of your camera and the chosen software solution for enabling webcam functionality.
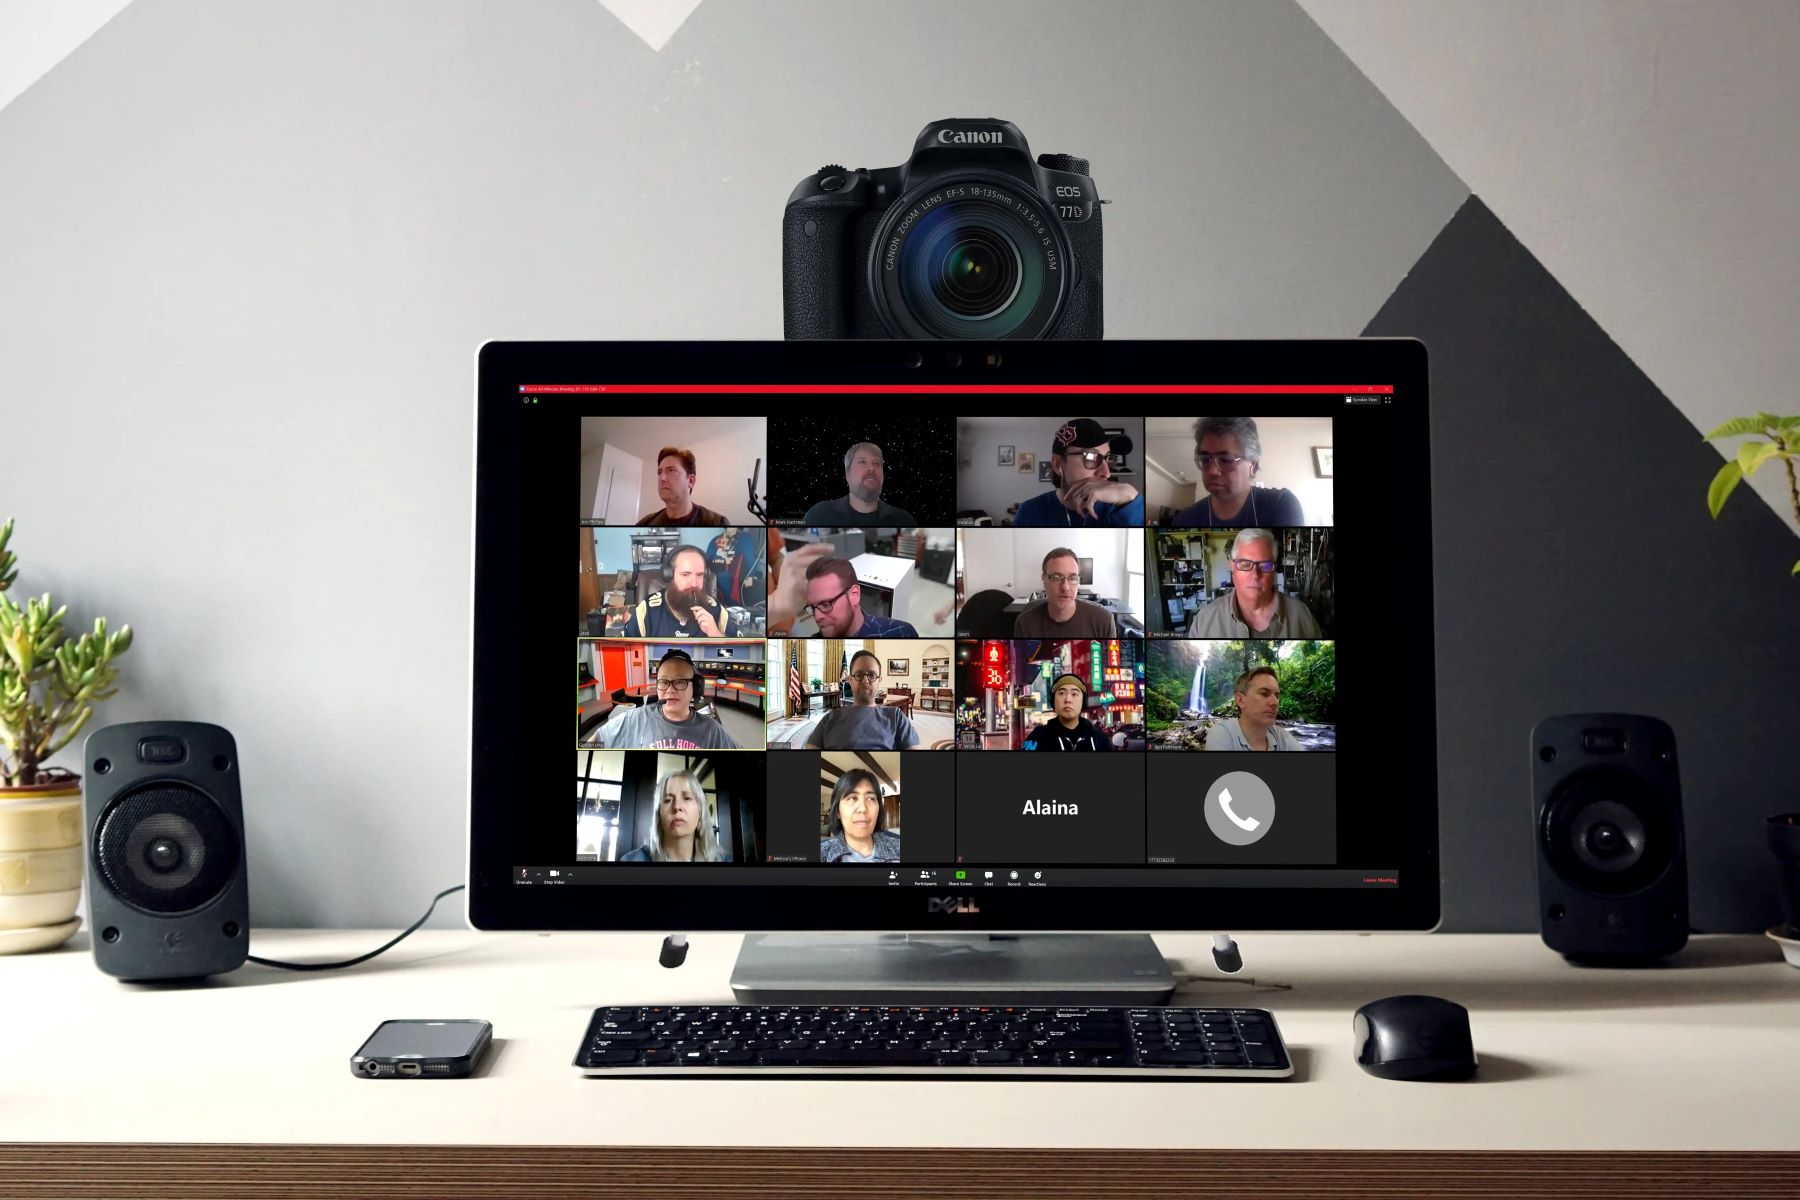
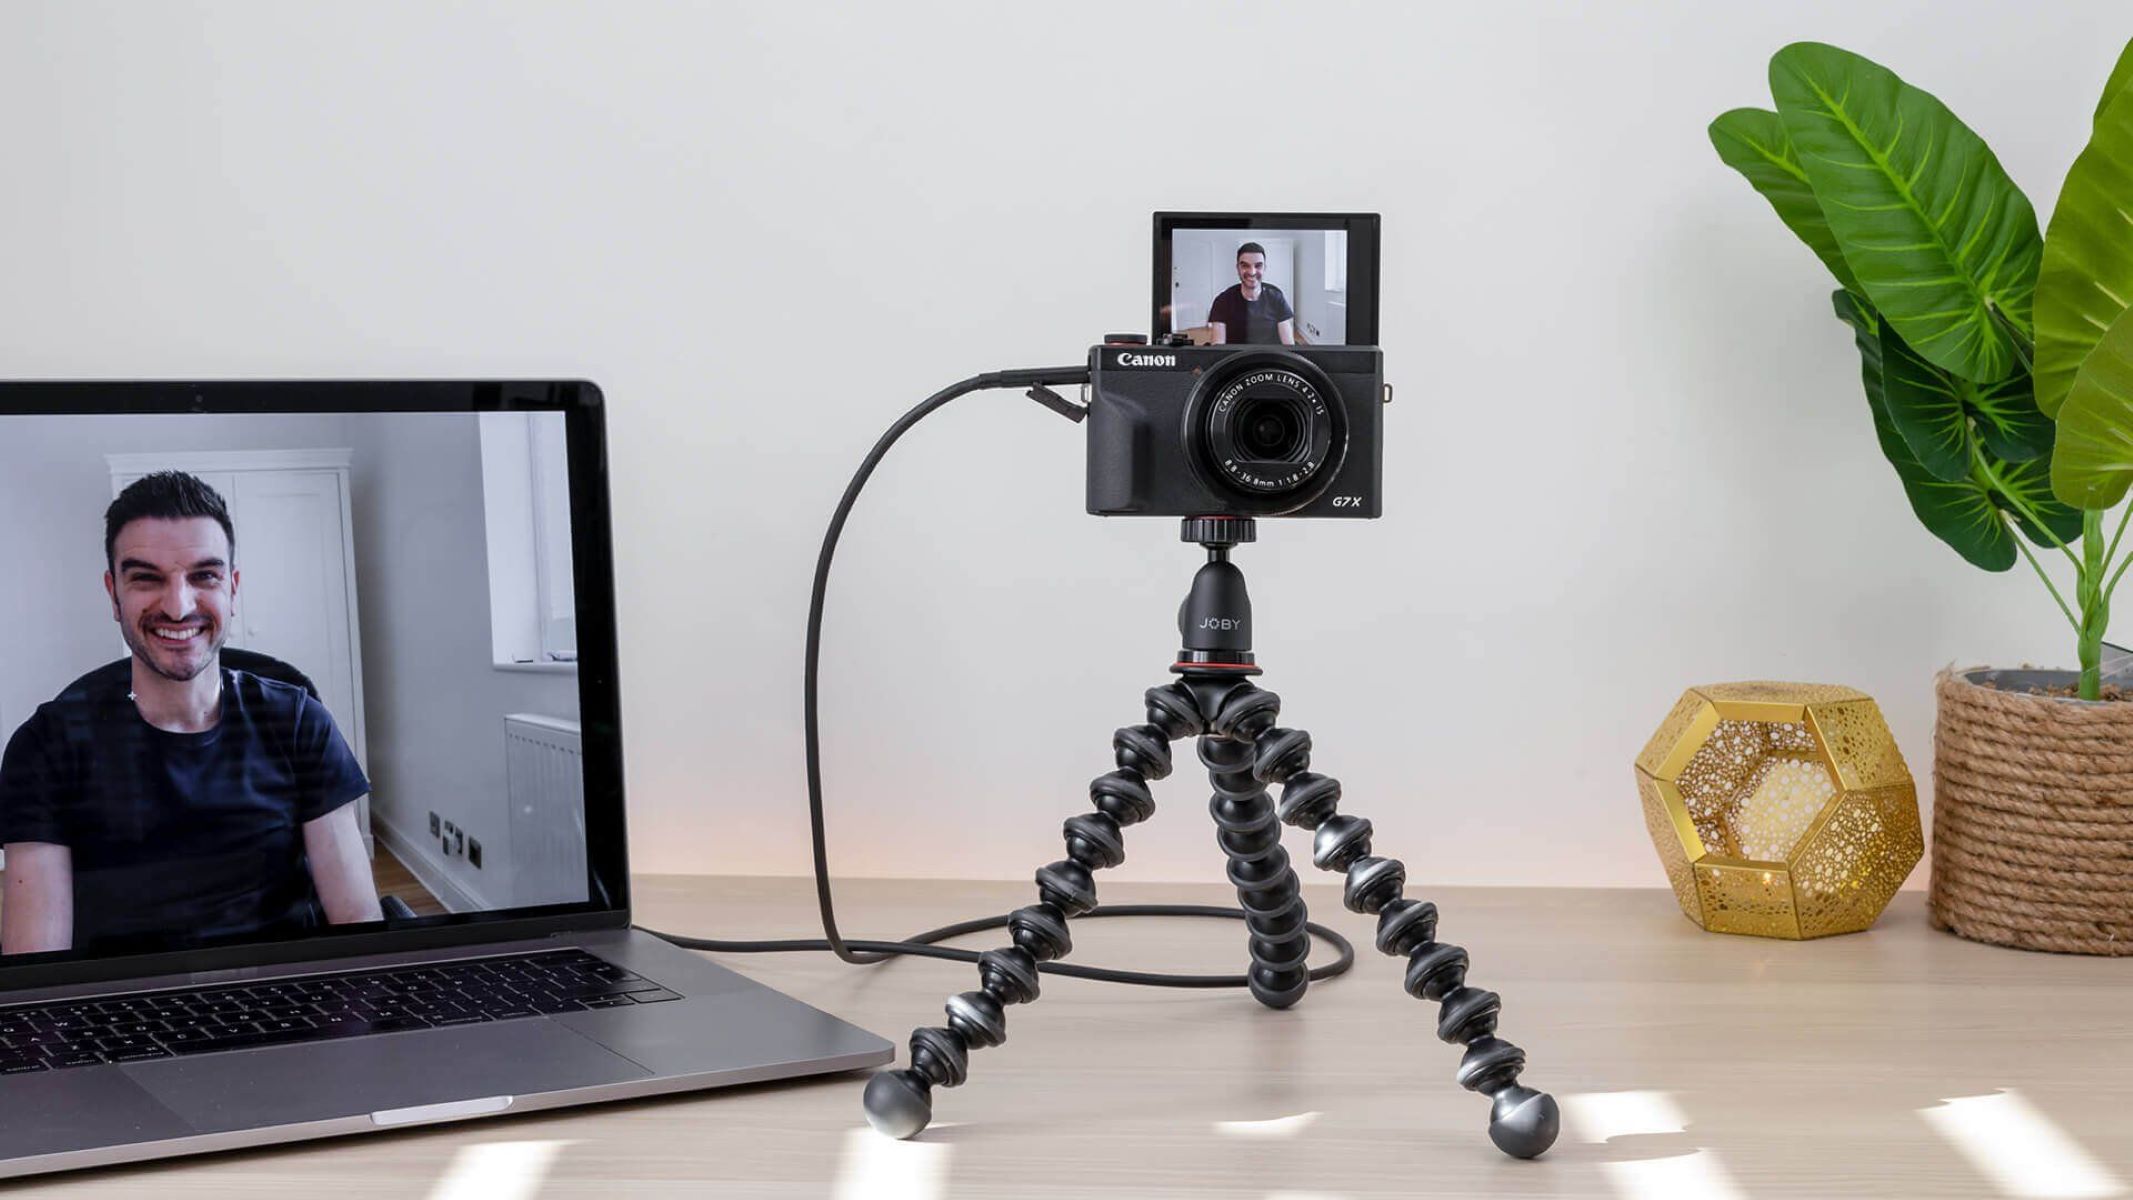
If your DSLR camera features a USB port for direct connectivity, use the compatible USB cable to link the camera to your computer. Ensure that the camera is powered on and set to the appropriate mode for webcam functionality, as specified by the manufacturer or the installed webcam utility software. Once connected, your computer should recognize the DSLR camera as a video input device, allowing you to access the camera’s feed within the selected software application.
For DSLR models requiring HDMI output for video transmission, connect the camera to an HDMI capture device using the appropriate cable or adapter. The HDMI capture device serves as a bridge between the camera’s video output and your computer, converting the HDMI signal into a format compatible with your computer’s USB port. This setup enables the DSLR camera to function as a webcam input, providing a high-quality video feed for your video conferencing or live streaming needs.
Upon establishing the physical connection between your DSLR camera and your computer, verify that the camera’s video feed is successfully recognized within the installed software application. Adjust the camera settings and positioning as needed to achieve the desired framing and image quality for your video content. With the camera successfully connected and configured, you’re ready to proceed to the next step in the process of harnessing the full potential of your DSLR as a webcam.
Step 5: Set Up Your Camera as a Webcam
Having established the physical connection between your DSLR camera and your computer, the next pivotal step involves configuring the camera to function seamlessly as a webcam within your chosen software application. This process may entail adjusting specific settings and modes on your camera to optimize its performance as a high-quality video input device for video conferencing, live streaming, or content creation.
If your DSLR camera requires the use of dedicated webcam utility software provided by the manufacturer, launch the software and navigate to the settings or preferences section to configure the camera for webcam use. This may involve selecting the camera model, adjusting video resolution and frame rate settings, and fine-tuning exposure and focus parameters to ensure optimal image quality for your video content.
For DSLR models utilizing third-party software solutions such as OBS Studio, SparkoCam, or ManyCam, access the software’s settings or preferences menu to designate your DSLR camera as the primary video input source. Configure the desired resolution, frame rate, and audio input settings to align with your specific video production requirements, tailoring the camera’s performance to suit your intended use case.
Additionally, explore any advanced features offered by the software, such as virtual backgrounds, real-time effects, or scene transitions, to enhance the visual appeal of your video content. These creative tools can elevate the production value of your video conferencing sessions, live streams, or recorded content, providing a professional and engaging viewing experience for your audience.
Throughout the setup process, prioritize the optimization of your DSLR camera’s performance as a webcam, leveraging its superior image quality and customizable settings to deliver impactful visual content. With the camera successfully configured within the chosen software application, you’re poised to embark on the next phase of refining the camera settings and positioning to achieve an optimal video production environment.
Step 6: Adjust Camera Settings and Position
With your DSLR camera configured to function as a webcam, it’s time to fine-tune the camera settings and positioning to ensure an optimal video production environment. By customizing the camera’s parameters and carefully positioning it, you can enhance the visual quality and framing of your video content, setting the stage for professional-looking video conferencing, live streaming, or content creation.
Begin by accessing the camera’s settings menu to adjust critical parameters such as exposure, white balance, and focus. These settings play a pivotal role in determining the overall image quality and visual consistency of your video feed. By optimizing the exposure levels, ensuring accurate white balance, and achieving precise focus, you can elevate the clarity and professional appearance of your video content.
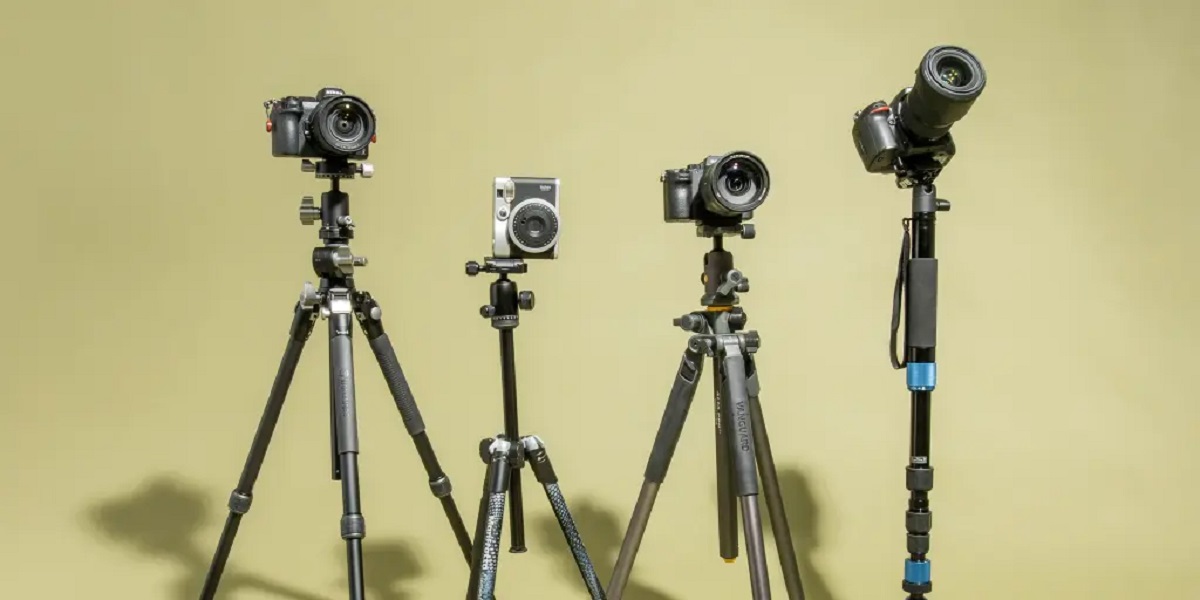
Consider the composition and framing of your video feed, aiming to position the camera to capture a visually appealing and well-balanced image. Utilize the camera’s adjustable tripod mount or compatible accessories to achieve a stable and level camera setup, minimizing potential distractions and ensuring a steady video feed for your audience.
If your DSLR camera offers interchangeable lenses, explore the use of lenses with varying focal lengths to achieve the desired framing and depth of field for your video content. Experiment with different focal lengths to find the optimal perspective and visual impact, tailoring the camera’s lens selection to suit the specific requirements of your video production environment.
Furthermore, consider the lighting conditions in your video production space, aiming to achieve well-lit and evenly illuminated surroundings to complement the visual quality of your video feed. Strategically position lighting sources to minimize shadows and ensure flattering illumination for your on-camera presence, enhancing the overall production value of your video content.
By meticulously adjusting the camera settings and positioning, you can optimize the visual quality and composition of your video feed, presenting a polished and professional image to your audience. With the camera fine-tuned and positioned for optimal performance, you’re ready to progress to the final step in the process of harnessing the full potential of your DSLR as a high-quality webcam.
Step 7: Test Your DSLR Camera as a Webcam
As you near the culmination of the process to transform your DSLR camera into a high-quality webcam, it’s essential to conduct thorough testing to ensure the seamless functionality and optimal performance of your camera in its new role. By thoroughly evaluating the camera’s output and addressing any potential issues, you can refine the setup and deliver a professional and engaging video experience for your intended audience.
Initiate the testing phase by launching your preferred video conferencing or live streaming application and selecting your DSLR camera as the designated video input source. Verify that the camera feed is displayed correctly within the application, assessing the image quality, framing, and overall visual presentation. Pay close attention to any potential issues such as flickering, color inaccuracies, or focus inconsistencies, addressing these concerns through adjustments to the camera settings or positioning.
Engage in a test call or stream to evaluate the camera’s performance in real-time, observing the video feed’s stability, audio-video synchronization, and overall production quality. Assess the audio input from the camera’s built-in microphone or external audio source, ensuring clear and balanced sound reproduction to complement the visual elements of your video content.
Experiment with different camera settings, such as resolution, frame rate, and color profiles, to gauge their impact on the overall video quality and performance. Fine-tune the settings based on your specific use case, aiming to achieve a visually appealing and consistent video feed that aligns with your professional standards and content requirements.
Throughout the testing phase, solicit feedback from trusted peers or collaborators, seeking their input on the visual and technical aspects of your video feed. Their perspectives can provide valuable insights and help identify any potential areas for improvement, allowing you to refine the camera setup and deliver an exceptional video production experience.
By thoroughly testing your DSLR camera as a webcam and addressing any identified issues or opportunities for enhancement, you can refine the setup to deliver professional-grade video content for your virtual meetings, live streams, or content creation endeavors. With the testing phase completed, you’re primed to unleash the full potential of your DSLR camera as a high-quality webcam, elevating the visual quality and impact of your video presentations.
Conclusion
Congratulations on successfully harnessing the power of your DSLR camera as a high-quality webcam! By following the comprehensive steps outlined in this guide, you’ve unlocked a world of possibilities for elevating your video conferencing, live streaming, and content creation endeavors. The transition from a traditional webcam to a DSLR camera offers unparalleled image quality, advanced customization options, and a professional visual presence that captivates your audience.
Throughout this process, you’ve embarked on a journey of compatibility checks, cable and adapter acquisitions, software installations, and meticulous adjustments to the camera settings and positioning. Each step has contributed to the seamless integration of your DSLR camera into your computer setup, paving the way for a sophisticated and visually engaging video production environment.
By leveraging the superior image quality, customizable settings, and versatile lens options of your DSLR camera, you’ve positioned yourself to deliver impactful and professional video content. Whether you’re conducting virtual meetings, hosting live streams, or creating pre-recorded video content, the visual impact of your DSLR camera as a webcam will undoubtedly leave a lasting impression on your audience.
As you continue to explore the creative possibilities enabled by your DSLR camera, consider experimenting with different lenses, lighting setups, and advanced software features to further enhance the visual appeal of your video content. Embrace the flexibility and control offered by your DSLR camera, empowering you to craft visually stunning and engaging video presentations that stand out in a crowded digital landscape.
With your DSLR camera seamlessly integrated as a high-quality webcam, you’re equipped to make a lasting impression, capture attention, and deliver professional-grade video content that resonates with your audience. Embrace the power of your DSLR camera and unleash your creativity, knowing that you’ve harnessed its full potential to elevate your video production endeavors.