Introduction
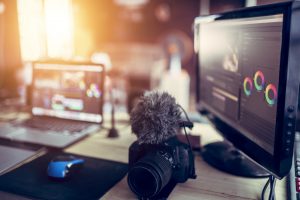
With the increasing demand for high-quality video content in virtual meetings, webinars, and live streams, using a DSLR camera as a webcam has become a popular choice for achieving professional-looking video. By leveraging the superior image quality and advanced features of a DSLR camera, you can elevate your video conferencing experience to a whole new level. However, the process of connecting a DSLR camera as a webcam requires a few essential steps to ensure seamless integration and optimal performance.
In this comprehensive guide, we will walk you through the step-by-step process of setting up and connecting your DSLR camera as a webcam, allowing you to harness the full potential of your camera for virtual communication and content creation. From checking compatibility and gathering necessary equipment to installing software and configuring camera settings, each step is crucial in achieving a smooth transition from a standard webcam to a DSLR-powered video setup.
Whether you are a professional content creator, a remote worker seeking to enhance your video conferencing setup, or an enthusiast looking to maximize the potential of your DSLR camera, this guide will equip you with the knowledge and skills to seamlessly integrate your camera into your virtual communication arsenal.
Step 1: Check Compatibility
Before embarking on the process of connecting your DSLR camera as a webcam, it is essential to verify the compatibility of your camera with the necessary software and connection methods. While many modern DSLR cameras offer the capability to function as webcams, not all models are inherently equipped with this feature. Therefore, it is imperative to confirm whether your specific camera model supports webcam functionality.
Start by consulting the official website of the camera’s manufacturer or referring to the camera’s user manual to determine if the camera is compatible with webcam usage. Manufacturers often provide firmware updates or dedicated software that enable the webcam functionality for their DSLR cameras. Additionally, some third-party software solutions offer compatibility with a wide range of DSLR models, providing flexibility in utilizing your camera as a webcam.
Furthermore, consider the compatibility of your computer operating system with the required software for connecting the DSLR camera as a webcam. Ensure that the software or drivers provided by the camera manufacturer or third-party developers are compatible with your computer’s operating system, whether it is Windows, macOS, or Linux. This step is crucial in ensuring a seamless integration of the DSLR camera with your computer for use in video conferencing applications.
By thoroughly checking the compatibility of your DSLR camera and the necessary software with your computer system, you can lay a solid foundation for the subsequent steps involved in setting up your camera as a webcam. This proactive approach minimizes potential compatibility issues and streamlines the process of harnessing the full potential of your DSLR camera for high-quality video capture in virtual communication scenarios.
Step 2: Gather Necessary Equipment
Preparing to connect your DSLR camera as a webcam involves gathering the essential equipment and accessories to facilitate a seamless integration with your computer for video conferencing or live streaming. While DSLR cameras offer superior image quality and advanced features, transforming them into a webcam requires the use of additional components to establish a reliable connection and optimize functionality.
The primary equipment required for this process includes:
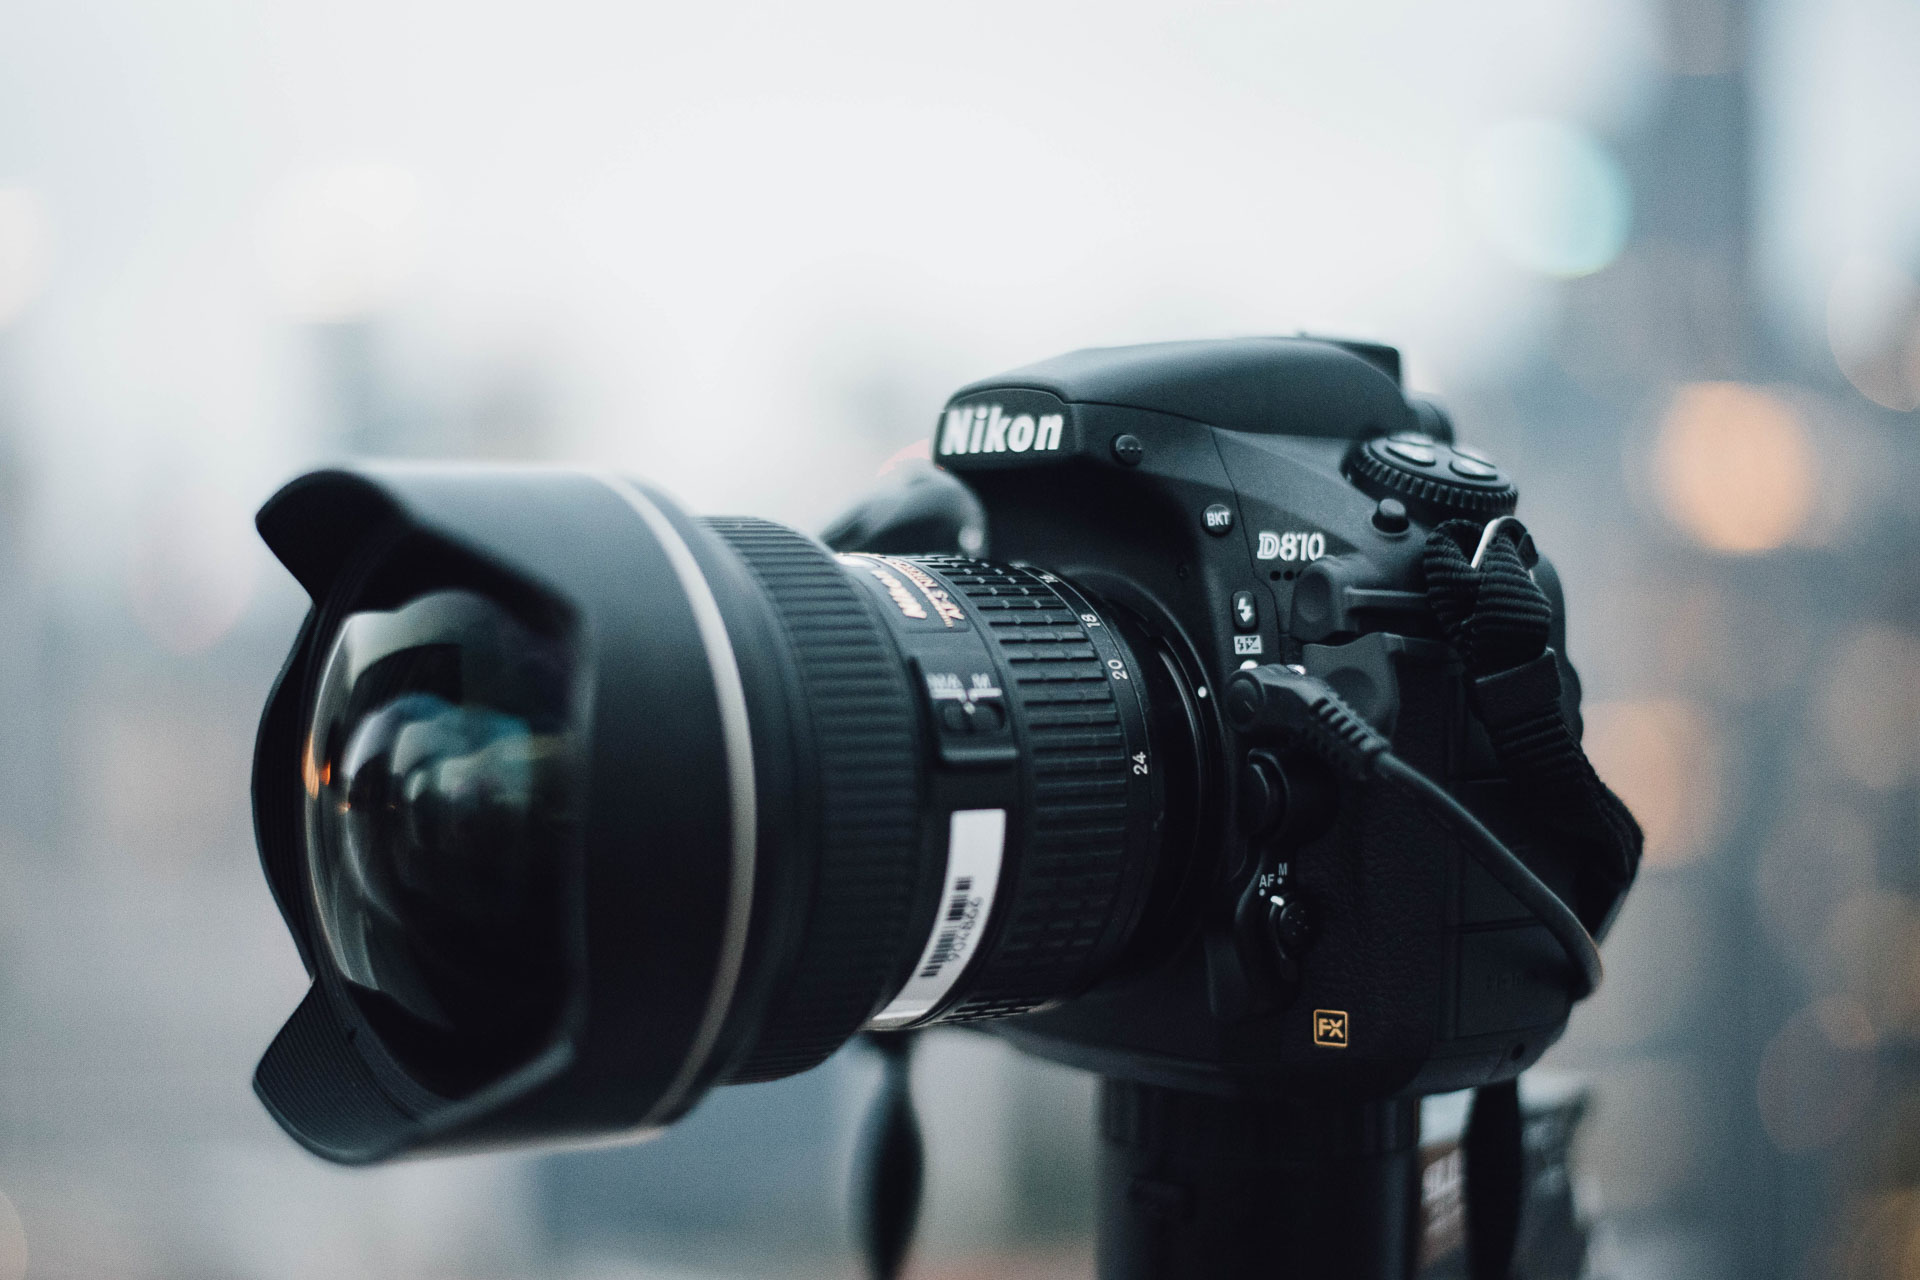
- USB Cable: A high-quality USB cable compatible with your DSLR camera is essential for establishing a direct connection to your computer. Ensure that the cable is of sufficient length to accommodate your setup and provides reliable data transfer.
- AC Power Adapter or Fully Charged Battery: To prevent interruptions during extended video sessions, it is advisable to use an AC power adapter for continuous power supply to the camera. Alternatively, ensure that the camera’s battery is fully charged to sustain prolonged usage.
- Camera Mount or Tripod: Stabilizing your DSLR camera is vital for maintaining a steady and professional-looking video feed. Utilize a camera mount or tripod to securely position the camera and frame your video effectively.
- External Microphone (Optional): While DSLR cameras feature built-in microphones, integrating an external microphone can significantly enhance audio quality, especially in professional or studio settings. Consider incorporating an external microphone for improved sound capture.
By gathering these essential components, you can ensure that your DSLR camera setup is equipped to deliver high-quality video and audio for your virtual communication needs. Additionally, investing in reliable and compatible equipment contributes to a smooth and efficient integration of your DSLR camera as a webcam, elevating the overall quality of your video conferencing or live streaming setup.
Step 3: Install Necessary Software
After confirming the compatibility of your DSLR camera and gathering the essential equipment, the next crucial step in the process of connecting your DSLR camera as a webcam is to install the necessary software on your computer. The availability of dedicated software or drivers provided by the camera manufacturer, as well as third-party applications, facilitates the integration of your DSLR camera with your computer for use in video conferencing and live streaming applications.
Depending on the specific requirements of your DSLR camera model and the operating system of your computer, you may need to install the following types of software:
- Camera Firmware or Drivers: Some camera manufacturers offer firmware updates or dedicated drivers that enable webcam functionality for their DSLR cameras. Visit the official website of the camera manufacturer to download and install the required firmware or drivers for your camera model.
- Third-Party Software: Alternatively, consider exploring third-party software solutions that provide compatibility with a wide range of DSLR cameras. These software applications often offer additional features and customization options for optimizing the use of your DSLR camera as a webcam.
- Video Conferencing Apps: If you intend to use your DSLR camera as a webcam for video conferencing, ensure that the video conferencing application you plan to use supports the integration of external cameras. Install and configure the video conferencing app on your computer to recognize and utilize the DSLR camera as the primary video input source.
By installing the necessary software and drivers, you establish the foundation for seamless communication between your DSLR camera and your computer, enabling the camera to function as a high-quality webcam. This step is essential in unlocking the full potential of your DSLR camera for professional video capture and content creation in virtual environments.
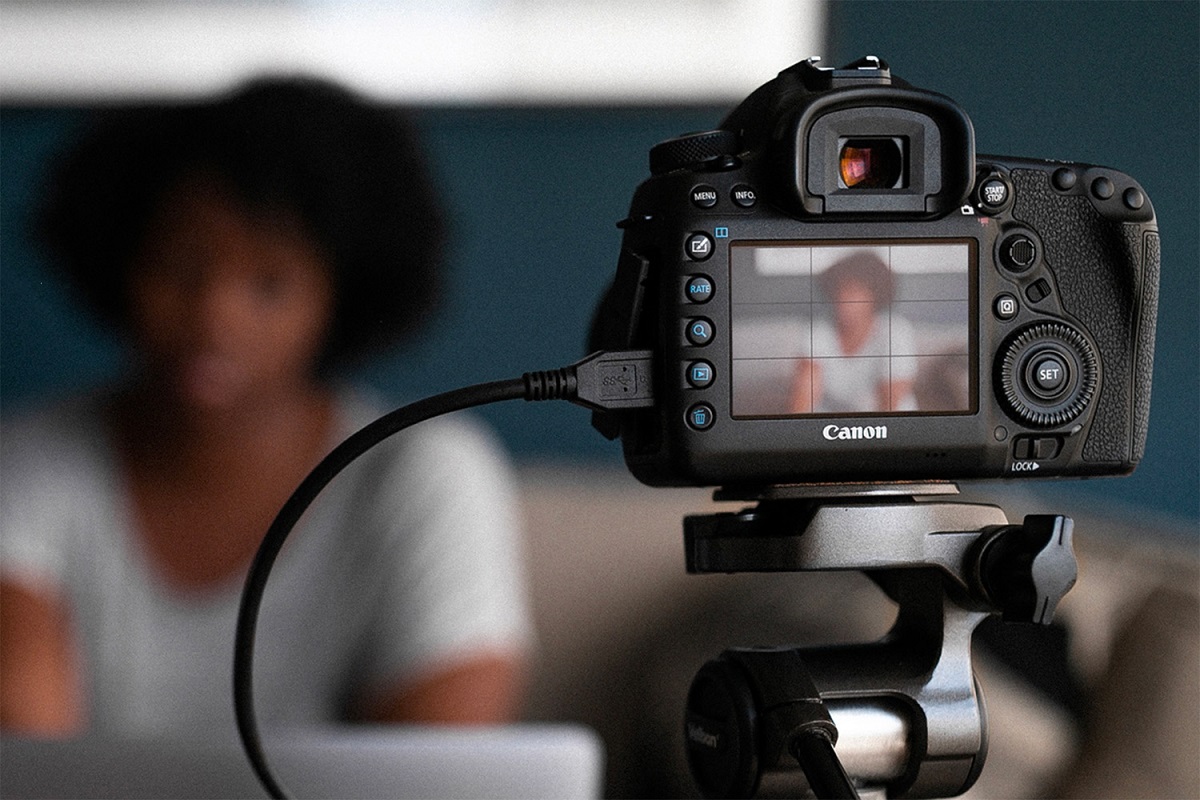
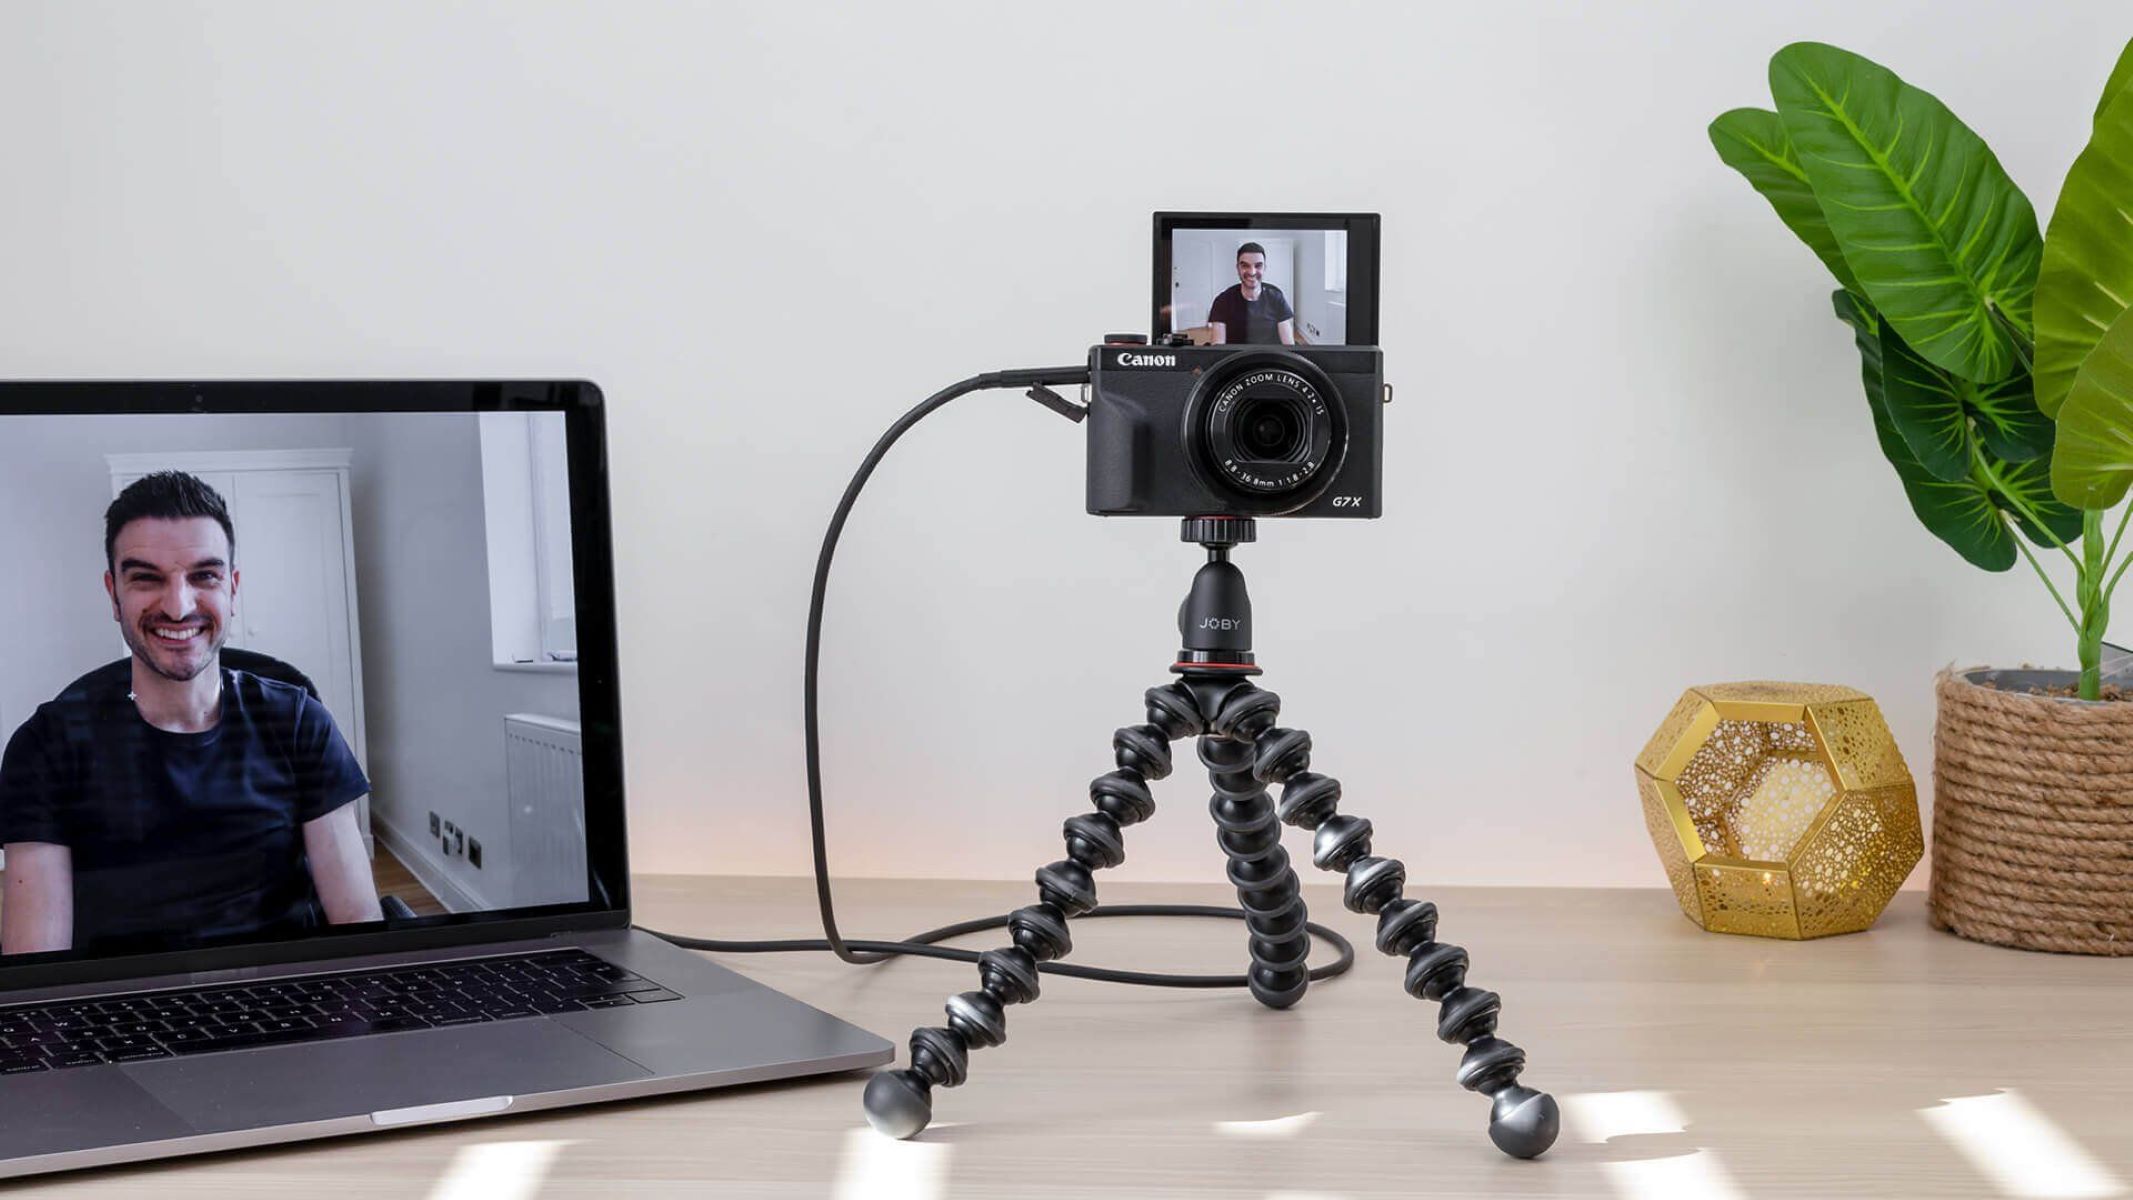
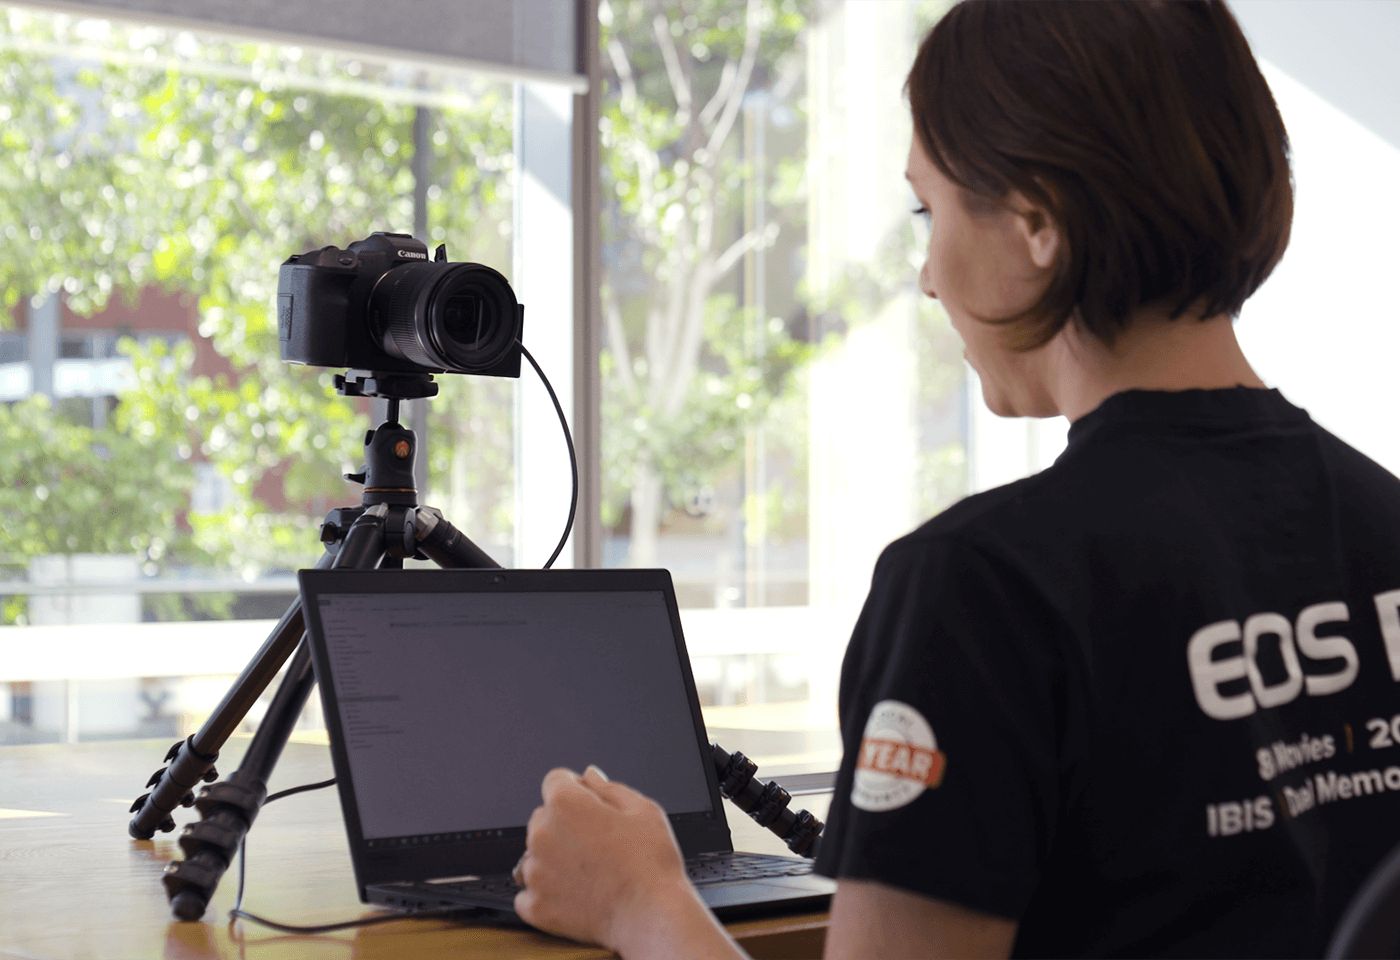
Step 4: Connect Camera to Computer
Once you have verified the compatibility, gathered the necessary equipment, and installed the required software, the next pivotal step is to establish a physical connection between your DSLR camera and your computer. This connection enables the computer to recognize the DSLR camera as a webcam and access its high-quality video feed for use in video conferencing, live streaming, or content creation.
To connect your DSLR camera to your computer, follow these essential steps:
- Utilize a Compatible USB Cable: Select a high-quality USB cable that is compatible with your DSLR camera and your computer. Connect one end of the USB cable to the appropriate port on your camera, and the other end to a USB port on your computer. Ensure a secure and stable connection to facilitate data transfer.
- Power On the Camera: Power on your DSLR camera using either the AC power adapter or a fully charged battery. This ensures that the camera is operational and ready to transmit video to your computer.
- Configure Camera Settings: Access the camera’s settings menu to adjust the video output settings, such as resolution, frame rate, and exposure, based on your specific requirements. Optimize the settings to achieve the desired video quality for your virtual communication or content creation needs.
- Check Computer Recognition: Once the camera is connected and powered on, verify that your computer recognizes the DSLR camera as a webcam. Open the video conferencing application or software that you intend to use and access the camera settings to select the DSLR camera as the video input source.
By successfully connecting your DSLR camera to your computer and configuring the necessary settings, you establish a direct link between the camera and your virtual communication environment. This pivotal step sets the stage for harnessing the superior video quality and advanced features of your DSLR camera in professional and engaging video content.
Step 5: Set Up Camera Settings
Configuring the camera settings plays a crucial role in optimizing the performance of your DSLR camera when used as a webcam. By adjusting the settings according to your specific requirements and the intended usage scenarios, you can ensure that your camera delivers high-quality video output for virtual communication, live streaming, or content creation. Here are the essential steps to set up your DSLR camera’s settings:
- Resolution and Frame Rate: Access the camera’s settings menu to adjust the resolution and frame rate of the video output. Select a resolution that aligns with your desired video quality, such as 720p or 1080p, and choose an appropriate frame rate for smooth and natural-looking motion.
- Exposure and White Balance: Fine-tune the exposure settings to achieve balanced lighting and optimal brightness in your video feed. Additionally, adjust the white balance settings to ensure accurate color representation, especially in varying lighting conditions.
- Focus and Depth of Field: Set the focus mode and depth of field to maintain sharp and clear visuals during video capture. Depending on your preference, you can choose between manual focus or auto-focus modes to suit your specific video communication needs.
- Audio Input (If Applicable): If you are using an external microphone or utilizing the camera’s built-in audio capture, configure the audio input settings to capture clear and high-quality sound to complement the video feed.
- Custom Presets (Optional): Some DSLR cameras offer custom preset modes that allow you to save and recall specific settings for different usage scenarios. Consider creating custom presets tailored to your video conferencing, live streaming, or content creation requirements for quick and efficient adjustments.
By meticulously setting up your DSLR camera’s settings, you can tailor the video output to meet the demands of your virtual communication endeavors. This proactive approach ensures that your DSLR camera operates as a professional-grade webcam, delivering visually captivating and engaging video content for a wide range of applications.
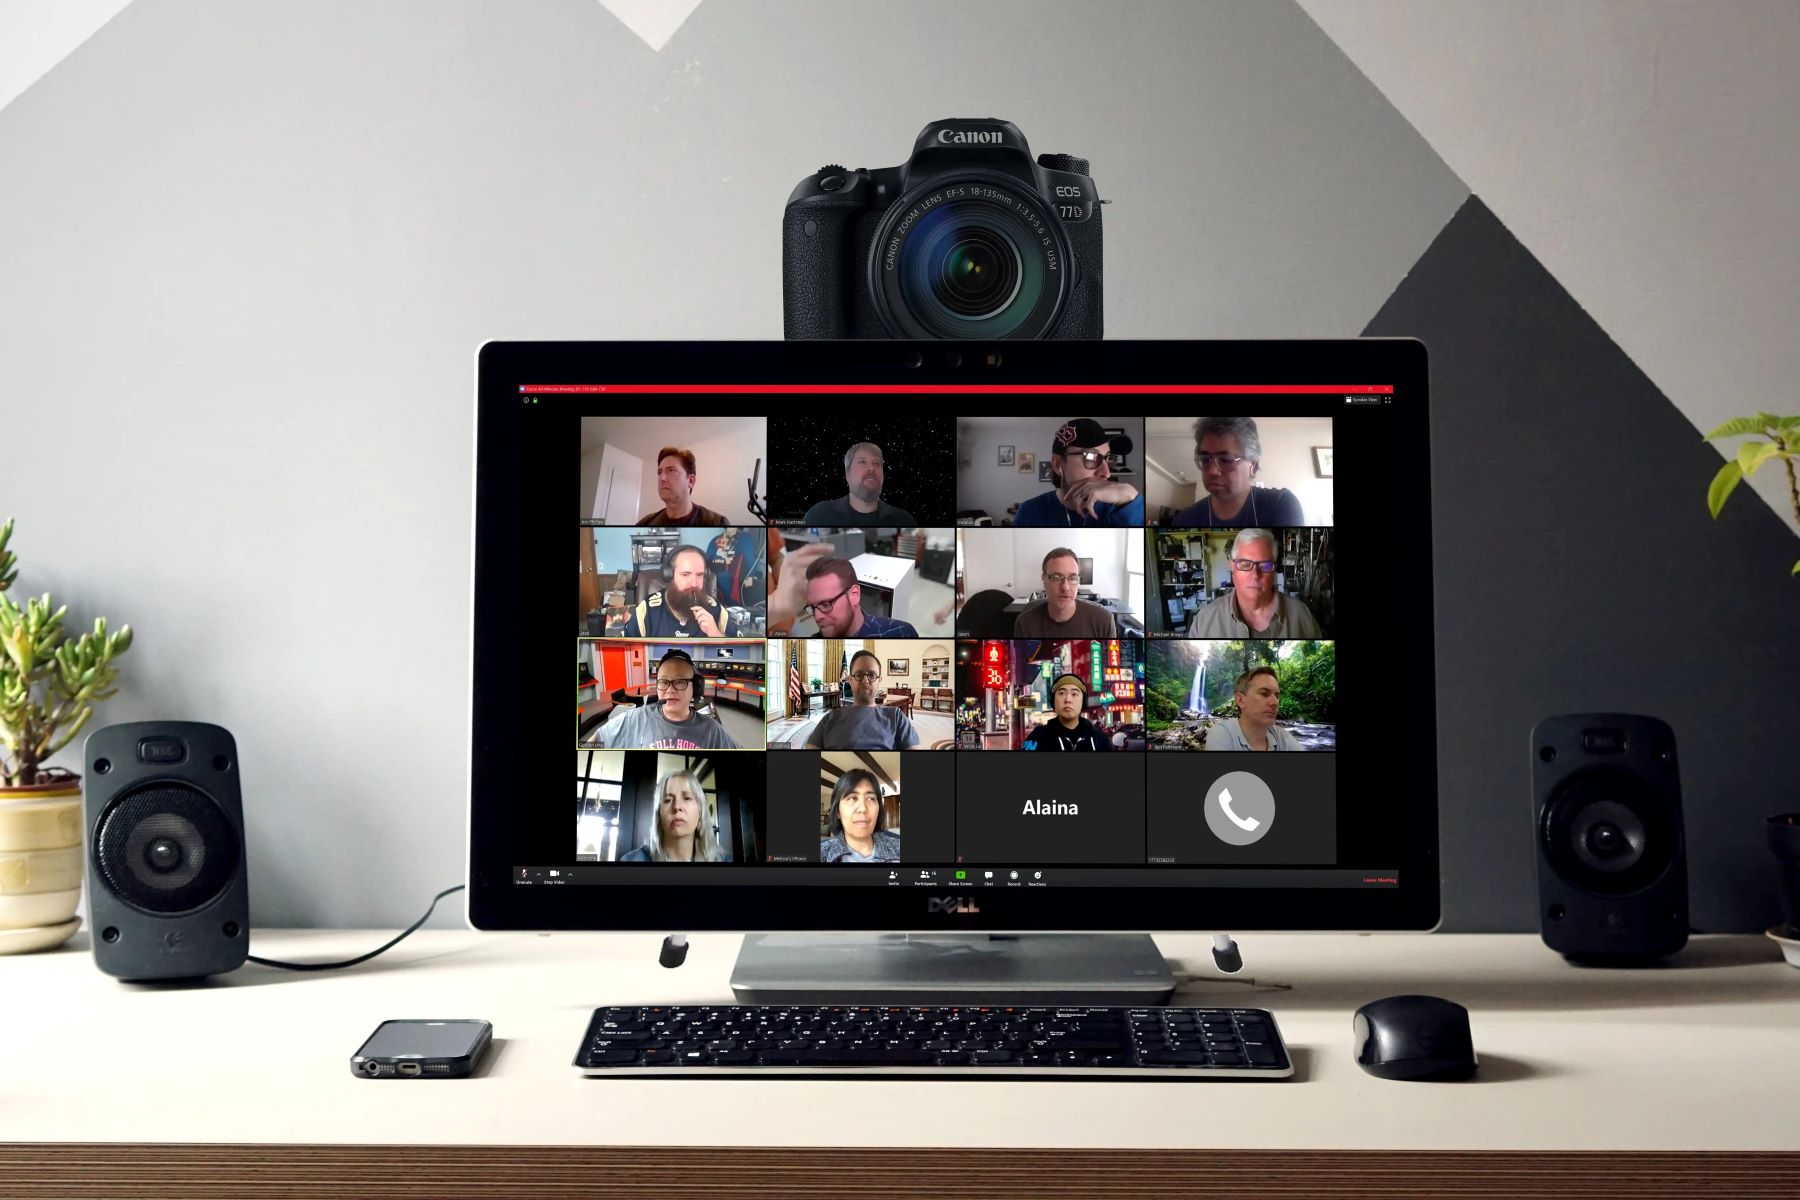
Step 6: Select Camera as Webcam in Video Conferencing Apps
Once you have connected your DSLR camera to your computer and configured its settings, the final step in the process of using your DSLR camera as a webcam involves selecting the camera as the primary video input source within your preferred video conferencing applications. This step ensures that the high-quality video feed from your DSLR camera is utilized during virtual meetings, live streams, and online presentations. Here’s how to select your DSLR camera as a webcam in video conferencing apps:
- Open the Video Conferencing App: Launch the video conferencing application of your choice on your computer. Popular video conferencing platforms such as Zoom, Microsoft Teams, Skype, and Google Meet support the integration of external cameras, including DSLR cameras.
- Access Camera Settings: Navigate to the video settings or preferences within the video conferencing app. Look for the option to select the video input source or camera device for your video feed. This may be located in the audio and video settings section of the app.
- Select the DSLR Camera: In the video settings, choose your DSLR camera from the list of available camera devices. The camera model or brand may be displayed, indicating that the app has successfully recognized and connected to your DSLR camera as a webcam.
- Adjust Additional Settings (If Needed): Depending on the video conferencing app, you may have the option to further adjust video and audio settings specific to your DSLR camera. This can include fine-tuning the resolution, frame rate, and audio input settings directly within the app.
- Test the Connection: Before joining a meeting or initiating a video call, conduct a brief test to ensure that the DSLR camera is functioning as the primary video input source. Verify the video quality and framing to confirm that the camera’s feed meets your expectations.
By selecting your DSLR camera as the webcam within the video conferencing app, you empower your camera to deliver exceptional video quality and visual presence during virtual interactions. This step completes the seamless integration of your DSLR camera into your video conferencing setup, enabling you to present yourself with professional-grade video content in various online communication scenarios.
Conclusion
Connecting a DSLR camera as a webcam presents a transformative opportunity to elevate the quality of your virtual communication and content creation endeavors. By following the comprehensive steps outlined in this guide, you can seamlessly integrate your DSLR camera into your video conferencing setup, unlocking its full potential for delivering high-quality video and audio content.
From checking the compatibility of your DSLR camera and gathering the necessary equipment to installing essential software and configuring camera settings, each step contributes to a streamlined and professional-grade webcam setup. The proactive approach of verifying compatibility and investing in reliable equipment ensures a robust foundation for harnessing the superior imaging capabilities of your DSLR camera in virtual environments.
Furthermore, the meticulous adjustment of camera settings and the seamless integration with video conferencing applications enable you to present yourself with clarity, professionalism, and visual impact during virtual meetings, live streams, and online presentations. The enhanced video quality and advanced features of your DSLR camera as a webcam empower you to engage and connect with your audience in a compelling and visually captivating manner.
By leveraging your DSLR camera as a webcam, you not only enhance your personal and professional image in virtual spaces but also elevate the overall quality of your video content, whether for remote work, content creation, or live streaming purposes. This integration of advanced imaging technology into your virtual communication toolkit exemplifies a commitment to delivering impactful and visually immersive experiences in the digital realm.
As you embark on this journey of integrating your DSLR camera as a webcam, embrace the creative possibilities and technical advancements that this setup offers. Whether you are a professional content creator, a remote worker, or an enthusiast seeking to maximize the potential of your DSLR camera, the process of connecting a DSLR camera as a webcam opens doors to a new realm of visual communication and content creation possibilities.