Introduction
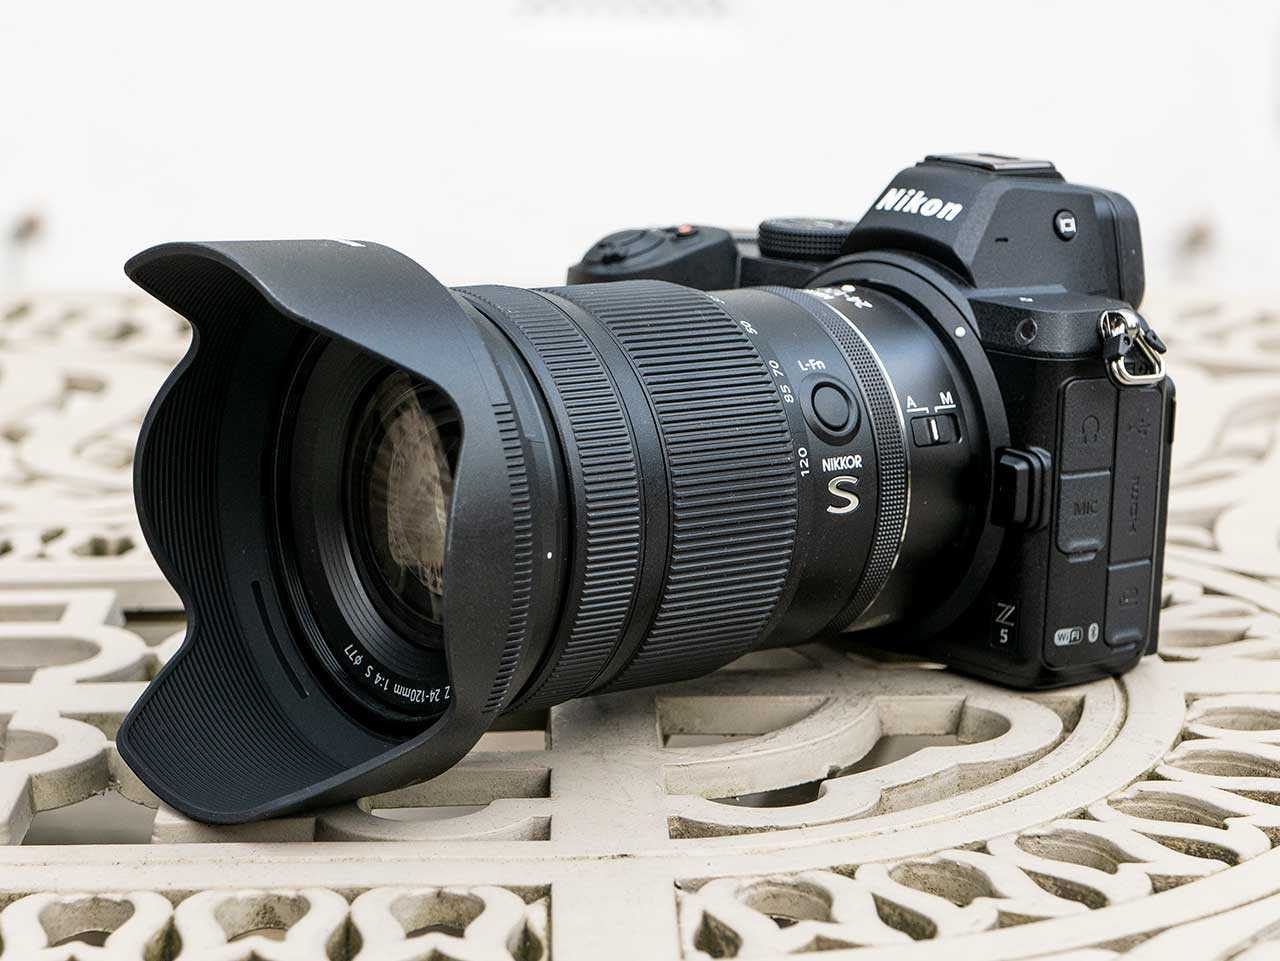
Are you looking to elevate your video conferencing, live streaming, or online content creation game? Connecting your Nikon DSLR camera to your laptop can significantly enhance the visual quality of your videos. By utilizing your DSLR as a high-quality webcam, you can achieve crisp, professional-looking footage that surpasses the capabilities of standard webcams. This comprehensive guide will walk you through the step-by-step process of connecting your Nikon DSLR to your laptop, transforming it into a powerful tool for virtual communication and content production.
Harnessing the power of your Nikon DSLR for live streaming or video calls can result in sharper images, improved depth of field, and better low-light performance compared to traditional webcams. Whether you are a content creator, remote worker, or simply a photography enthusiast, leveraging your DSLR in this manner can elevate the visual appeal of your online presence.
In the following steps, we will cover the necessary preparations, software installation, and camera settings adjustments required to seamlessly connect your Nikon DSLR to your laptop. With the right tools and a clear understanding of the process, you can unlock the full potential of your DSLR and enhance the quality of your virtual interactions and content creation endeavors. Let's dive into the details and transform your Nikon DSLR into a versatile and powerful webcam for your laptop.
Step 1: Check Camera Compatibility
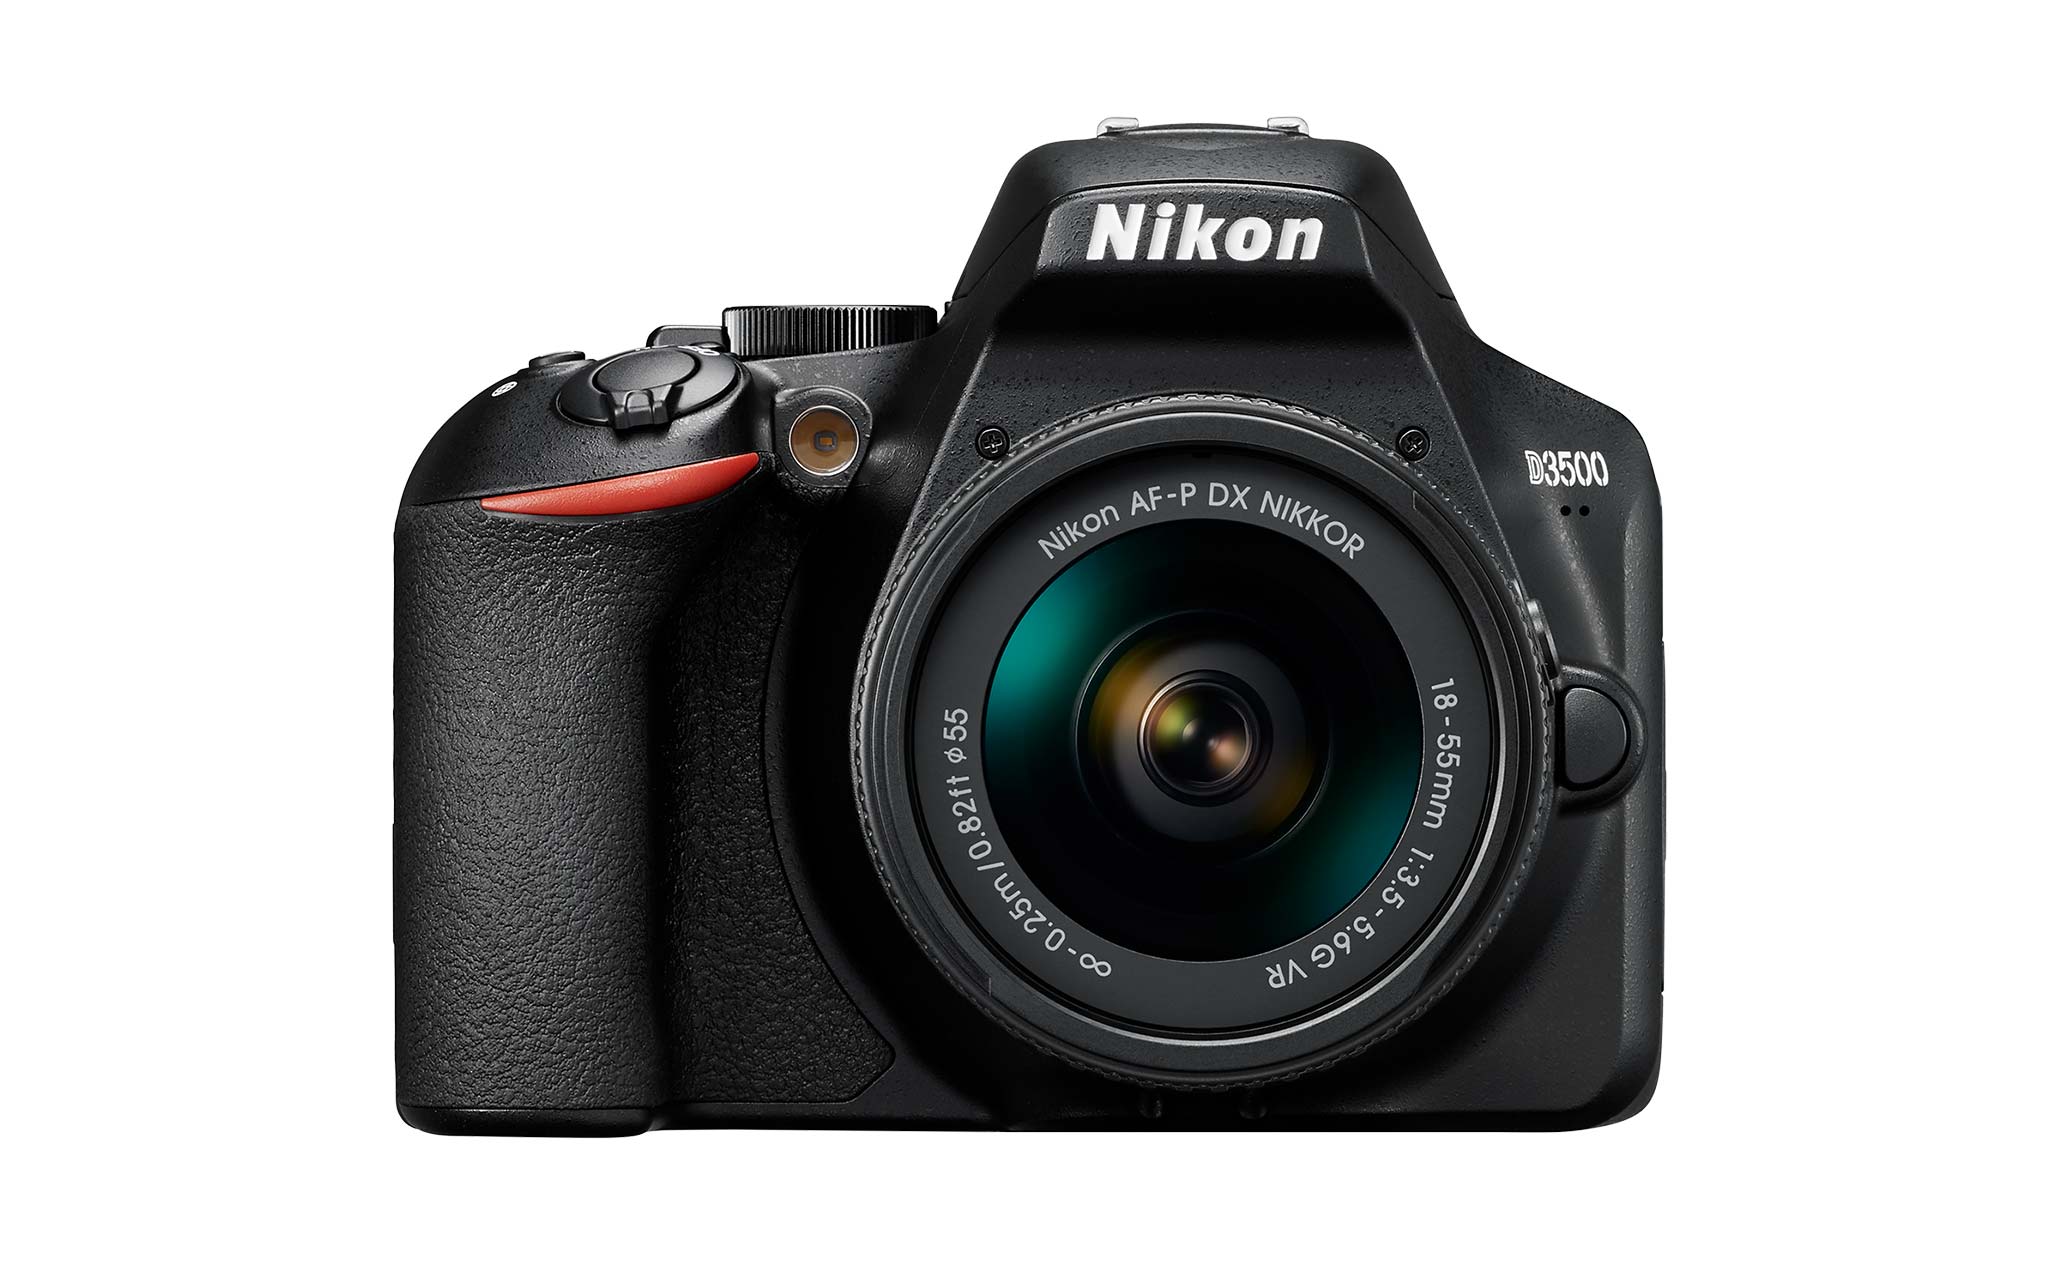
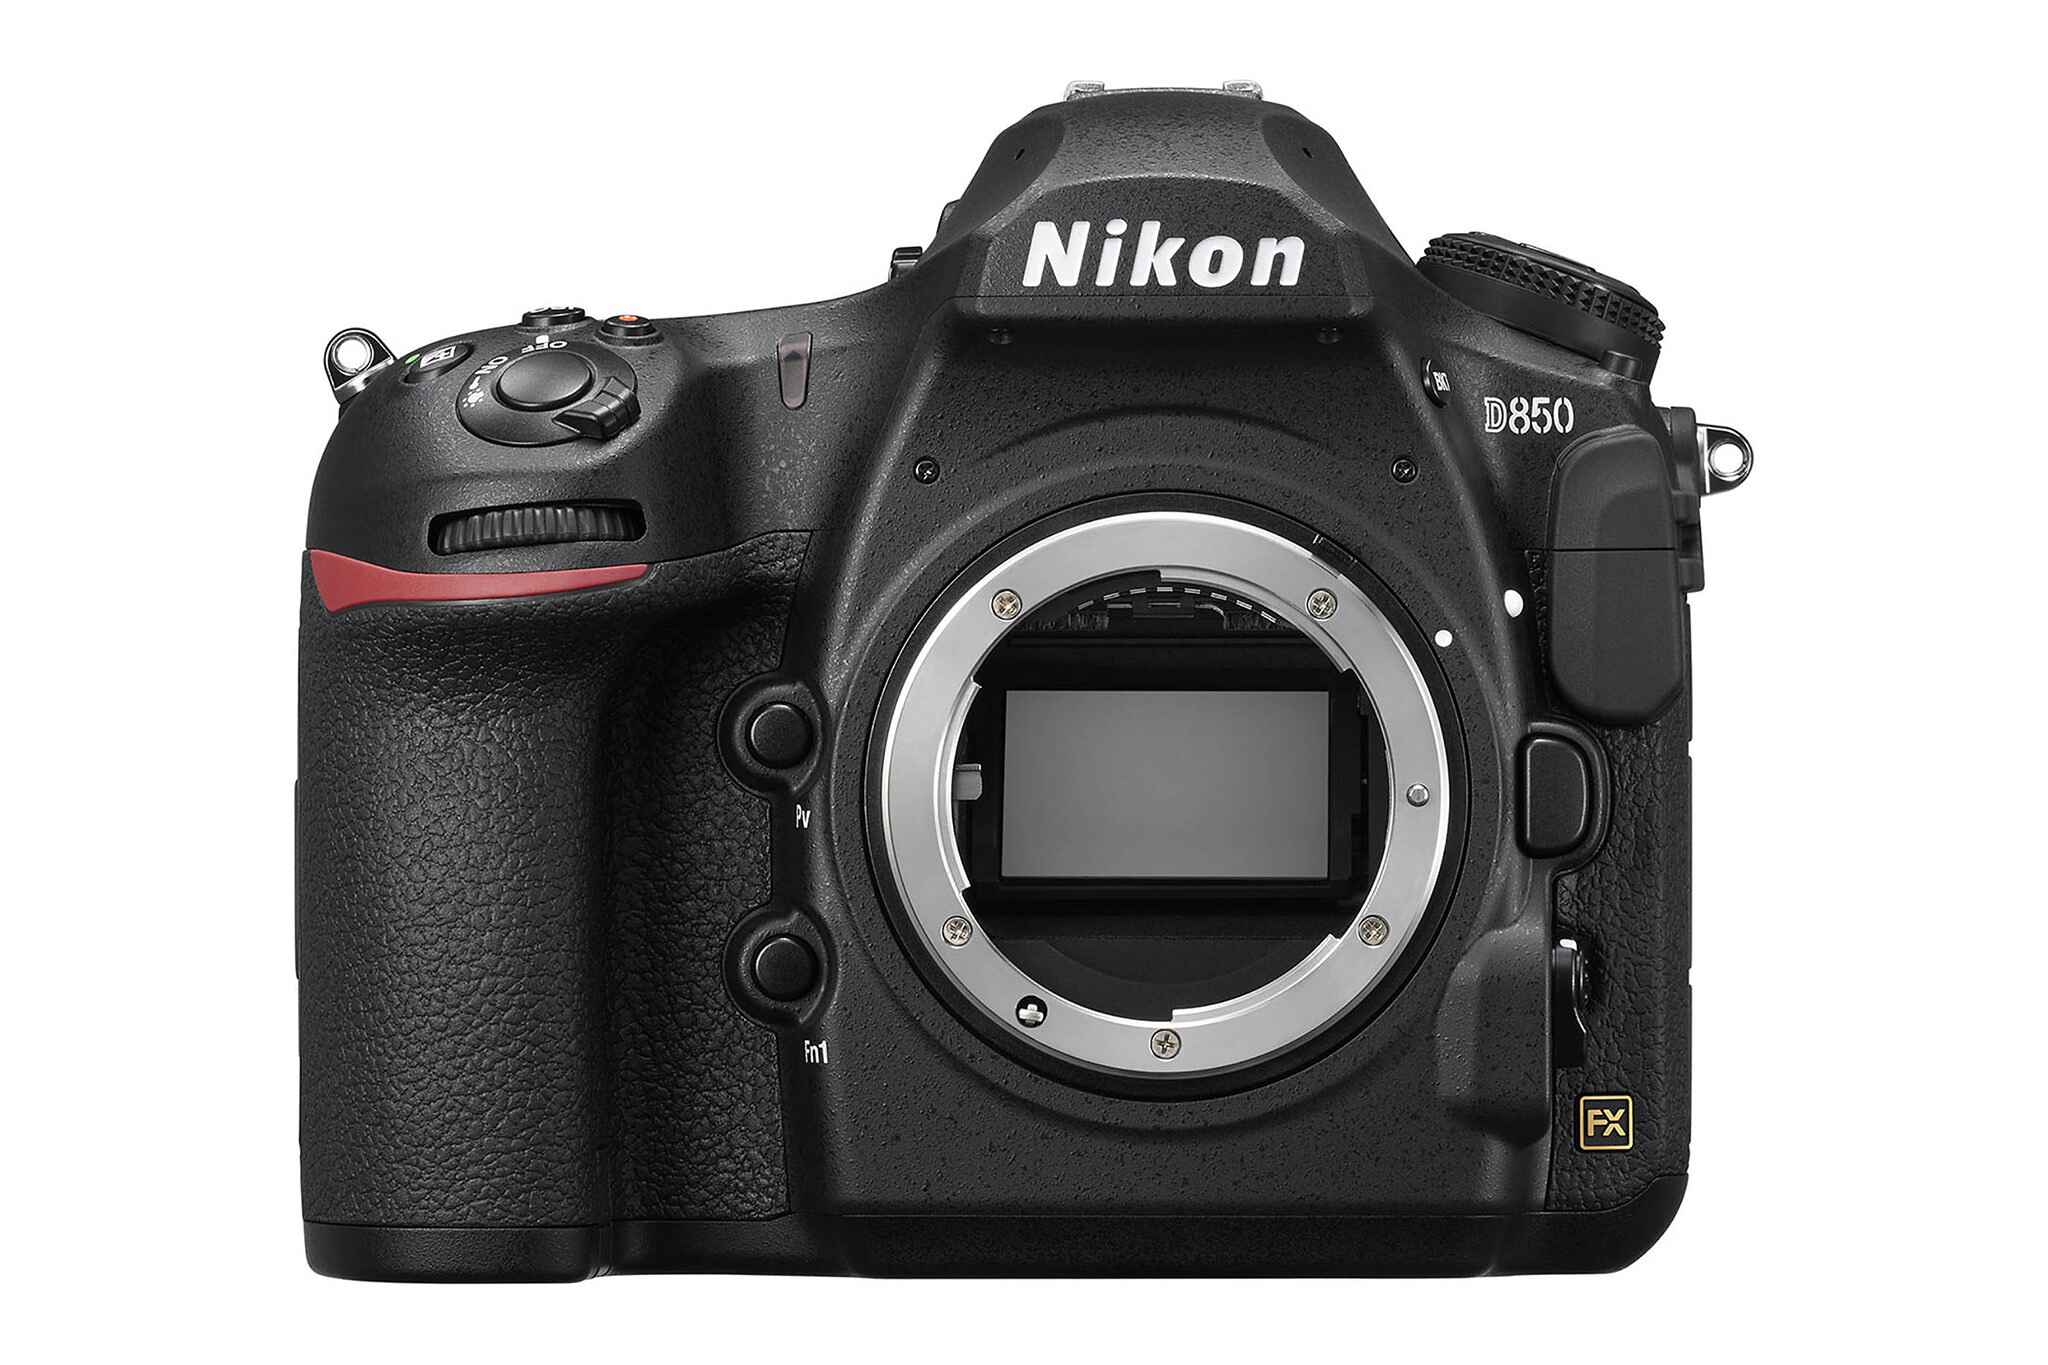
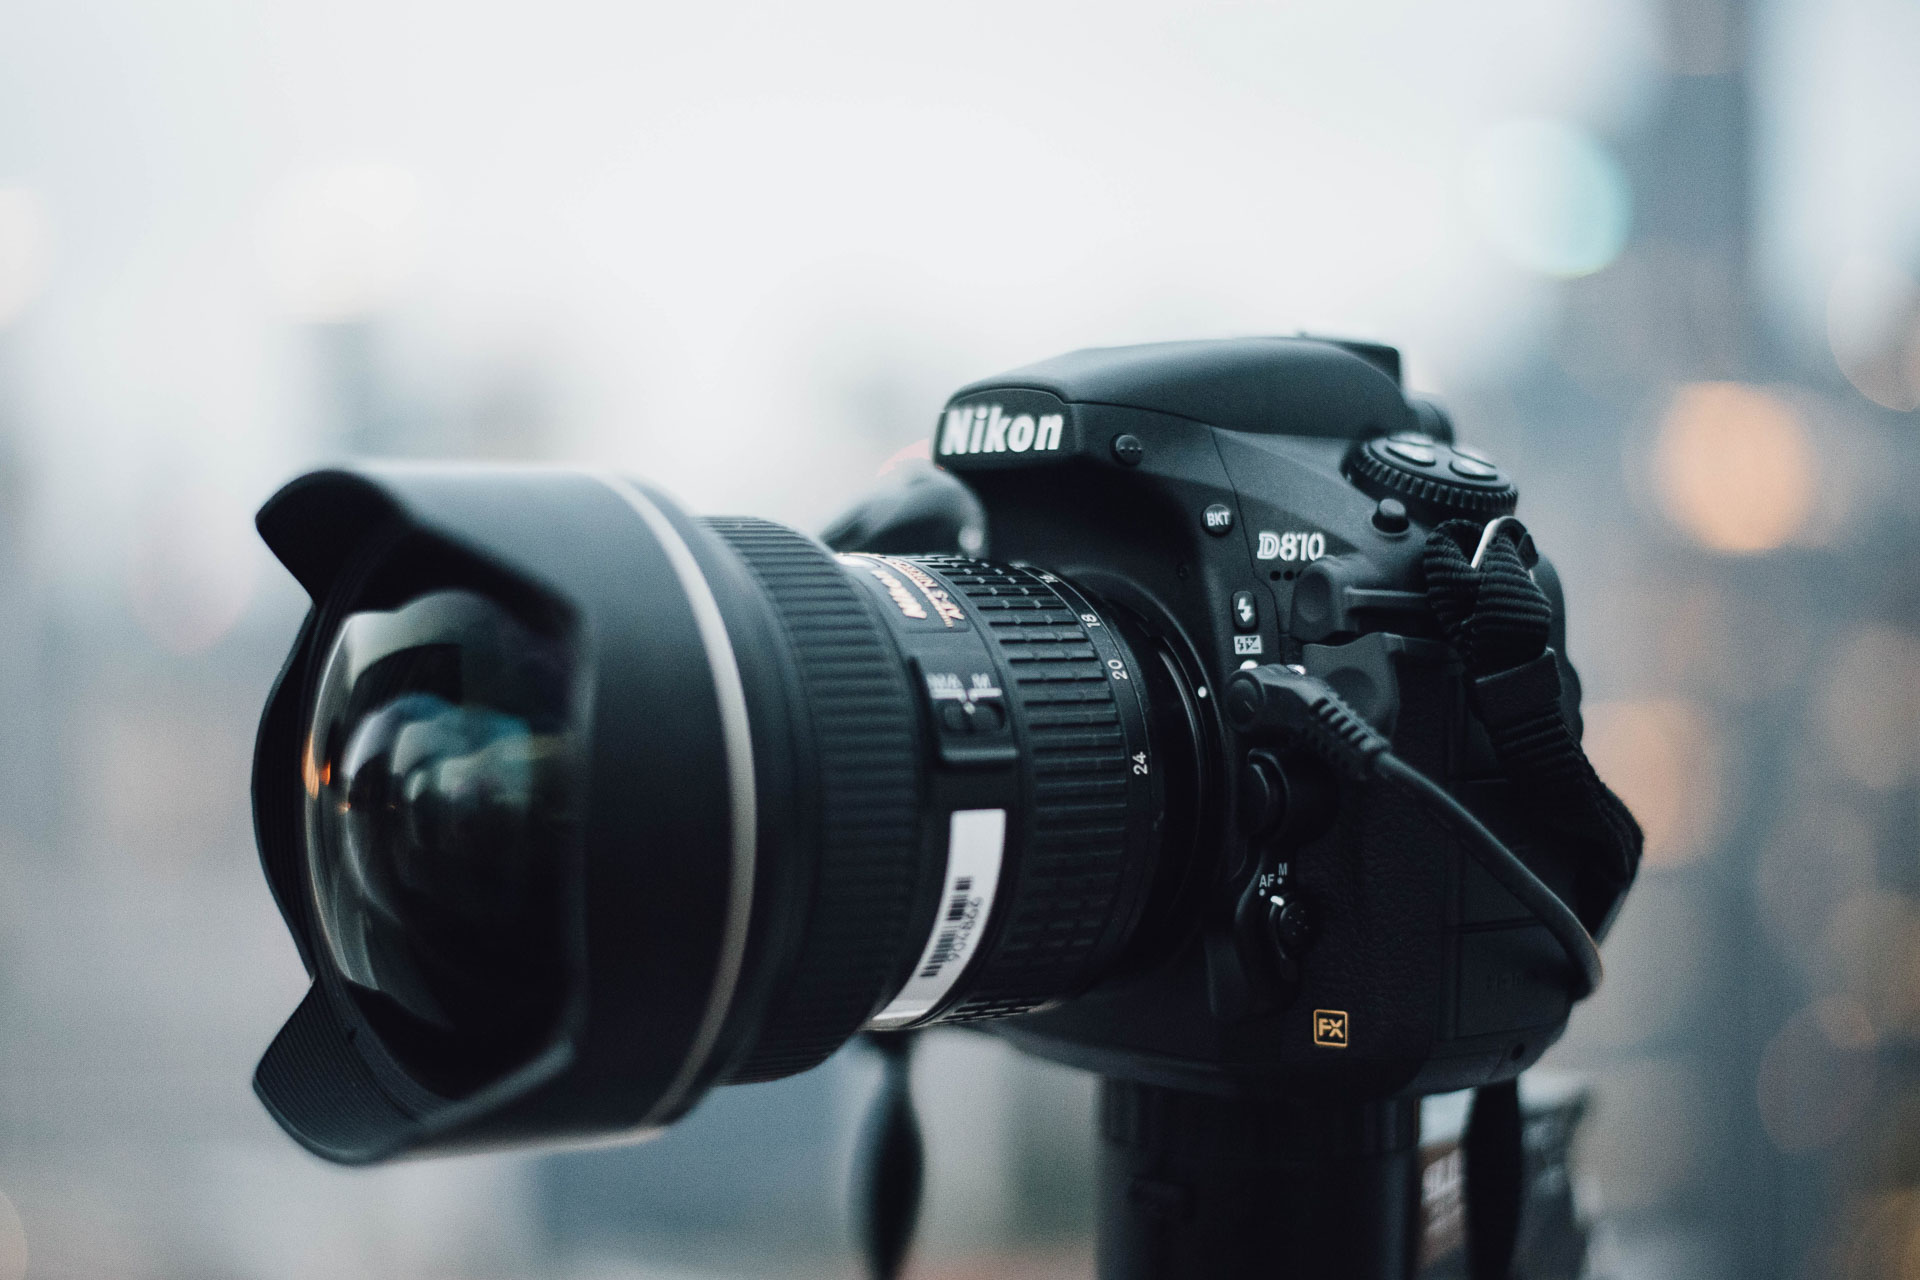
Before embarking on the process of connecting your Nikon DSLR to your laptop, it is crucial to ensure that your camera model is compatible with the necessary software and connection methods. Not all Nikon DSLR cameras support direct USB connectivity for use as a webcam, so verifying compatibility is the first step toward a successful setup.
Begin by consulting the official Nikon website or user manual for your specific camera model. Nikon has released a Webcam Utility software that enables select DSLR and Z series mirrorless cameras to function as webcams when connected to a computer via USB. Check the list of supported camera models to confirm whether your particular Nikon DSLR is compatible with this utility.
Additionally, ensure that your camera’s firmware is up to date, as compatibility for webcam functionality may be contingent on the latest firmware version. Visit the Nikon support website to download and install any available firmware updates for your camera model.
If your camera is not compatible with the Nikon Webcam Utility, alternative methods such as using a capture card or external HDMI video capture device may be explored. These devices allow you to connect your camera to your laptop via HDMI, providing a workaround for models that do not support direct USB webcam functionality.
By confirming the compatibility of your Nikon DSLR camera with the required software and connection options, you can lay the groundwork for a smooth and successful integration with your laptop, setting the stage for enhanced video quality and versatility in your virtual communications and content creation endeavors.
Step 2: Install Nikon Webcam Utility
Once you have verified the compatibility of your Nikon DSLR camera, the next step is to install the Nikon Webcam Utility software on your laptop. This dedicated utility, provided by Nikon, enables compatible DSLR and Z series mirrorless cameras to function as high-quality webcams when connected to a computer via USB.
Begin by visiting the official Nikon website or the support page specifically dedicated to the Nikon Webcam Utility. Here, you can download the software for your respective operating system, ensuring that you obtain the correct version compatible with your laptop’s platform, whether it is Windows or macOS.
After downloading the Nikon Webcam Utility, proceed to install the software on your laptop by following the provided instructions. During the installation process, it is advisable to close any unnecessary applications to prevent interruptions and ensure a smooth installation.
Once the Nikon Webcam Utility is successfully installed on your laptop, restart the computer to finalize the setup. After the restart, connect your Nikon DSLR camera to the laptop using a compatible USB cable. Ensure that the camera is powered on and in the appropriate mode for webcam functionality, as specified in the user manual or the instructions provided by Nikon.
With the Nikon Webcam Utility installed and your camera connected to the laptop, you are now ready to proceed with configuring the camera as a webcam and making the necessary adjustments to optimize its performance for live streaming, video conferencing, or content creation purposes.
By installing the Nikon Webcam Utility, you are unlocking the potential of your Nikon DSLR camera to serve as a high-quality webcam, enhancing the visual quality of your virtual interactions and content production. This software integration paves the way for leveraging the superior imaging capabilities of your DSLR in the digital realm, offering an elevated experience for both creators and viewers.
Step 3: Connect Camera to Laptop
With the Nikon Webcam Utility installed on your laptop, the next crucial step is to establish a physical connection between your Nikon DSLR camera and the computer. This connection will allow the camera to function as a webcam, enabling you to harness its superior imaging capabilities for live streaming, video calls, and content creation.
Begin by powering off your Nikon DSLR camera and identifying the appropriate USB port on the camera body. Use the compatible USB cable that was provided with your camera or a certified third-party USB cable to establish a secure connection between the camera and your laptop. Ensure that the USB cable is fully inserted into both the camera’s USB port and an available USB port on your laptop.
Once the camera is connected to the laptop, power on the DSLR and set it to the designated webcam mode as outlined in the camera’s user manual or the instructions provided by Nikon. This mode is specifically designed to enable the camera to function as a webcam when connected to a computer via USB.
Upon activating the webcam mode on your Nikon DSLR, the camera should be recognized by the Nikon Webcam Utility software on your laptop. At this stage, the camera’s live view should appear on your laptop screen, indicating that the connection has been successfully established. You are now ready to configure the camera settings and optimize the visual output for your intended use, whether it is for virtual meetings, live streaming, or content creation.
Ensuring a stable and reliable connection between your Nikon DSLR camera and your laptop is essential for seamless integration and optimal performance. By following these steps to physically connect the camera to your computer, you are one step closer to unlocking the full potential of your DSLR as a high-quality webcam, offering enhanced visual fidelity and professionalism in your digital interactions and creative endeavors.
Step 4: Set Up Camera as Webcam
After successfully connecting your Nikon DSLR camera to your laptop, the next pivotal phase involves configuring the camera settings and optimizing its functionality as a webcam. By customizing the camera’s parameters, you can ensure that the visual output aligns with your specific requirements for video conferencing, live streaming, or content creation.
Access the settings menu on your Nikon DSLR camera and navigate to the designated webcam mode, which activates the camera’s functionality as a high-quality webcam when connected to a computer via USB. Once in this mode, you can fine-tune various settings such as exposure, white balance, focus, and image quality to achieve the desired visual output.
Adjust the exposure settings to optimize the brightness and contrast of the live view, ensuring that your image is well-lit and properly exposed for clear visibility. White balance adjustments can be made to achieve accurate color reproduction, especially in varying lighting conditions, maintaining the natural and true-to-life appearance of your video feed.
When setting up your Nikon DSLR as a webcam, consider the focus settings to ensure that the subject or scene remains sharp and well-defined throughout the live feed. Depending on your specific requirements, you may also adjust the image quality parameters to achieve the desired resolution and compression settings for your virtual interactions or content creation endeavors.
Furthermore, explore the camera’s audio input options if you intend to utilize the built-in microphone or an external audio source for accompanying sound in your video feed. Ensuring clear and synchronized audio with the high-quality video output enhances the overall immersive experience for your audience or communication partners.
By meticulously configuring your Nikon DSLR camera as a webcam and customizing its settings to align with your preferences and requirements, you can harness the full potential of your camera’s imaging capabilities for virtual interactions and content creation. These tailored adjustments elevate the visual quality and professionalism of your digital presence, setting the stage for impactful and engaging online experiences.
Step 5: Adjust Camera Settings
With your Nikon DSLR camera configured as a webcam and connected to your laptop, it is essential to delve into the camera’s settings to fine-tune and optimize its performance for your specific virtual communication or content creation needs. By adjusting the camera settings, you can tailor the visual output to meet the requirements of live streaming, video conferencing, or recording high-quality content.
Begin by evaluating the camera’s exposure settings, including aperture, shutter speed, and ISO, to achieve the desired level of brightness and image clarity. Adjusting the aperture allows you to control the depth of field, influencing the background blur and emphasizing the subject, while optimizing the shutter speed and ISO settings can effectively manage the exposure in various lighting conditions.
Furthermore, consider the white balance settings to ensure accurate color representation and consistency across different lighting environments. By selecting the appropriate white balance preset or manually adjusting the color temperature, you can maintain natural and true-to-life color tones, enhancing the overall visual appeal of your live video feed or recorded content.
Explore the autofocus modes available on your Nikon DSLR to ensure that the camera maintains sharp and precise focus on the subject, especially during dynamic or interactive video sessions. Depending on the nature of your virtual interactions, selecting the suitable autofocus mode can significantly enhance the visual quality and professionalism of your webcam feed.
Additionally, review the image quality settings, including resolution and compression options, to optimize the visual fidelity and file size of the captured video feed. Balancing the image quality parameters allows you to achieve a balance between high-resolution output and manageable file sizes, catering to your specific requirements for virtual communication and content creation.
By meticulously adjusting the camera settings of your Nikon DSLR, you can elevate the visual quality and professionalism of your webcam feed, ensuring that your virtual interactions and content creation endeavors are characterized by superior imaging performance. These tailored adjustments enable you to harness the full potential of your DSLR as a powerful tool for engaging and impactful digital experiences.
Step 6: Test the Connection
After configuring and adjusting the settings of your Nikon DSLR camera, it is imperative to thoroughly test the connection between the camera and your laptop to ensure seamless functionality as a webcam. By conducting comprehensive testing, you can verify the visual quality, audio synchronization, and overall performance of the camera in the context of live streaming, video calls, or content creation.
Initiate the testing process by launching the preferred video conferencing or live streaming application on your laptop, such as Zoom, Microsoft Teams, OBS Studio, or other platforms commonly used for virtual interactions and content production. Select the Nikon DSLR camera as the designated webcam input within the application’s settings, ensuring that the camera’s live view is successfully recognized and displayed.
Assess the visual output of the camera feed to evaluate the image quality, exposure, color accuracy, and overall clarity. Pay attention to the framing and composition of the video feed to ensure that the subject or scene is well-captured and visually appealing, reflecting the optimized settings and adjustments made to the camera prior to testing.
Simultaneously, evaluate the audio input from the camera’s built-in microphone or an external audio source, if applicable, to confirm clear and synchronized sound with the video feed. Testing the audio ensures that the complete multimedia experience aligns with your intended standards for virtual communication or content creation.
Engage in trial runs of different scenarios, such as varying lighting conditions, movement within the frame, and interactive elements, to gauge the camera’s performance and adaptability in dynamic virtual environments. By simulating real-world usage scenarios, you can identify any potential issues and fine-tune the camera settings or positioning for optimal results.
Through comprehensive testing of the connection between your Nikon DSLR camera and your laptop, you can refine the setup and ensure that the camera operates seamlessly as a high-quality webcam, meeting the demands of your specific virtual communication and content creation endeavors. This iterative testing process allows you to fine-tune the integration and achieve a reliable and professional visual presence in your digital interactions.
Conclusion
Connecting your Nikon DSLR camera to your laptop as a high-quality webcam opens up a world of possibilities for enhancing your virtual interactions, live streaming, and content creation. By following the comprehensive steps outlined in this guide, you have gained the knowledge and skills necessary to leverage the superior imaging capabilities of your DSLR in the digital realm, elevating the visual quality and professionalism of your online presence.
From verifying the compatibility of your Nikon DSLR with the necessary software to meticulously adjusting camera settings and conducting thorough testing, each step in the process contributes to a seamless and impactful integration. The utilization of the Nikon Webcam Utility, combined with strategic adjustments to exposure, white balance, focus, and image quality settings, empowers you to transform your DSLR into a versatile and powerful webcam for your laptop.
By harnessing the power of your Nikon DSLR as a webcam, you can achieve crisp, high-resolution video feeds, improved depth of field, and enhanced low-light performance, setting a new standard for visual quality in your virtual interactions. Whether you are engaging in professional video calls, hosting live streams, or creating captivating content, the integration of your DSLR as a webcam offers a significant upgrade over traditional built-in laptop cameras or standalone webcams.
As you embark on this journey of enhancing your digital presence, remember to explore the creative possibilities afforded by your DSLR’s advanced imaging capabilities. Experiment with different shooting modes, compositions, and visual effects to craft compelling and visually stunning content that captivates your audience and elevates your online brand.
With your Nikon DSLR seamlessly connected to your laptop as a high-quality webcam, you are poised to make a lasting impression in the digital landscape, showcasing your expertise, creativity, and professionalism through visually striking and engaging virtual experiences.
Embrace the potential of your Nikon DSLR as a webcam, and embark on a transformative journey toward visually impactful and compelling digital interactions and content creation.