Introduction
Understanding DSLR Camera Settings for Video
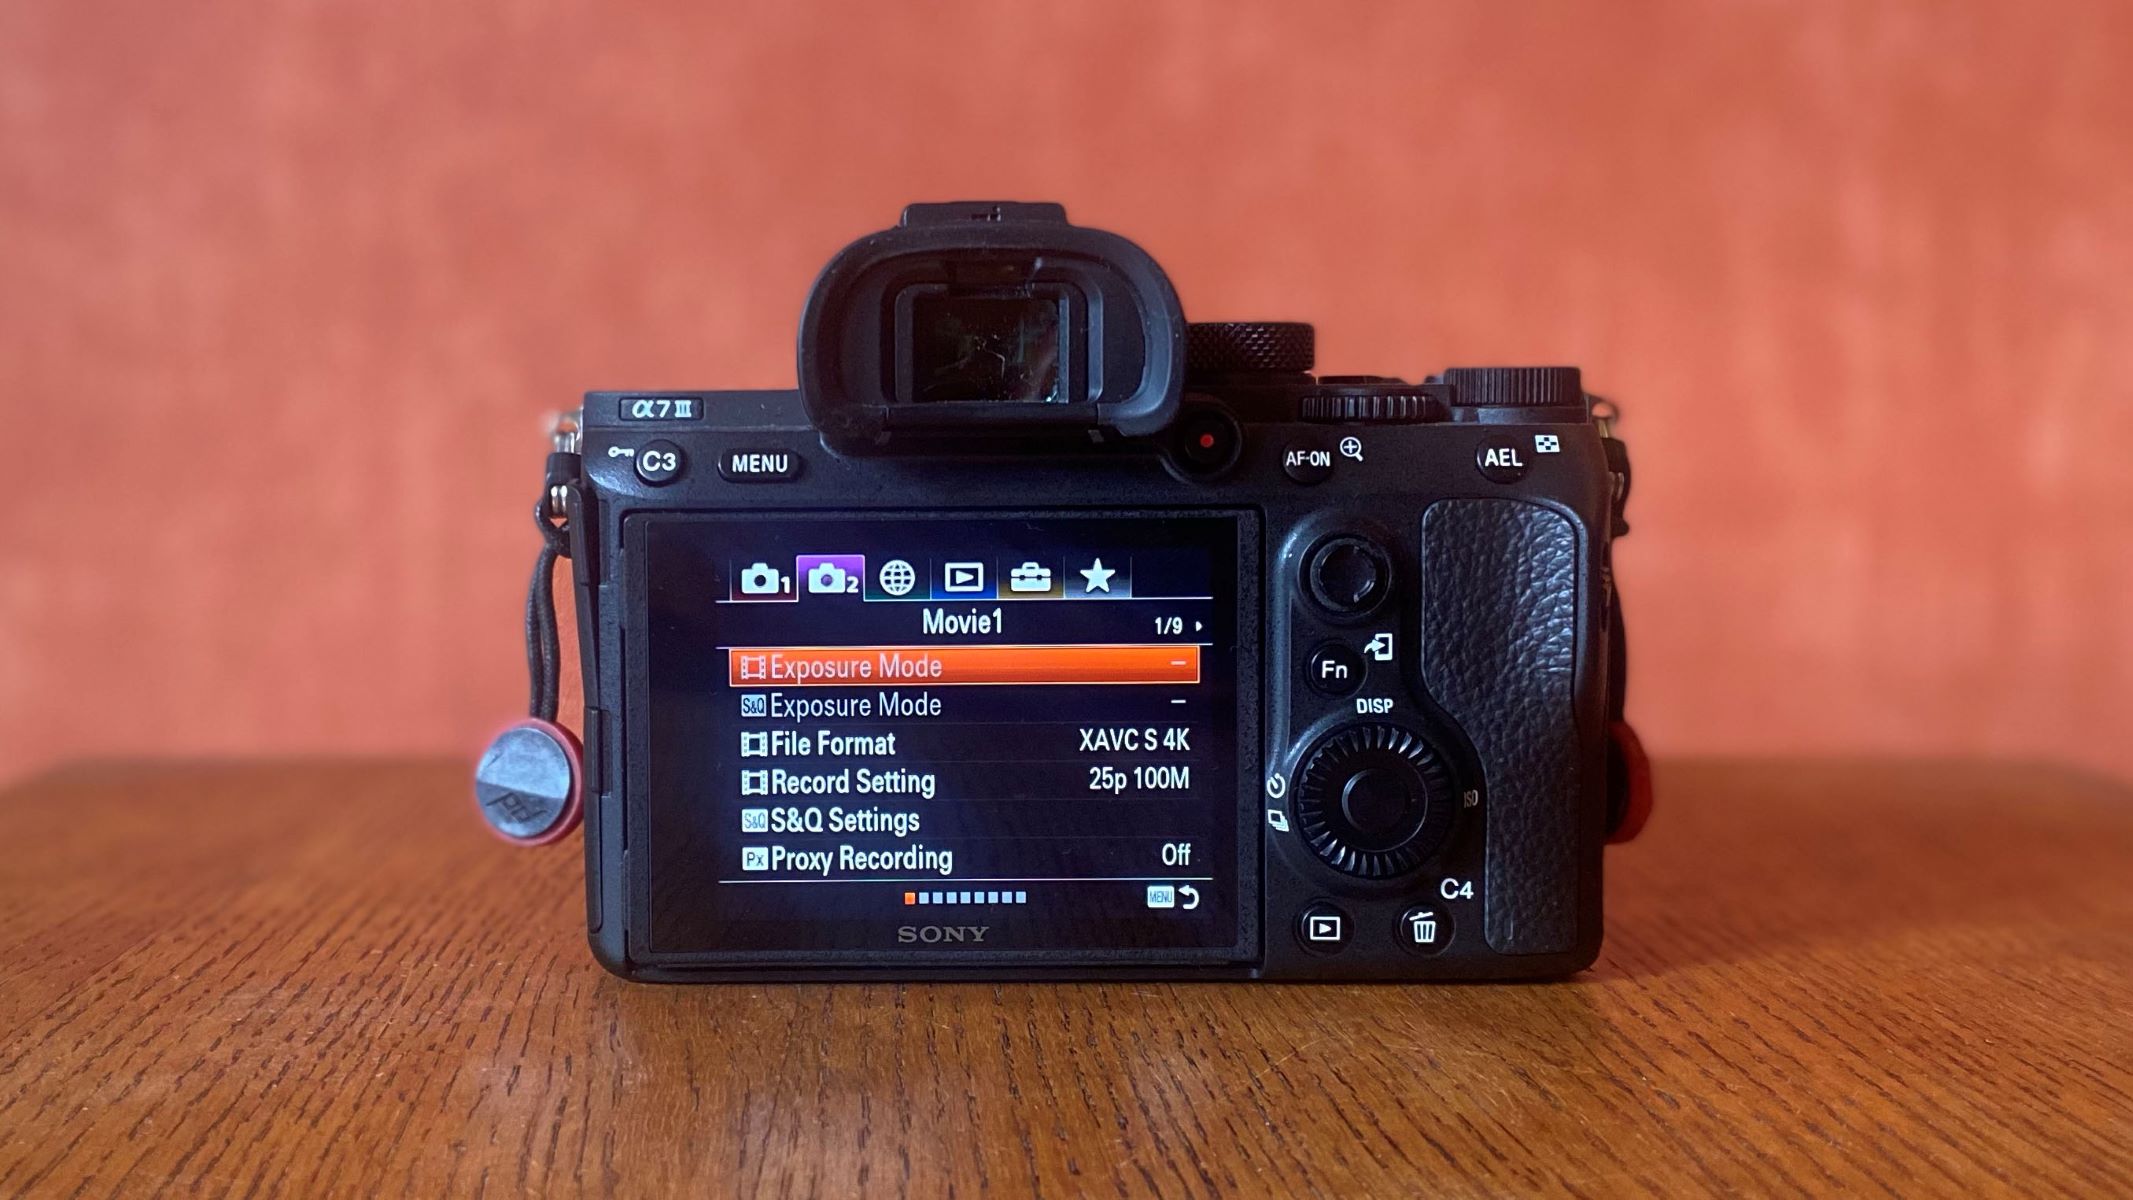
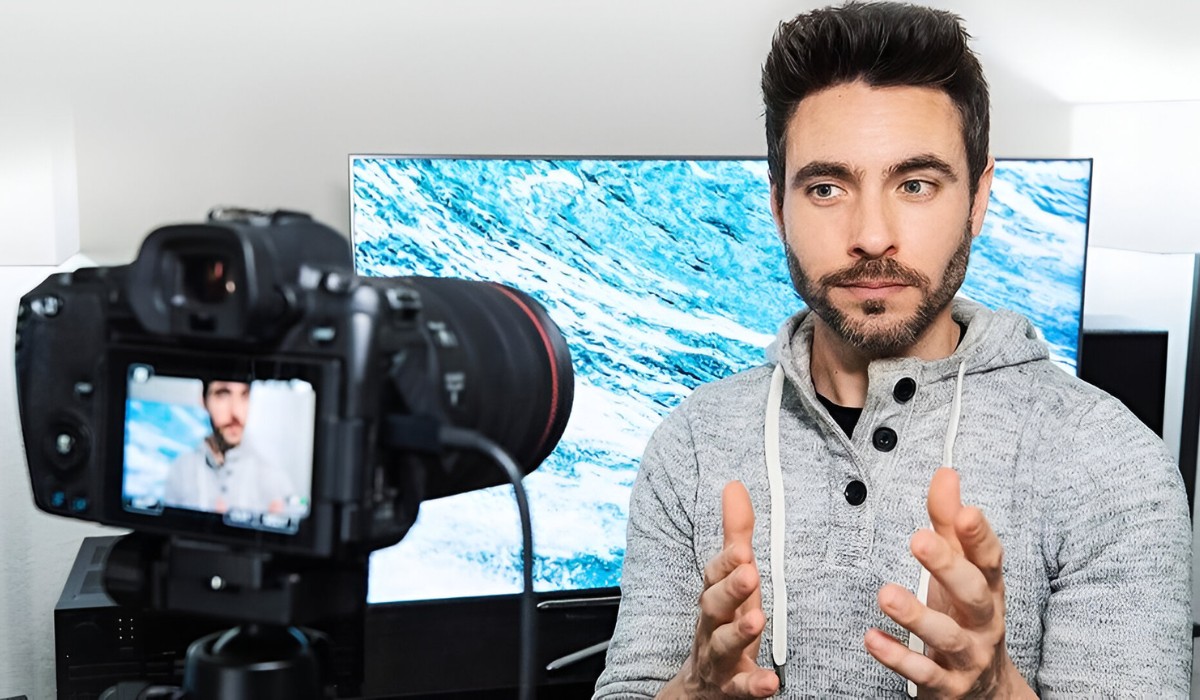
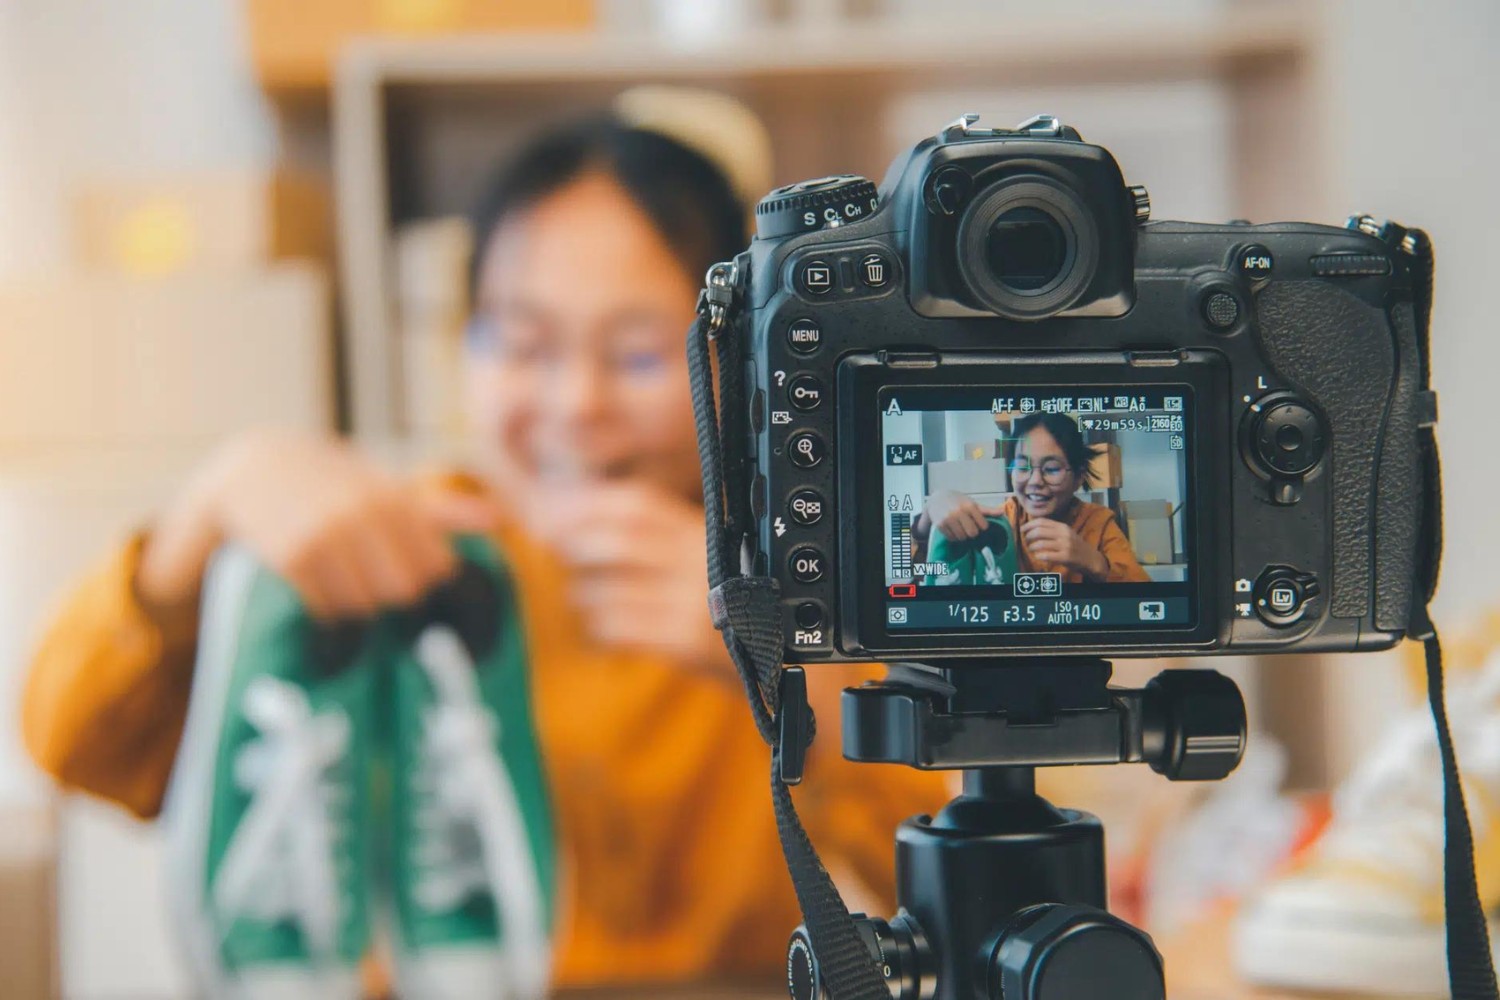
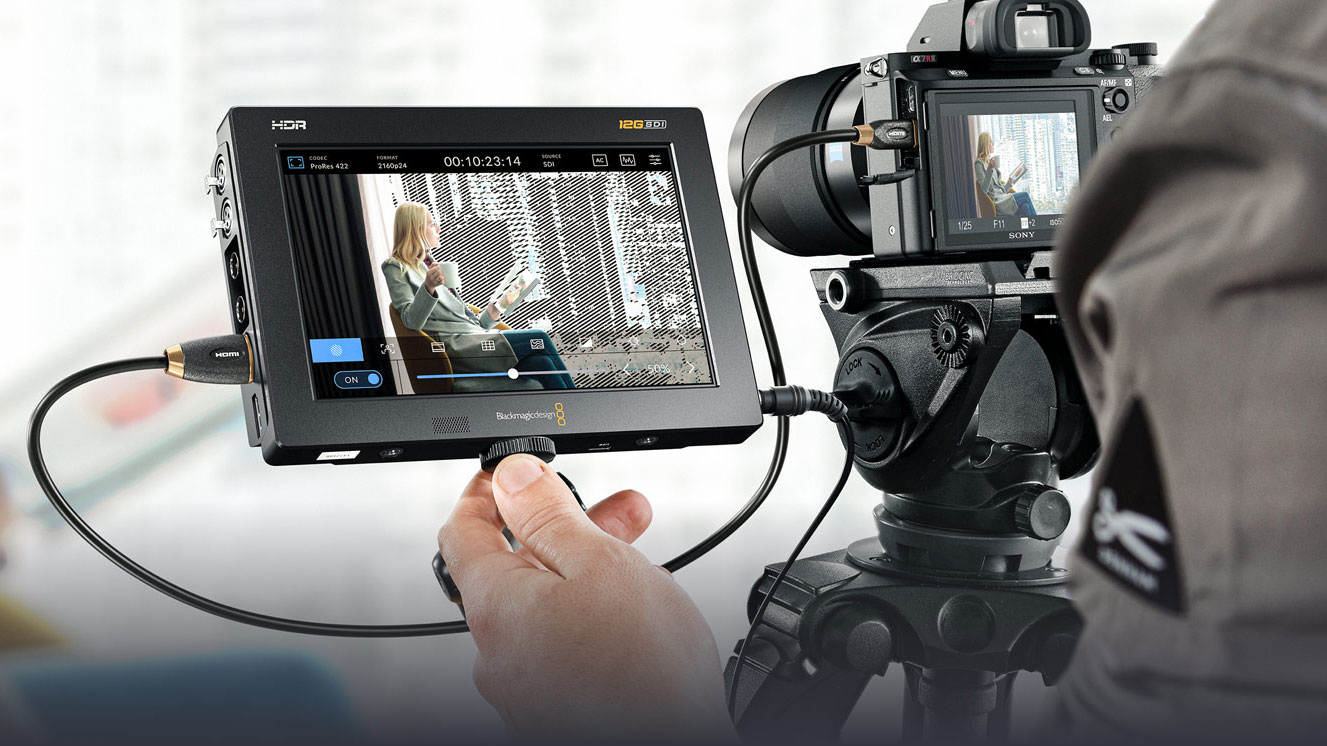
When it comes to capturing stunning videos with a DSLR camera, understanding and mastering the various camera settings is crucial. Unlike point-and-shoot cameras, DSLRs offer a wide array of manual settings that allow for greater control over the final video output. From adjusting the shutter speed to fine-tuning the white balance, each setting plays a pivotal role in achieving the desired visual effects.
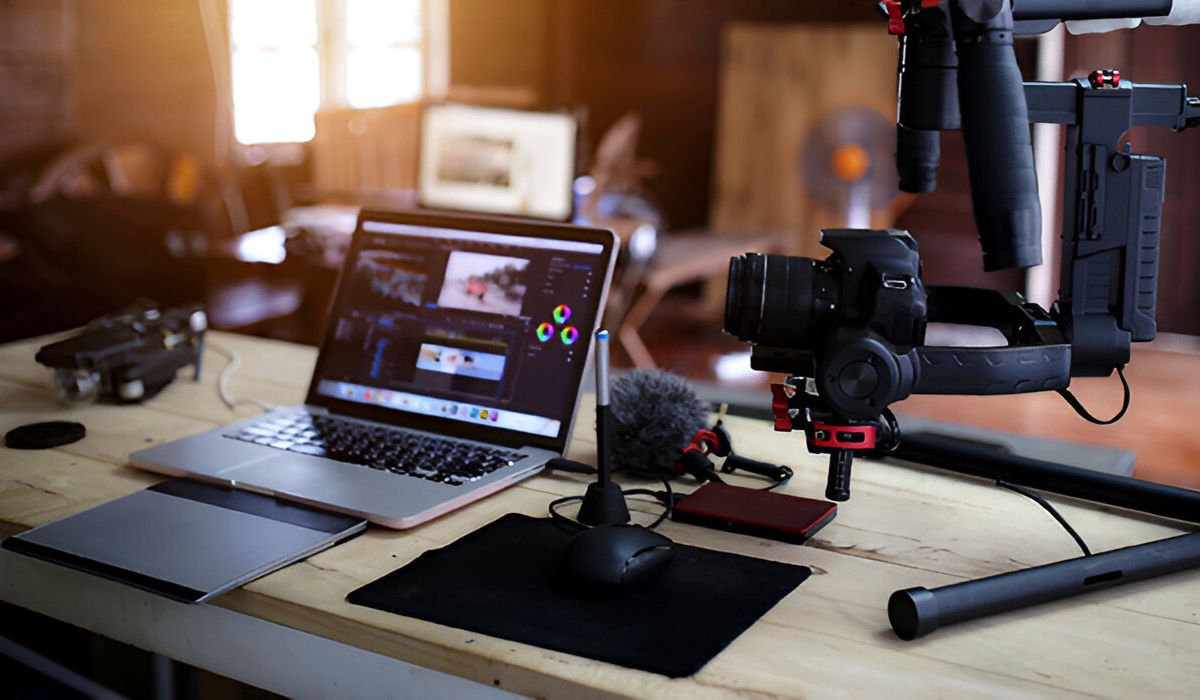
In this comprehensive guide, we will delve into the intricacies of DSLR camera settings for video production, providing valuable insights into optimizing your camera for exceptional video quality. Whether you're an aspiring videographer or a seasoned professional looking to refine your skills, this guide will equip you with the knowledge and techniques needed to elevate your video content to new heights.
Throughout this exploration, we will cover essential aspects such as adjusting shutter speed, setting aperture, choosing the right ISO, mastering white balance, and employing manual focus. By the end of this journey, you will possess a deeper understanding of how to harness the full potential of your DSLR camera to create captivating and visually stunning videos.
So, let's embark on this enlightening expedition into the world of DSLR camera settings for video, where every adjustment holds the power to transform your footage from ordinary to extraordinary.
Understanding DSLR Camera Settings for Video
Before delving into the specifics of adjusting DSLR camera settings for video production, it’s essential to grasp the fundamental role each setting plays in shaping the visual outcome of your footage. A DSLR camera offers a range of manual settings that significantly impact video quality, allowing for creative control and the ability to adapt to diverse shooting environments.
Shutter speed, aperture, ISO, white balance, and manual focus are among the key settings that videographers manipulate to achieve their desired visual effects. Understanding the interplay between these settings is crucial for producing professional-quality videos that effectively convey the intended mood and atmosphere.
Shutter speed dictates the duration for which the camera’s sensor is exposed to light, influencing the motion blur and overall sharpness of the video. Aperture, on the other hand, regulates the amount of light entering the lens and directly affects the depth of field, determining the extent of background blur and foreground sharpness. Meanwhile, ISO sensitivity impacts the camera’s ability to capture light in low-light conditions, albeit with potential trade-offs in image quality.
White balance is a vital setting that ensures accurate color representation in varying lighting conditions, preserving the natural tones of the scene. Additionally, manual focus empowers videographers to precisely control the focal point, allowing for creative emphasis and selective focus.
By comprehending the nuances of these settings and their collective influence on video production, videographers can harness the full potential of their DSLR cameras to craft visually compelling and impactful content. This foundational understanding serves as the cornerstone for mastering the art of adjusting DSLR camera settings for video, unlocking a realm of creative possibilities and elevating the overall quality of video productions.
As we delve deeper into the intricacies of each setting, you will gain valuable insights into the precise adjustments needed to achieve specific visual effects, empowering you to capture breathtaking videos that resonate with your audience on a profound level.
Adjusting Shutter Speed
Shutter speed is a fundamental aspect of DSLR videography, as it directly influences the visual aesthetics and the perceived motion within the footage. Understanding how to manipulate shutter speed empowers videographers to convey a sense of movement and control the overall sharpness of the video.
When adjusting the shutter speed for video, it’s essential to consider the frame rate at which the video is being recorded. A general rule of thumb is to set the shutter speed to double the frame rate. For instance, if you’re shooting at 24 frames per second (fps), the ideal shutter speed would be 1/50th of a second. This ratio ensures natural-looking motion blur, akin to what the human eye perceives, resulting in smooth and cinematic footage.
However, certain creative choices may warrant deviations from this guideline. In scenes with fast-paced action or sports, a higher shutter speed can effectively freeze motion and accentuate the sense of urgency. Conversely, a slower shutter speed can impart a dreamy, ethereal quality to the visuals, ideal for capturing serene landscapes or emotive storytelling sequences.
Moreover, adjusting the shutter speed allows videographers to adapt to varying lighting conditions. In bright environments, a faster shutter speed can prevent overexposure, while in low-light settings, a slower shutter speed enables the camera to capture more light, albeit with the trade-off of increased motion blur.
By mastering the art of adjusting shutter speed, videographers can imbue their videos with a distinct visual character, effectively communicating the desired mood and atmosphere. Whether it’s capturing the frenetic energy of a bustling city or the tranquil grace of a sunset, the manipulation of shutter speed serves as a powerful tool for shaping the narrative and evoking emotional responses from the audience.
As we delve deeper into the realm of DSLR camera settings for video, the nuanced understanding of shutter speed and its creative applications will equip you with the expertise to elevate your videography skills and produce captivating visual content that resonates with viewers on a profound level.
Setting Aperture for Video
Aperture, a critical component of DSLR videography, plays a pivotal role in determining the depth of field and controlling the amount of light entering the camera lens. Understanding how to manipulate aperture settings empowers videographers to achieve specific visual effects and creative interpretations within their videos.
One of the primary functions of aperture is regulating the depth of field, which refers to the range of distance over which the footage appears sharply focused. By adjusting the aperture, videographers can create captivating visuals with either a shallow depth of field, where the subject is sharply in focus while the background is beautifully blurred, or a deep depth of field, where both the subject and the background are equally sharp. This creative control over depth of field allows for the emphasis of specific elements within the frame, adding depth and dimension to the visual storytelling.
Furthermore, the aperture setting directly impacts the exposure of the video. A wider aperture (small f-number) permits more light to enter the lens, making it ideal for low-light environments and creating a visually striking bokeh effect in the background. Conversely, a narrower aperture (larger f-number) restricts the amount of light, suitable for capturing well-lit scenes with enhanced detail and clarity.
When setting the aperture for video, it’s crucial to consider the lens’s maximum aperture and its impact on the overall visual aesthetics. Prime lenses with wider maximum apertures offer greater flexibility in achieving shallow depth of field and performing exceptionally well in low-light conditions, while zoom lenses with variable apertures provide versatility in adapting to diverse shooting scenarios.
By mastering the art of setting aperture for video, videographers can infuse their footage with a distinct visual style, effectively shaping the narrative and evoking emotional responses from the audience. Whether it’s capturing intimate character interactions with a shallow depth of field or showcasing expansive landscapes with a deep depth of field, the deliberate manipulation of aperture settings enables videographers to imbue their videos with a compelling visual language.
As we continue our exploration of DSLR camera settings for video, the nuanced understanding of aperture and its creative applications will equip you with the expertise to elevate your videography skills and produce captivating visual content that resonates with viewers on a profound level.
Choosing the Right ISO for Video
ISO, an integral component of DSLR videography, governs the camera’s sensitivity to light and plays a crucial role in achieving optimal exposure in various lighting conditions. Understanding how to select the appropriate ISO setting empowers videographers to maintain image quality while adapting to the available light, thereby enhancing the visual impact of their videos.
When choosing the right ISO for video, videographers must consider the trade-offs associated with different ISO levels. Lower ISO settings, such as ISO 100 or 200, offer the advantage of minimal digital noise and optimal image quality, making them ideal for well-lit environments or when capturing scenes with ample natural light. On the other hand, higher ISO settings, such as ISO 800 or above, increase the camera’s sensitivity to light, allowing for better performance in low-light conditions but potentially introducing digital noise and reducing overall image clarity.
It’s essential to strike a balance between achieving adequate exposure and preserving image quality when adjusting the ISO for video. In brightly lit settings, opting for a lower ISO setting can help maintain optimal image fidelity, while in dimly lit environments, a higher ISO setting may be necessary to ensure proper exposure without compromising the video’s visual integrity.
Moreover, modern DSLR cameras often offer extended ISO ranges, providing videographers with greater flexibility in adapting to challenging lighting scenarios. However, it’s important to exercise caution when utilizing these extended ISO settings, as they may result in increased digital noise and reduced dynamic range, potentially impacting the overall quality of the footage.
By mastering the art of choosing the right ISO for video, videographers can effectively navigate diverse lighting conditions while preserving the visual integrity of their footage. Whether it’s capturing the vibrant energy of a bustling city street at night or the soft, natural light of a sunset, the deliberate selection of ISO settings enables videographers to convey the desired mood and atmosphere with precision and impact.
As we delve deeper into the realm of DSLR camera settings for video, the nuanced understanding of ISO and its creative applications will equip you with the expertise to elevate your videography skills and produce captivating visual content that resonates with viewers on a profound level.
White Balance Settings for Video
White balance is a critical aspect of DSLR videography, influencing the accurate representation of colors in varying lighting conditions. Mastering the manipulation of white balance settings empowers videographers to maintain color fidelity and convey the intended visual ambiance, ensuring that the videos resonate authentically with viewers.
When adjusting white balance for video, videographers must consider the color temperature of the lighting environment. Different light sources emit varying color temperatures, ranging from the warm hues of incandescent lighting to the cooler tones of daylight or fluorescent lighting. By selecting the appropriate white balance setting that corresponds to the prevailing color temperature, videographers can ensure that colors are faithfully reproduced without unwanted color casts.
Modern DSLR cameras offer a range of white balance presets, including daylight, cloudy, shade, tungsten, fluorescent, and custom settings, each tailored to specific lighting conditions. These presets serve as valuable starting points for achieving accurate color reproduction, allowing videographers to seamlessly adapt to diverse shooting environments and maintain consistent color integrity throughout their footage.
Furthermore, the custom white balance setting enables videographers to manually calibrate the white balance based on the specific lighting conditions, ensuring precise color accuracy tailored to the scene’s unique characteristics. This level of customization empowers videographers to exert fine control over the color rendition, resulting in videos that authentically capture the visual nuances of the environment.
By mastering the art of white balance settings for video, videographers can effectively convey the intended mood and atmosphere, ensuring that the colors within their footage resonate with vibrancy and authenticity. Whether it’s capturing the warm, golden glow of a sunset or the cool, ethereal ambiance of moonlit scenes, the deliberate manipulation of white balance settings allows videographers to infuse their videos with a compelling visual language that resonates deeply with viewers.
As we continue our exploration of DSLR camera settings for video, the nuanced understanding of white balance and its creative applications will equip you with the expertise to elevate your videography skills and produce captivating visual content that captivates and resonates with audiences on a profound level.
Using Manual Focus for Video
Manual focus is a fundamental tool in DSLR videography, offering videographers precise control over the focal point and enabling them to capture scenes with unparalleled clarity and creative intent. Understanding how to effectively utilize manual focus empowers videographers to craft visually compelling narratives and evoke emotional responses through deliberate visual storytelling.
When employing manual focus for video, videographers have the freedom to selectively emphasize specific elements within the frame, directing the viewer’s attention and imbuing the footage with a sense of artistry and intentionality. Whether it’s capturing subtle nuances in facial expressions or highlighting intricate details within the environment, manual focus allows for a level of creative expression that enhances the visual impact of the video.
Moreover, manual focus provides videographers with the ability to execute smooth and deliberate focus pulls, seamlessly transitioning between focal points to guide the viewer’s gaze and convey the desired narrative emphasis. This technique adds a layer of cinematic sophistication to the footage, elevating the overall production quality and immersing the audience in the visual journey.
Additionally, manual focus empowers videographers to overcome the limitations of autofocus systems, particularly in challenging shooting conditions where the camera’s autofocus may struggle to accurately track moving subjects or maintain focus on specific details. By taking full control of the focus mechanism, videographers can ensure consistent sharpness and precision, resulting in footage that exudes professionalism and visual finesse.
By mastering the art of using manual focus for video, videographers can infuse their footage with a distinct visual style and convey the intended narrative with unparalleled clarity and impact. Whether it’s capturing intimate character interactions with pinpoint precision or orchestrating seamless focus transitions to heighten dramatic tension, the deliberate use of manual focus allows videographers to shape their videos with a level of artistry that resonates deeply with viewers.
As we delve deeper into the realm of DSLR camera settings for video, the nuanced understanding of manual focus and its creative applications will equip you with the expertise to elevate your videography skills and produce captivating visual content that captivates and resonates with audiences on a profound level.
Conclusion
As we conclude our comprehensive exploration of DSLR camera settings for video production, it’s evident that each setting plays a pivotal role in shaping the visual narrative and enhancing the overall quality of the footage. From adjusting shutter speed to mastering manual focus, videographers are equipped with a diverse array of tools to craft visually compelling stories that resonate deeply with audiences.
Understanding the interplay between shutter speed, aperture, ISO, white balance, and manual focus empowers videographers to exercise precise creative control, ensuring that every visual element within their videos serves a purpose in conveying the intended mood and atmosphere. Whether it’s capturing the kinetic energy of a bustling urban landscape or the serene beauty of a natural vista, the deliberate manipulation of these settings allows videographers to imbue their footage with a distinct visual language that captivates and resonates with viewers.
Furthermore, the mastery of DSLR camera settings for video production extends beyond technical proficiency; it encapsulates a profound understanding of visual storytelling and the art of evoking emotions through the language of imagery. By harnessing the full potential of their DSLR cameras, videographers can elevate their videography skills and produce captivating visual content that transcends mere visuals, leaving a lasting impression on their audience.
As you embark on your own videography journey, remember that the true power of DSLR camera settings lies in their ability to transform ordinary moments into extraordinary visual experiences. Embrace the nuances of each setting, experiment with creative applications, and allow your unique vision to shine through in every frame you capture.
With a deep understanding of DSLR camera settings and a passion for visual storytelling, you possess the tools to create videos that not only captivate the eyes but also stir the soul, leaving an indelible impact on those who experience your artistry.


