Introduction
So, you've decided to take your livestreaming or video recording game to the next level by using a DSLR camera with the Elgato HD60 Pro. This setup can significantly enhance the visual quality of your content, providing crisp, high-definition images that will captivate your audience. By following the steps outlined in this guide, you'll be able to seamlessly integrate your DSLR camera with the Elgato HD60 Pro, unlocking a whole new level of professionalism in your video production.
In the following sections, we'll walk through the process of setting up your DSLR camera on the Elgato HD60 Pro, from the initial installation to configuring the camera settings and testing the setup. Whether you're a content creator, a gamer looking to elevate your streaming setup, or a vlogger aiming to improve the quality of your videos, this guide will equip you with the knowledge and skills to harness the full potential of your DSLR camera in conjunction with the Elgato HD60 Pro.
By the end of this tutorial, you'll have a comprehensive understanding of how to seamlessly integrate your DSLR camera into your video production setup, allowing you to produce professional-grade content with ease. Let's dive in and explore the steps to transform your video quality and take your content creation to the next level.
Step 1: Installing the Elgato HD60 Pro
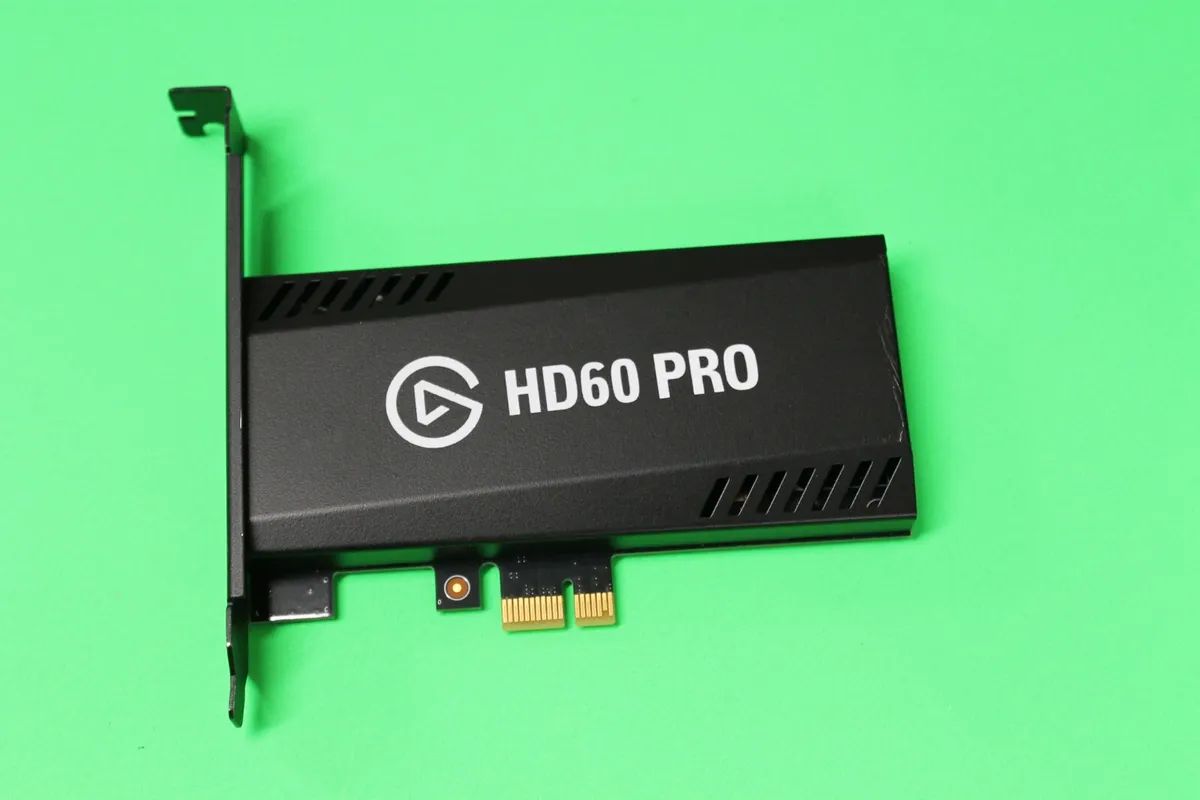
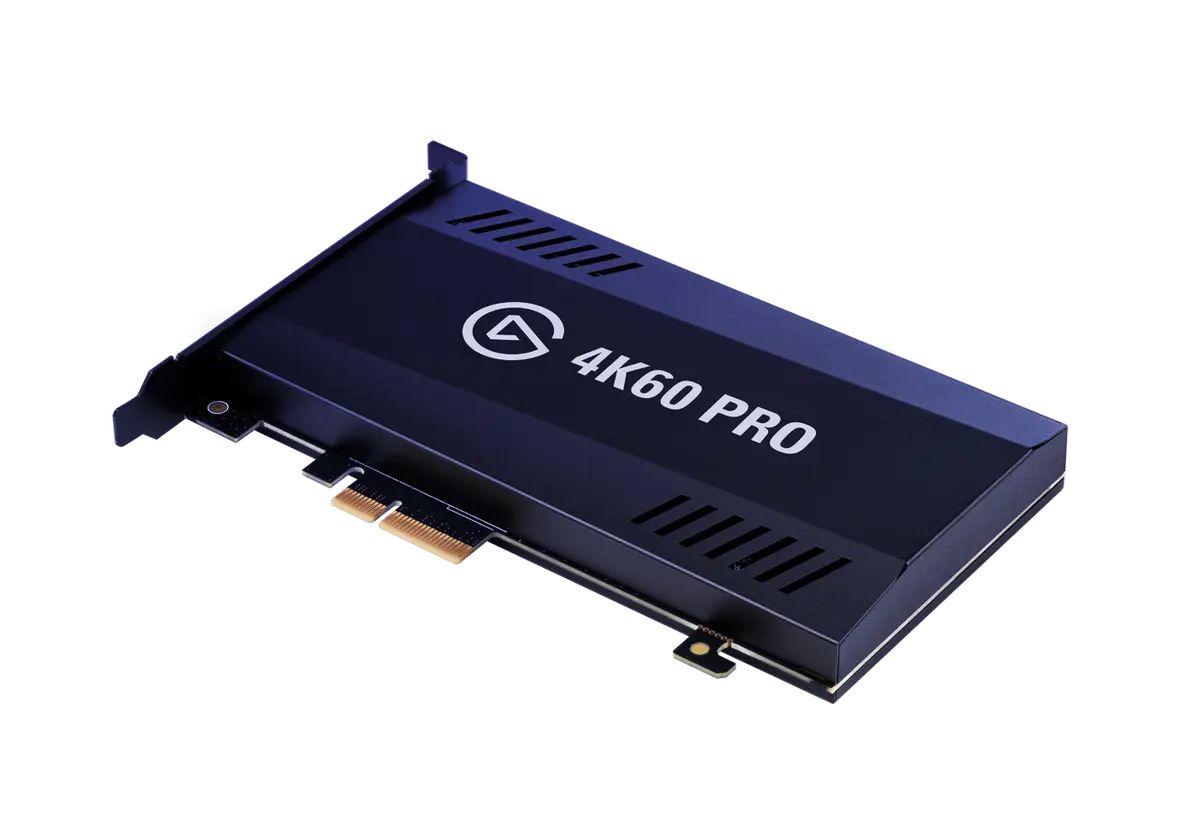
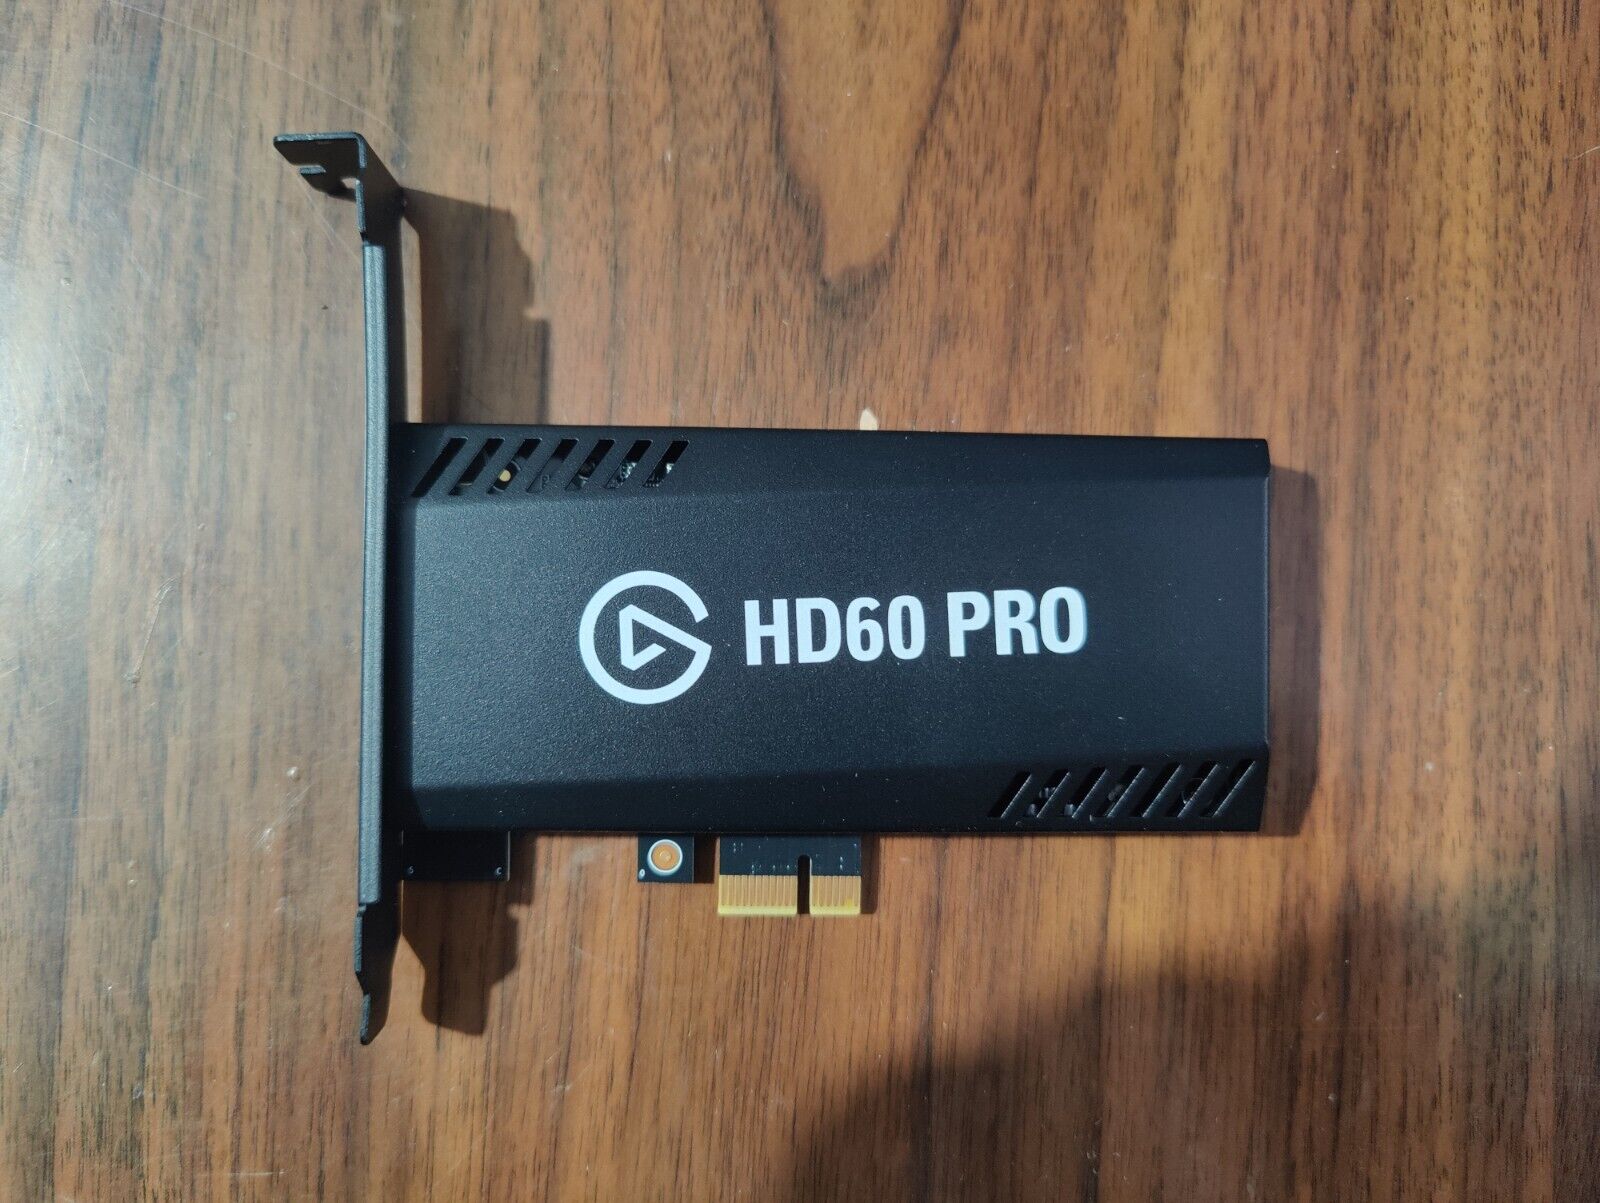
Before you can begin using your DSLR camera with the Elgato HD60 Pro, you need to ensure that the capture card is correctly installed in your computer. Start by powering down your computer and opening the case to access the internal components. Carefully insert the Elgato HD60 Pro into an available PCIe slot on your motherboard, ensuring that it is securely seated. Once the card is in place, secure it using the included bracket to prevent any movement or disconnection during use.
After the physical installation is complete, close the computer case and power on your system. You’ll then need to download and install the appropriate drivers and software for the Elgato HD60 Pro from the official Elgato website. These drivers are essential for enabling communication between the capture card and your computer, allowing for seamless integration with your DSLR camera.
Once the drivers and software are installed, restart your computer to ensure that the changes take effect. After the restart, verify that the Elgato HD60 Pro is recognized by your system and that the software is functioning correctly. With the capture card successfully installed and operational, you’re now ready to move on to the next step of connecting your DSLR camera to the Elgato HD60 Pro.
Step 2: Connecting the DSLR Camera to the Elgato HD60 Pro
With the Elgato HD60 Pro successfully installed in your computer, it’s time to establish the connection between your DSLR camera and the capture card. To begin, power off your DSLR camera and locate the HDMI output port. Using a high-quality HDMI cable, connect the output port of your DSLR camera to the HDMI input port of the Elgato HD60 Pro. Ensure that the connection is secure to prevent any signal loss or interference during operation.
Next, power on your DSLR camera and launch the corresponding software or app that allows you to monitor the camera’s output. This step is crucial for ensuring that the camera is correctly transmitting its signal to the Elgato HD60 Pro. Once the camera’s output is confirmed, open the recording or streaming software on your computer and verify that the DSLR camera’s feed is being recognized by the Elgato HD60 Pro.
It’s important to note that some DSLR cameras may require specific settings adjustments to enable clean HDMI output. Refer to your camera’s user manual or online resources to determine the necessary configuration changes. Common settings that may need adjustment include disabling on-screen display overlays, enabling manual focus, and setting the output resolution to match the desired recording or streaming quality.
After ensuring that the DSLR camera’s output is successfully transmitted to the Elgato HD60 Pro, you’re now ready to proceed to the next step of configuring the camera settings to optimize the visual output for your specific use case. This crucial step will ensure that your DSLR camera delivers the best possible image quality when integrated with the Elgato HD60 Pro for recording or streaming purposes.
Step 3: Setting Up the DSLR Camera Settings
Optimizing the settings on your DSLR camera is essential for achieving the best possible image quality when using it with the Elgato HD60 Pro. Start by accessing the camera’s menu system and navigating to the video settings. Depending on your camera model, you may need to make the following adjustments to ensure optimal performance when connected to the capture card:
- Resolution and Frame Rate: Set the resolution and frame rate to match the desired output quality. For smooth, high-definition video, consider selecting a resolution of 1080p at 30 or 60 frames per second, depending on your preferences and the capabilities of your camera.
- Manual Focus and Exposure: Enable manual focus and exposure control to ensure that the camera maintains consistent settings throughout the recording or streaming session. This can prevent unwanted autofocus adjustments and exposure fluctuations during use.
- On-Screen Display (OSD) Overlays: Disable any on-screen display overlays, such as focus indicators, exposure settings, or battery indicators, to ensure a clean and unobstructed video feed. This will prevent distracting elements from appearing in the captured footage.
- Audio Settings: If you plan to use the camera’s built-in microphone or an external audio source, configure the audio settings to capture clear and balanced sound. Adjust the microphone levels and settings as needed to achieve optimal audio quality.
Additionally, consider utilizing any available picture profiles or color settings on your camera to achieve a specific aesthetic or color grading for your videos. Experiment with different settings to find the look that best suits your content and personal style.
Once you’ve configured the DSLR camera settings to align with the requirements of your recording or streaming setup, you’re now prepared to move on to the next step of configuring the Elgato Game Capture HD software to ensure seamless integration with your camera and capture card.
Step 4: Configuring the Elgato Game Capture HD Software
After preparing your DSLR camera and ensuring that it’s transmitting a clean HDMI signal to the Elgato HD60 Pro, the next step involves configuring the Elgato Game Capture HD software to effectively capture and manage the incoming video feed. Follow these steps to optimize the software settings for seamless integration with your DSLR camera:
- Launch the Software: Start by launching the Elgato Game Capture HD software on your computer. Upon opening the application, you should see the input from your DSLR camera displayed in the preview window, confirming that the software is successfully receiving the video feed from the Elgato HD60 Pro.
- Video and Audio Settings: Navigate to the software’s settings menu to configure the video and audio settings according to your preferences. Adjust the video resolution, frame rate, and audio input options to align with the desired output quality and recording specifications.
- Recording and Streaming Options: Explore the recording and streaming options within the software to customize the capture settings based on your intended use. Whether you’re recording gameplay, live streaming, or capturing video for post-production editing, ensure that the software settings are optimized for your specific application.
- Scene and Source Management: Utilize the software’s scene and source management features to organize and customize the layout of your video feed. This may include adding overlays, webcam footage, or other visual elements to enhance the presentation of your content.
- Testing and Calibration: Before proceeding, conduct a test recording or live stream to verify that the Elgato Game Capture HD software is effectively capturing the video feed from your DSLR camera. Use this opportunity to fine-tune any settings and ensure that the output meets your expectations.
By configuring the Elgato Game Capture HD software to accommodate the input from your DSLR camera, you’ll be well-equipped to harness the full potential of your video production setup. With the software settings optimized, you’re now ready to proceed to the final step of testing the DSLR camera on the Elgato HD60 Pro to confirm that everything is functioning as intended.
Step 5: Testing the DSLR Camera on Elgato HD60 Pro
With the Elgato Game Capture HD software configured and your DSLR camera settings optimized, it’s time to conduct a comprehensive test to ensure that the integration between the camera and the Elgato HD60 Pro is seamless and that the video feed meets your quality standards. Follow these steps to conduct a thorough test of your setup:
- Preview and Monitoring: Begin by previewing the video feed from your DSLR camera within the Elgato Game Capture HD software. Verify that the image quality, resolution, and color reproduction align with your expectations. Pay attention to any visual artifacts, signal disruptions, or audio-visual synchronization issues that may require adjustment.
- Recording and Playback: Initiate a test recording using the Elgato Game Capture HD software to capture a sample video from your DSLR camera. After recording, review the footage to assess the overall visual and audio quality. Look for any anomalies, distortions, or discrepancies that may indicate underlying setup issues or configuration adjustments that are needed.
- Live Streaming (Optional): If your intended use involves live streaming, initiate a test stream to a private or unlisted platform to evaluate the real-time performance of your DSLR camera setup. Monitor the stream for stability, visual fidelity, and audio clarity, ensuring that the output meets the standards expected for your audience.
- Quality Assurance Checks: Perform additional quality assurance checks to identify and address any potential issues related to the integration of your DSLR camera with the Elgato HD60 Pro. This may involve adjusting camera settings, refining software configurations, or troubleshooting hardware connections to achieve optimal performance.
Throughout the testing process, pay close attention to the details of the video feed, including color accuracy, sharpness, and overall visual fidelity. Additionally, monitor the audio quality to ensure that the accompanying sound is clear, balanced, and synchronized with the video output.
By conducting a comprehensive test of your DSLR camera on the Elgato HD60 Pro, you’ll be able to identify and address any potential issues before engaging in live broadcasts or recording sessions. This proactive approach will enable you to deliver professional-grade content with confidence, knowing that your DSLR camera setup is fully optimized and integrated with the Elgato HD60 Pro.
Conclusion
Congratulations! You’ve successfully navigated the process of setting up your DSLR camera on the Elgato HD60 Pro, unlocking a world of creative possibilities for your video production endeavors. By following the detailed steps outlined in this guide, you’ve acquired the knowledge and skills necessary to seamlessly integrate your DSLR camera with the Elgato HD60 Pro, paving the way for professional-quality recordings, live streams, and content creation.
Through the installation of the Elgato HD60 Pro and the establishment of a secure connection with your DSLR camera, you’ve laid the foundation for a robust video production setup that offers exceptional visual fidelity and versatility. By configuring the settings on your DSLR camera and optimizing the Elgato Game Capture HD software, you’ve ensured that your setup is finely tuned to deliver outstanding performance in a variety of recording and streaming scenarios.
As you progress in your video production journey, remember to continue exploring the capabilities of your DSLR camera and the Elgato HD60 Pro, experimenting with different settings, visual styles, and creative approaches to content creation. Whether you’re a content creator, a gamer, a vlogger, or a multimedia enthusiast, the integration of a DSLR camera with the Elgato HD60 Pro opens up a world of opportunities to elevate your visual storytelling and engage your audience in new and compelling ways.
By conducting thorough testing and quality assurance checks, you’ve established a solid foundation for producing professional-grade content with confidence and precision. With your DSLR camera setup fully optimized and seamlessly integrated with the Elgato HD60 Pro, you’re well-equipped to embark on a journey of creativity, innovation, and captivating visual storytelling.
As you continue to refine your skills and explore the boundless potential of your video production setup, remember that the fusion of technology and creativity is at the heart of compelling content creation. Embrace the tools at your disposal, unleash your creativity, and embark on a captivating journey of visual expression and storytelling through the seamless integration of your DSLR camera with the Elgato HD60 Pro.