Introduction
Introduction
Are you looking to elevate your live streaming game by using a DSLR camera? With the increasing demand for high-quality live video content, leveraging a DSLR camera for live streaming can significantly enhance the production value of your broadcasts. Whether you are a vlogger, a content creator, or a business looking to engage your audience with professional-looking live streams, harnessing the power of a DSLR camera can take your content to the next level.
In this comprehensive guide, we will walk you through the process of setting up and live streaming with a DSLR camera. From selecting the right equipment to configuring your streaming software, we will cover all the essential steps to ensure a seamless and professional live streaming experience. Additionally, we will provide valuable tips to help you optimize your live streams and captivate your audience.
By the end of this guide, you will have the knowledge and confidence to harness the full potential of your DSLR camera for live streaming, enabling you to deliver captivating and visually stunning live content to your viewers. So, let's dive in and explore the exciting world of live streaming with a DSLR camera.
Choosing the Right Equipment
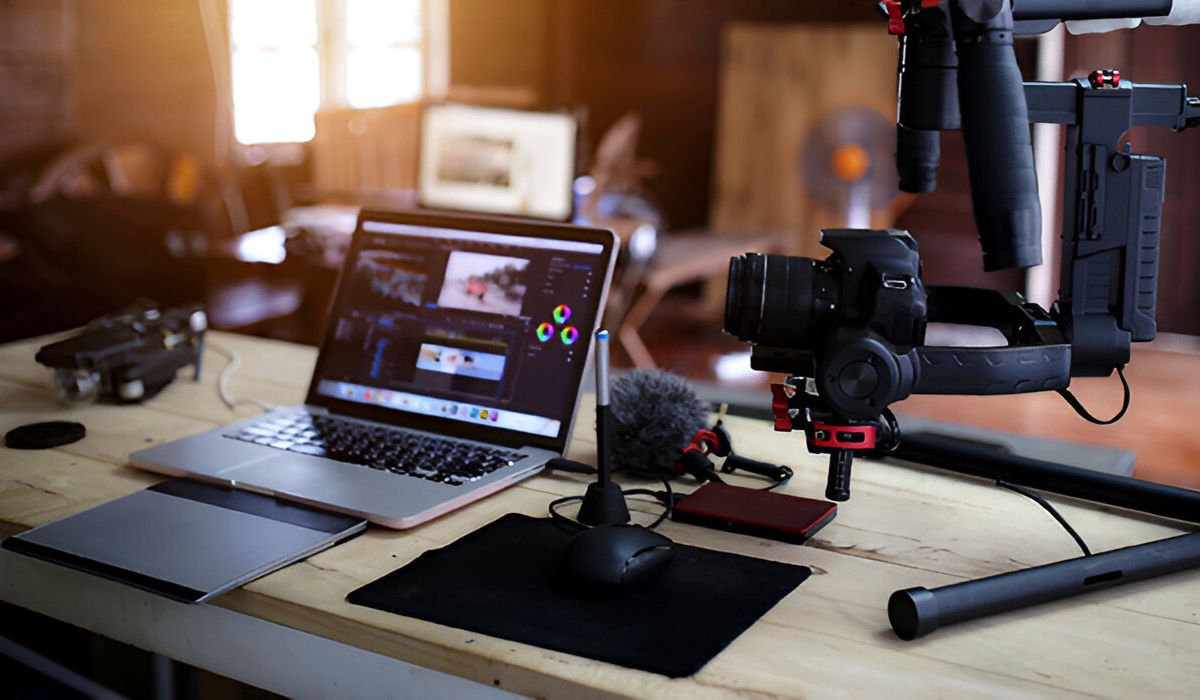
When venturing into the realm of live streaming with a DSLR camera, selecting the appropriate equipment is crucial to achieving professional-quality results. Here are the key components to consider:
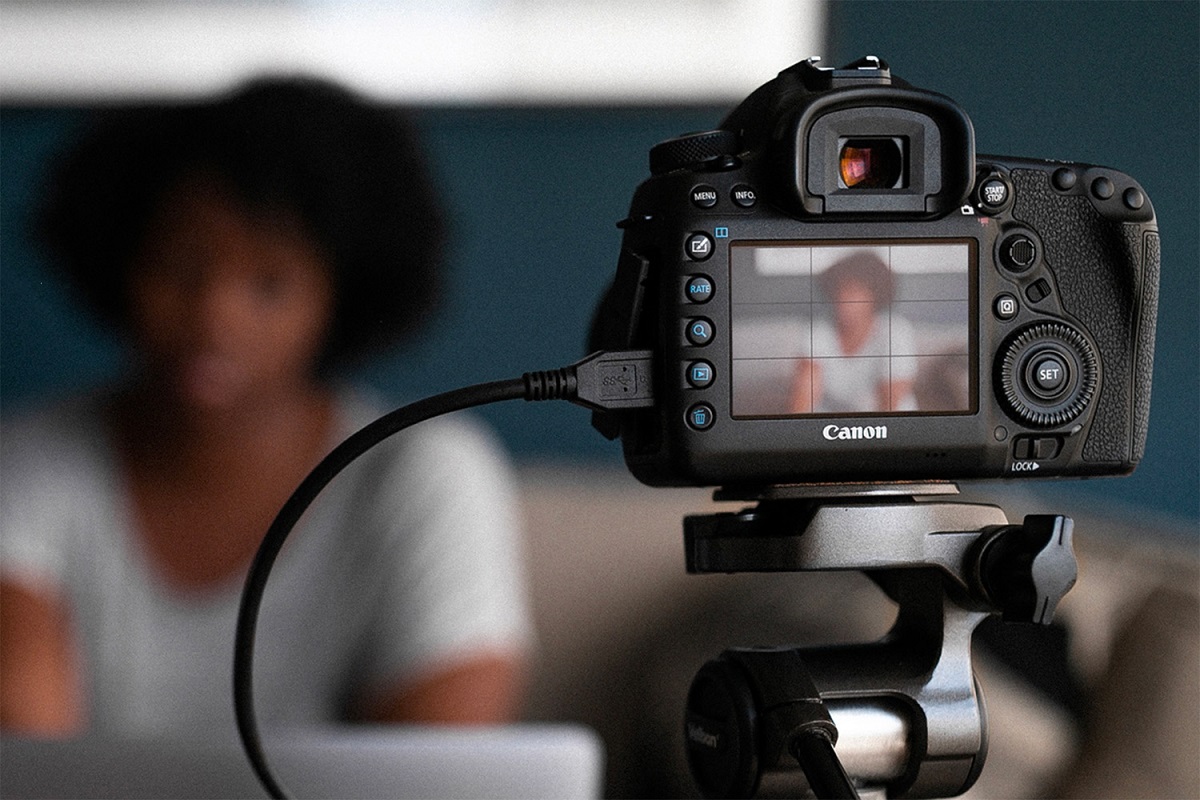
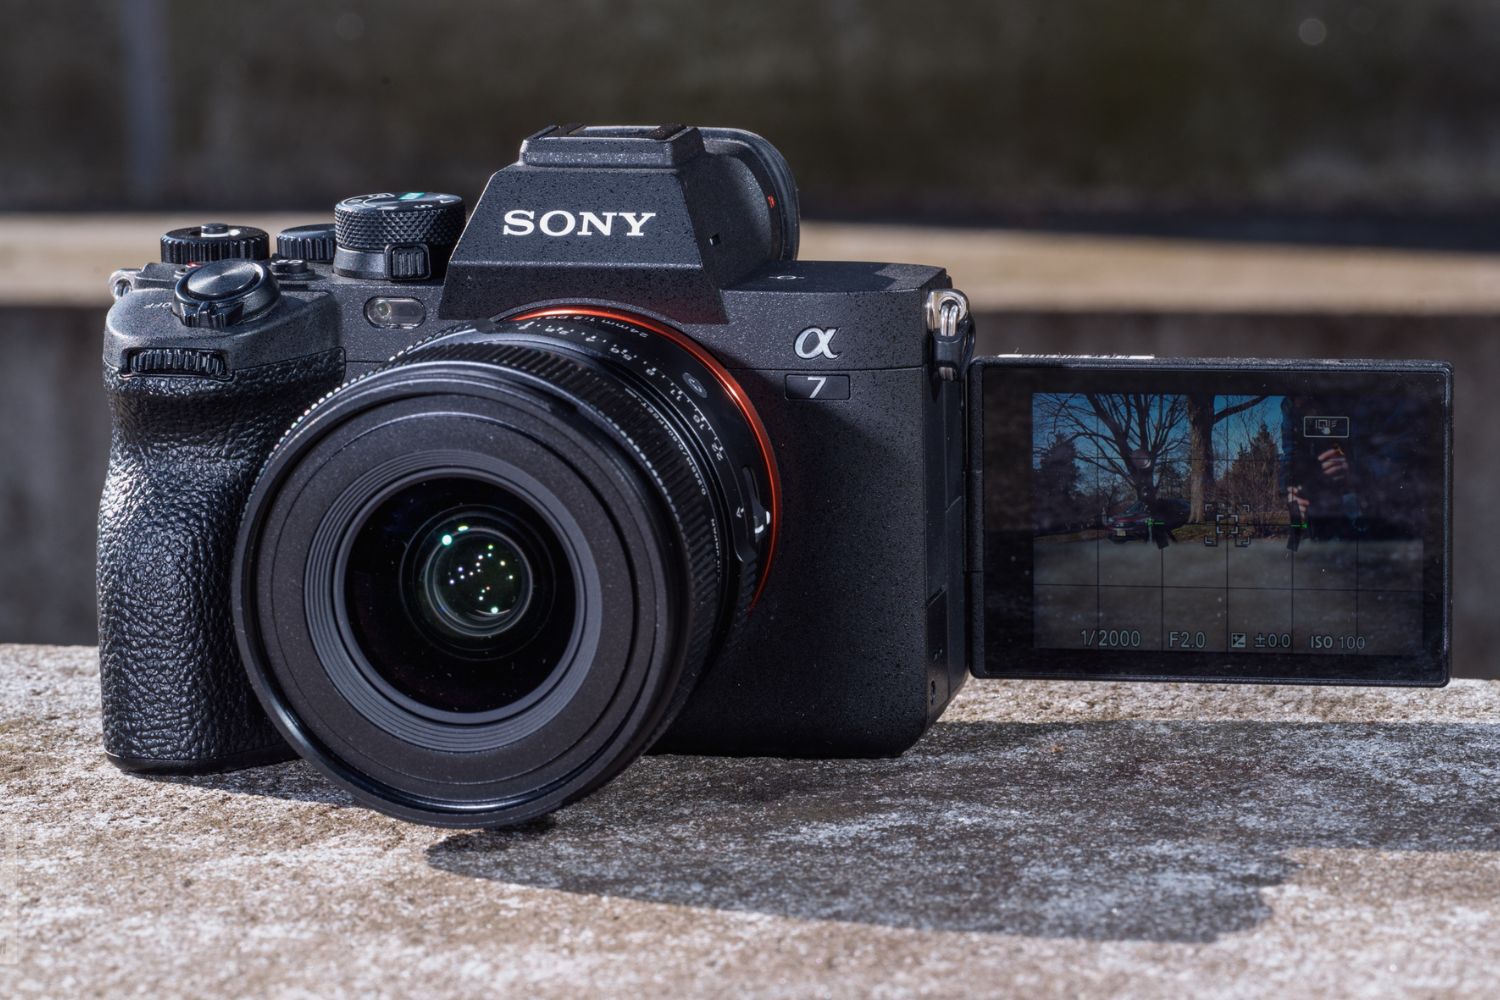
- DSLR Camera: The cornerstone of your live streaming setup is, of course, the DSLR camera. Look for a camera model known for its video capabilities, such as the ability to output a clean HDMI signal and continuous autofocus. Popular choices include the Canon EOS series and the Sony Alpha lineup.
- Lens: A high-quality lens can significantly impact the visual appeal of your live stream. Consider investing in a lens with a wide aperture for excellent low-light performance and a pleasing depth of field. Prime lenses, such as a 50mm or 85mm, are favored for their sharpness and versatility.
- Tripod or Mounting System: Stability is key to a professional-looking live stream. A sturdy tripod or mounting system will keep your DSLR camera steady and allow for precise framing throughout your broadcast.
- External Microphone: While DSLR cameras have built-in microphones, an external microphone can elevate the audio quality of your live stream. Look for a shotgun or lavalier microphone to capture clear and crisp audio.
- Lighting Equipment: Good lighting is essential for creating a visually appealing live stream. Invest in softbox lights or LED panels to illuminate your space evenly and flatteringly.
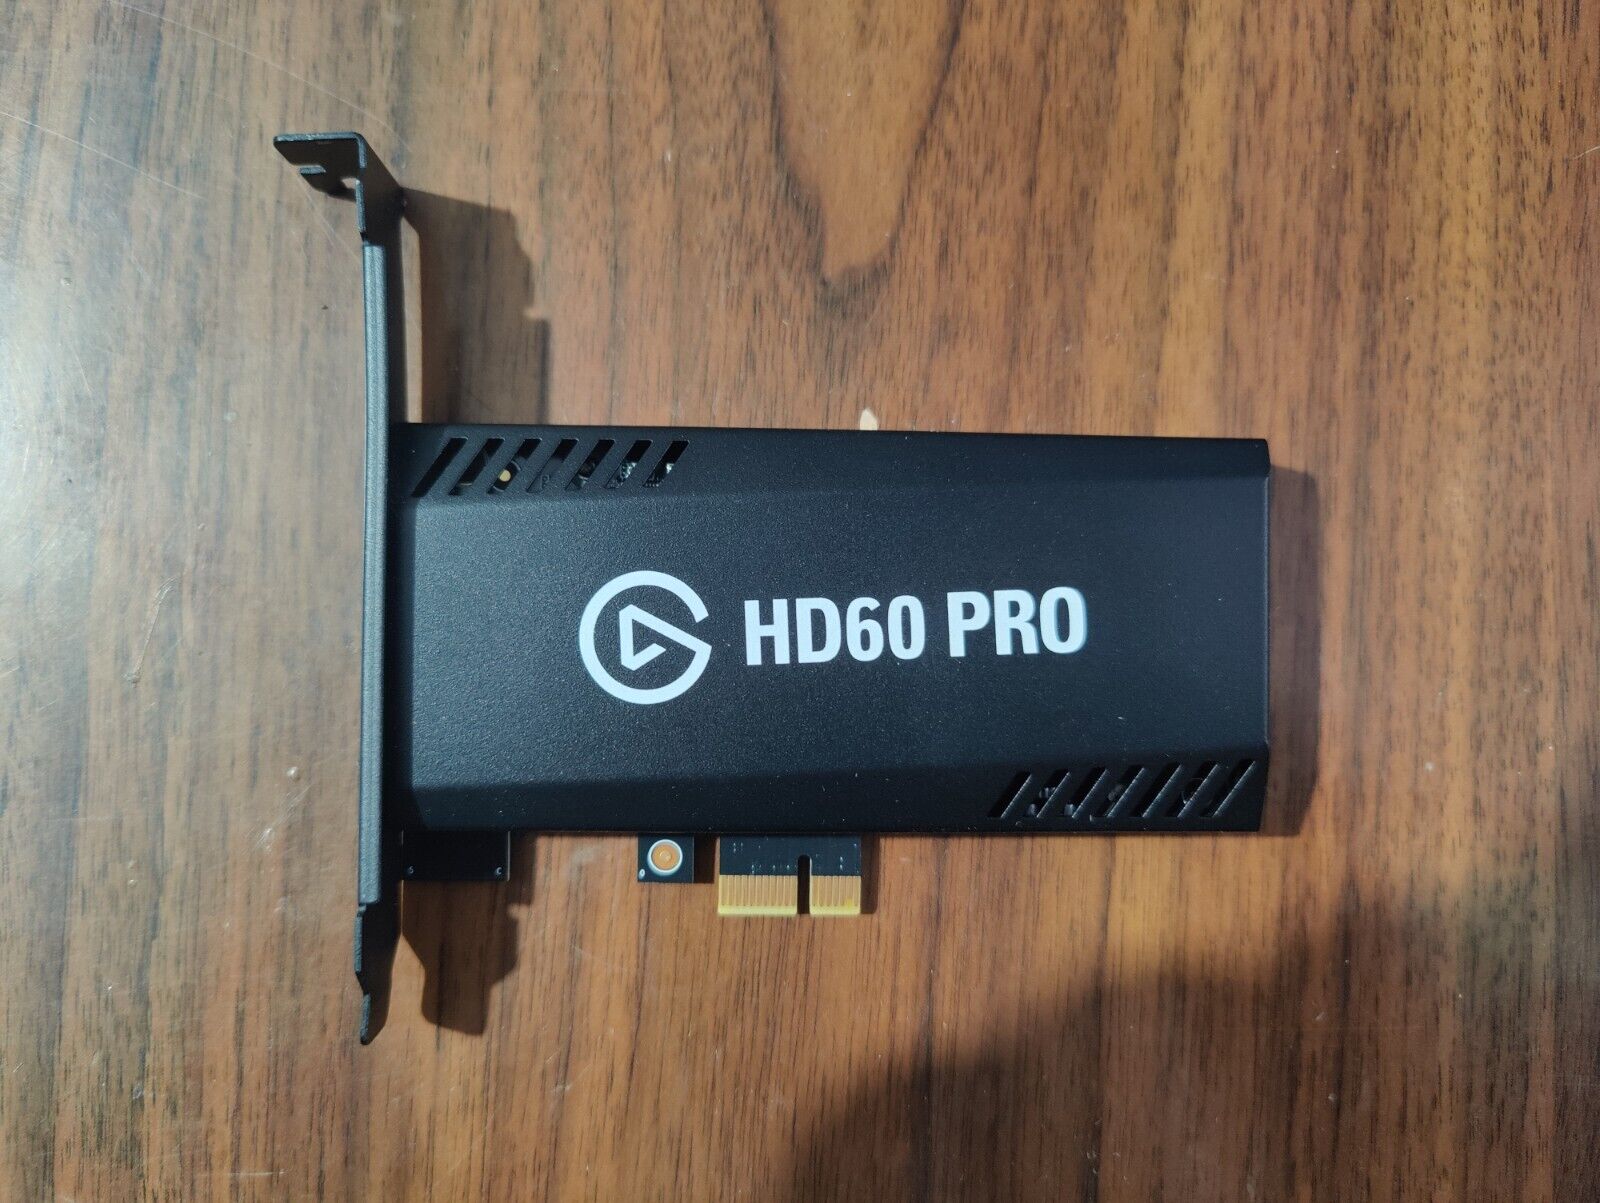
- Capture Card: To connect your DSLR camera to your computer for live streaming, you may need a capture card that converts the camera’s HDMI output into a format compatible with streaming software.
By carefully selecting the right equipment for your live streaming setup, you can ensure that your DSLR camera delivers stunning visuals and high-quality audio, setting the stage for engaging and professional live broadcasts.
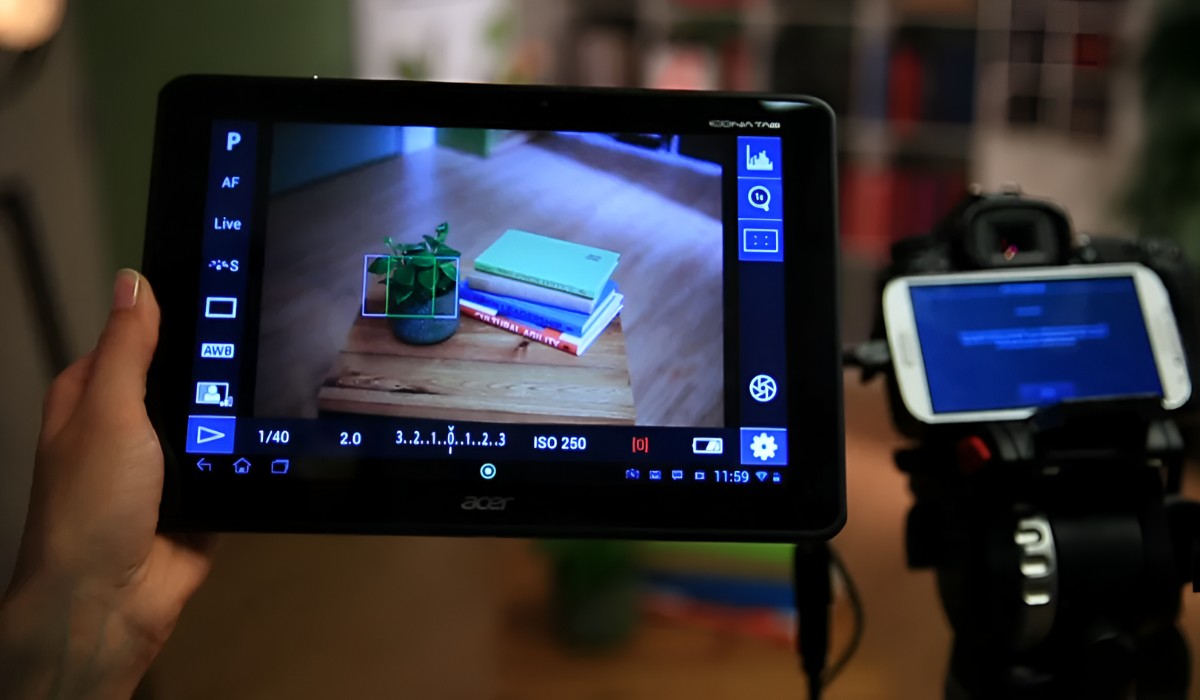
Setting Up Your DSLR Camera for Live Streaming
Before embarking on your live streaming journey with a DSLR camera, it’s essential to configure the camera settings to optimize its performance for live broadcasts. Here’s a step-by-step guide to setting up your DSLR camera:
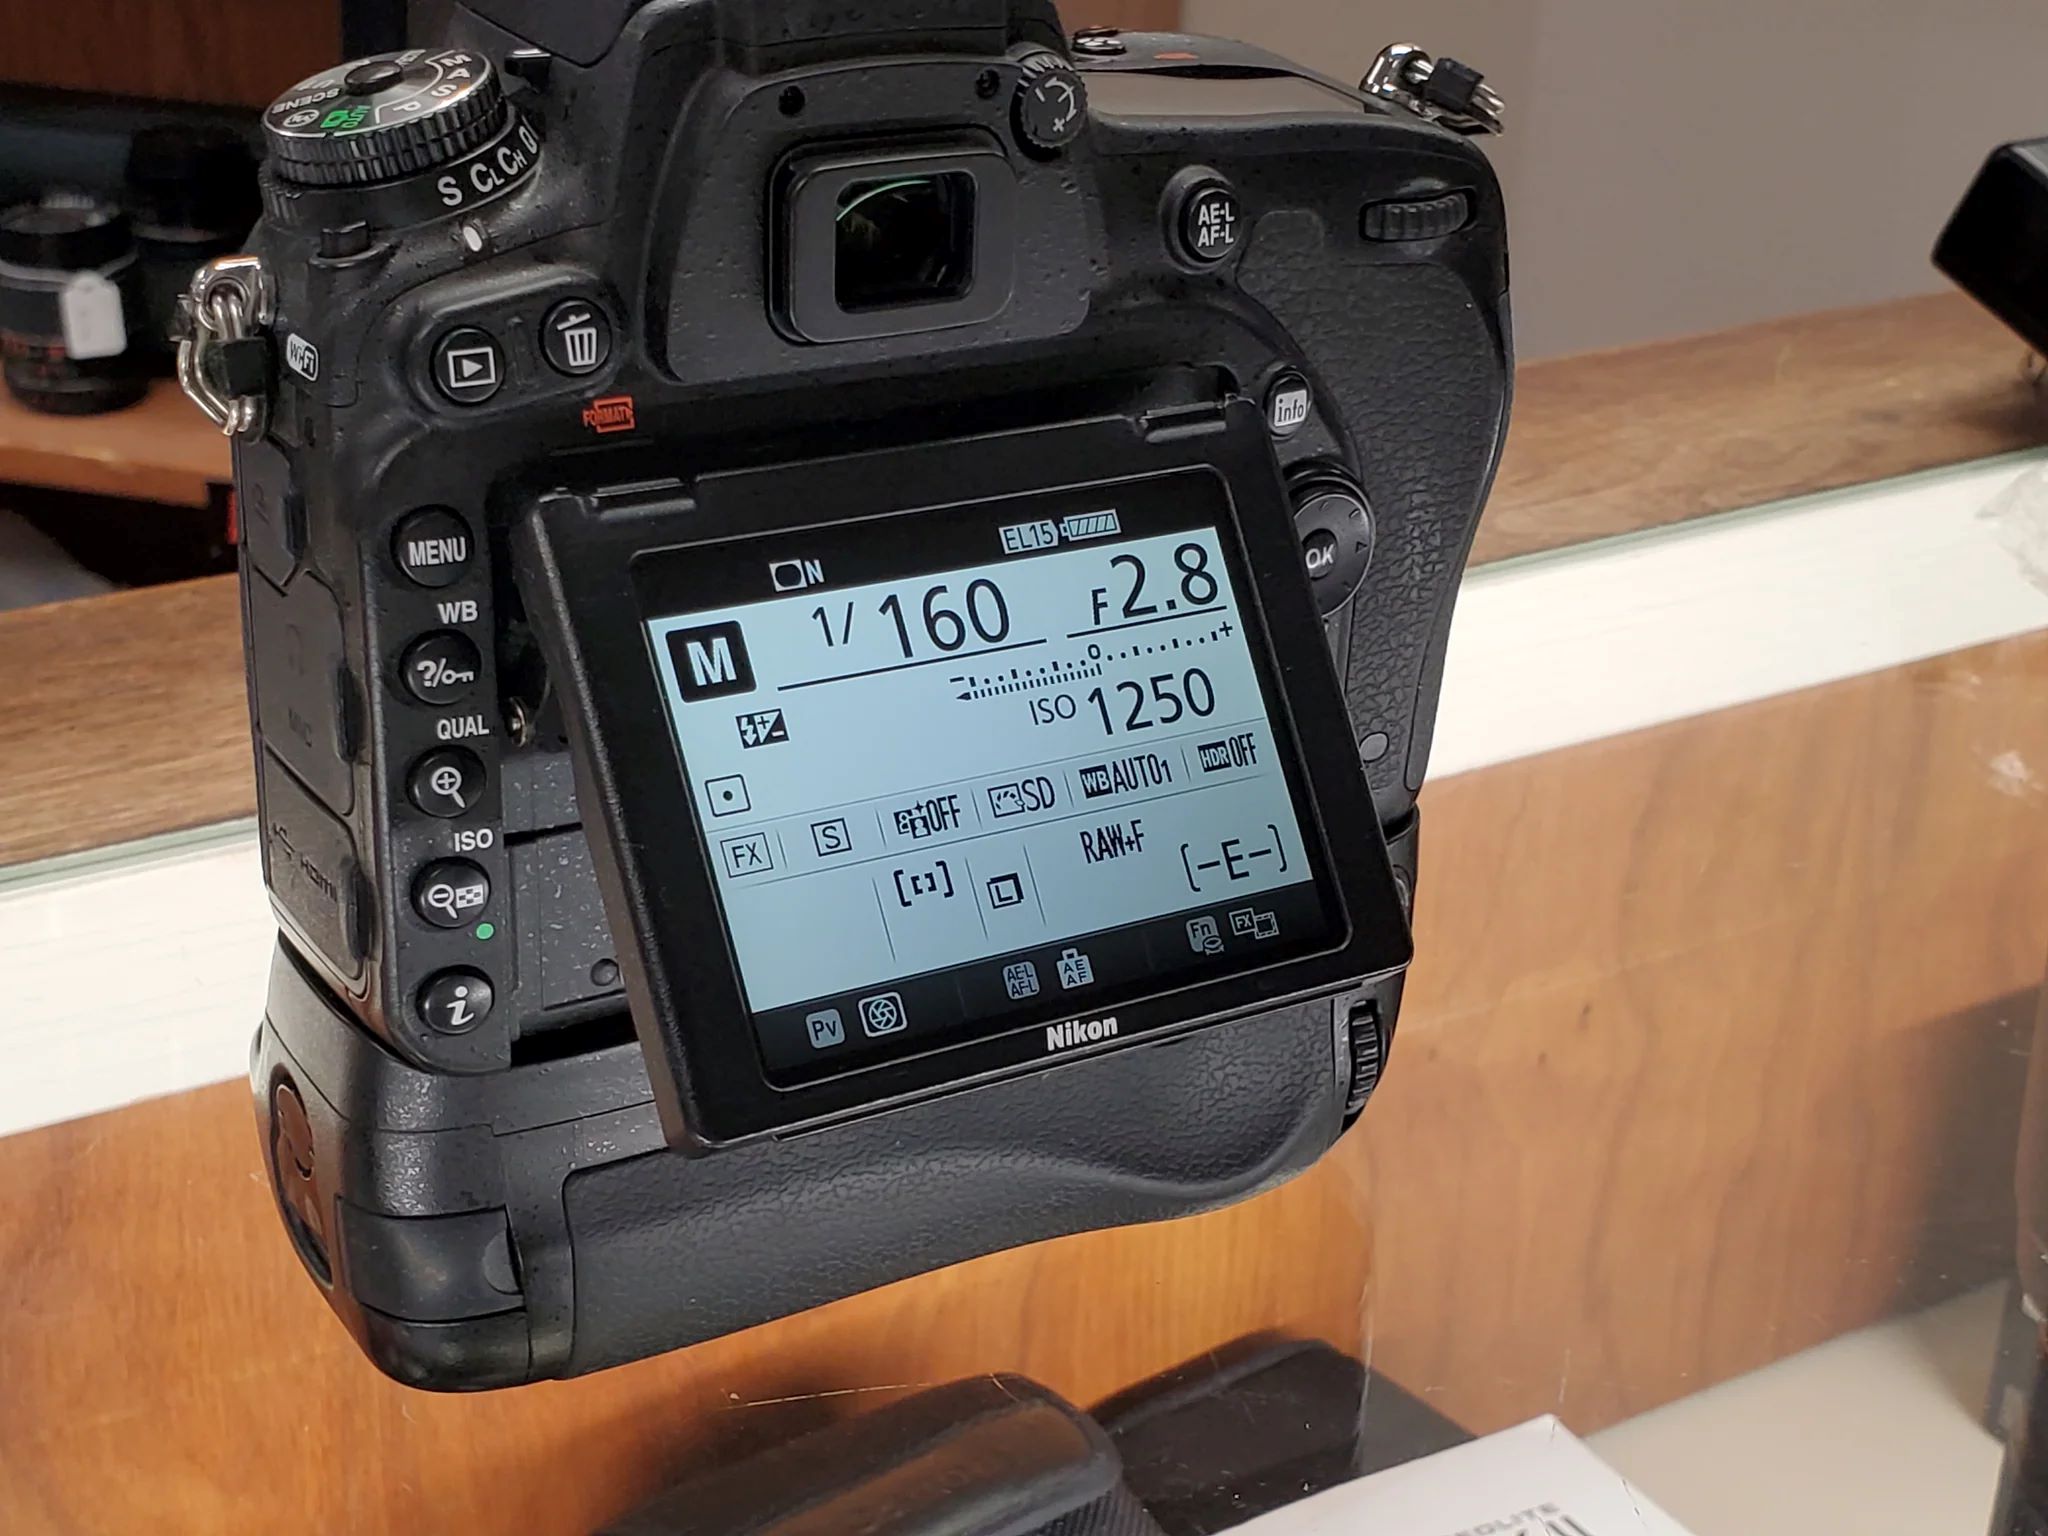
- Video Settings: Access your camera’s menu and navigate to the video settings. Ensure that the video resolution and frame rate are set to the desired values for live streaming. Common settings include 1080p resolution at 30 frames per second (fps) for high-definition streaming.
- Manual Focus and Exposure: For greater control over your live stream’s visual quality, switch to manual focus to prevent the camera from continuously refocusing during the broadcast. Additionally, adjust the exposure settings to achieve optimal brightness and contrast.
- Clean HDMI Output: Check if your DSLR camera offers a “clean” HDMI output option, which disables on-screen displays and overlays. This clean feed is essential for transmitting a pristine video signal to your streaming software.
- Audio Settings: If you plan to use an external microphone for superior audio quality, configure the camera to accept audio input from the external source. Adjust microphone levels to prevent audio distortion or clipping.
- Power Source: To avoid interruptions during your live stream, connect your DSLR camera to a reliable power source, such as an AC adapter or a high-capacity battery pack. This ensures uninterrupted power throughout your broadcast.
By meticulously configuring your DSLR camera for live streaming, you can harness its full potential to deliver professional-grade video and audio content to your audience. These settings lay the groundwork for a seamless and visually captivating live stream, setting the stage for a compelling viewing experience.
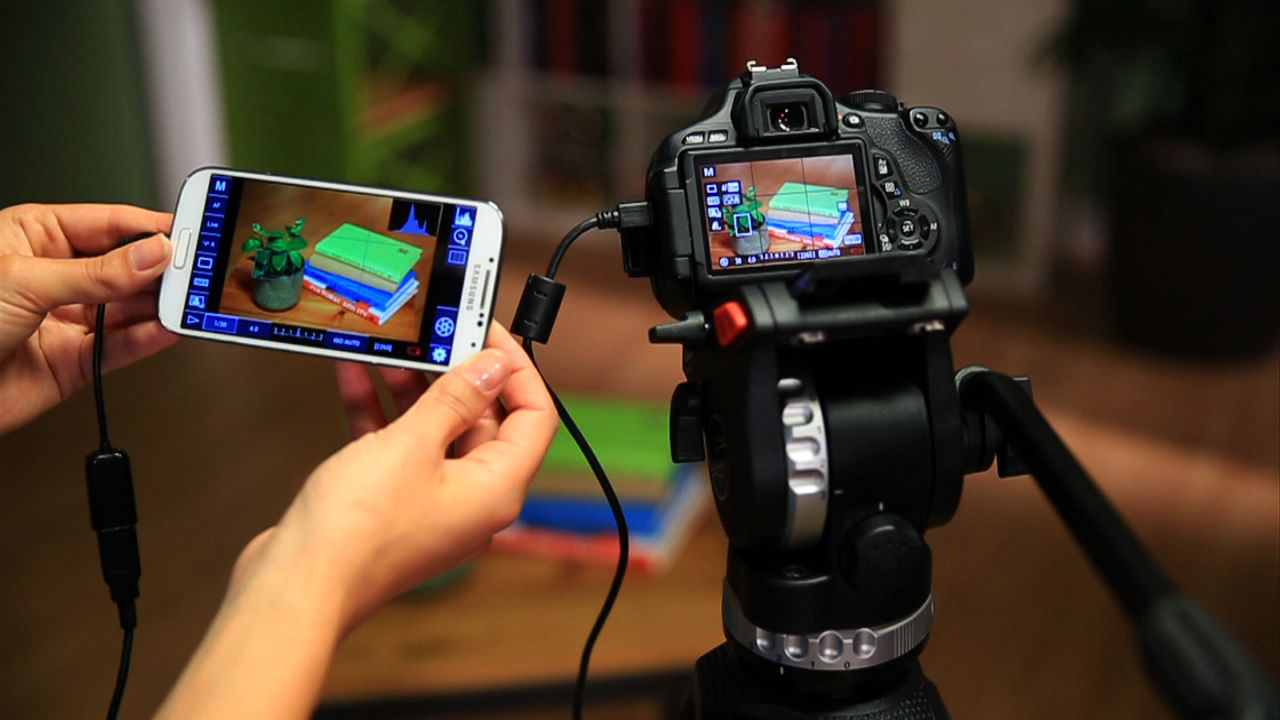
Connecting Your DSLR Camera to Your Computer
Once you have prepared your DSLR camera for live streaming, the next crucial step is to establish a reliable connection between the camera and your computer. This connection enables your computer to capture the video feed from the DSLR camera and incorporate it into your chosen streaming software. Here’s how to connect your DSLR camera to your computer for live streaming:
- USB or HDMI Connection: Depending on your camera model, you can typically connect your DSLR camera to your computer using either a USB or HDMI cable. Some cameras offer a “clean” HDMI output, which provides a pristine video signal without on-screen displays, ideal for live streaming.
- Capture Card: If your DSLR camera lacks direct compatibility with your computer, a capture card serves as an intermediary device that accepts the camera’s HDMI output and transfers it to your computer via USB or Thunderbolt connection.
- Driver Installation: In some cases, your computer may require specific drivers to recognize and communicate with your DSLR camera. Check the camera manufacturer’s website for the latest drivers and install them on your computer before proceeding with the connection.
- Streaming Software Compatibility: Ensure that your chosen streaming software, such as OBS Studio or XSplit, supports the use of DSLR cameras for live streaming. Most popular streaming applications offer native support for DSLR cameras as capture devices.
- Test the Connection: Before going live, conduct a test to verify that your DSLR camera successfully transmits its video feed to your computer. Open your streaming software and confirm that the camera’s video output appears as a selectable source for your live stream.
By establishing a seamless connection between your DSLR camera and your computer, you pave the way for high-quality video input into your streaming software, ensuring that your live streams showcase the professional visual fidelity that DSLR cameras are renowned for.
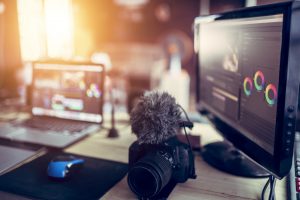
Configuring Your Streaming Software
With your DSLR camera connected to your computer, the next critical step in the live streaming process is to configure your streaming software to recognize and utilize the camera’s video feed. Whether you’re using OBS Studio, XSplit, or another streaming application, the following steps will guide you through the essential configuration process:
- Selecting the Camera Source: Open your streaming software and navigate to the settings or configuration menu. Look for the option to add a video source and select your DSLR camera from the list of available input devices. The camera’s video feed should appear as a selectable source within the software.
- Optimizing Video Settings: Once the camera source is added, you can fine-tune the video settings within the streaming software. Adjust parameters such as resolution, frame rate, and audio input to align with your desired streaming quality and specifications.
- Audio Configuration: If you’re using an external microphone for superior audio capture, configure the streaming software to recognize and utilize the audio input from your preferred microphone. Adjust audio levels and ensure that the audio quality meets your standards for the live stream.
- Preview and Test: Before initiating your live stream, utilize the software’s preview function to ensure that the DSLR camera’s video feed and audio input are functioning as intended. Conduct a test stream to verify that the visual and auditory elements align with your expectations.
- Optimize for Performance: Depending on your computer’s specifications and network bandwidth, adjust the streaming software’s settings for optimal performance. Balance video quality with system resources to ensure a smooth and stable live streaming experience.
By configuring your streaming software to seamlessly integrate with your DSLR camera, you can harness the camera’s visual prowess to deliver high-quality live streams that captivate your audience. These software adjustments lay the groundwork for a polished and professional broadcasting experience, ensuring that your content shines with visual and auditory excellence.
Going Live with Your DSLR Camera
After meticulously setting up and configuring your DSLR camera and streaming software, the moment arrives to initiate your live stream and share your captivating content with your audience. Here’s a step-by-step guide to going live with your DSLR camera:
- Prepare Your Set: Ensure that your filming environment is well-lit and visually appealing. Position yourself in the frame and arrange any props or visual elements that enhance the aesthetics of your live stream.
- Launch Your Streaming Software: Open your chosen streaming application and verify that your DSLR camera is recognized as the primary video source. Check that the audio input from your microphone is also functioning as intended.
- Configure Stream Settings: Set the title, description, and any additional metadata for your live stream within the streaming software. Select the appropriate streaming platform or service where you intend to broadcast your content, such as YouTube, Twitch, or Facebook Live.
- Engage Your Audience: Before going live, engage with your audience by promoting the upcoming stream on social media or other channels. Generate excitement and anticipation for your live content to attract viewers.
- Initiate the Live Stream: When you’re ready to begin, click the “Go Live” or “Start Streaming” button within your streaming software. Take a moment to ensure that everything is functioning correctly before officially commencing the broadcast.
- Deliver Compelling Content: Once live, engage with your audience, deliver your content with enthusiasm, and interact with viewers through comments and questions. Utilize the visual capabilities of your DSLR camera to showcase professional-quality visuals throughout the stream.
- Monitor Performance: Keep an eye on the streaming software’s performance indicators, such as dropped frames or network bandwidth usage, to ensure a smooth and uninterrupted live stream.
- Conclude the Stream: When you’ve delivered your content and engaged with your audience, conclude the live stream gracefully. Encourage viewers to like, comment, and subscribe, and express gratitude for their participation.
By following these steps, you can confidently initiate and manage a captivating live stream with your DSLR camera, leveraging its visual prowess to deliver engaging and professional content to your audience. Embrace the opportunity to connect with viewers in real time and showcase your content in its best light.
Tips for a Successful Live Stream
Embarking on a live streaming journey with a DSLR camera opens up a world of creative possibilities. To ensure that your live streams leave a lasting impact and resonate with your audience, consider the following tips for a successful broadcasting experience:
- Engage with Your Audience: Foster a sense of community by actively interacting with your viewers during the live stream. Respond to comments, address questions, and acknowledge audience contributions to create a dynamic and inclusive broadcast.
- Plan Your Content: Outline a structured agenda for your live stream, incorporating engaging segments, visual demonstrations, or guest appearances to maintain viewer interest throughout the broadcast.
- Optimize Your Lighting: Prioritize well-balanced and flattering lighting to enhance the visual quality of your live stream. Experiment with different lighting setups to find the most appealing aesthetic for your content.
- Test Your Equipment: Conduct thorough equipment tests and dry runs before each live stream to preemptively identify and address any technical issues that may arise during the broadcast.
- Promote Your Stream: Generate anticipation for your live content by promoting the upcoming stream across your social media platforms and engaging with your audience in advance.
- Deliver Value: Whether you’re sharing educational content, entertainment, or insights, strive to deliver meaningful value to your audience, enriching their experience and fostering continued engagement.
- Encourage Subscriptions and Follows: Prompt viewers to subscribe, follow, or enable notifications for future live streams, cultivating a dedicated audience for your content.
- Maintain Consistency: Establish a regular streaming schedule to cultivate viewer expectations and build a loyal audience base that anticipates your live content.
- Embrace Authenticity: Infuse your personality and genuine enthusiasm into your live streams, allowing your authenticity to resonate with viewers and forge meaningful connections.
- Review and Improve: After each live stream, take time to review viewer feedback and analytics to identify areas for improvement and refine your future broadcasting strategies.
By incorporating these tips into your live streaming approach, you can elevate the quality and impact of your DSLR camera-powered broadcasts, fostering a compelling and enduring connection with your audience. Embrace the creative potential of live streaming and continually refine your approach to deliver memorable and engaging content.
Conclusion
Embarking on the journey of live streaming with a DSLR camera opens up a realm of creative opportunities, allowing you to deliver visually stunning and engaging content to your audience. By carefully selecting the right equipment, configuring your DSLR camera, and mastering the intricacies of streaming software, you can harness the full potential of this powerful setup to captivate viewers and cultivate a dedicated community.
As you venture into the world of live streaming, remember to prioritize audience engagement, plan compelling content, and maintain a consistent and authentic presence. Embrace the dynamic nature of live broadcasts, and continually seek to refine and improve your approach based on audience feedback and performance analytics.
With the tips and techniques outlined in this guide, you have the tools to embark on a successful live streaming journey with your DSLR camera. Whether you’re a content creator, educator, or business professional, the visual prowess of a DSLR camera can elevate your live streams, leaving a lasting impression on your audience and fostering a vibrant community around your content.
As you apply the insights from this guide and infuse your unique creativity into your live streams, you have the opportunity to forge meaningful connections with viewers and deliver compelling content that resonates with audiences around the world. Embrace the art of live streaming with a DSLR camera, and let your creativity shine through each captivating broadcast.