Introduction
Are you looking to elevate your live streaming or video recording game with the superior video quality of an HD camcorder? Setting up your HD camcorder on OBS (Open Broadcaster Software) can be a game-changer, allowing you to capture crisp, high-definition footage for your content. Whether you're a content creator, a live streamer, or a video enthusiast, integrating your HD camcorder with OBS can enhance the visual appeal of your videos and live streams.
In this comprehensive guide, we'll walk you through the step-by-step process of setting up your HD camcorder on OBS, ensuring that you can seamlessly integrate this professional-grade equipment into your content creation workflow. By the end of this tutorial, you'll be equipped with the knowledge and skills to harness the full potential of your HD camcorder within the versatile and powerful OBS platform.
With the rising demand for high-quality video content across various online platforms, leveraging an HD camcorder for your content creation endeavors can set you apart from the competition. Whether you're producing vlogs, tutorials, live gaming streams, or any other form of video content, the visual clarity and detail offered by an HD camcorder can significantly enhance the production value of your work.
By harnessing the capabilities of OBS, a popular and feature-rich open-source software for video recording and live streaming, you can seamlessly integrate your HD camcorder into your content creation setup. OBS provides a flexible and customizable environment for capturing, mixing, and streaming video content, making it an ideal platform for incorporating professional-grade equipment like HD camcorders.
Now, let's dive into the step-by-step process of setting up your HD camcorder on OBS, unlocking the potential to produce visually stunning and engaging video content. Whether you're a seasoned content creator or just starting on your video production journey, this guide will empower you to harness the power of your HD camcorder within the dynamic framework of OBS. Let's embark on this exciting journey to elevate the quality of your video content with the seamless integration of your HD camcorder and OBS.
Step 1: Connecting Your HD Camcorder to Your Computer
Before delving into the setup process within OBS, the first crucial step is to establish a physical connection between your HD camcorder and your computer. This connection allows OBS to recognize your HD camcorder as a video capture device, enabling you to leverage its high-quality video output for your recordings and live streams.
Here’s a step-by-step guide to connecting your HD camcorder to your computer:
- Check Your Camcorder’s Output Ports: Identify the output ports available on your HD camcorder. Most modern HD camcorders feature HDMI or USB output ports, which are commonly used for connecting to external devices such as computers or monitors.
- Select the Appropriate Cable: Depending on the output ports of your HD camcorder, select the corresponding cable to establish a connection with your computer. For HDMI output, you’ll need an HDMI cable, while a USB output requires a compatible USB cable.
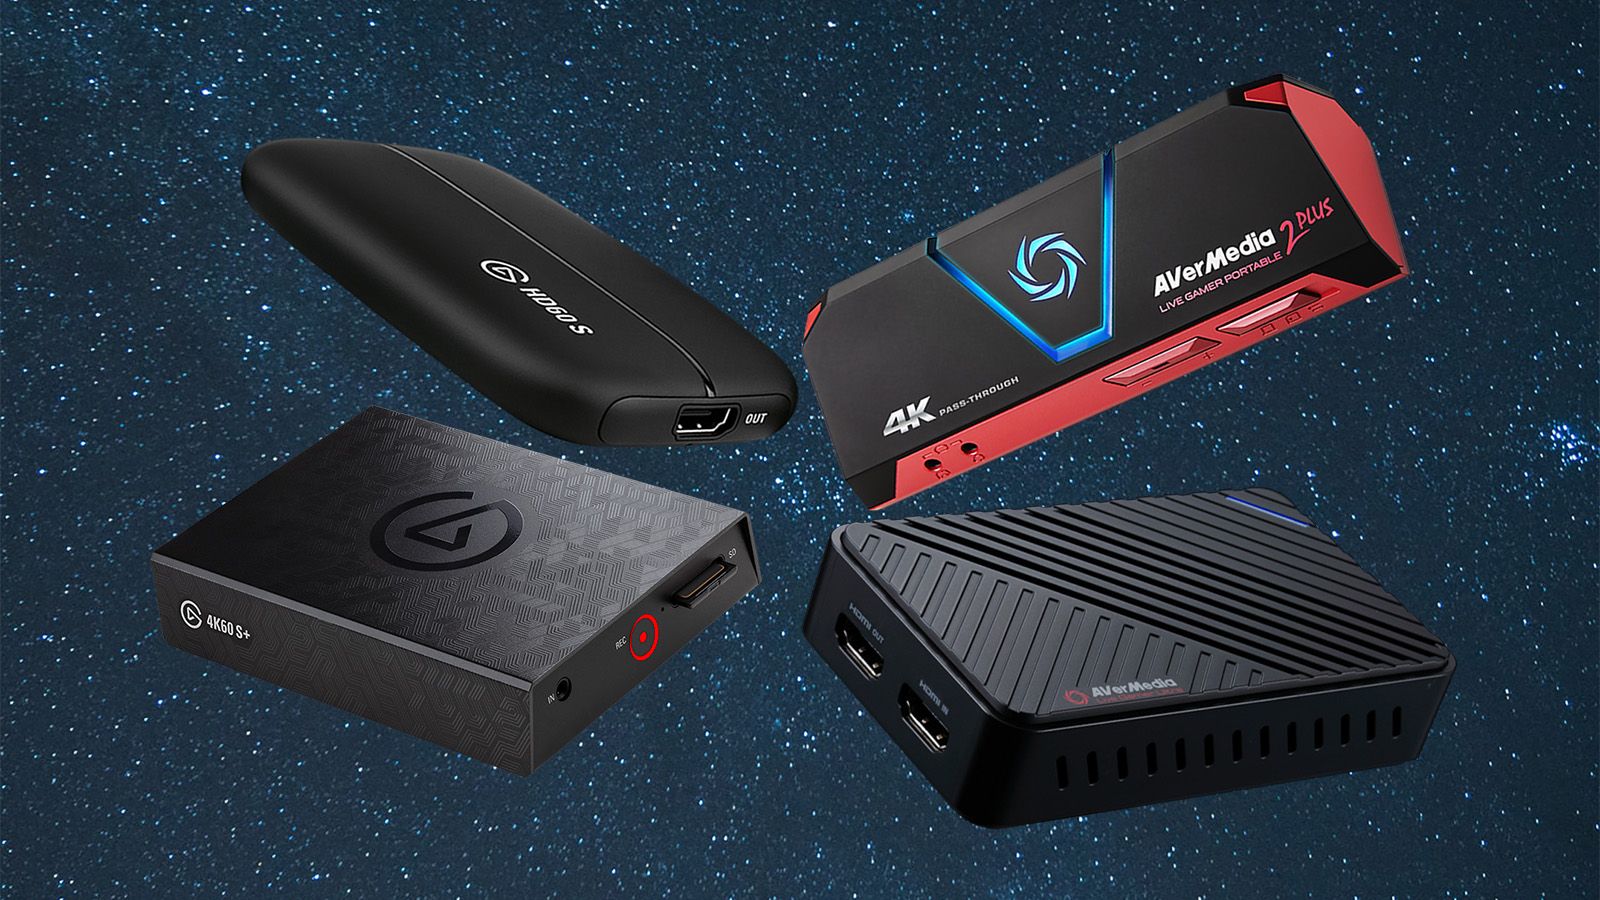
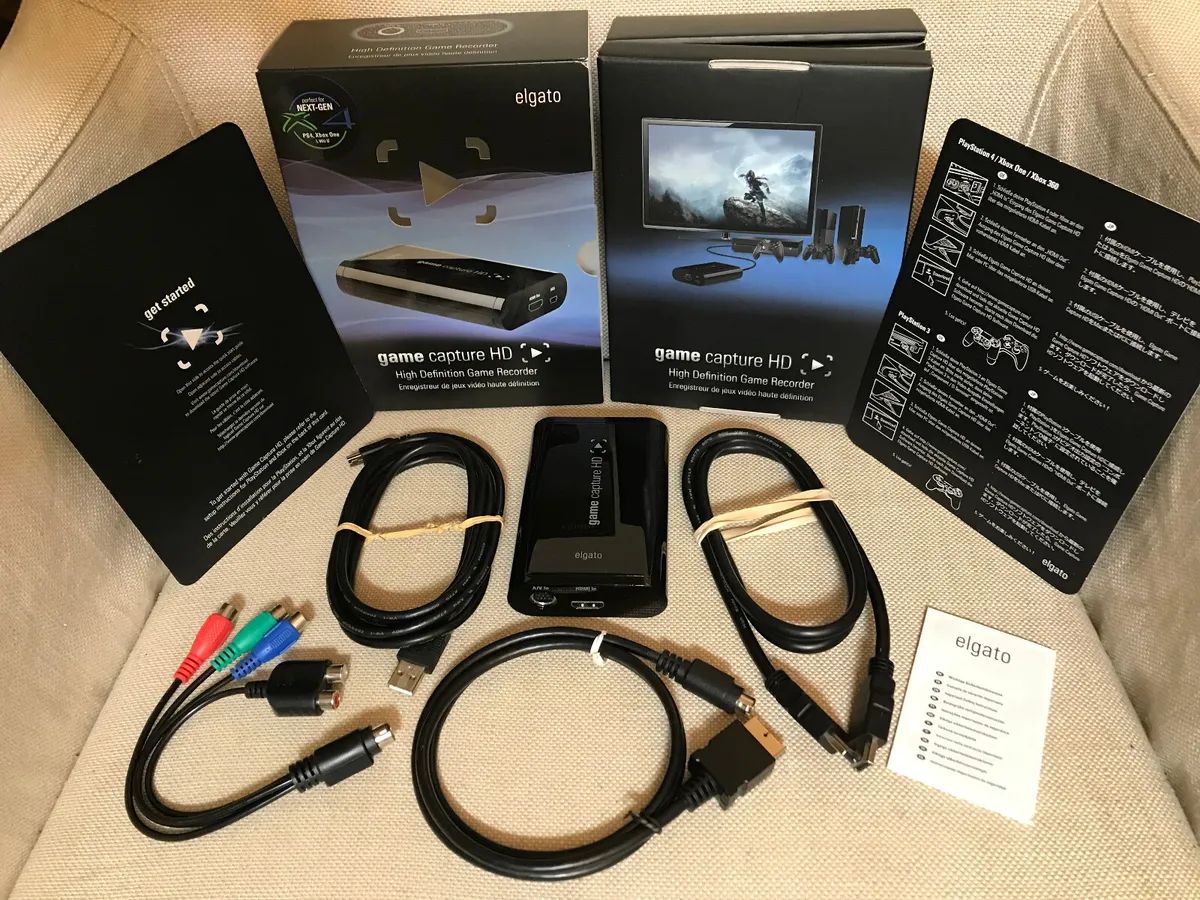
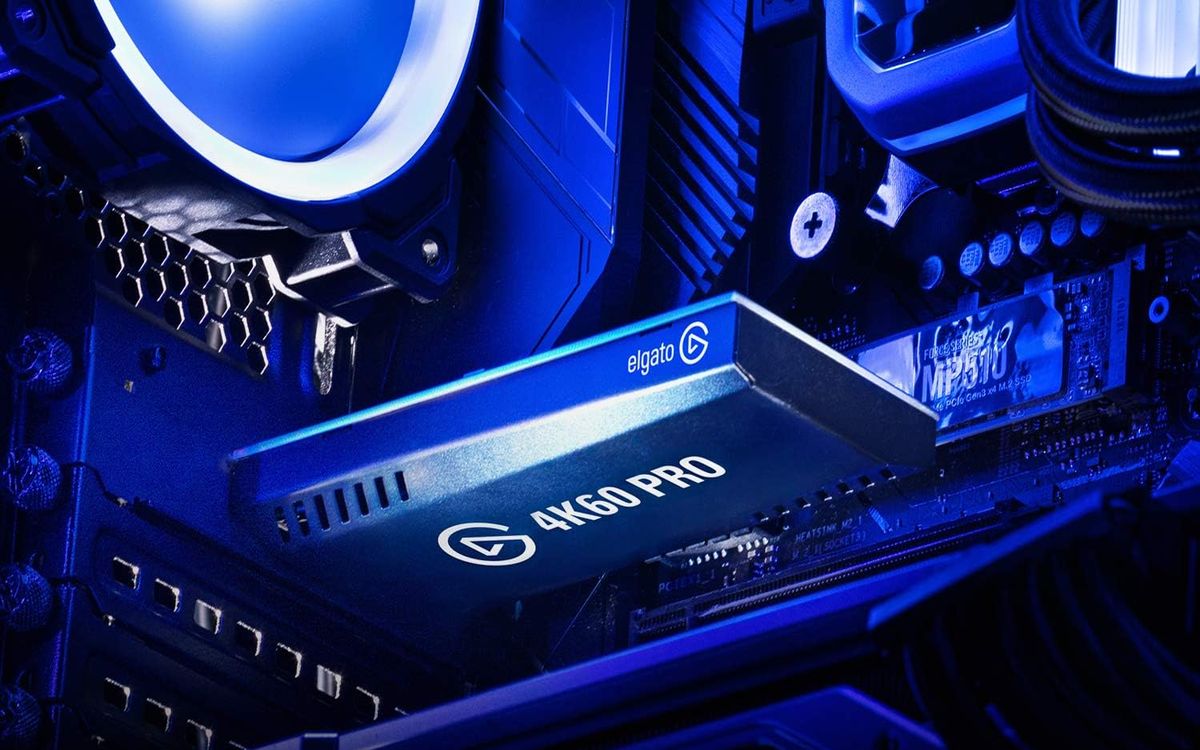
- Connect the Camcorder to Your Computer: Once you have the necessary cable, connect one end to the output port on your HD camcorder and the other end to an available input port on your computer. For HDMI connections, you may need an HDMI capture device to facilitate the connection to your computer.
- Power On Your Camcorder: Ensure that your HD camcorder is powered on and set to the appropriate mode for video output. Some camcorders have specific settings for video output via HDMI or USB, so refer to the user manual for guidance.
- Verify Connection and Recognition: Once connected, check your computer to ensure that it recognizes the HD camcorder as a connected device. You may need to install specific drivers or software provided by the camcorder manufacturer to facilitate the recognition process.
By successfully establishing the physical connection between your HD camcorder and your computer, you’ve laid the foundation for integrating this powerful video capture device with OBS. The next steps will focus on configuring OBS to recognize and utilize your HD camcorder as a video input source, enabling you to harness its high-definition capabilities for your content creation endeavors.
Step 2: Installing and Setting Up OBS
Before you can begin integrating your HD camcorder with OBS, it’s essential to have OBS installed and properly configured on your computer. OBS provides a versatile and feature-rich platform for video recording and live streaming, making it an ideal environment for leveraging the capabilities of your HD camcorder.
Here’s a comprehensive guide to installing and setting up OBS for seamless integration with your HD camcorder:
- Download OBS: Visit the official OBS website and download the appropriate version of OBS Studio for your operating system. OBS is available for Windows, macOS, and Linux, ensuring compatibility with a wide range of computer setups.
- Install OBS: Once the download is complete, run the installer and follow the on-screen instructions to install OBS on your computer. The installation process is straightforward and typically involves selecting the installation directory and confirming the installation settings.
- Launch OBS: After the installation is complete, launch OBS to access the main interface. OBS features a user-friendly layout with customizable panels for managing your video sources, audio sources, and scene compositions.
- Configure Basic Settings: Navigate to the settings menu within OBS to configure basic settings such as video output resolution, audio input sources, and streaming/recording preferences. Ensure that the settings align with your desired video quality and streaming/recording requirements.
- Explore Advanced Settings: OBS offers a wide range of advanced settings for fine-tuning your recording and streaming setup. Take the time to explore these settings to customize the platform according to your specific preferences and hardware capabilities.
By following these steps, you’ll have OBS installed and configured on your computer, ready to seamlessly integrate with your HD camcorder. The next phase of the setup process involves adding your HD camcorder as a video capture device within OBS, enabling you to harness its high-definition video output for your content creation endeavors.
Step 3: Adding Your HD Camcorder as a Video Capture Device in OBS
Now that OBS is installed and ready, the next crucial step is to add your HD camcorder as a video capture device within the software. By adding the camcorder as a video source in OBS, you’ll be able to leverage its high-definition video output for your recordings and live streams, enhancing the overall visual quality of your content.
Follow these steps to seamlessly integrate your HD camcorder as a video capture device in OBS:
- Access the Sources Panel: Within OBS, navigate to the sources panel, where you can manage and add various sources for your video and audio inputs. Click the “+” button at the bottom of the sources panel to add a new source.
- Select Video Capture Device: From the list of available sources, choose “Video Capture Device” to add your HD camcorder to OBS. This selection will prompt you to name the device and configure its settings.
- Name Your Camcorder Source: After selecting “Video Capture Device,” you’ll be prompted to name the source. Choose a descriptive name that clearly identifies your HD camcorder, making it easier to manage multiple sources within OBS.
- Configure Video Settings: Once the camcorder source is added, you’ll have the opportunity to configure its video settings, including resolution, frame rate, and other specific parameters that align with your camcorder’s capabilities.
- Confirm and Add the Source: After configuring the video settings, confirm the addition of the camcorder source to OBS. You’ll now see the live video feed from your HD camcorder within the OBS interface.
By completing these steps, you’ve successfully added your HD camcorder as a video capture device in OBS, allowing you to harness its high-definition video output for your content creation endeavors. The next phase of the setup process involves adjusting specific settings within OBS to optimize the performance and visual quality of your HD camcorder feed.
Step 4: Adjusting Settings for HD Camcorder in OBS
Once your HD camcorder is added as a video capture device in OBS, it’s essential to fine-tune the settings to optimize the performance and visual quality of the camcorder feed. By adjusting specific settings within OBS, you can ensure that your HD camcorder delivers the best possible video output for your recordings and live streams.
Follow these steps to adjust settings for your HD camcorder in OBS:
- Access the Camcorder Source Properties: Right-click on the HD camcorder source within OBS and select “Properties” to access the source properties window. This window allows you to configure specific settings for your camcorder feed.
- Configure Video Settings: Within the source properties window, you can adjust various video settings such as resolution, frame rate, and video format. Ensure that the settings align with the capabilities of your HD camcorder to maximize video quality.
- Explore Filters and Effects: OBS offers a range of filters and effects that can enhance the visual quality of your camcorder feed. Experiment with options such as color correction, sharpening, and noise suppression to refine the appearance of your video output.
- Optimize Audio Settings: If your HD camcorder is equipped with an integrated microphone or audio input, ensure that the audio settings within OBS are optimized to capture clear and high-quality audio alongside the video feed.
- Test and Adjust in Real Time: As you make adjustments to the camcorder settings, utilize OBS’s real-time preview feature to assess the impact of the changes on the video output. This allows you to fine-tune the settings for optimal results.
By carefully adjusting the settings for your HD camcorder within OBS, you can ensure that the video output aligns with your desired quality standards, enhancing the overall visual appeal of your content. The next step involves testing your HD camcorder setup in OBS to verify its performance and readiness for recording or live streaming.
Step 5: Testing Your HD Camcorder Setup in OBS
After completing the setup and adjustments for your HD camcorder in OBS, it’s crucial to conduct thorough testing to ensure that the integration is seamless and the video output meets your quality standards. Testing your HD camcorder setup in OBS allows you to identify any potential issues and make real-time adjustments before initiating your recordings or live streams.
Here’s a systematic approach to testing your HD camcorder setup in OBS:
- Verify Video and Audio Inputs: Start by verifying that both the video and audio inputs from your HD camcorder are being captured correctly within OBS. Check for any discrepancies in the video feed or audio levels that may require adjustment.
- Assess Video Quality: Pay close attention to the visual quality of the video output from your HD camcorder. Ensure that the resolution, frame rate, and overall clarity meet your expectations for high-definition content.
- Test Different Recording/Streaming Scenarios: Experiment with various recording and streaming scenarios to gauge the performance of your HD camcorder setup. Test different scenes, lighting conditions, and movements to assess how the camcorder performs in diverse situations.
- Review Real-Time Performance: While testing, monitor the real-time performance of OBS and your HD camcorder setup. Keep an eye on CPU and GPU usage, as well as any potential latency or synchronization issues between the video and audio inputs.
- Solicit Feedback and Conduct Iterative Testing: If possible, seek feedback from peers or collaborators by sharing test recordings or live streams. Use their input to refine your setup and make iterative improvements to the video and audio output.
By meticulously testing your HD camcorder setup in OBS, you can address any potential challenges or discrepancies before they impact your actual recordings or live streams. This proactive approach ensures that your content creation endeavors benefit from the full potential of your HD camcorder within the dynamic framework of OBS.
Conclusion
Congratulations! You’ve successfully navigated the process of setting up your HD camcorder on OBS, unlocking the potential to produce high-quality video content and engaging live streams. By following the step-by-step guide outlined in this tutorial, you’ve empowered yourself to seamlessly integrate professional-grade video equipment with a versatile and feature-rich software platform.
Through the meticulous process of connecting your HD camcorder to your computer, installing and configuring OBS, adding your camcorder as a video capture device, adjusting its settings, and conducting comprehensive testing, you’ve laid the groundwork for elevating the visual quality of your content creation endeavors.
As you venture into the world of video recording and live streaming, the integration of your HD camcorder with OBS opens up a myriad of creative possibilities. Whether you’re producing educational tutorials, captivating vlogs, immersive live gaming streams, or any other form of video content, the seamless integration of professional equipment with powerful software empowers you to captivate and engage your audience.
Remember, the setup and integration process is just the beginning of your journey. Continuously explore the capabilities of OBS, experiment with different recording and streaming scenarios, and refine your setup to align with evolving content creation trends and audience preferences. Embrace the creative freedom and technical prowess that come with harnessing the full potential of your HD camcorder within OBS.
By combining your creativity and storytelling prowess with the technical capabilities of professional-grade equipment and software, you’re poised to make a lasting impact in the world of online video content. Whether you’re a seasoned content creator or an aspiring video enthusiast, the fusion of HD camcorders and OBS paves the way for visually stunning, immersive, and compelling video experiences.
Now, armed with the knowledge and skills acquired from this guide, venture forth and unleash the full potential of your HD camcorder within the dynamic landscape of OBS. Your audience awaits the captivating visual stories and engaging live experiences that only the seamless integration of professional equipment and innovative software can deliver.